Troubleshooting
- What are "Server Messages" and why do I want them?
- Booster ID Generation
- Enable core dumps for booster crashes
What are "Server Messages" and why do I want them?
What
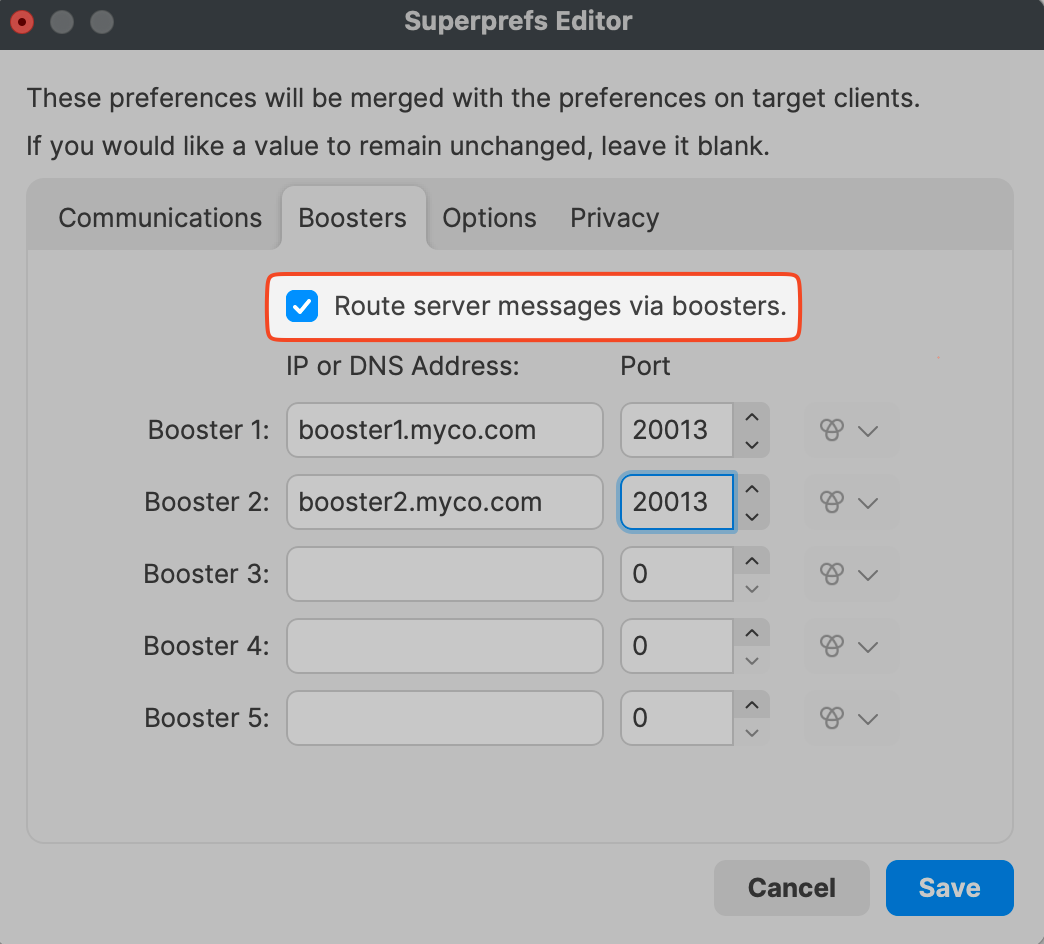
Route server messages via boosters sends selected FileWave Client/server messages through Boosters instead of requiring every client to communicate directly with the FileWave Server for those messages. You may see this option in Superprefs Editor or Client Monitor.
When/Why
FileWave Clients check in with the FileWave Server on a schedule (2 minutes by default). Server messages cover the additional client/server communication that lets the client receive status, commands, and related updates.
The Default TCP and UDP Port Usage article lists 20015 and 20017 for client/server communication. NATS ports also handle notifications for workflows such as initiating a TeamViewer session.
Note: The default port setting is 20015. However, SSL is now required, and the system will automatically use port 20017 instead when 20015 is entered. Do not manually set the port to 20017. Always enter 20015, and the system will handle the SSL port change for you.
How
Server messages are the communications a client needs to work with the server. If routing is enabled, publishing and routing services can send messages like the ones below through Boosters. Enable this option when Boosters should handle more of that client communication and reduce direct load on the FileWave Server.
-
Checkin
-
Fileset properties and status
-
Software updates
-
Lock / Unlock client
-
Kiosk categories and item info
Booster ID Generation
Description
If cloned Booster VMs keep the same Booster ID, FileWave may show one Booster as missing or let multiple Boosters overwrite the same Booster record. Regenerate the ID on each clone so every Booster enrolls as a separate record.
Regenerate the Booster ID when IDs conflict.
Directions
Run the following command in a Booster shell to remove the existing Booster identity files and generate a new Booster ID.
Linux & macOS
fwcontrol booster stop && rm -f /etc/xdg/FileWave/Booster.conf && rm -f /var/FWBooster/*.key && rm -f /var/FWBooster/*.crt && fwcontrol booster start
After the Booster restarts, use 'Enroll Booster(s)' from its contextual menu, even if it was enrolled before.
Enable core dumps for booster crashes
For Debian
It is important that you undo this after the issue has been identified.
Step-by-step guide
-
edit this file:
sudo vi /usr/local/etc/filewave/supervisor/supervisord-booster.conf -
Uncomment this line:
command=/bin/bash -c "ulimit -c unlimited && /usr/local/sbin/fwbooster -
restart the booster:
sudo /etc/init.d/fw-booster restart -
edit this file:
sudo vi /etc/sysctl.conf -
Add the lines below:
kernel.core_uses_pid = 1kernel.core_pattern = /tmp/core-%e-%s-%u-%g-%p-%tfs.suid_dumpable = 2 -
Reload the settings in /etc/sysctl.conf:
sysctl -p -
Open the limits configuration file:
sudo vi /etc/security/limits.conf -
Add the following lines to set unlimited core dump sizes for all users:
* soft core unlimited* hard core unlimited -
Save and close the file. Note: Changes take effect upon the next login. You may need to restart the system or re-login for the settings to apply.
For testing purpose:
Kill booster process e.g:
(ps ax | grep fw)kill -6 3014
Check if a core dump is generated under /tmp.
Should be something like this:
core-fwbooster-6-0-0-8440-1509016449