FileWave Server Installation & Upgrade
- FileWave Server Installation
- FileWave Access - Passwords
- FileWave Server On-Premise
- FileWave Server Time
- FileWave Server Upgrades
FileWave Server Installation
FileWave Server is the core service behind device management. Initial setup and ongoing administration still rely on FileWave Central (macOS or Windows), and some tasks are also available in FileWave Anywhere.
This overview does not cover Boosters or IVS.
Overall requirements
FileWave Server can be deployed as a hosted service or on-premise. For on-premise deployments, start from the current Downloads book. The current release page includes the installer, release-specific instructions, and any available virtual appliance images.
Manual installation
If you are not using a pre-built virtual appliance:
- Download the current FileWave Server installer from the appropriate release page.
- Copy the installer to the server you plan to use for FileWave Server.
- Open a shell session to that server as a privileged user (for example via SSH), and elevate to root as required.
- Extract the download.
- Run the installer and follow the instructions from that same release page.
FileWave Server networking
Before you finish the setup, review the Default TCP and UDP Port Usage article and FileWave Server should not have IPv6 enabled.
FileWave Access - Passwords
FileWave Administrator
FileWave installations provide an initial user which has full permissions. On initial launch, this password should be changed as a matter of security. The default account is:
- Name: fwadmin
- Password: filewave
The password may be changed in the FileWave Central software application Menus, through:
- Assistants > Manage Administrators
Select the 'fwadmin' account, followed by the 'Set Password' radial button. Enter the chosen secure password
SSH
SSH is initially enabled and the root account of the default setup has the same password as fwadmin, however, they are not aligned. Consider immediately changing the root users account password and disable the ability to access SSH to the server from the internet.
Log into a shell on the server as root and run the following command:
passwdA prompt will require input of the new password and secondary confirmation of this new password.
FileWave Server On-Premise
For on-premise FileWave Server installs, make the server name and certificate decisions early. These settings affect how clients and MDM-enrolled devices connect to the server, so changing them later can be disruptive.
Server Name
The FileWave Server name should be a fully qualified domain name (FQDN). Prefer a name that could also work externally later, even if the first deployment is internal only. Choosing the right name up front gives you room to publish services or change network layout later without touching every enrolled device.
Certificates
The server certificate must include the chosen server name as a Subject Alternative Name (SAN). See the certificate articles for the current certificate workflow:
https://kb.filewave.com/books/certificates
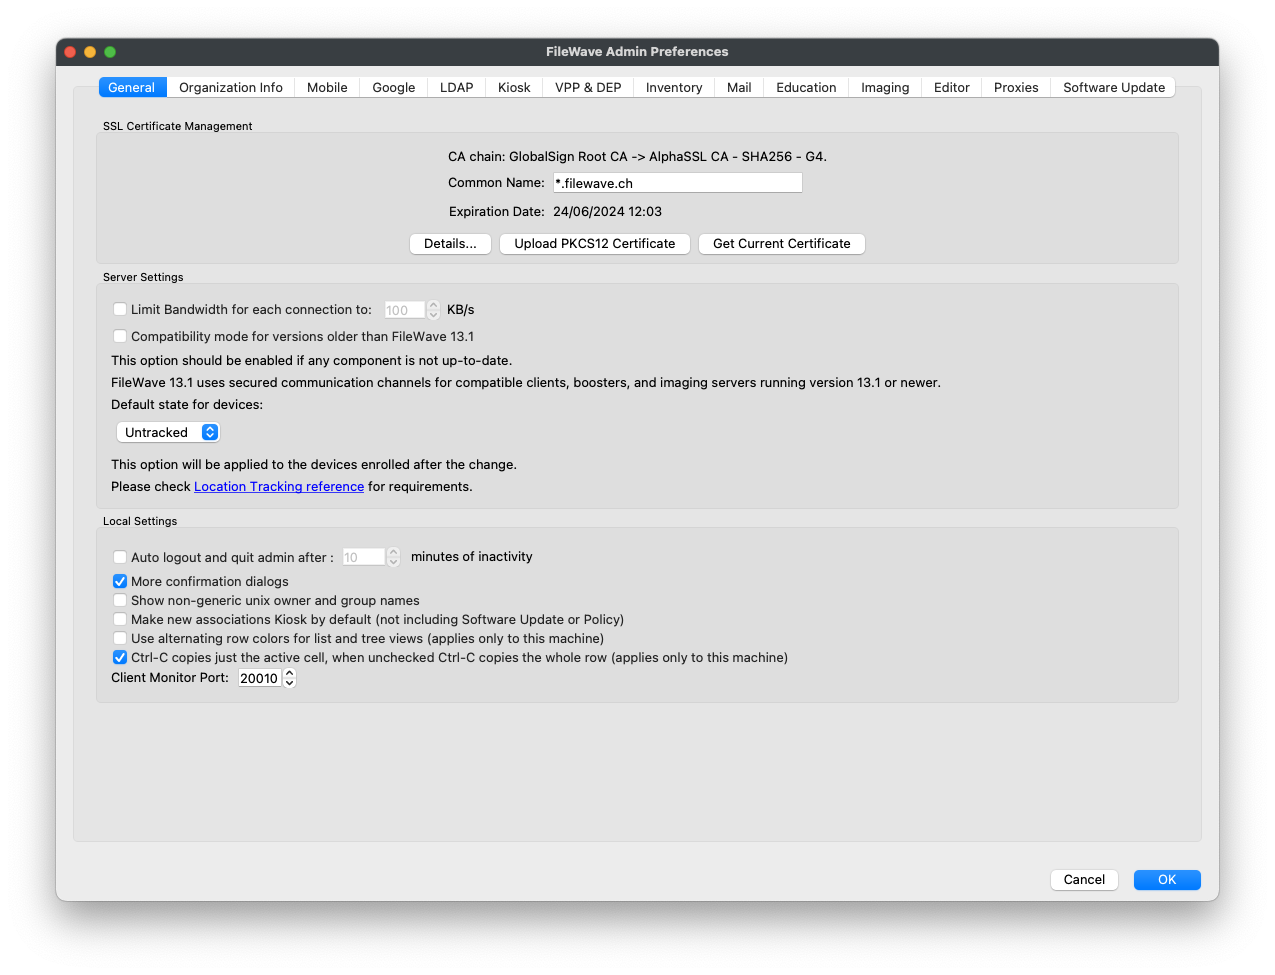
After the P12 certificate is generated, upload it to the FileWave Server through the FileWave Central/FileWave Admin preferences.
Naming the Server
Enter the same FQDN on the Mobile tab. For example, for a server called demo.filewave.ch:

Server Command Line Configuration
After the certificate and server name are configured in the admin application, make sure the FileWave Server itself can resolve that name locally.
Hosts File
Edit the server's hosts file so the FileWave Server name resolves to the local server. Starting with this simple hosts file:
127.0.0.1       localhost
::1             localhost
Using the example server name demo.filewave.ch, either of these approaches is acceptable:
127.0.0.1       localhost demo.filewave.ch
::1             localhost demo.filewave.ch
or:
127.0.0.1       localhost
127.0.0.1       demo.filewave.ch
::1             localhost
::1             demo.filewave.ch
The entries can be space-separated on the same line or split onto separate lines. The goal is that a lookup for the FileWave Server FQDN from the server returns the local host.
Apache Conf File
This is only required if the server's local hostname does not match the FileWave Server name.
Edit the following file:
/usr/local/filewave/apache/conf/httpd_custom.conf
Add the following ServerName entry:
ServerName demo.filewave.chRestart Server Process
Restart the FileWave Server after the change. Run the command as root, or use sudo:
sudo fwcontrol server restartFileWave Server Time
Time is critical with servers and acceptance of certificates and communication. As such, it is imperative that time is kept in sync. It is possible to run one-off commands to achieve this, but better still, consider enabling automated time sync.
macOS
macOS devices may just have time configured through the System Preferences or Settings
Linux
For linux servers we include NTP sync as enabled in the appliance images. If you have your own install of Debian then make sure you enable NTP time sync.
FileWave Server Upgrades
Hosted server upgrades are coordinated through FileWave communication with hosted customers. If your server is hosted by FileWave, start with Your Hosted FileWave Server Has Been Upgraded - What Are Your Next Steps?.
For on-premise servers, use Upgrading your On-Premise FileWave Server as the detailed upgrade guide. This page is a quick planning checklist so the high-level sequence is easy to find.
Upgrade planning checklist
- Review the target release notes, Known Issues, and the FileWave Official Version Support Statement before choosing the upgrade path.
- Use the FileWave Downloads pages to prepare only what the target release actually requires. For macOS servers, download the FileWave Server installer. For Debian servers, use the one-line upgrade command on the download page, or download the
.debpackages if you prefer. FileWave Central auto-upgrades on login in FileWave 16.3.1 and later, so a separate Central download is not normally needed. For FileWave 16.4.0 and later, clients already running 16.3.0 or later use the integrated Client Upgrades workflow; earlier clients still require the Client Upgrade Fileset bridge. See Upgrading FileWave Clients. - Run the server upgrade from the appropriate server-side asset: copy the macOS FileWave Server installer to the server, or run the Debian upgrade script/package workflow from the server. Copy Central or client installers only when your target version and rollout workflow still require a manual application or client upgrade.
- Before locking devices, confirm they are not already locked for another reason. Lock the devices that should pause content changes during the maintenance window, then run an Update Model.
- Run a current FileWave Server backup. If the server is a virtual machine, also take a VM snapshot using the guidance in the full upgrade article; avoid a live snapshot while FileWave services are actively writing data.
- Upgrade the FileWave Server first, following the instructions for the target version's download page and the detailed upgrade guide. Include any required server OS updates in the maintenance plan.
- Log in with FileWave Central, allow Central to auto-upgrade if prompted, connect to the upgraded server, and verify that the health indicator and a Model Update are successful.
- Unlock one or two test devices, confirm they check in and behave as expected, then either continue testing or unlock the remaining devices that should resume normal management.
Do not treat an empty Client Upgrades view as proof that every client is current. Clients earlier than 16.3.0 are omitted from that view. Reconcile Client Upgrades against an inventory report and bridge legacy clients with the Upgrade Fileset.
When the maintenance window is complete, only unlock devices that were locked for the upgrade. Devices that were intentionally locked beforehand should remain locked.