Troubleshooting Imaging

These pages provide various troubleshooting guides for FileWave IVS

Authentication Credentials Error

What

When deploying a Windows image and the IVS errors with a message:

“IVS request for URL: https:<your.IVS.IP.address:20044/imagingwindows/boot/get_image_info/ failed with code: 403 Authentication credentials were not provided.”

This will prevent the deployment of Windows images. FileWave will need to re-establish the secure connection between your IVS and server services.

IVSAuthCredsError.png

When/Why

This error comes up when the IVS loses its shared key, which causes the IVS to fail and connect with your FileWave services. The connection between FileWave’s IVS and server does have encryption and can be established again. To fix you may follow the steps below. In some cases, you will want to check and verify the shared key. Remember the last 4 of the shared key and once you have re-generated, be sure the last 4 have changed.

How

  1. Navigate to FileWave Central (native admin)

  2. Open the Imaging tab

  3. Highlight and double-click on your IVS

  4. Check the box to “Generate new key on Save”

  5. Press OK to save

  6. Click on the Monitor button still with the Imaging tab preferences

  7. Click on Verify to have the IVS check-in

After performing these steps, please try again to deploy your image. Be sure the image association is set to True before PXE booting the machine.

How to re-enroll an IVS

What

You may need to remove and re-enroll the IVS to troubleshoot. Instead of straightforward deleting and enrolling the IVS again, you will need to remove the client and admin IVS configurations, before removing. Once these configurations have been deleted you then may remove the IVS from FileWave Admin Central.

When/Why

When the IVS loses connection or stops imaging, troubleshooting may require to remove and re-enroll the IVS.

How

  1. Remove IVS Client configuration
    1. log into your IVS by ssh into the server and execute the commands below:

      $ sudo killall fwcld
      $ rm -rf /etc/xdg/FileWave/Client.conf

  2. Remove IVS Admin configuration
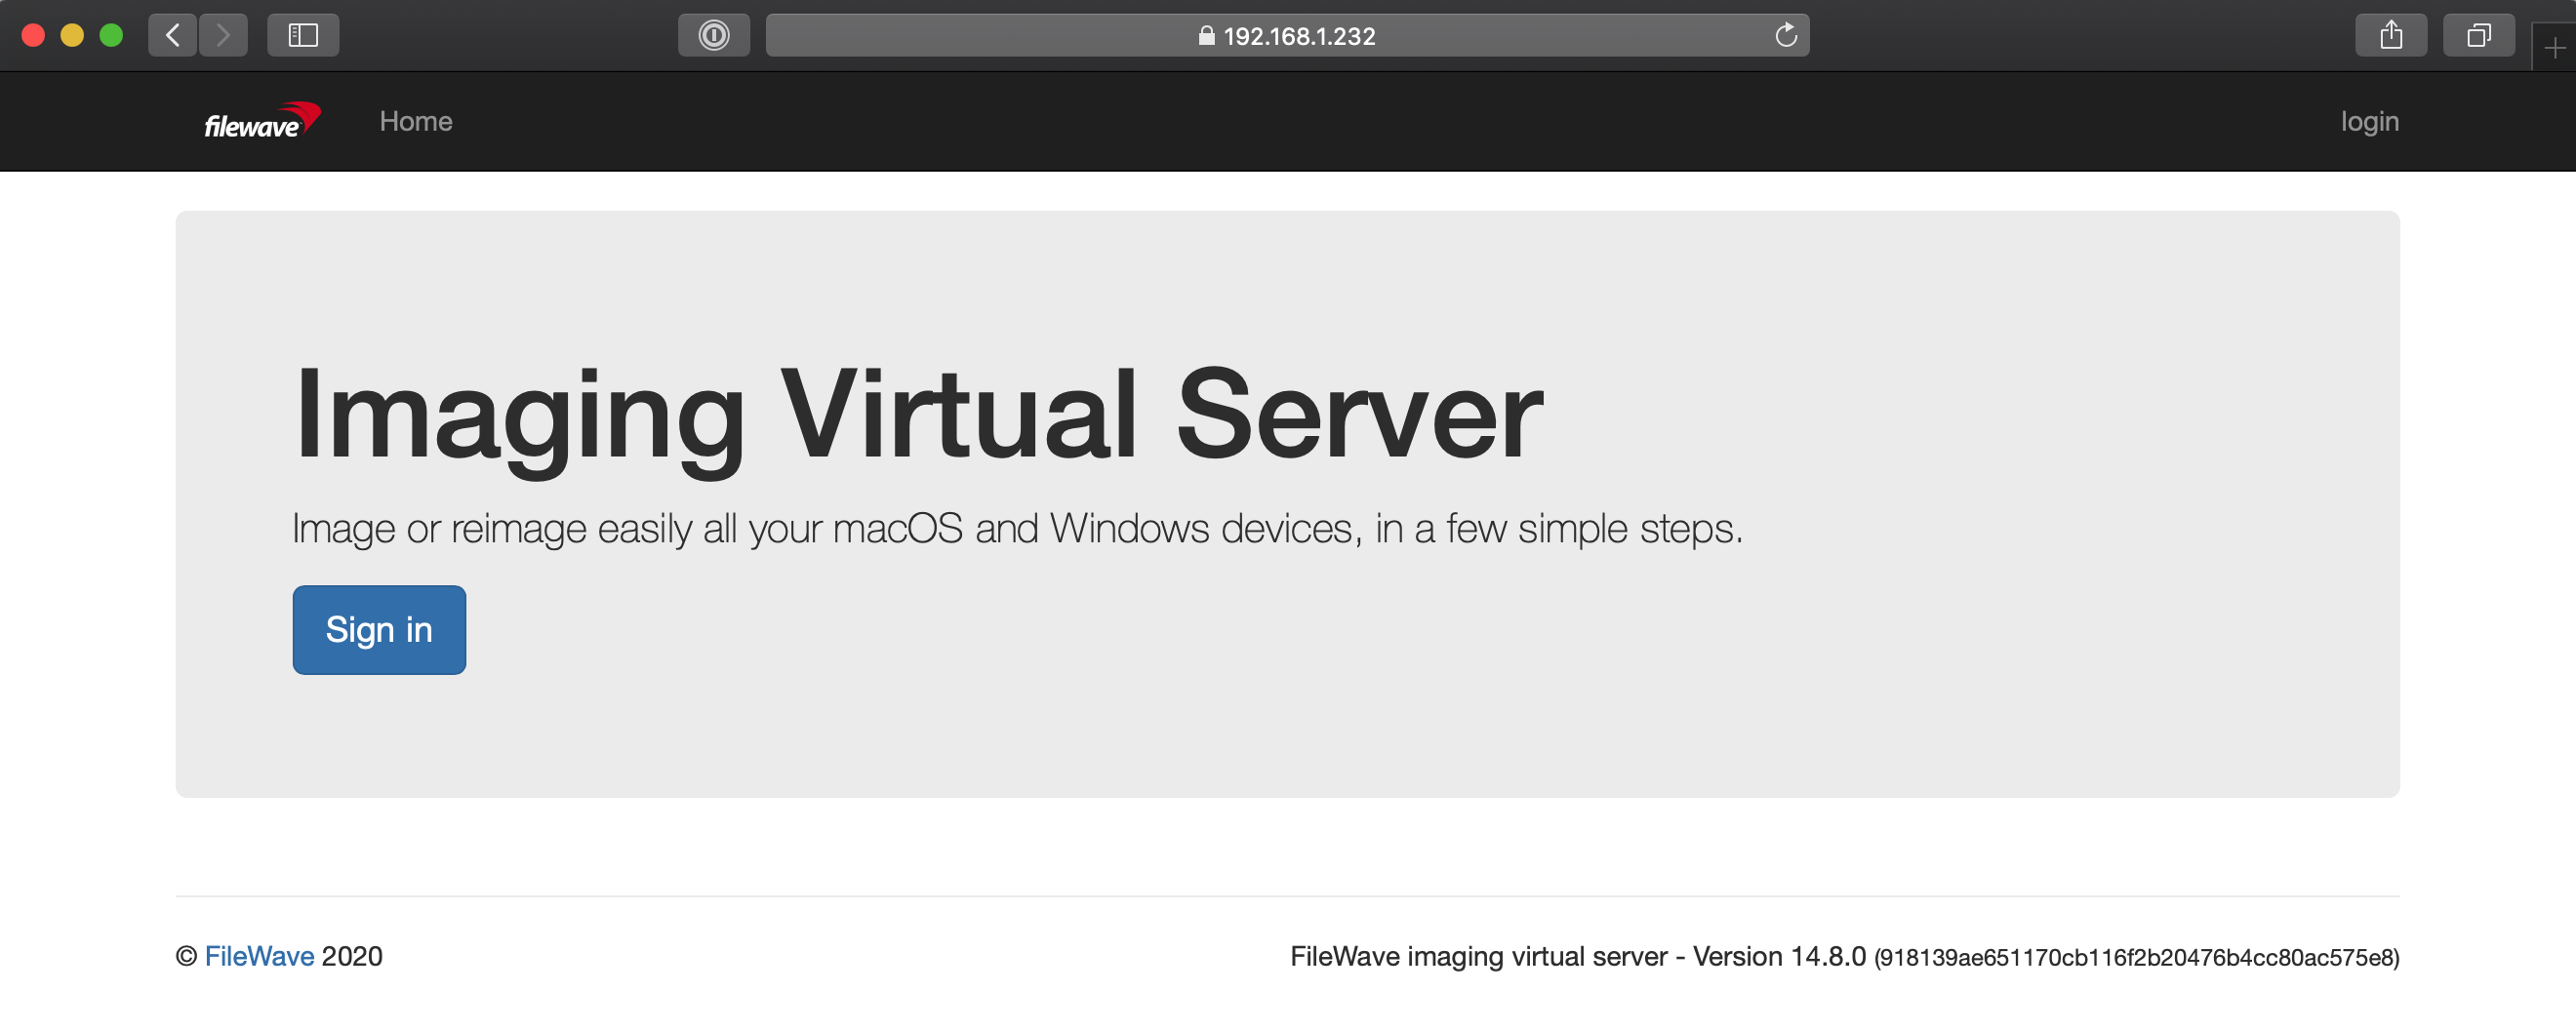
    1. Open a web browser and navigate to your IVS admin address, i.e. https://<IVS.IP.address>:20444

      IVSadminconfig1

    2. Click 'Sign in' and enter the username and password
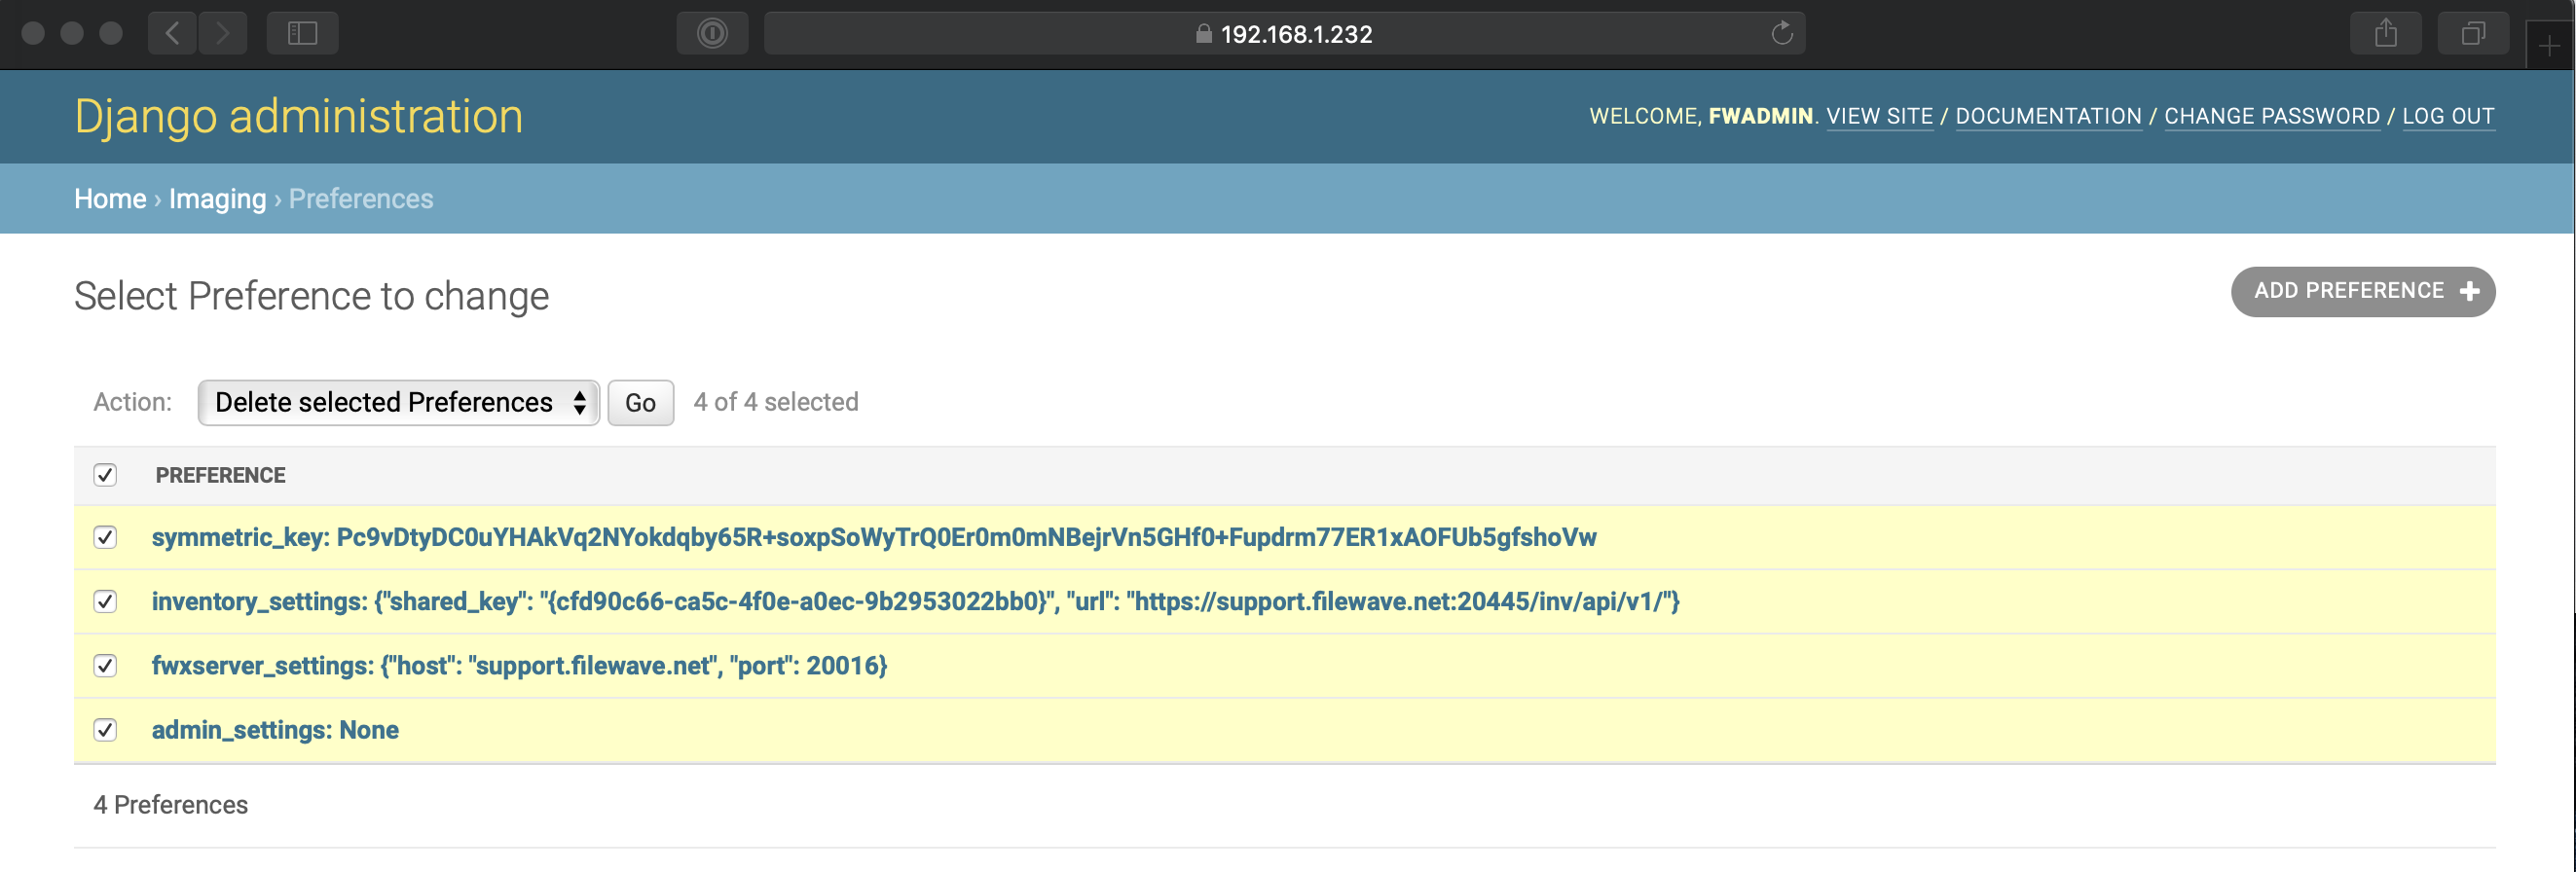
      username: fwadmin
      password: filewave

    3. Once logged in, click Admin at the top, Preferences > Check the box to the left of Preference to check all boxes > Click the drop-down to the right of Action and select "Delete selected Preferences".

      IVSadminconfig2

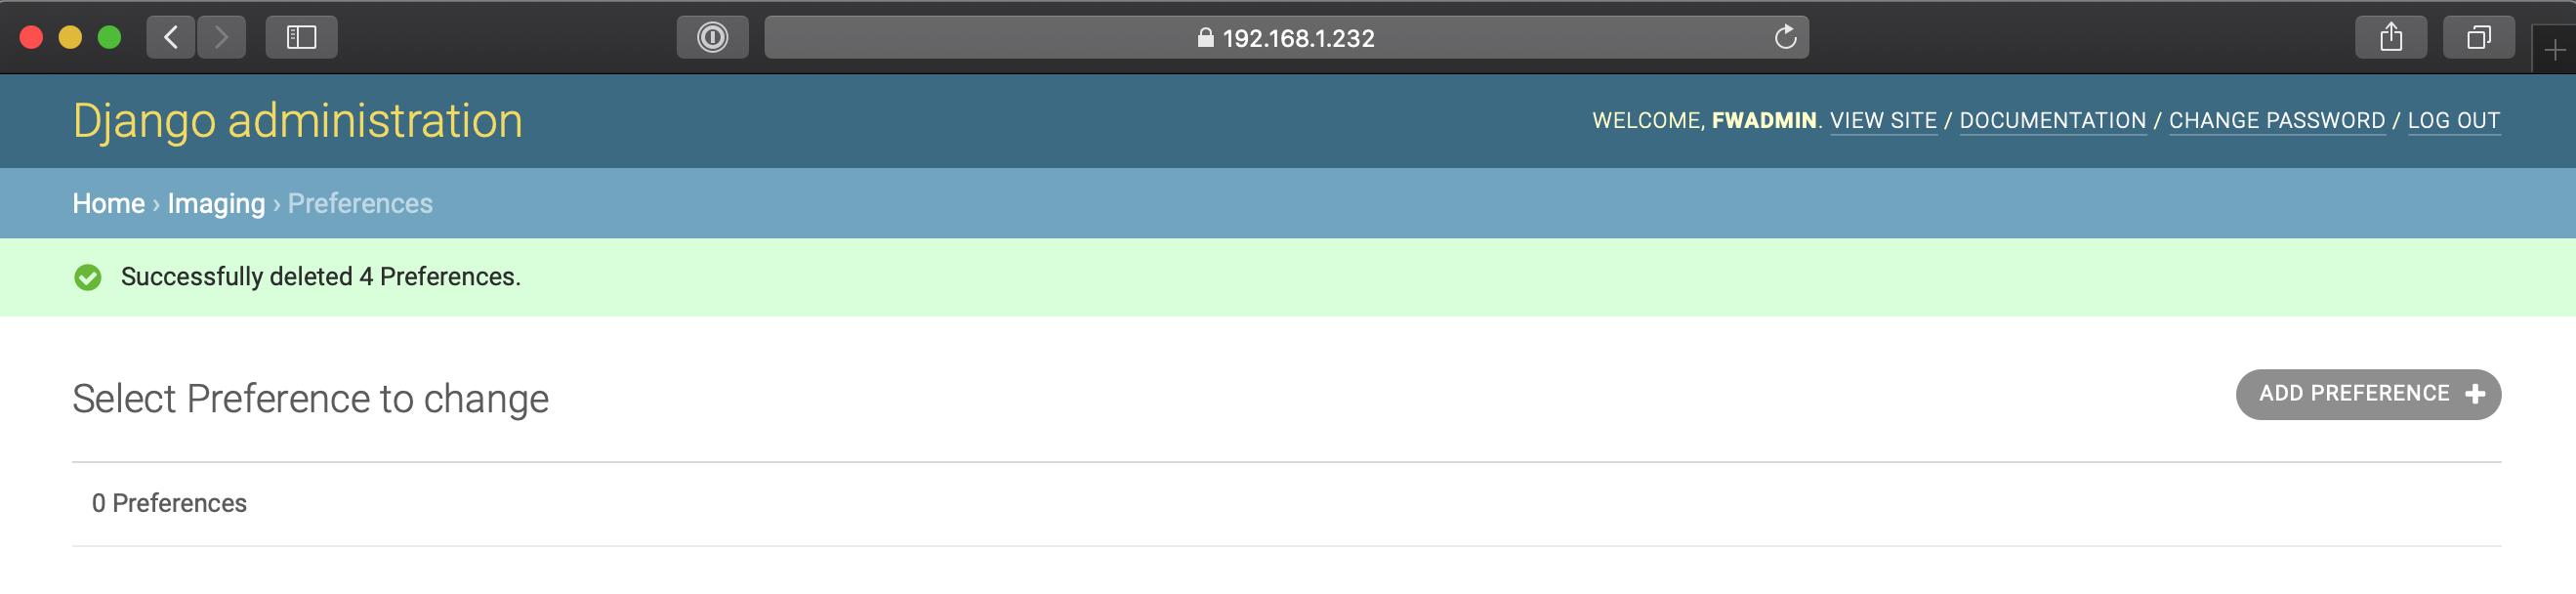
    4. Click on 'Go' and confirm by clicking 'Yes' to remove. After completed the steps, you should see 0 Preferences.

      IVSadminconfig3

  3. Remove IVS from FileWave Admin Central
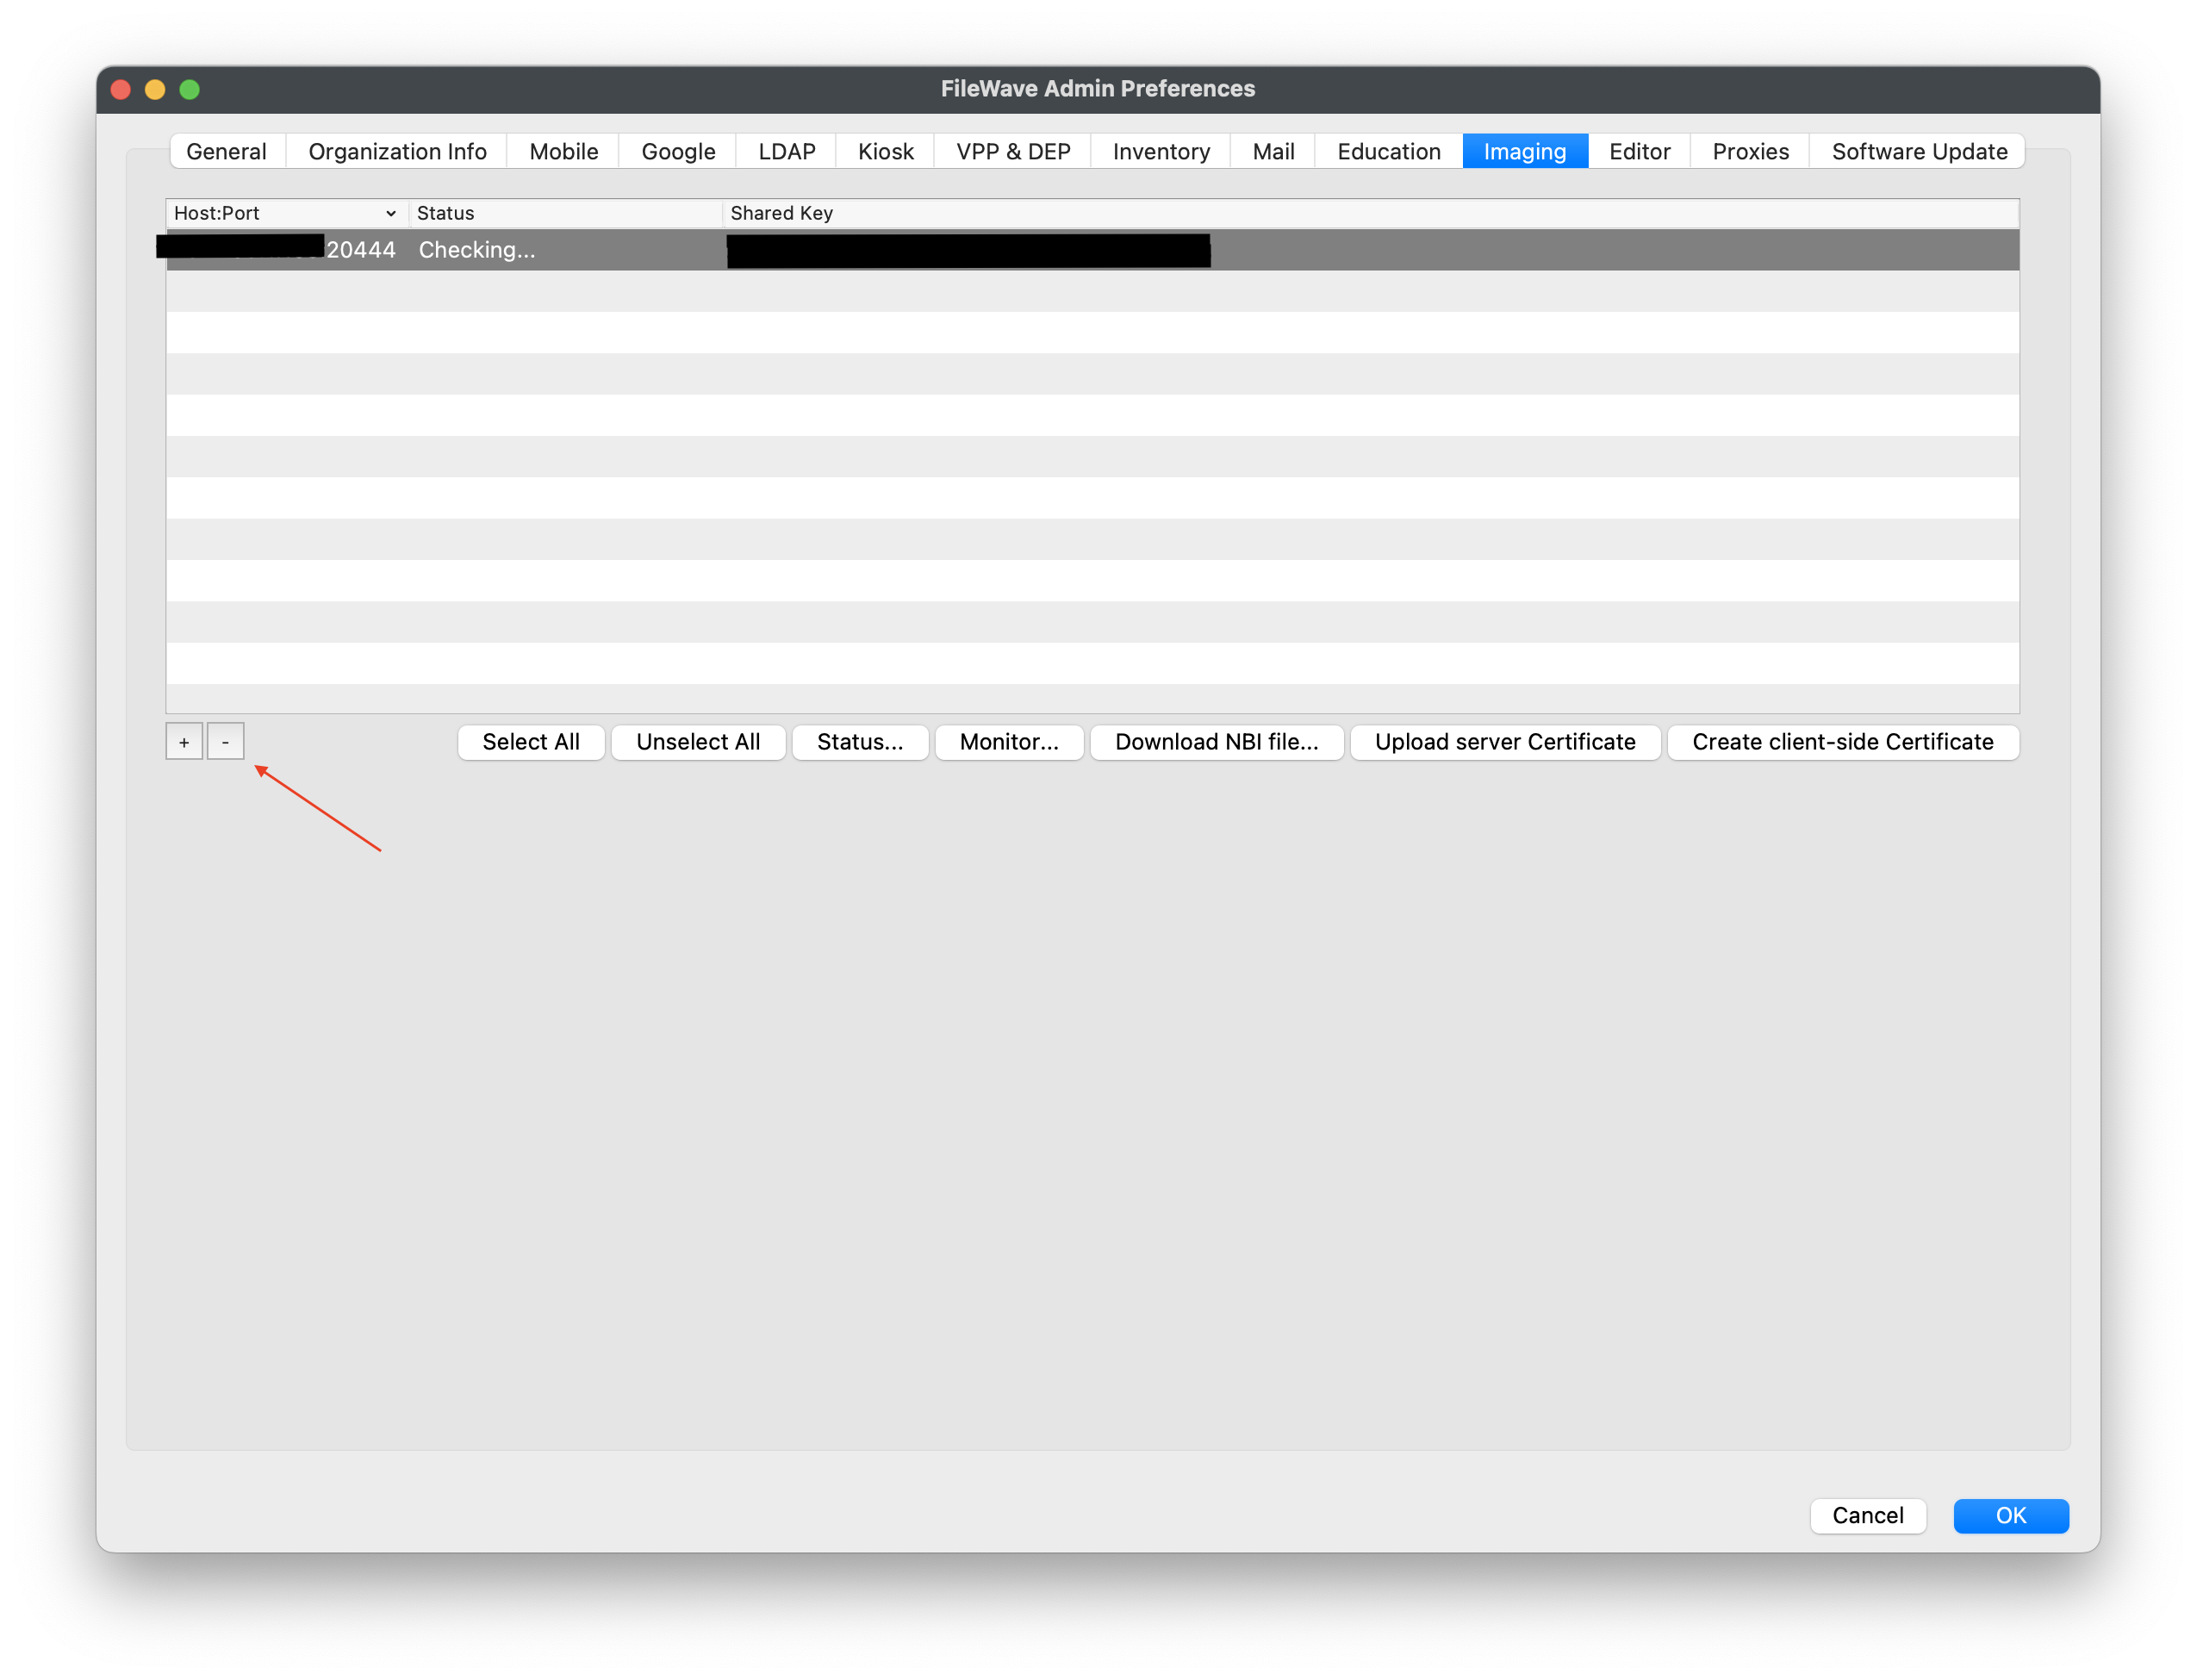
    1. Open FileWave Admin Central and navigate to Preferences > Imaging tab > click your IVS to highlight it > Click the minus sign to the bottom left and then hit OK to close preferences. Re-open Preferences > Imaging tab and make sure your IVS hasn't reappeared.IVSadminconfig4
  4. Restart the IVS. SSH into your IVS and run the command to reboot:

    $ sudo shutdown -r now

  5. Once the IVS has restarted, you may begin the enrollment process normally; Setting up the IVS (Imaging Virtual Server)

Setting up the IVS (Imaging Virtual Server)

Image creation or deployment hangs on "calling subprocess.Popen"

Problem

When trying to create a Master image, or deploy a freshly captured image on a Windows device, the entire process will stall at the message "Calling subprocess.Popen with: parted -m /dev/sda print".

dirty_partition.png

Solution

The cause of this issue is a bad partition on the machine that results in an imaging creation or deployment stall. In order to resolve this issue, you will need to modify a file on the Imaging Virtual Server (IVS) and use a prompt on the device you are wanting to capture the image from / deploy to. 

The following steps will allow you to clear the error from the device.

  1. Make a note of the partition that seems to be stuck. From the screen shot it is "/dev/sda". Your drive may have a different name.

  2. Once you know the drive name, go ahead and turn off the machine that is stuck capturing the image.

  3. Connect to your IVS and run the below command.

    touch /etc/fw_master_debug
  4. PXE boot the machine giving the error again.

  5. The machine will go to a prompt where you are able to type the below command. For the example, "/dev/sda", but yours may be different.

    sgdisk --zap /dev/sda
  6. Shutdown the machine you are capturing the image from / deploying to.

  7. Run the below command on your IVS to delete the file you created.

     rm -rf /etc/fw_master_debug
  8. PXE boot the machine again to capture the image and it will no longer hang at the step.

Imaging Issue After Upgrading FileWave and Using Self-Signed SSL Certificate

What

You are experiencing difficulties imaging machines after upgrading your FileWave Server, IVS, and Clients while using a Self-Signed SSL Certificate.

When/Why

This step is necessary when using a Self-Signed SSL Certificate. Ensure to include this additional step in your IVS upgrade process if you are not using a Root Trusted SSL Certificate.

How

  1. Access the IVS via SSH or locally:
    • Connect to the IVS via SSH or access it locally.
  2. Edit the dnsmasq.lua file:
    • Use your preferred command-line editor (e.g., vi) to edit the dnsmasq.lua file.
    • vi /imaging/scripts/bin/dnsmasq.lua
  3. Navigate to line 128:
    • Use the arrow keys or appropriate commands to navigate to line 128.
      Screenshot 2024-04-19 at 5.21.03 PM.png
  4. Switch to insert mode:
    • Press 'i' to switch to insert mode in vi.
  5. Add the following line:
    • req.tls = false
  6. Save and exit vi:
    • Press the Esc key to exit insert mode.
    • Type ':wq' and press Enter to save and exit vi.
  7. Verify functionality:
    • You should now be able to image machines successfully.

RAM listing 0-15 Error

What

Machines using the latest M.2 drives may run into an error listing RAM failures when deploying an image.

ImagingErrorRAM0-15.jpeg

When/Why

New machines with M.2 drives may have been set up with a pre-configuration of RAID within the machine’s BIOS. You will want to log into your machine’s BIOS and change the RAM configuration from RAID to AHCI.

How

Depending on the manufacturer/brand of BIOS, be sure to review the options and verify the method of logging into the BIOS. Once logged in, perform the following steps:

  1. Search the BIOS for the settings/options labeled “SATA”

  2. Change the SATA settings/options from RAID to AHCI

  3. Confirm the changes and save

  4. Exit BIOS and restart the machine

  5. Prepare PXE boot to image deployment

After these “SATA” settings/options have been changed and saved, please try again to deploy your image. Be sure the image association is set to True before PXE booting the machine.

Third Party Vendors

Each Brand/Manufacturer has their own options to enter BIOS. Below are a few examples to search for:

Sysprep not able to validate Windows installation

Sysprep is mandatory for FileWave Windows disk imaging. Possible consequences of not sysprepping are outlined by Microsoft here. It accomplishes the following goals to prepare your reference system for capturing the master image.

  1. Removes computer-specific info from a Windows installation by doing the following items below - You may find that some Windows functionality no longer works correctly when computer specific info is duplicated between multiple PCs.
    • Generates a new computer SID
    • Sets a new computer name
    • Clears out event logs
    • Runs mini setup to deal with hardware differences
  2. Performs a full Windows shutdown when the "/shutdown" switch is specified, which is required on Windows 8 and 10 - Starting with Windows 8, Microsoft added a fast startup feature that helps your PC start up faster after shutdown, even faster than hibernate. Windows does this by saving an image of the Windows kernel and loaded drivers to C:\hiberfil.sys upon shutdown so when you start your PC again, Windows simply loads the C:\hiberfil.sys file into memory to load Windows instead of starting from scratch. When it does this, Windows leaves the main partition hosting Windows in a state that prevents FileWave from properly capturing it. When you sysprep with the "/shutdown" parameter, it performs a full shutdown without generating a hiberfil.sys file and leaves the partition hosting Windows in a state that allows FileWave to capture it.

Sysprep can occasionally fail with a validation error due to a provisioned Microsoft Store Appx app being updated automatically by Windows 10.

SysprepError.png

Sysprep has an additional provider in Windows 8 and 10 to clean Microsoft Store Appx packages and generalize the image. This provider will fail if an all-user package is updated for one of the users on this reference computer, which Windows will do automatically if it is connected to the internet long enough. To minimize the the chances of this happening on the reference system, keep it disconnected from the internet as much as possible.

The error message you'll see in %WINDIR%\System32\Sysprep\Panther\setupact.log, and more importantly in setuperr.log, when sysprep fails under these circumstances is that "an app was installed for a user, but not provisioned for all users".

<Date> <Time>, Error SYSPRP Package <PackageFullName> was installed for a user, but not provisioned for all users. This package will not function properly in the sysprep image.
<Date> <Time>, Error SYSPRP Failed to remove apps for the current user: 0x80073cf2.
<Date> <Time>, Error SYSPRP Exit code of RemoveAllApps thread was 0x3cf2.
<Date> <Time>, Error [0x0f0082] SYSPRP ActionPlatform::LaunchModule: Failure occurred while executing 'SysprepGeneralize' from C:\Windows\System32\AppxSysprep.dll; dwRet = 0x3cf2
<Date> <Time>, Error SYSPRP ActionPlatform::ExecuteAction: Error in executing action; dwRet = 0x3cf2
<Date> <Time>, Error SYSPRP ActionPlatform::ExecuteActionList: Error in execute actions; dwRet = 0x3cf2
<Date> <Time>, Error SYSPRP SysprepSession::Execute: Error in executing actions from C:\Windows\System32\Sysprep\ActionFiles\Generalize.xml; dwRet = 0x3cf2
<Date> <Time>, Error SYSPRP RunPlatformActions:Failed while executing SysprepSession actions; dwRet = 0x3cf2
<Date> <Time>, Error [0x0f0070] SYSPRP RunExternalDlls:An error occurred while running registry sysprep DLLs, halting sysprep execution. dwRet = 0x3cf2
<Date> <Time>, Error [0x0f00a8] SYSPRP WinMain:Hit failure while processing sysprep generalize internal providers; hr = 0x80073cf2

Follow the steps below to remove the offending apps causing sysprep to fail before sysprepping again.

  1. Check %WINDIR%\System32\Sysprep\Panther\setuperr.log for errors like the ones above and note the "<PackageFullName>" of the app, e.g. "9E2F88E3.Twitter_5.4.1.0_x86_wgeqdkkx372wm".

  2. Launch a PowerShell session with admin privileges and run the following command to remove the Microsoft Store Appx app in question, where "<PackageName>" is "Twitter" in this example.

    Remove-AppxPackage *<PackageName>*
  3. If sysprep continues to fail because of the same app, it means the app is installed for another user on the system. Log into this other user account and repeat step 2 to remove the app for that user.

  4. Sysprep again.

  5. Repeat steps 1-4 until sysprep is successful.

Windows Imaging in FileWave 15.5+: Secure NFS Tunneling and Fallback Options

What

In FileWave version 15.5.0, significant changes have been made to the Windows Imaging process using the Imaging Virtual Server (IVS). Previously, when imaging or capturing a Windows system, the device would mount NFS (Network File System) volumes directly over TCP/UDP port 2049. Starting with FileWave 15.5, the imaging process has been enhanced for security and reliability by establishing a VPN tunnel over TCP/UDP port 20490. Over this secure VPN tunnel, the system accesses the NFS mounts, providing a more secure and efficient imaging environment.

However, if issues arise with the new VPN tunneling method, there is a fallback mechanism that allows you to revert to the previous method of direct NFS mounting over port 2049. This ensures that imaging tasks can continue without interruption, even if the VPN tunnel encounters problems in certain network environments.

When/Why

When to Use

Why This Change Matters

How

Switching to the Fallback Mechanism: Direct NFS Mounting over Port 2049

If you encounter issues with the default VPN tunneling method during Windows imaging, you can switch back to the previous method of direct NFS mounting. Follow these steps on the Debian IVS server:

Create the Fallback Flag File

Open a terminal on the IVS server and create a flag file to signal that secure tunneling should be disabled:

sudo touch /etc/fw_insecure_nfs_mount

This file tells the system to use direct NFS mounting instead of the VPN tunnel.

Update UFW Firewall Rules

Allow traffic on port 2049, which is used by NFS:

sudo ufw allow 2049/tcp
sudo ufw allow 2049/udp

This updates the firewall to permit NFS communication over port 2049.

Restart Network Services

To apply the changes, restart all network-related services. The simplest method is to reboot the IVS server:

sudo reboot

Note: Rebooting ensures all services are restarted properly and the new settings take effect.

Reverting Back to Secure VPN Tunneling

Once any issues with VPN tunneling are resolved, you can switch back to the default secure method:

Remove the Fallback Flag File

Delete the flag file to re-enable secure tunneling:

sudo rm /etc/fw_insecure_nfs_mount
Remove UFW Firewall Rules for Port 2049

Close the ports that were opened for direct NFS access:

sudo ufw delete allow 2049/tcp
sudo ufw delete allow 2049/udp

This ensures that NFS traffic cannot bypass the VPN tunnel, maintaining a secure configuration.

Restart the IVS Server

Reboot the IVS server to apply the changes:

sudo reboot

This will restore the VPN tunneling over port 20490 for imaging tasks.

Important Considerations