Account Driven Enrollment for iOS/iPadOS
What
In 2021, Apple introduced a new way of initiating BYOD : Account Driven Enrollment. With iOS 18 / iPadOS 18, profile based User Enrollment is no longer supported ; FileWave 15.5 now supports Account Driven Enrollment (ADE).
When/Why
Apple wants BYOD to be as secure as possible ; with ADE, the complexity to make it secure is now on the Organization shoulders. ADE relies on Well-known URI mechanism for MDM discovery.
How
Enrolling a Device
For iOS/iPadOS devices, supports new BYOD workflow based on Apple Account Driven Enrollment.
-
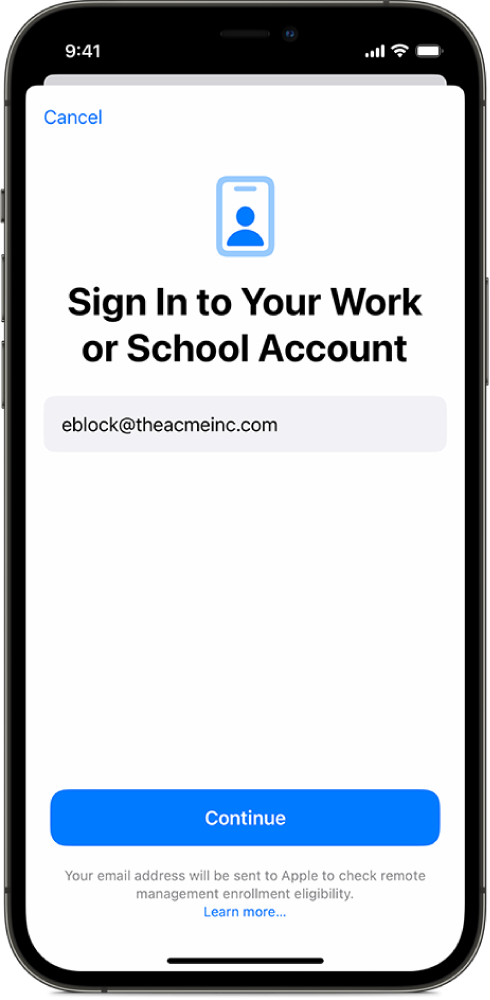
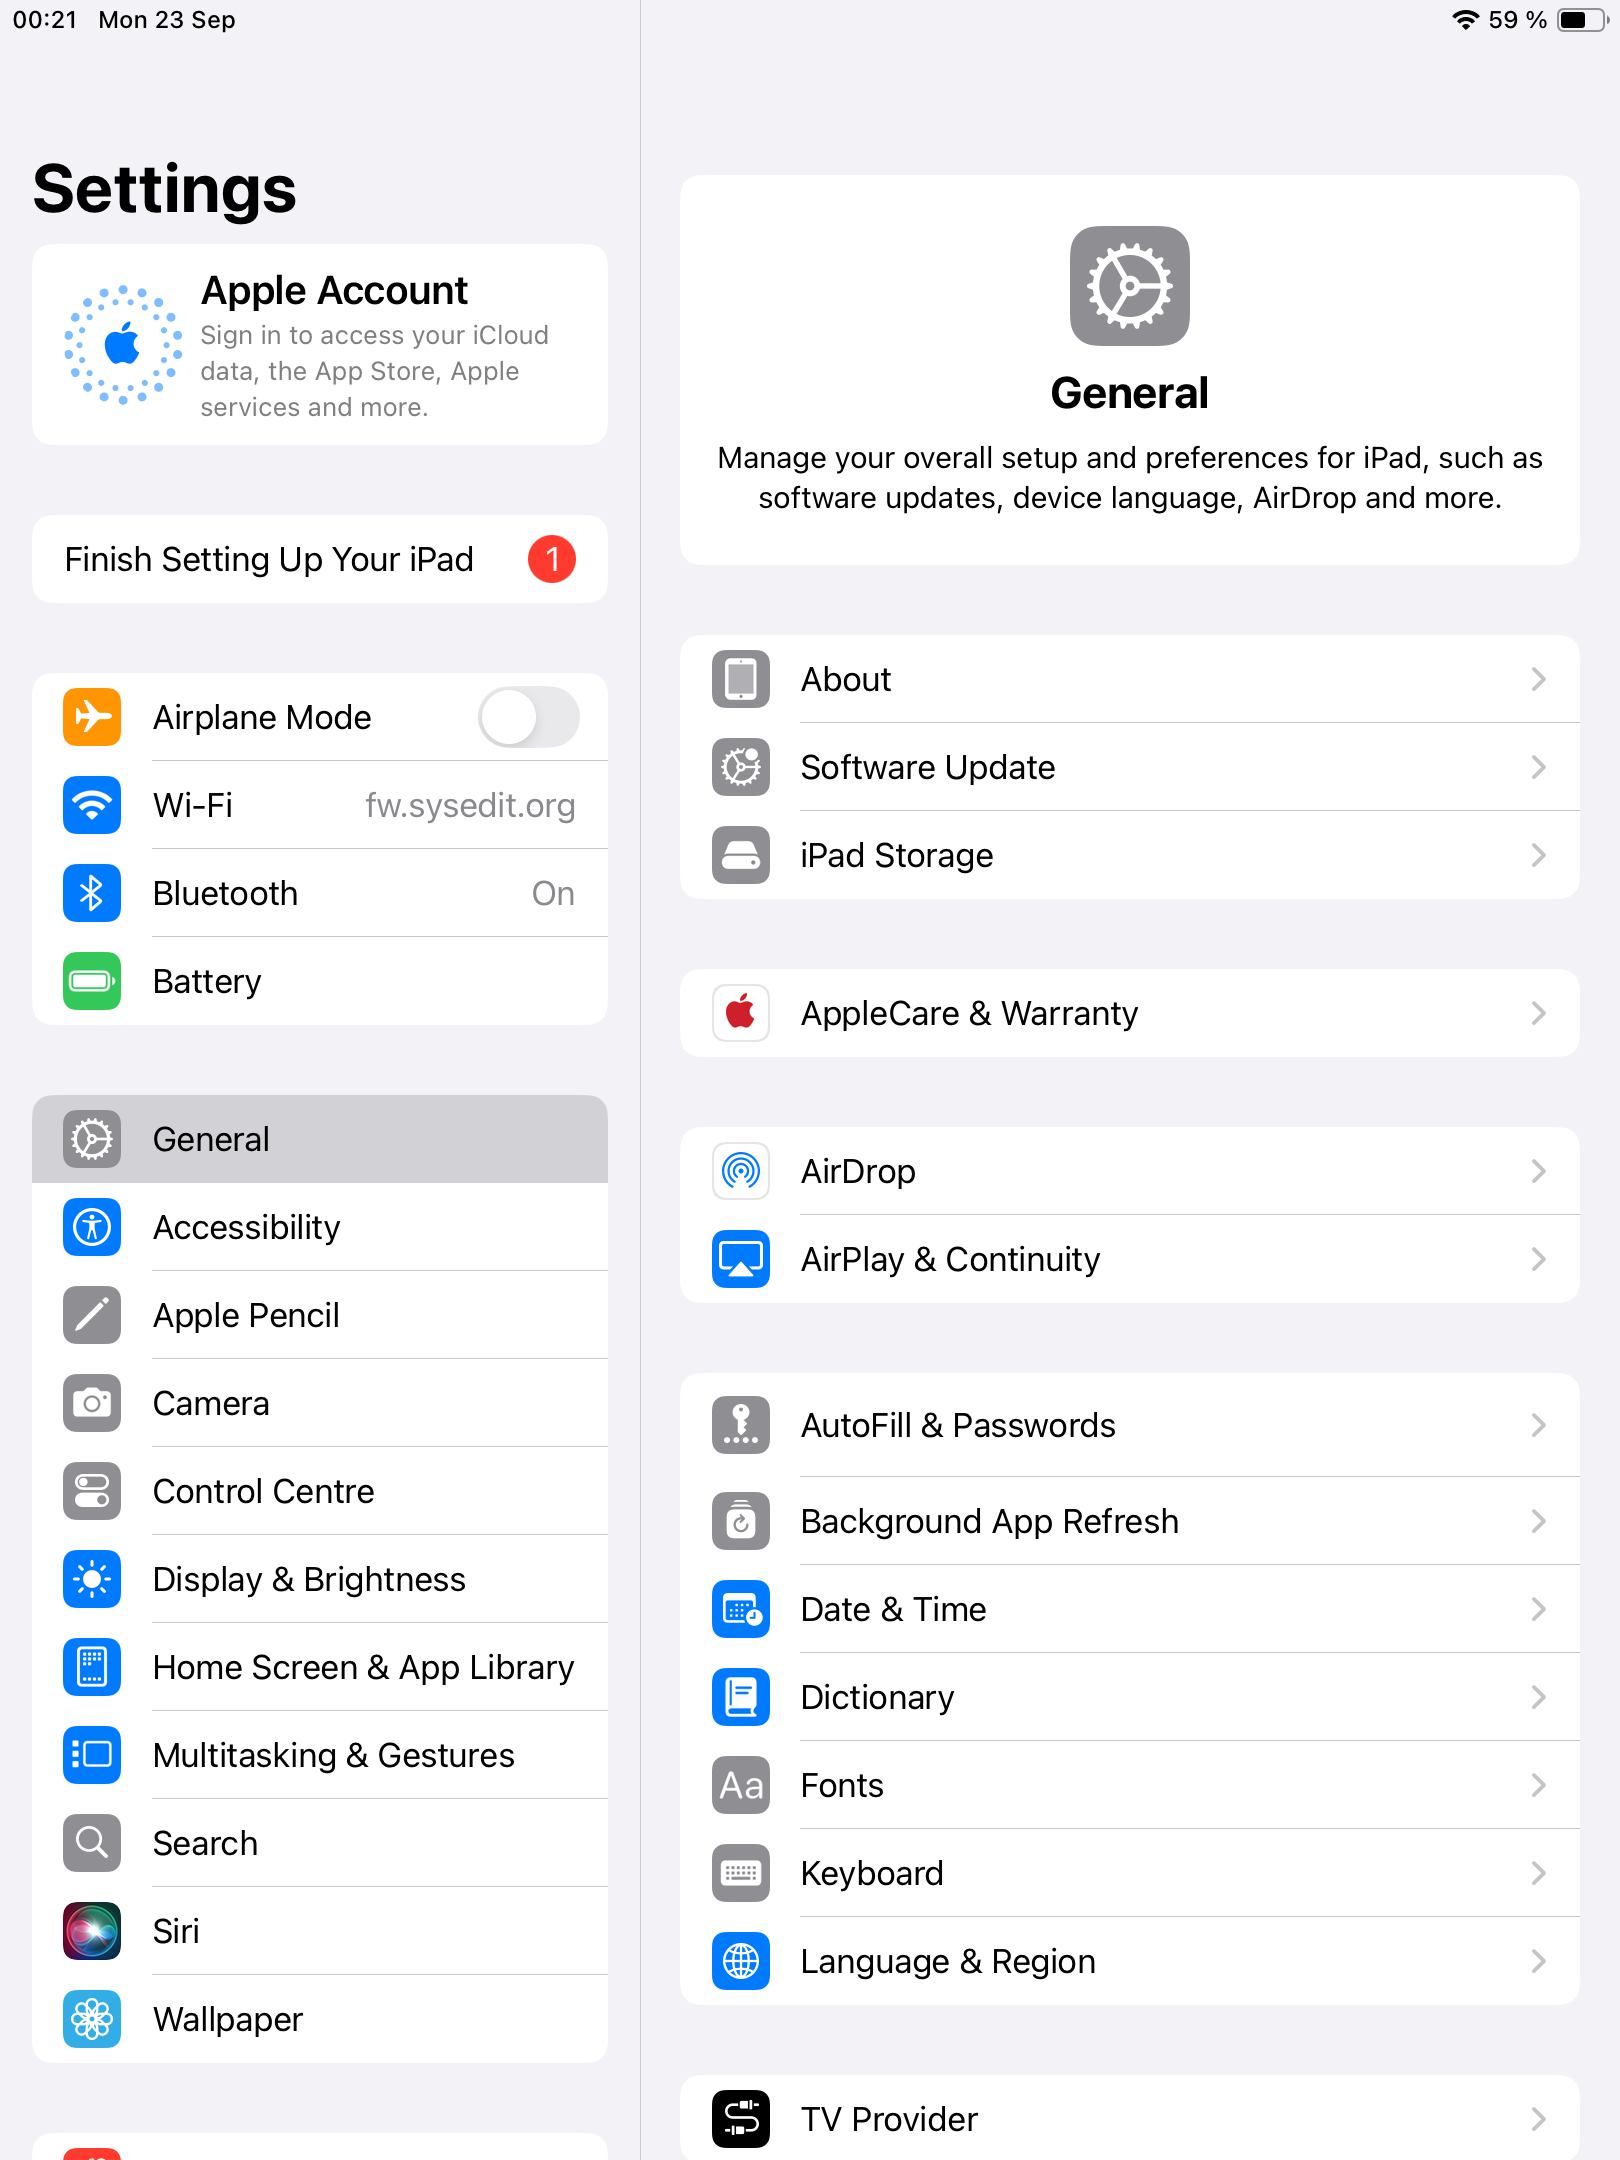
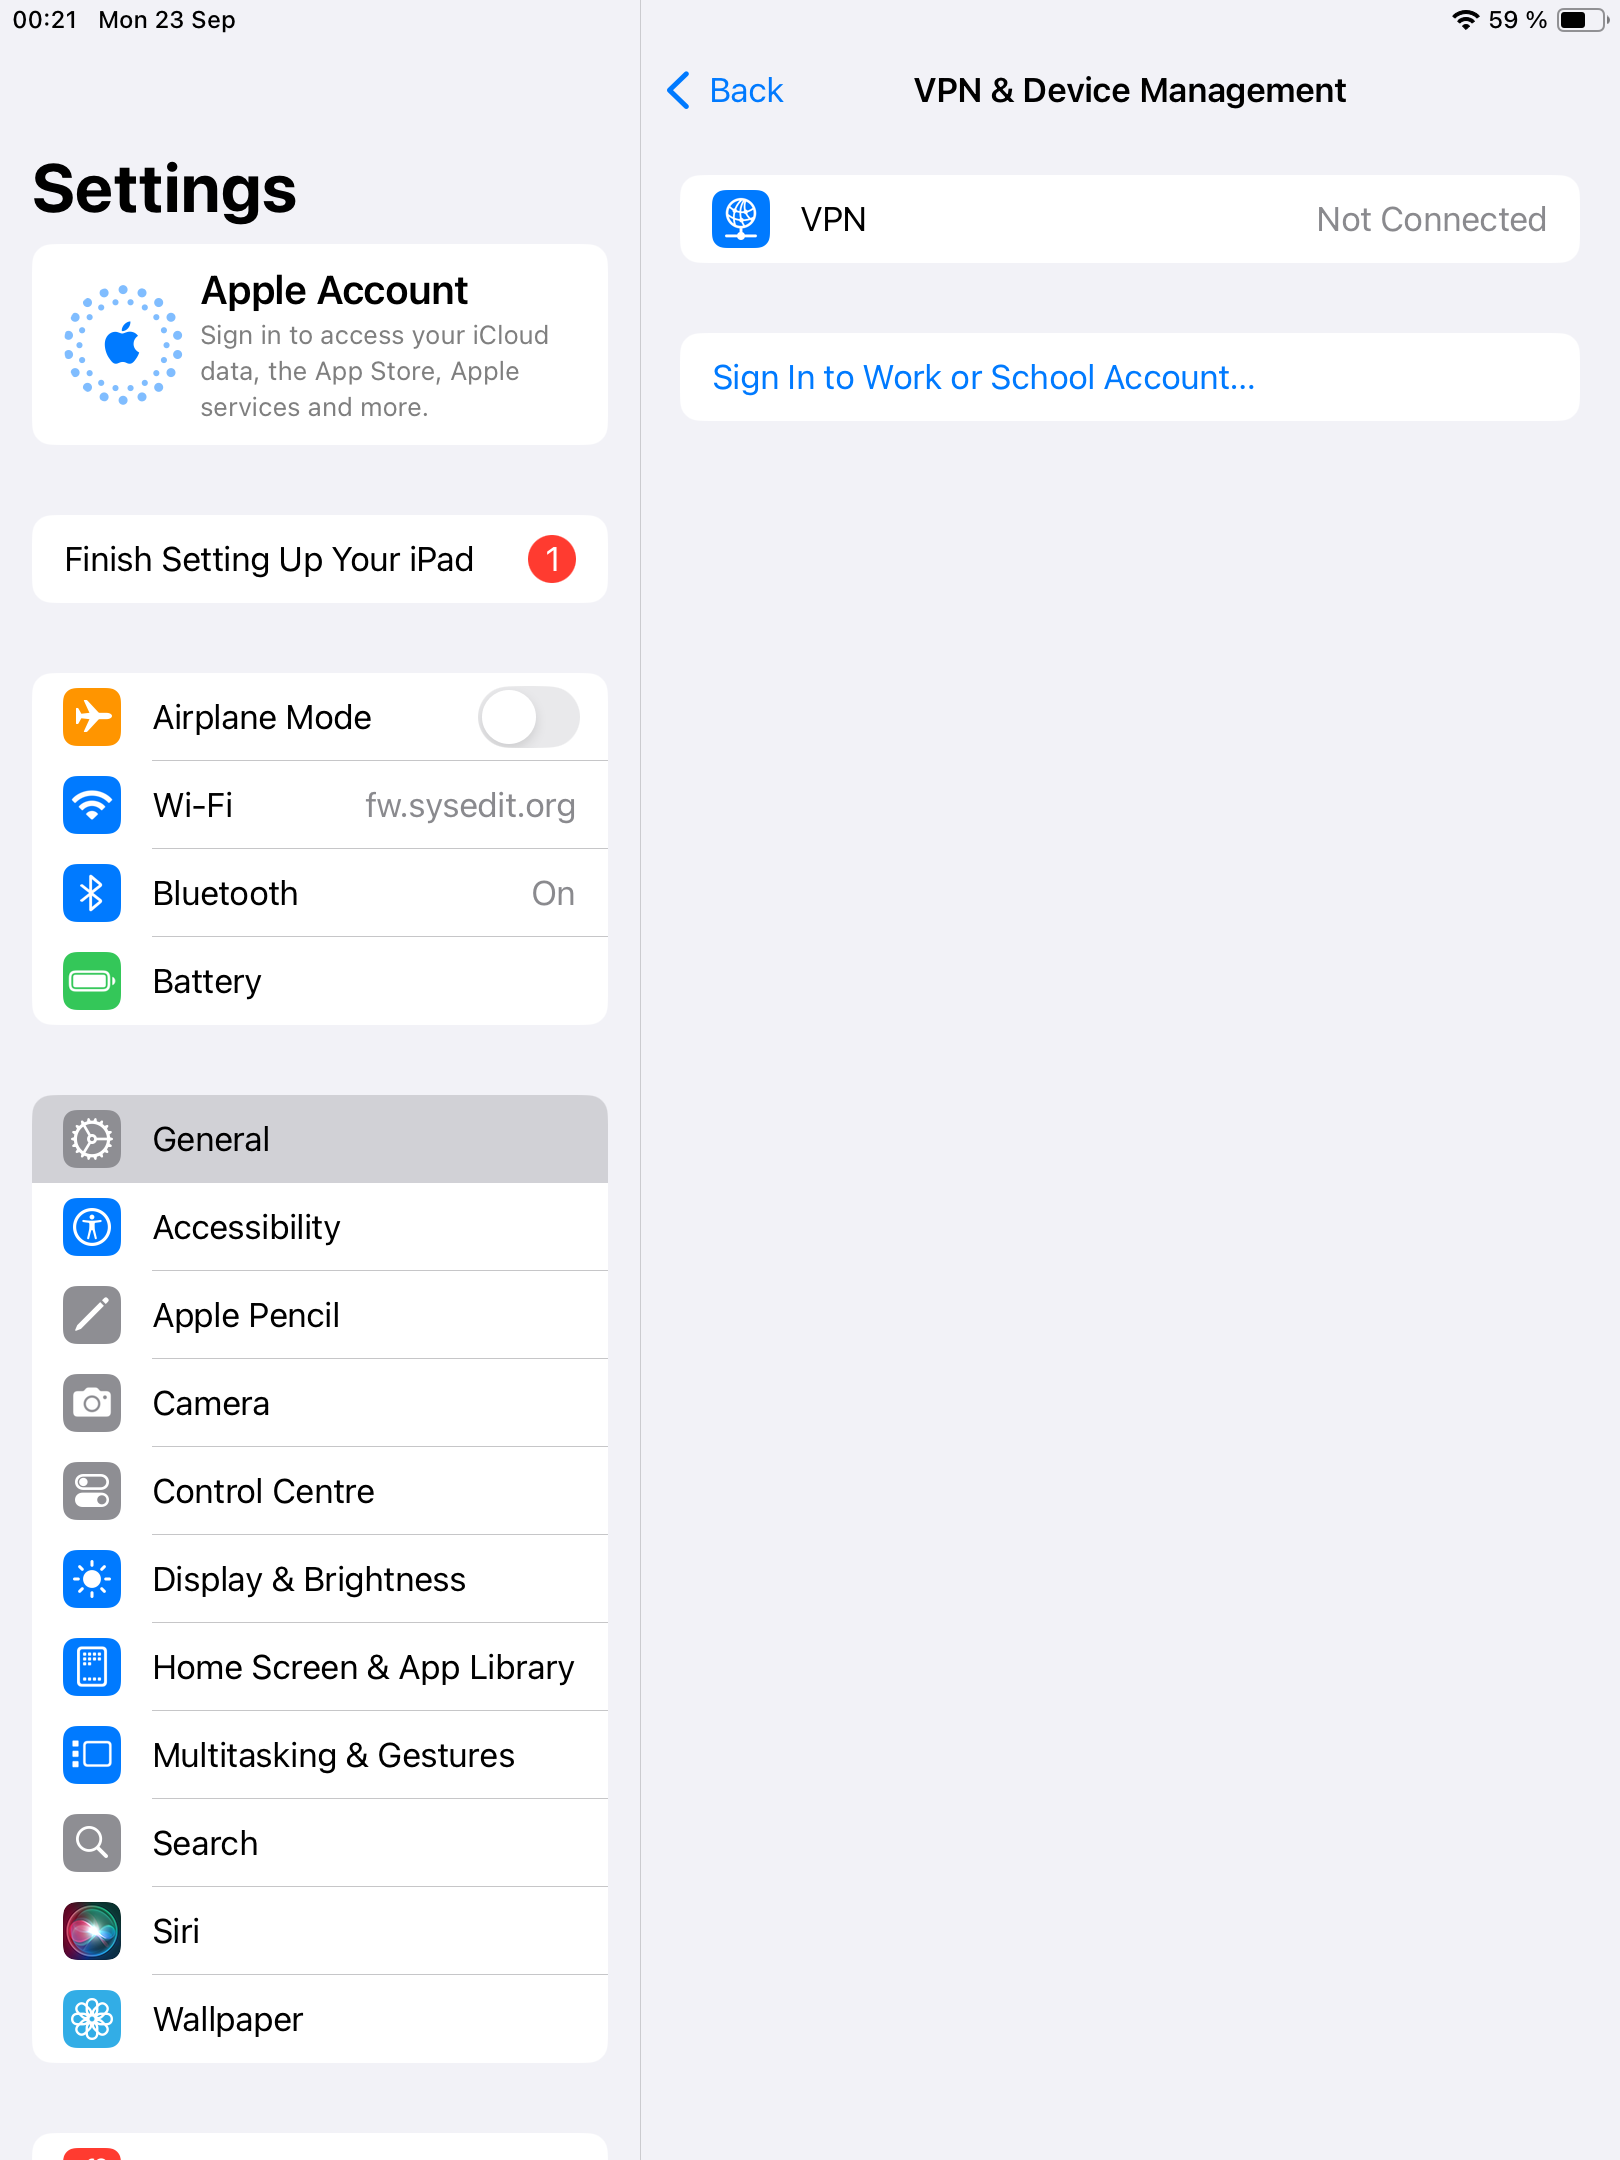
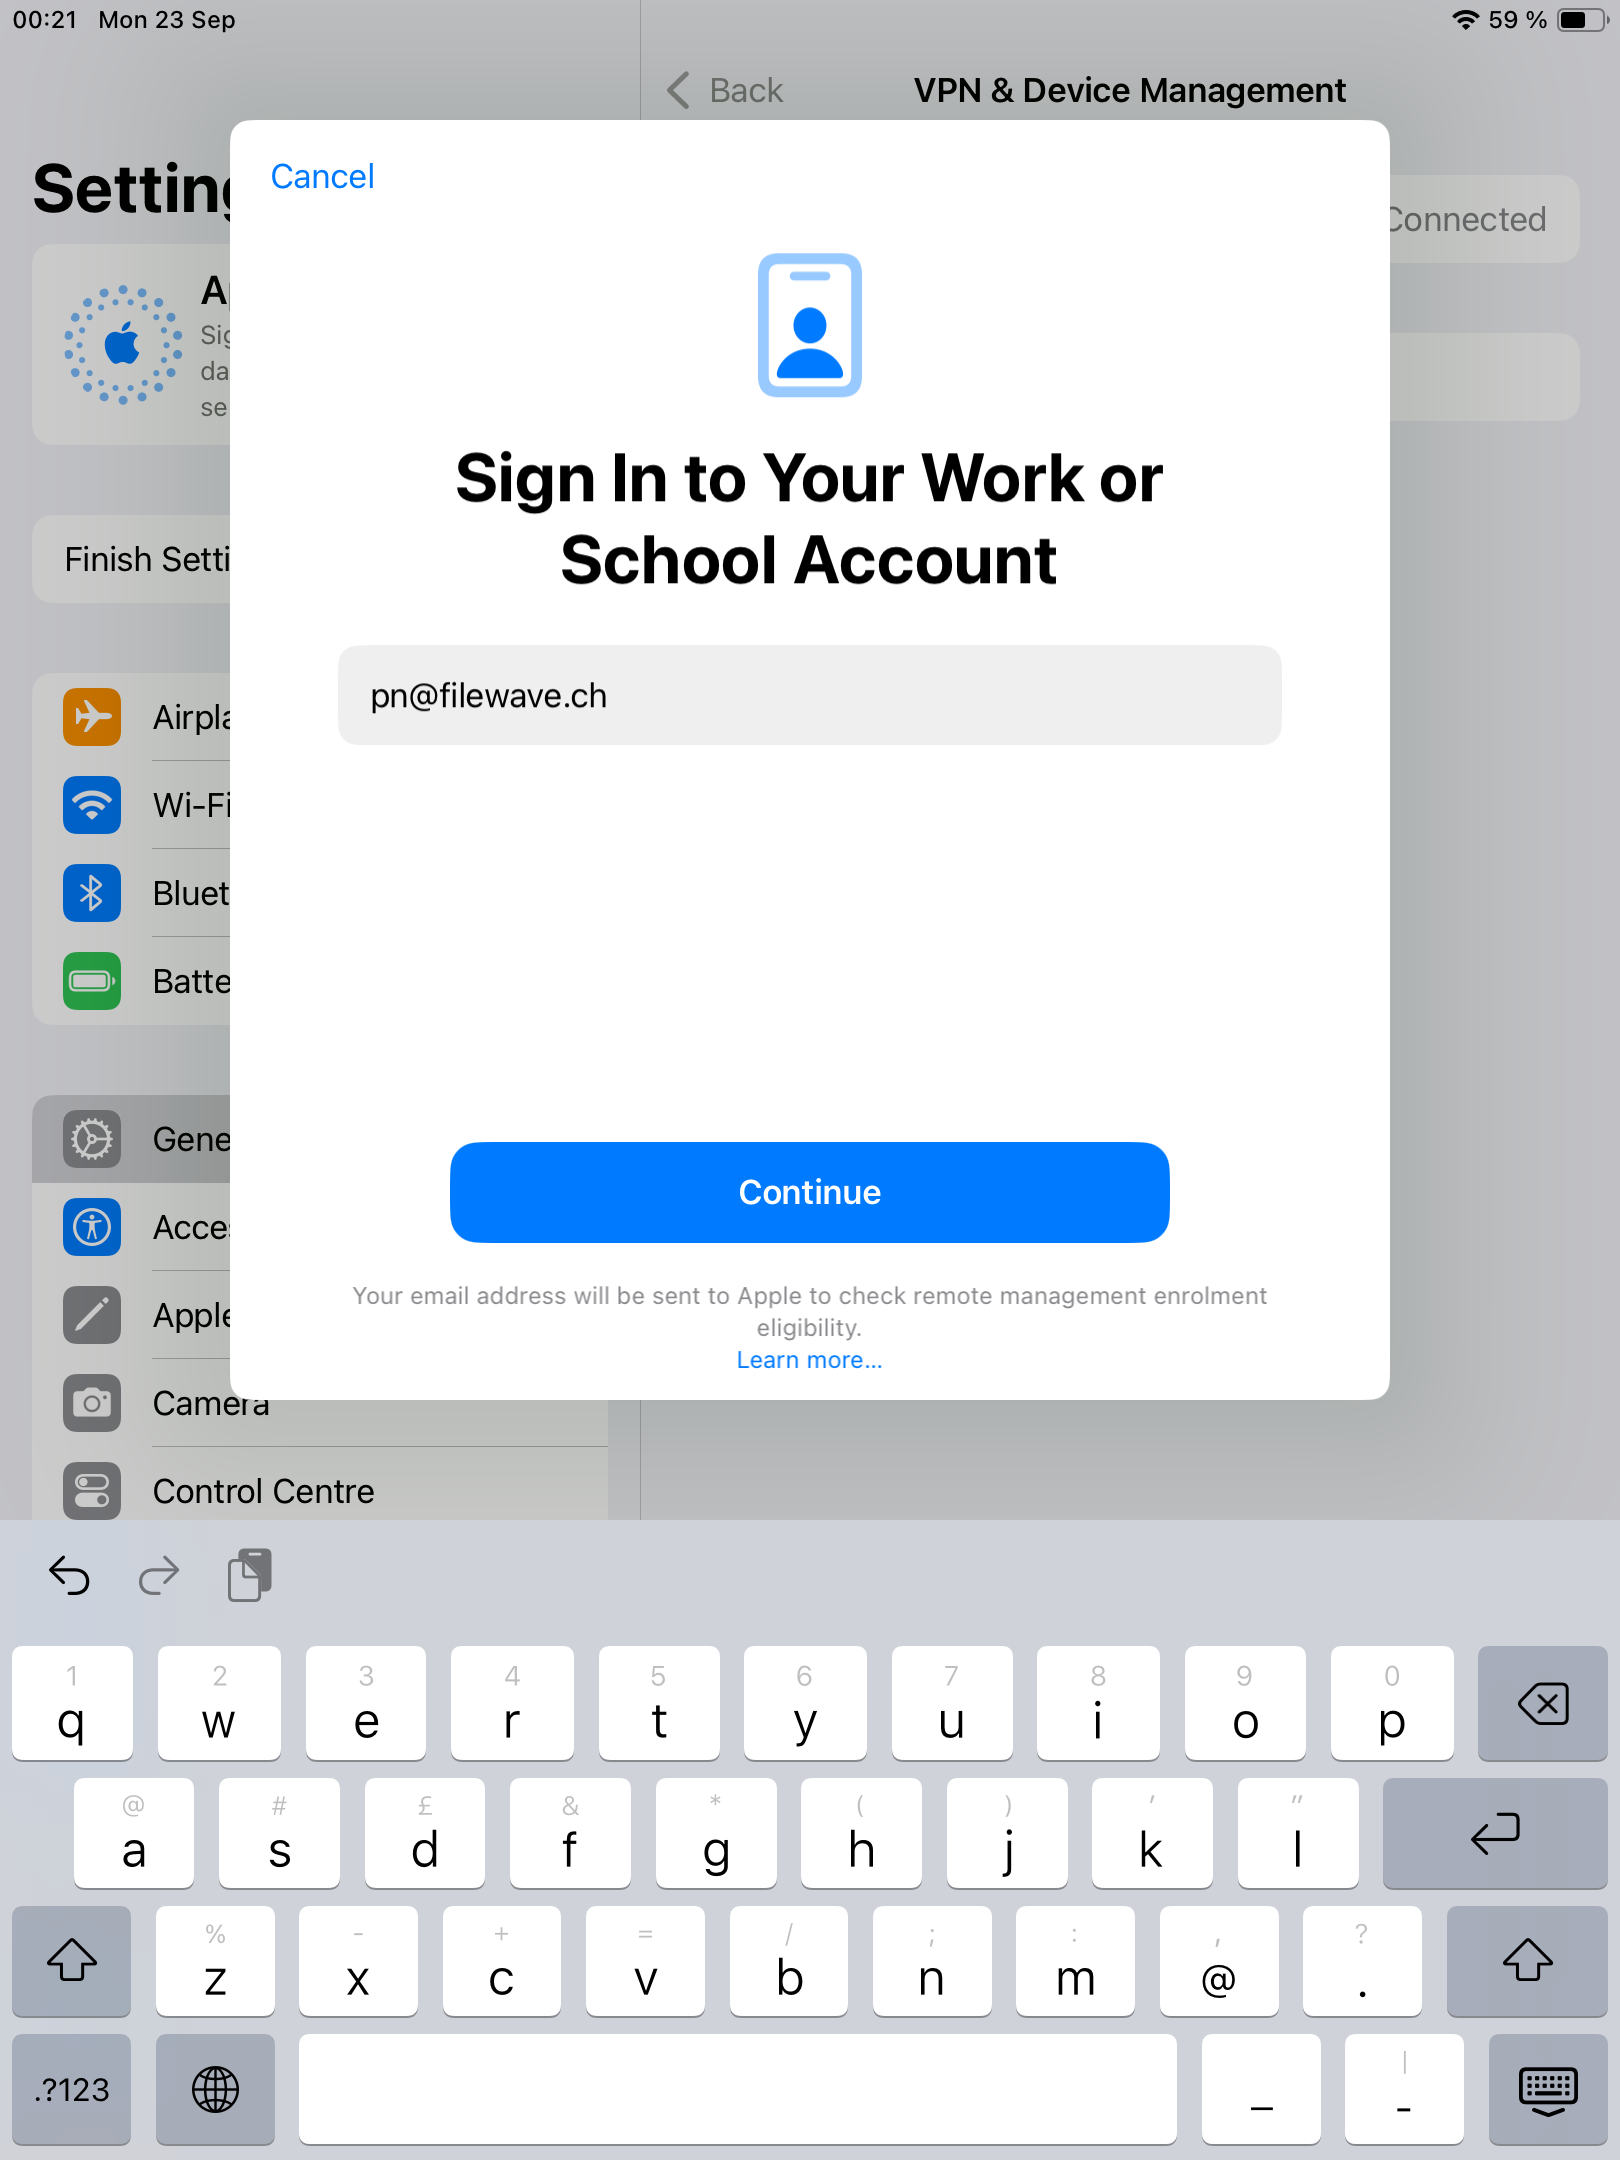
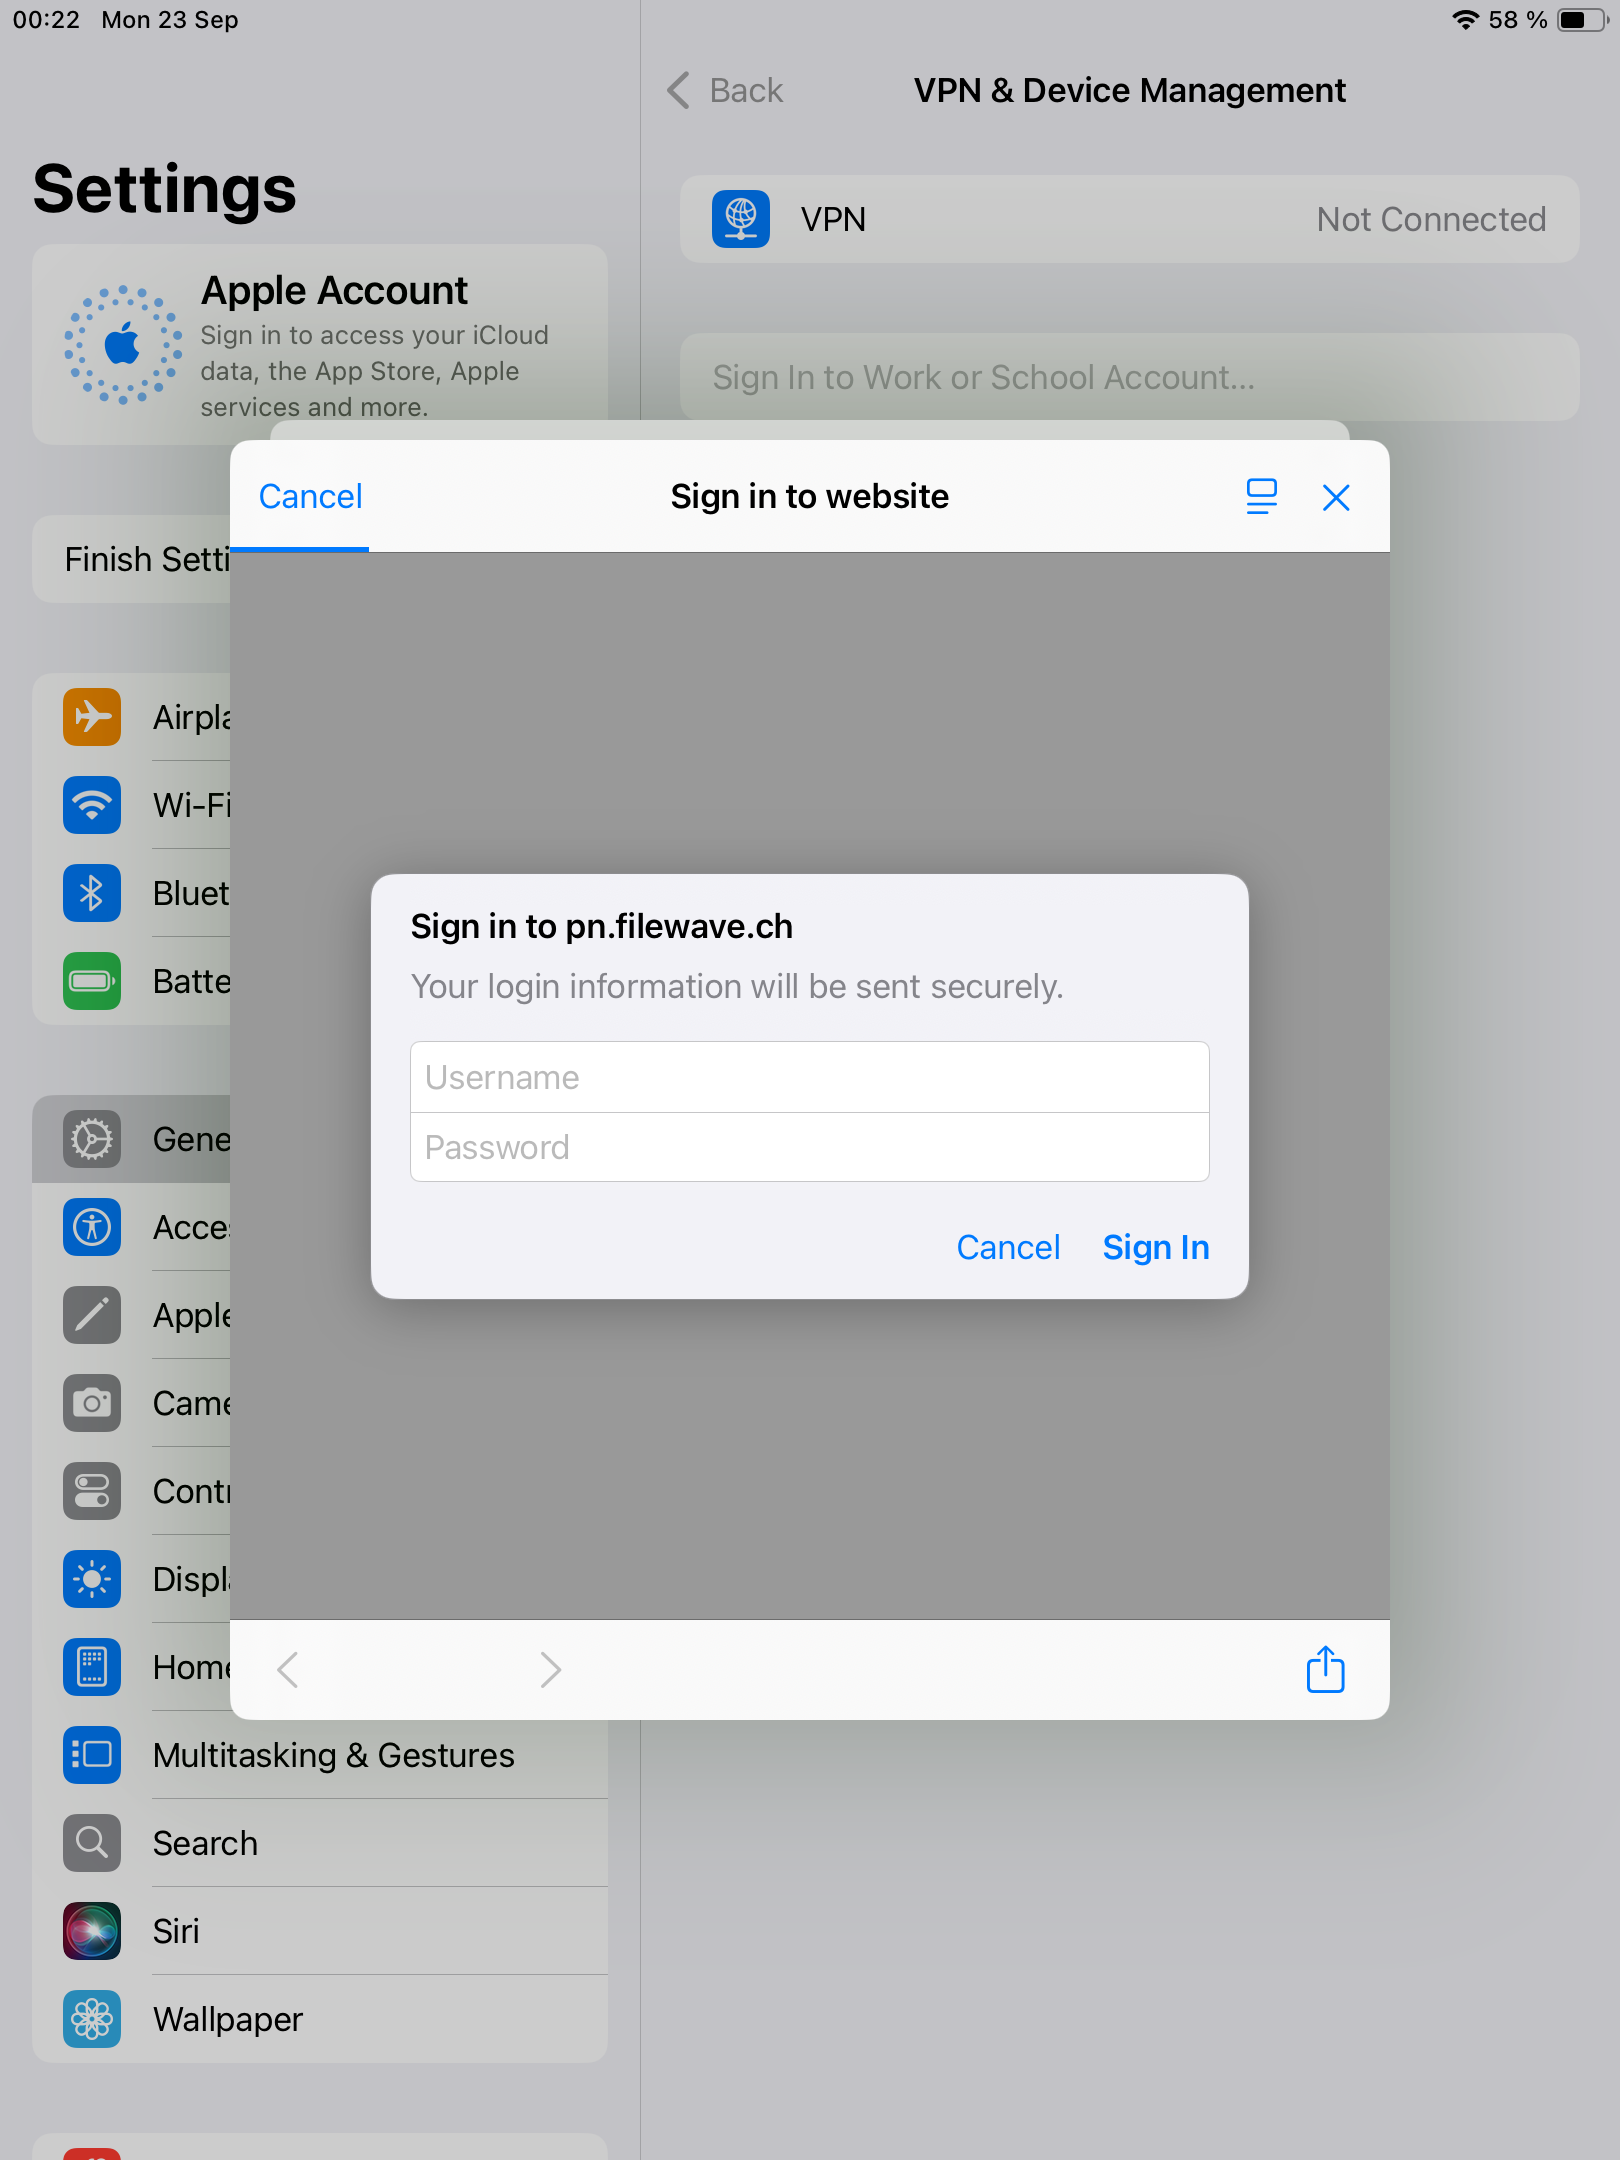
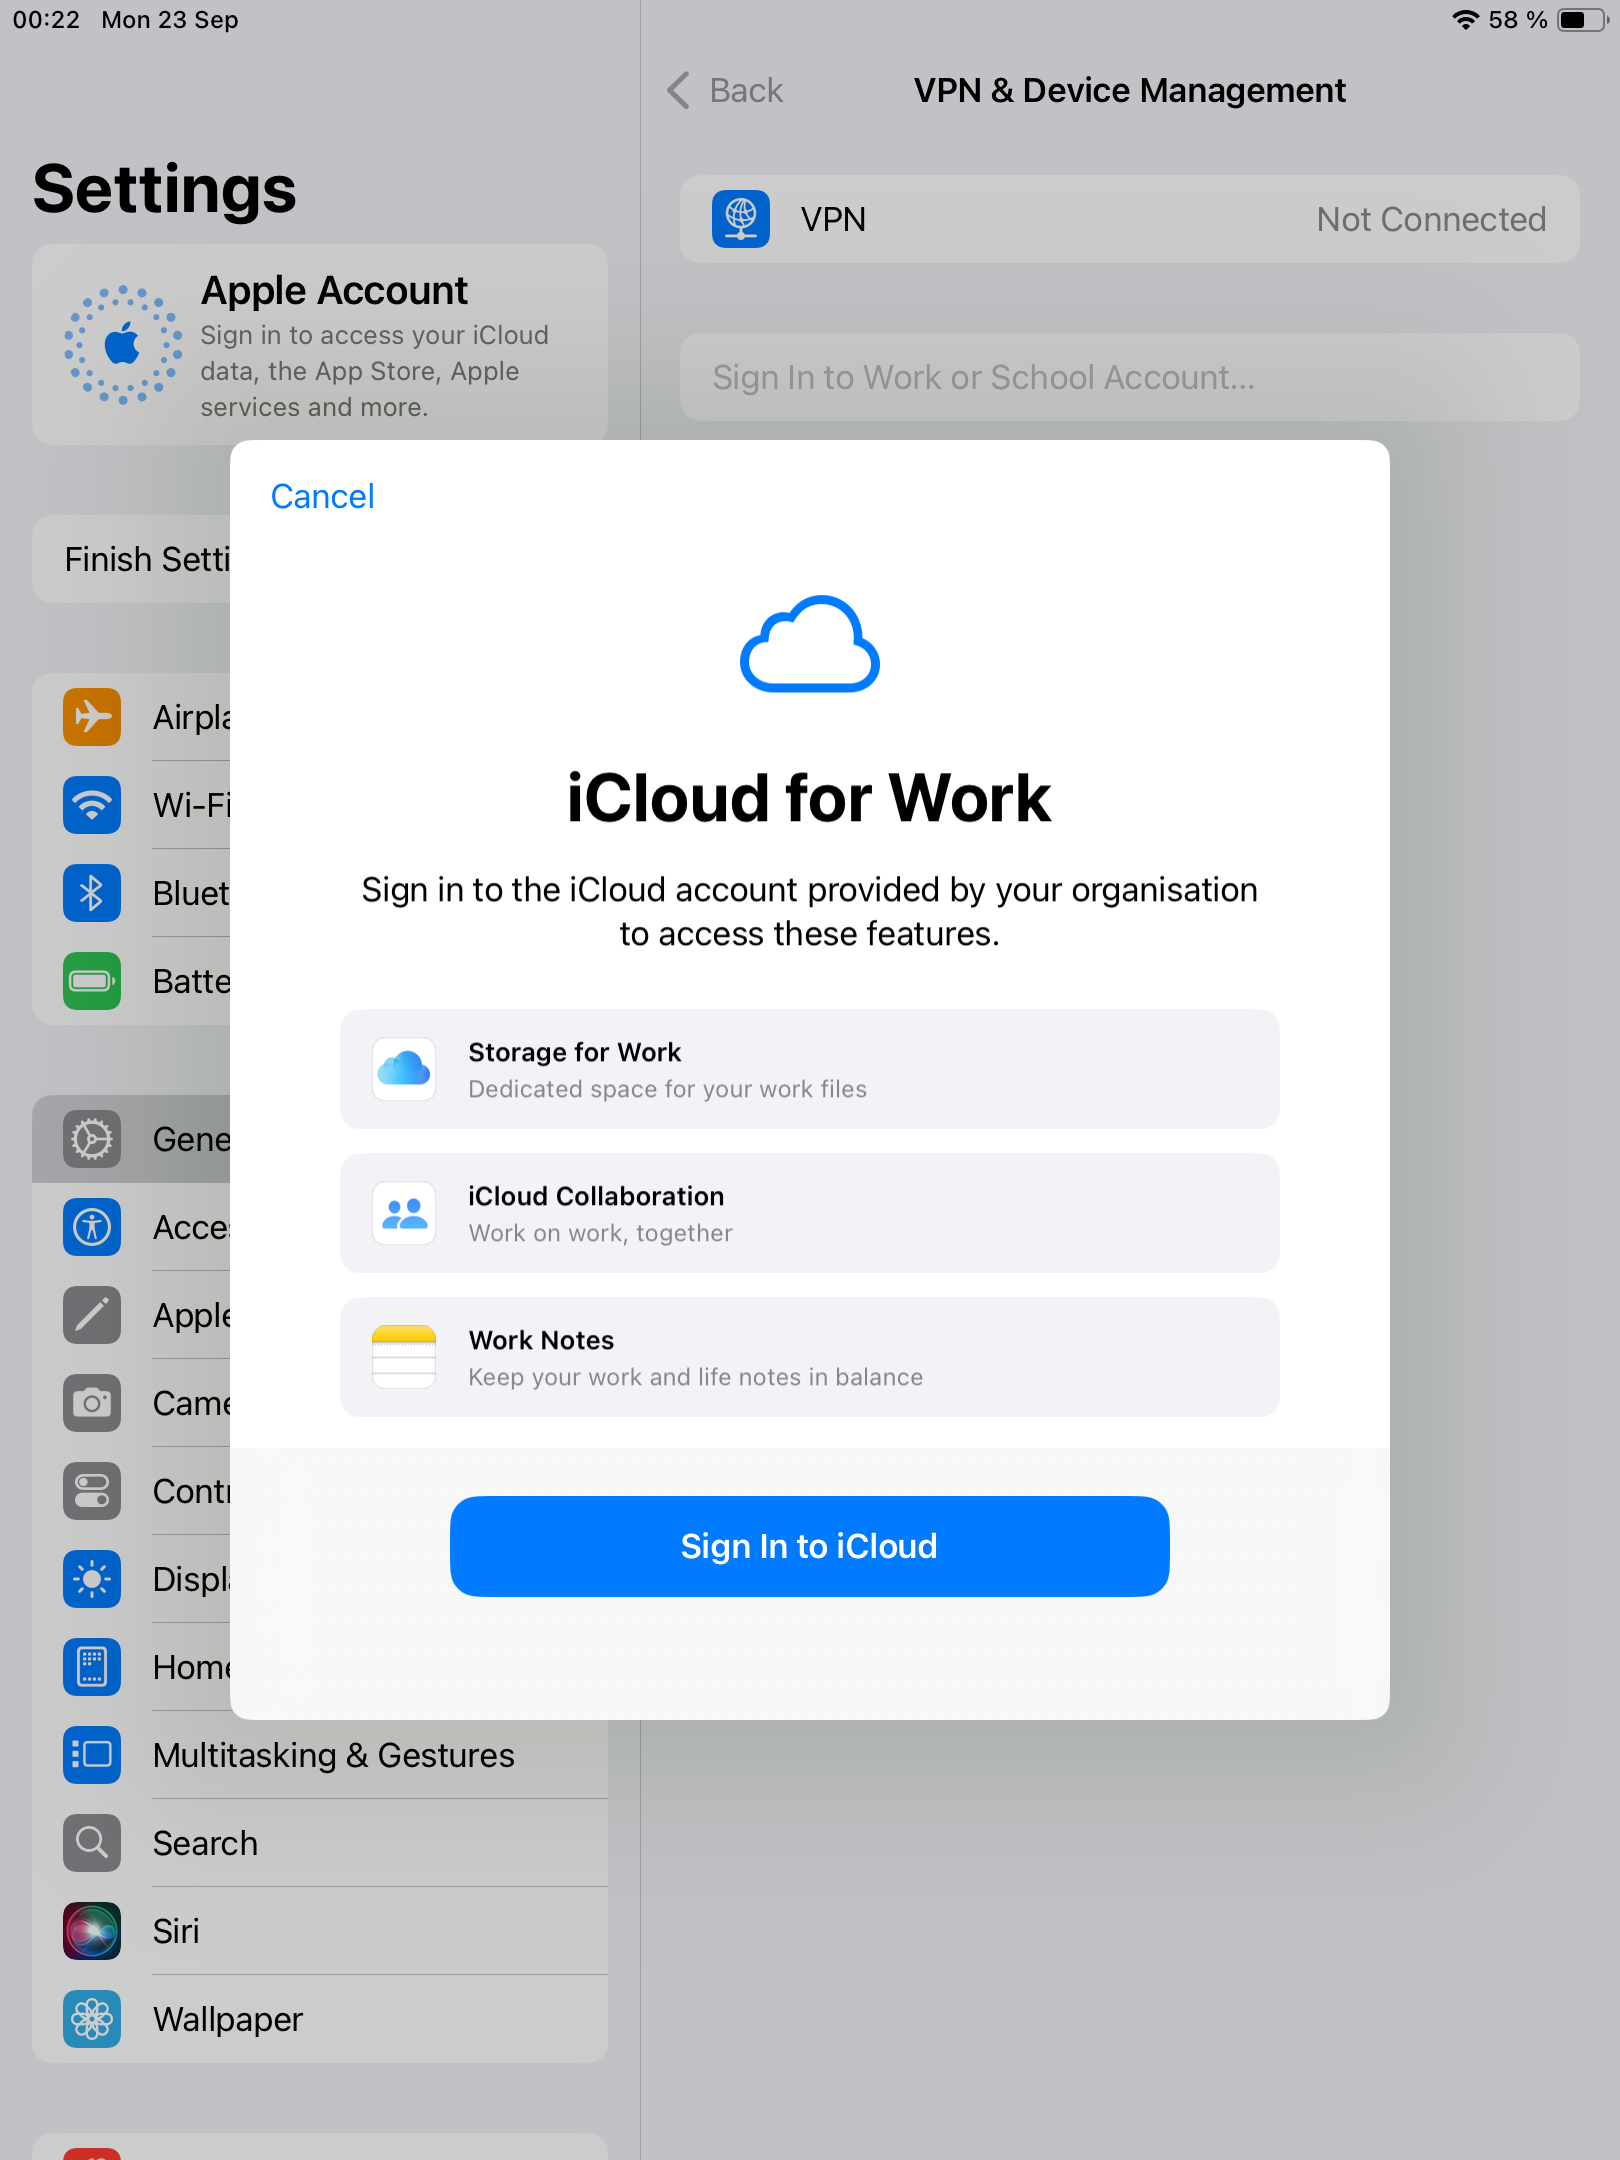
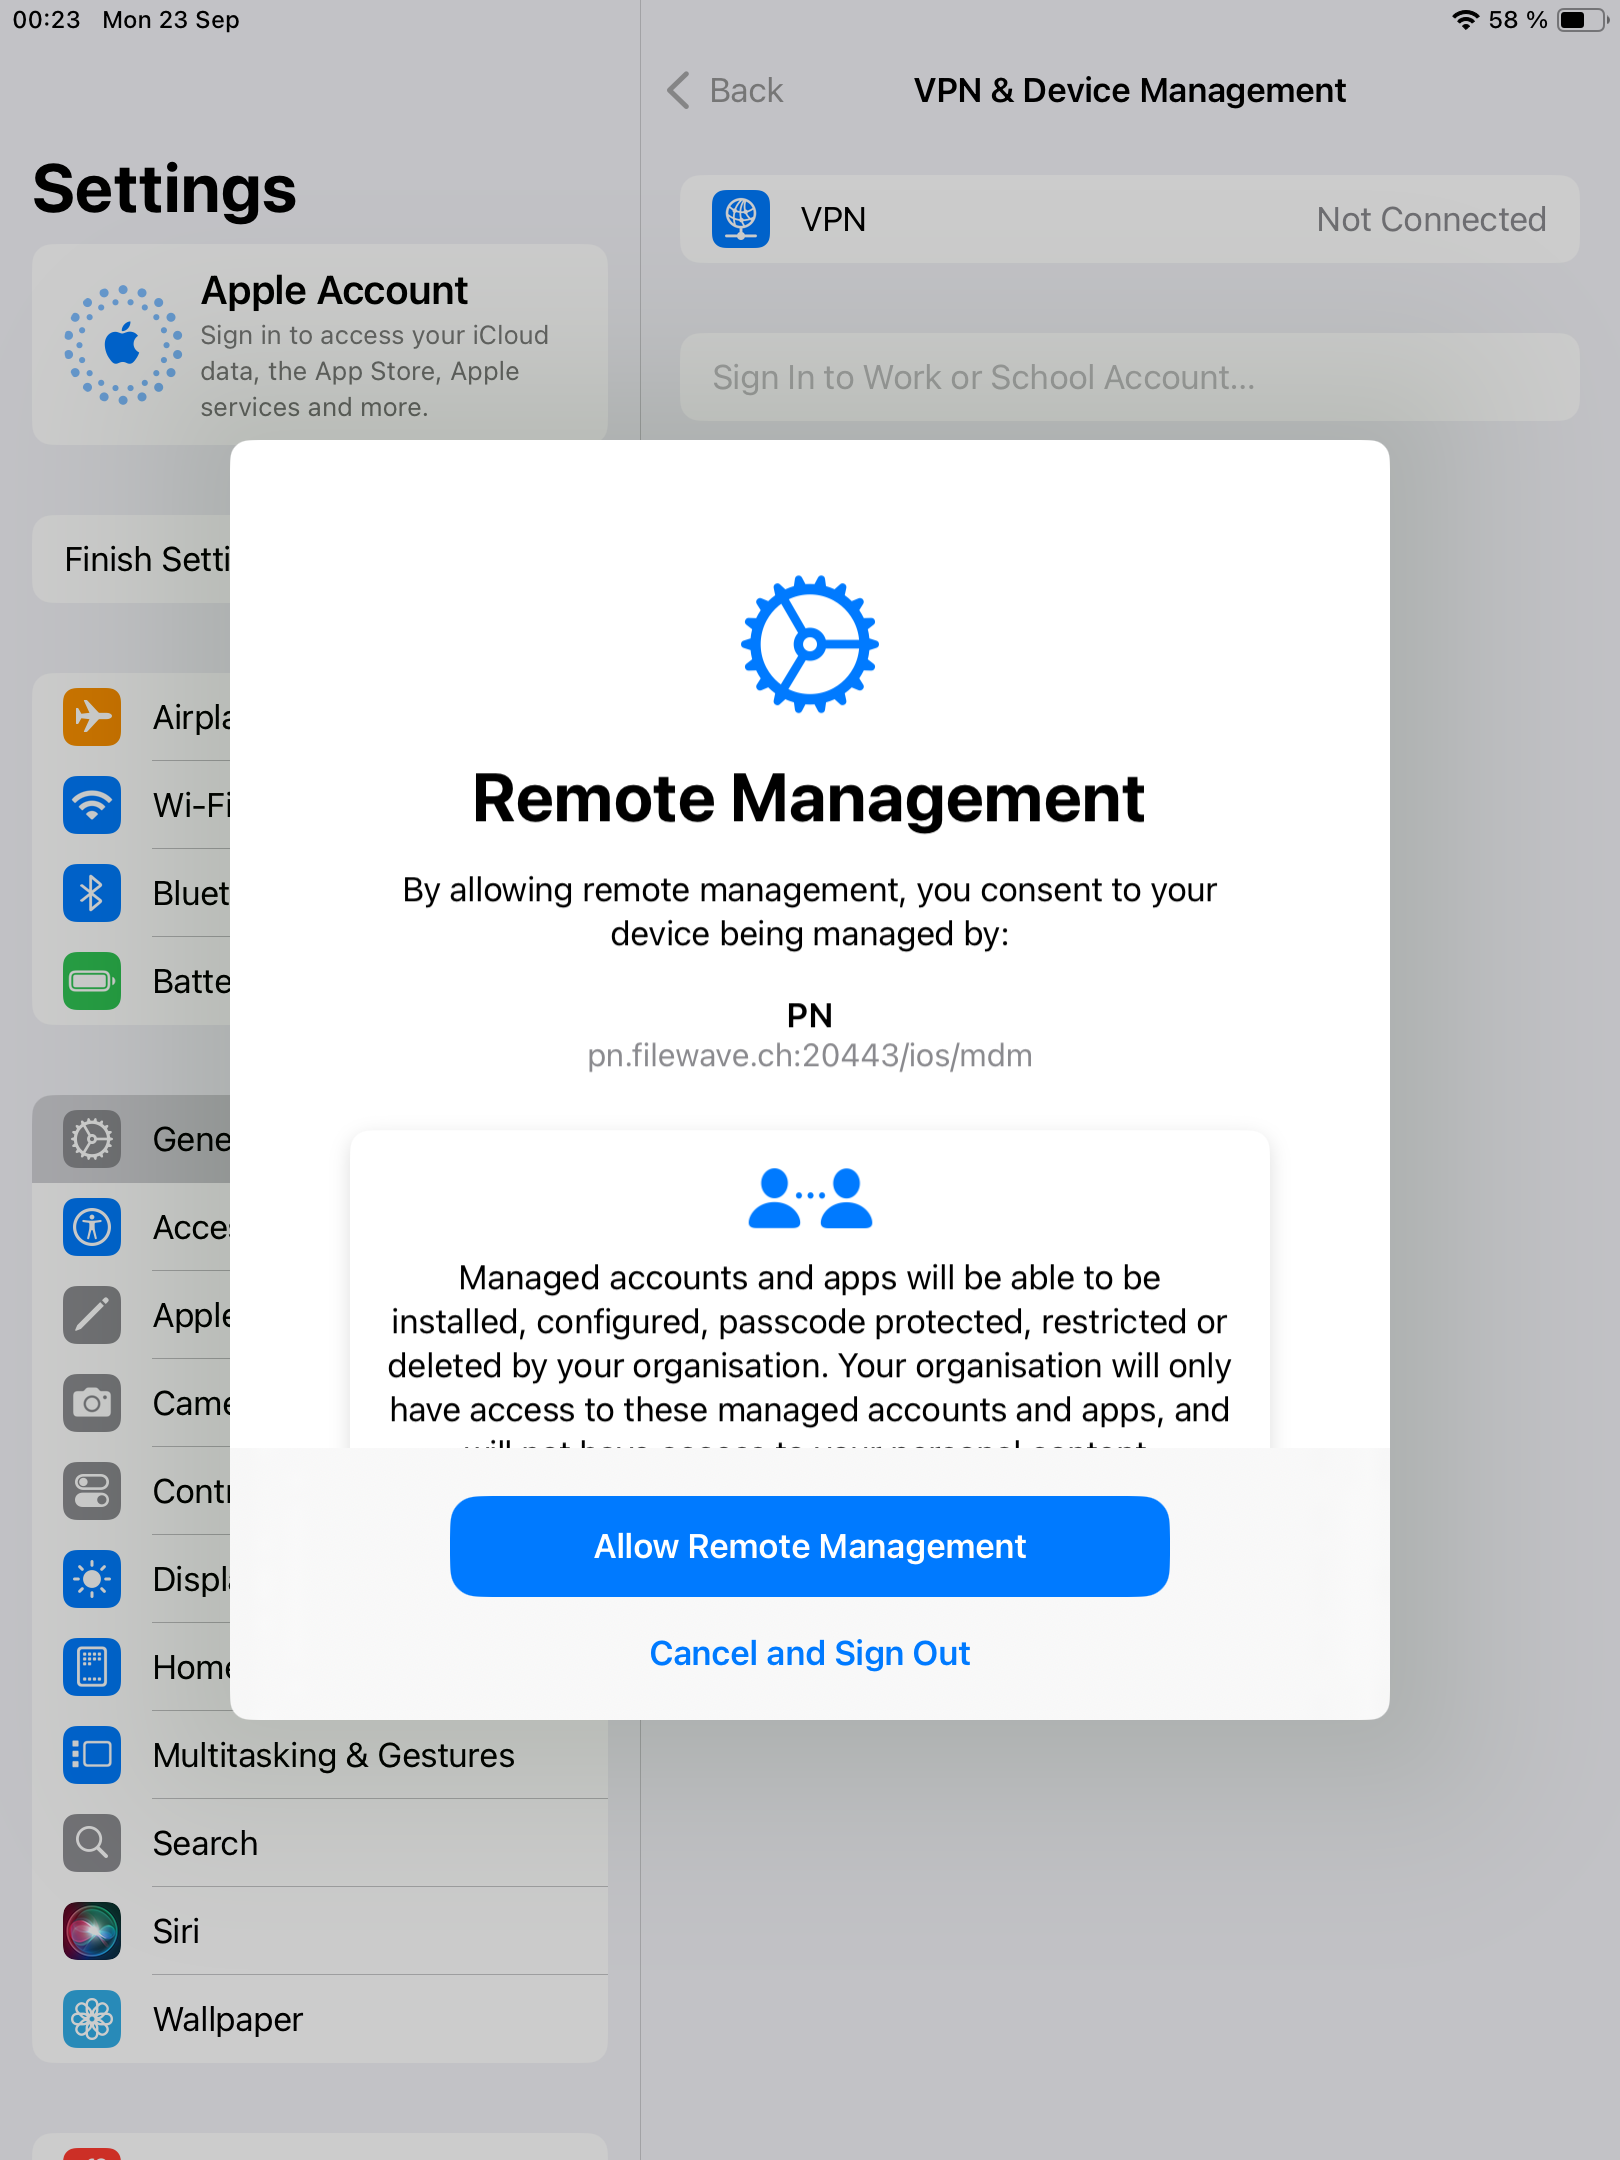
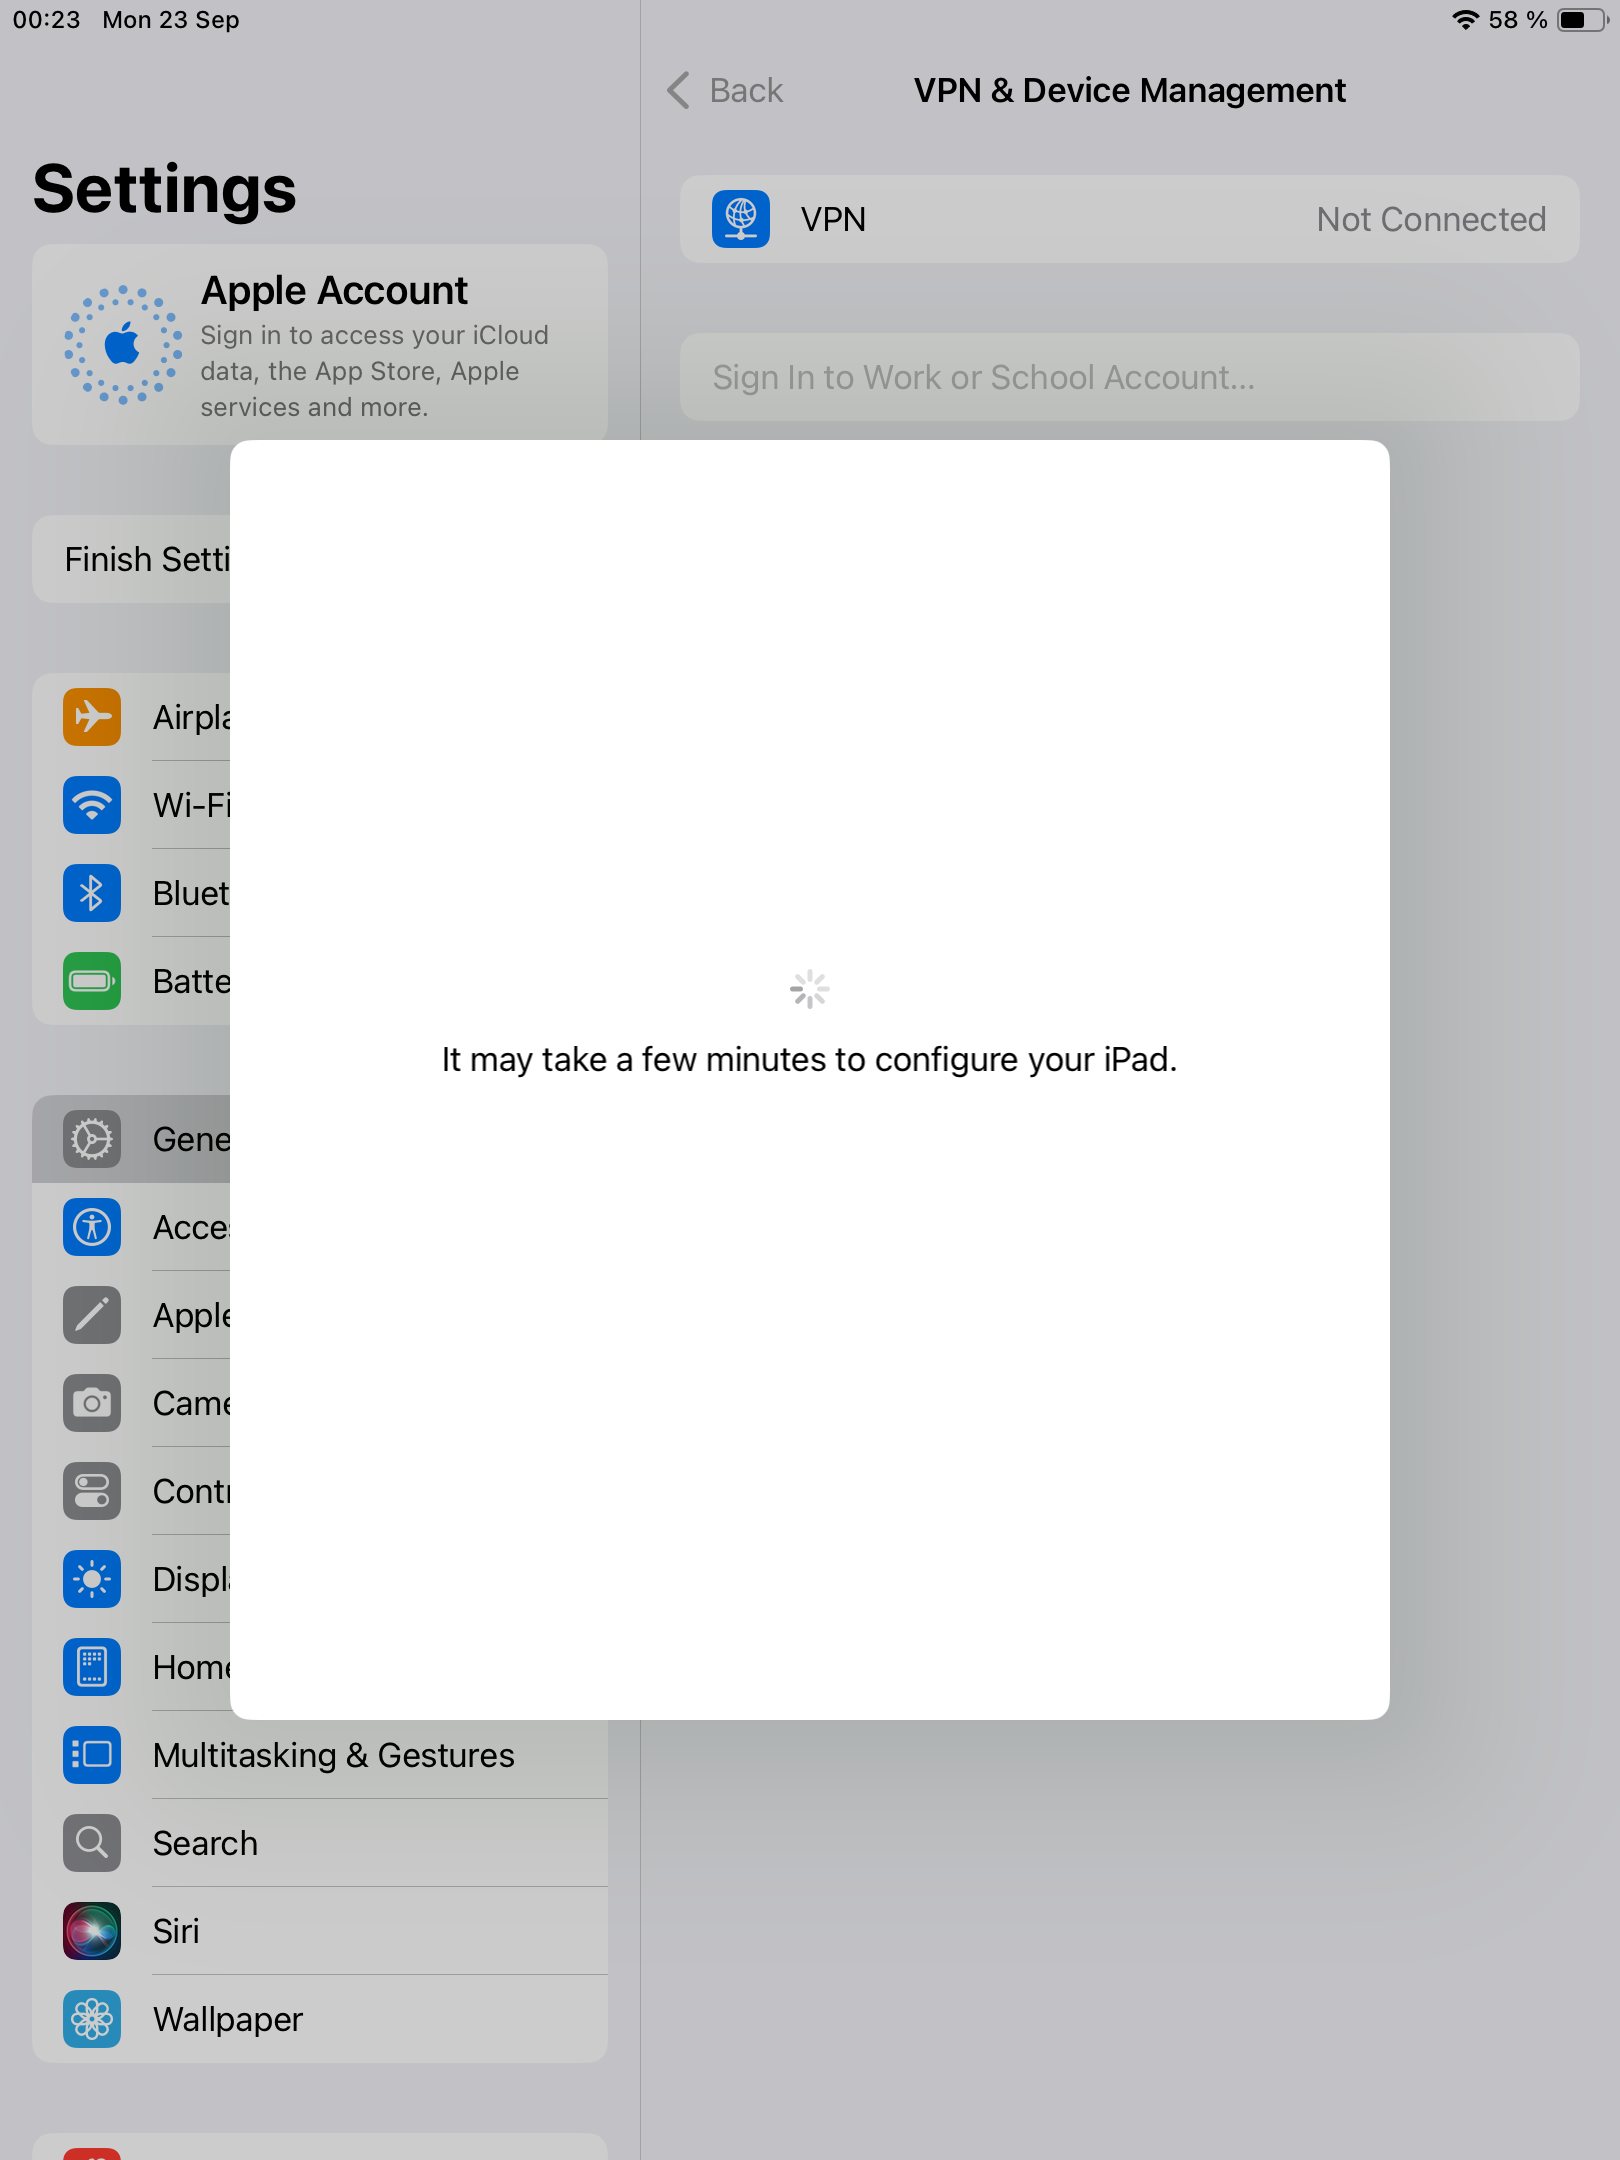
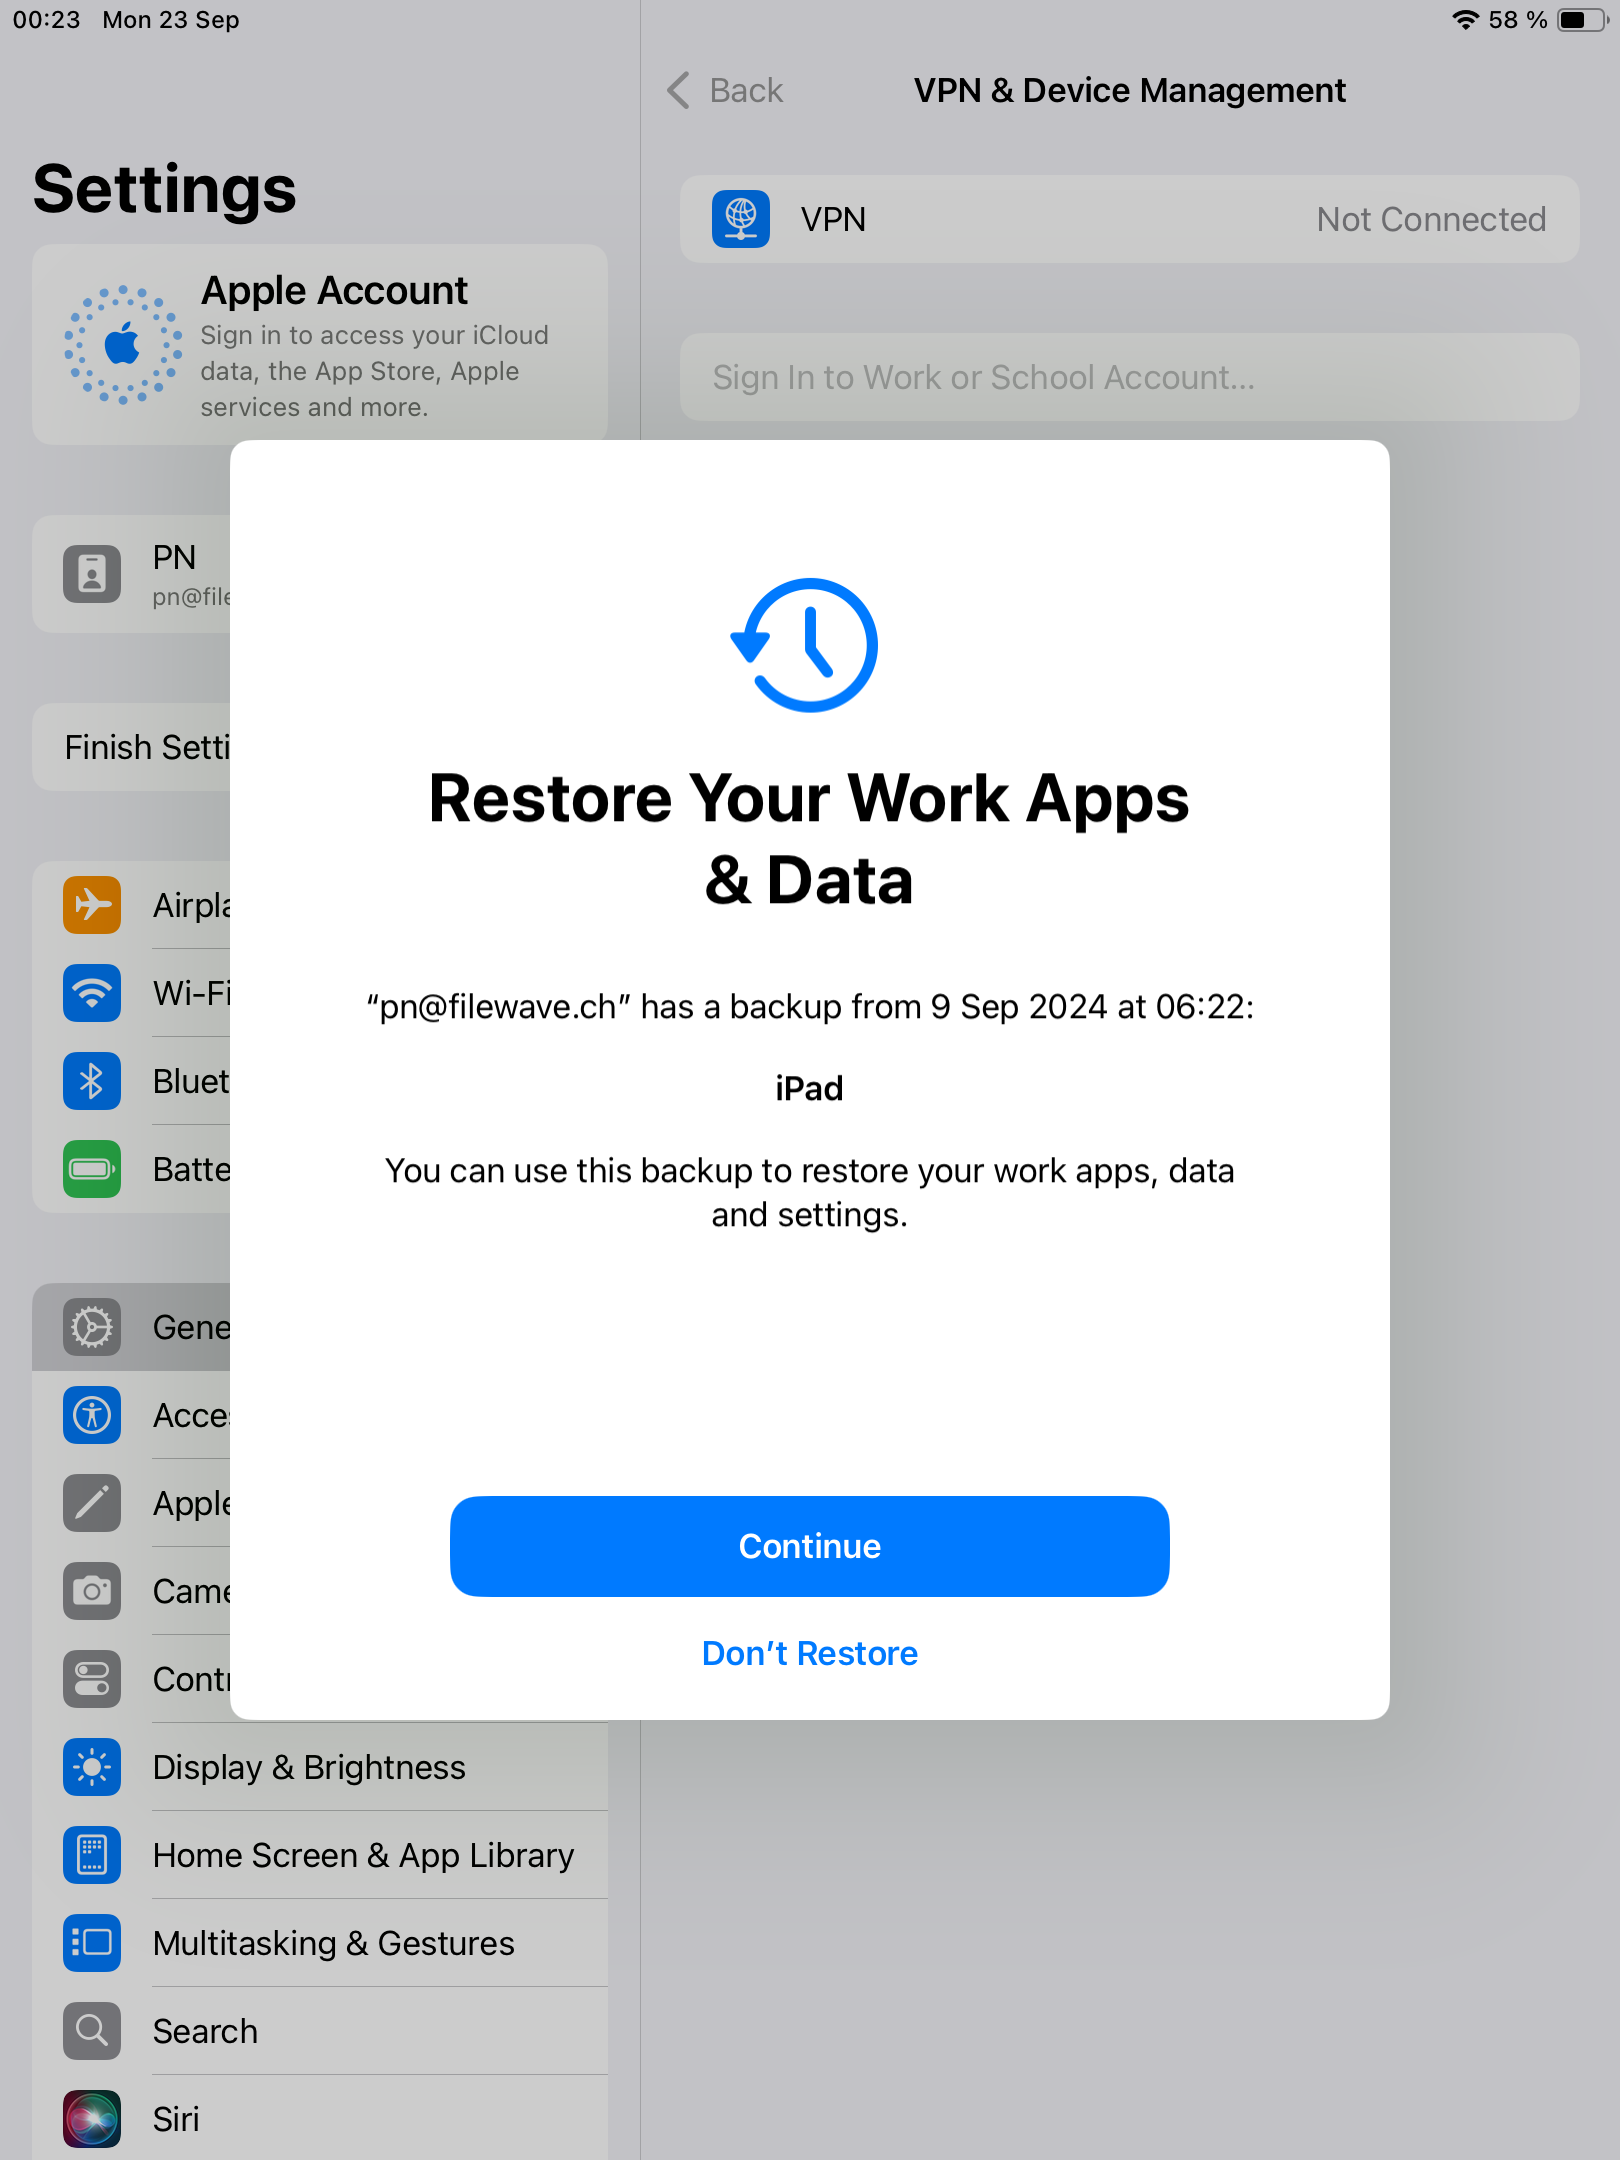
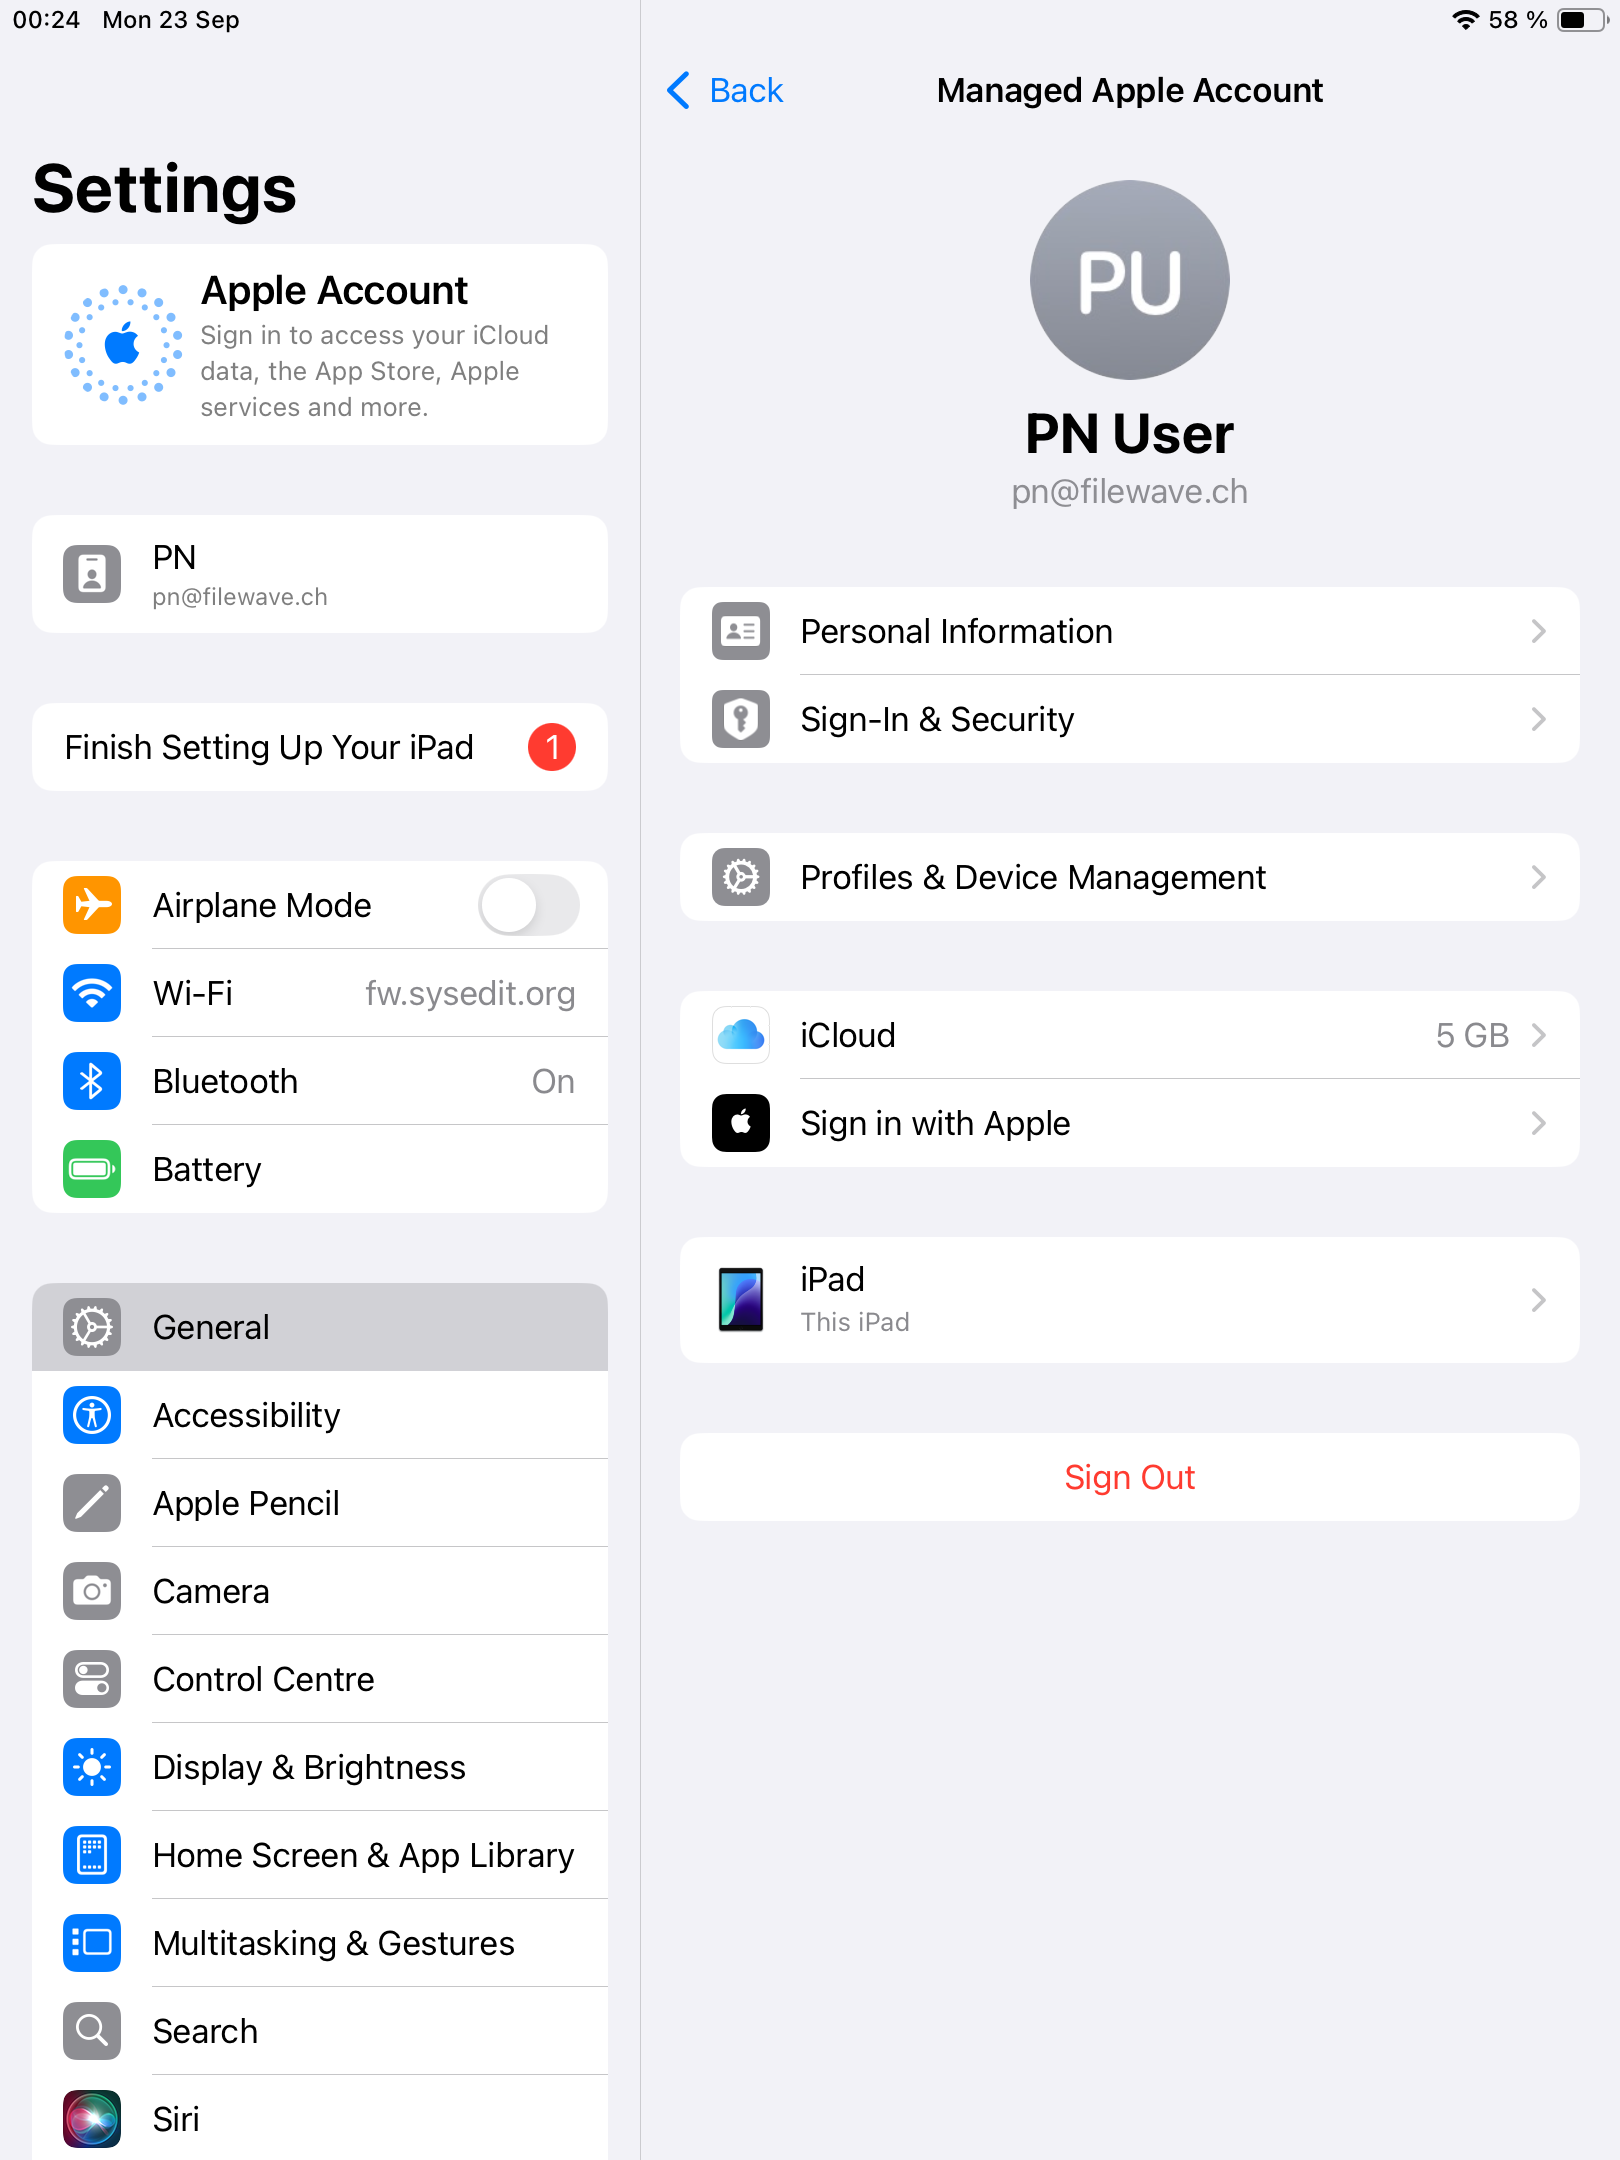
On iPhone or iPad, the user navigates to Settings > General > VPN & Device Management and then selects the Sign In to Work or School Account button.
The email entered will be used by the device to discover MDM server. If you enter “pn@widget.ch", the device will query the widget.ch domain, more specifically https://widget.ch/.well-known/com.apple.remotemanagement
This endpoint must return a specific json message which contains all information required to proceed to MDM BYOD enrollment. This means that organizations must have a way to control this url, which could be any issue for the ones completely outsourcing their website management (see below for potential workarounds).
FileWave Setup
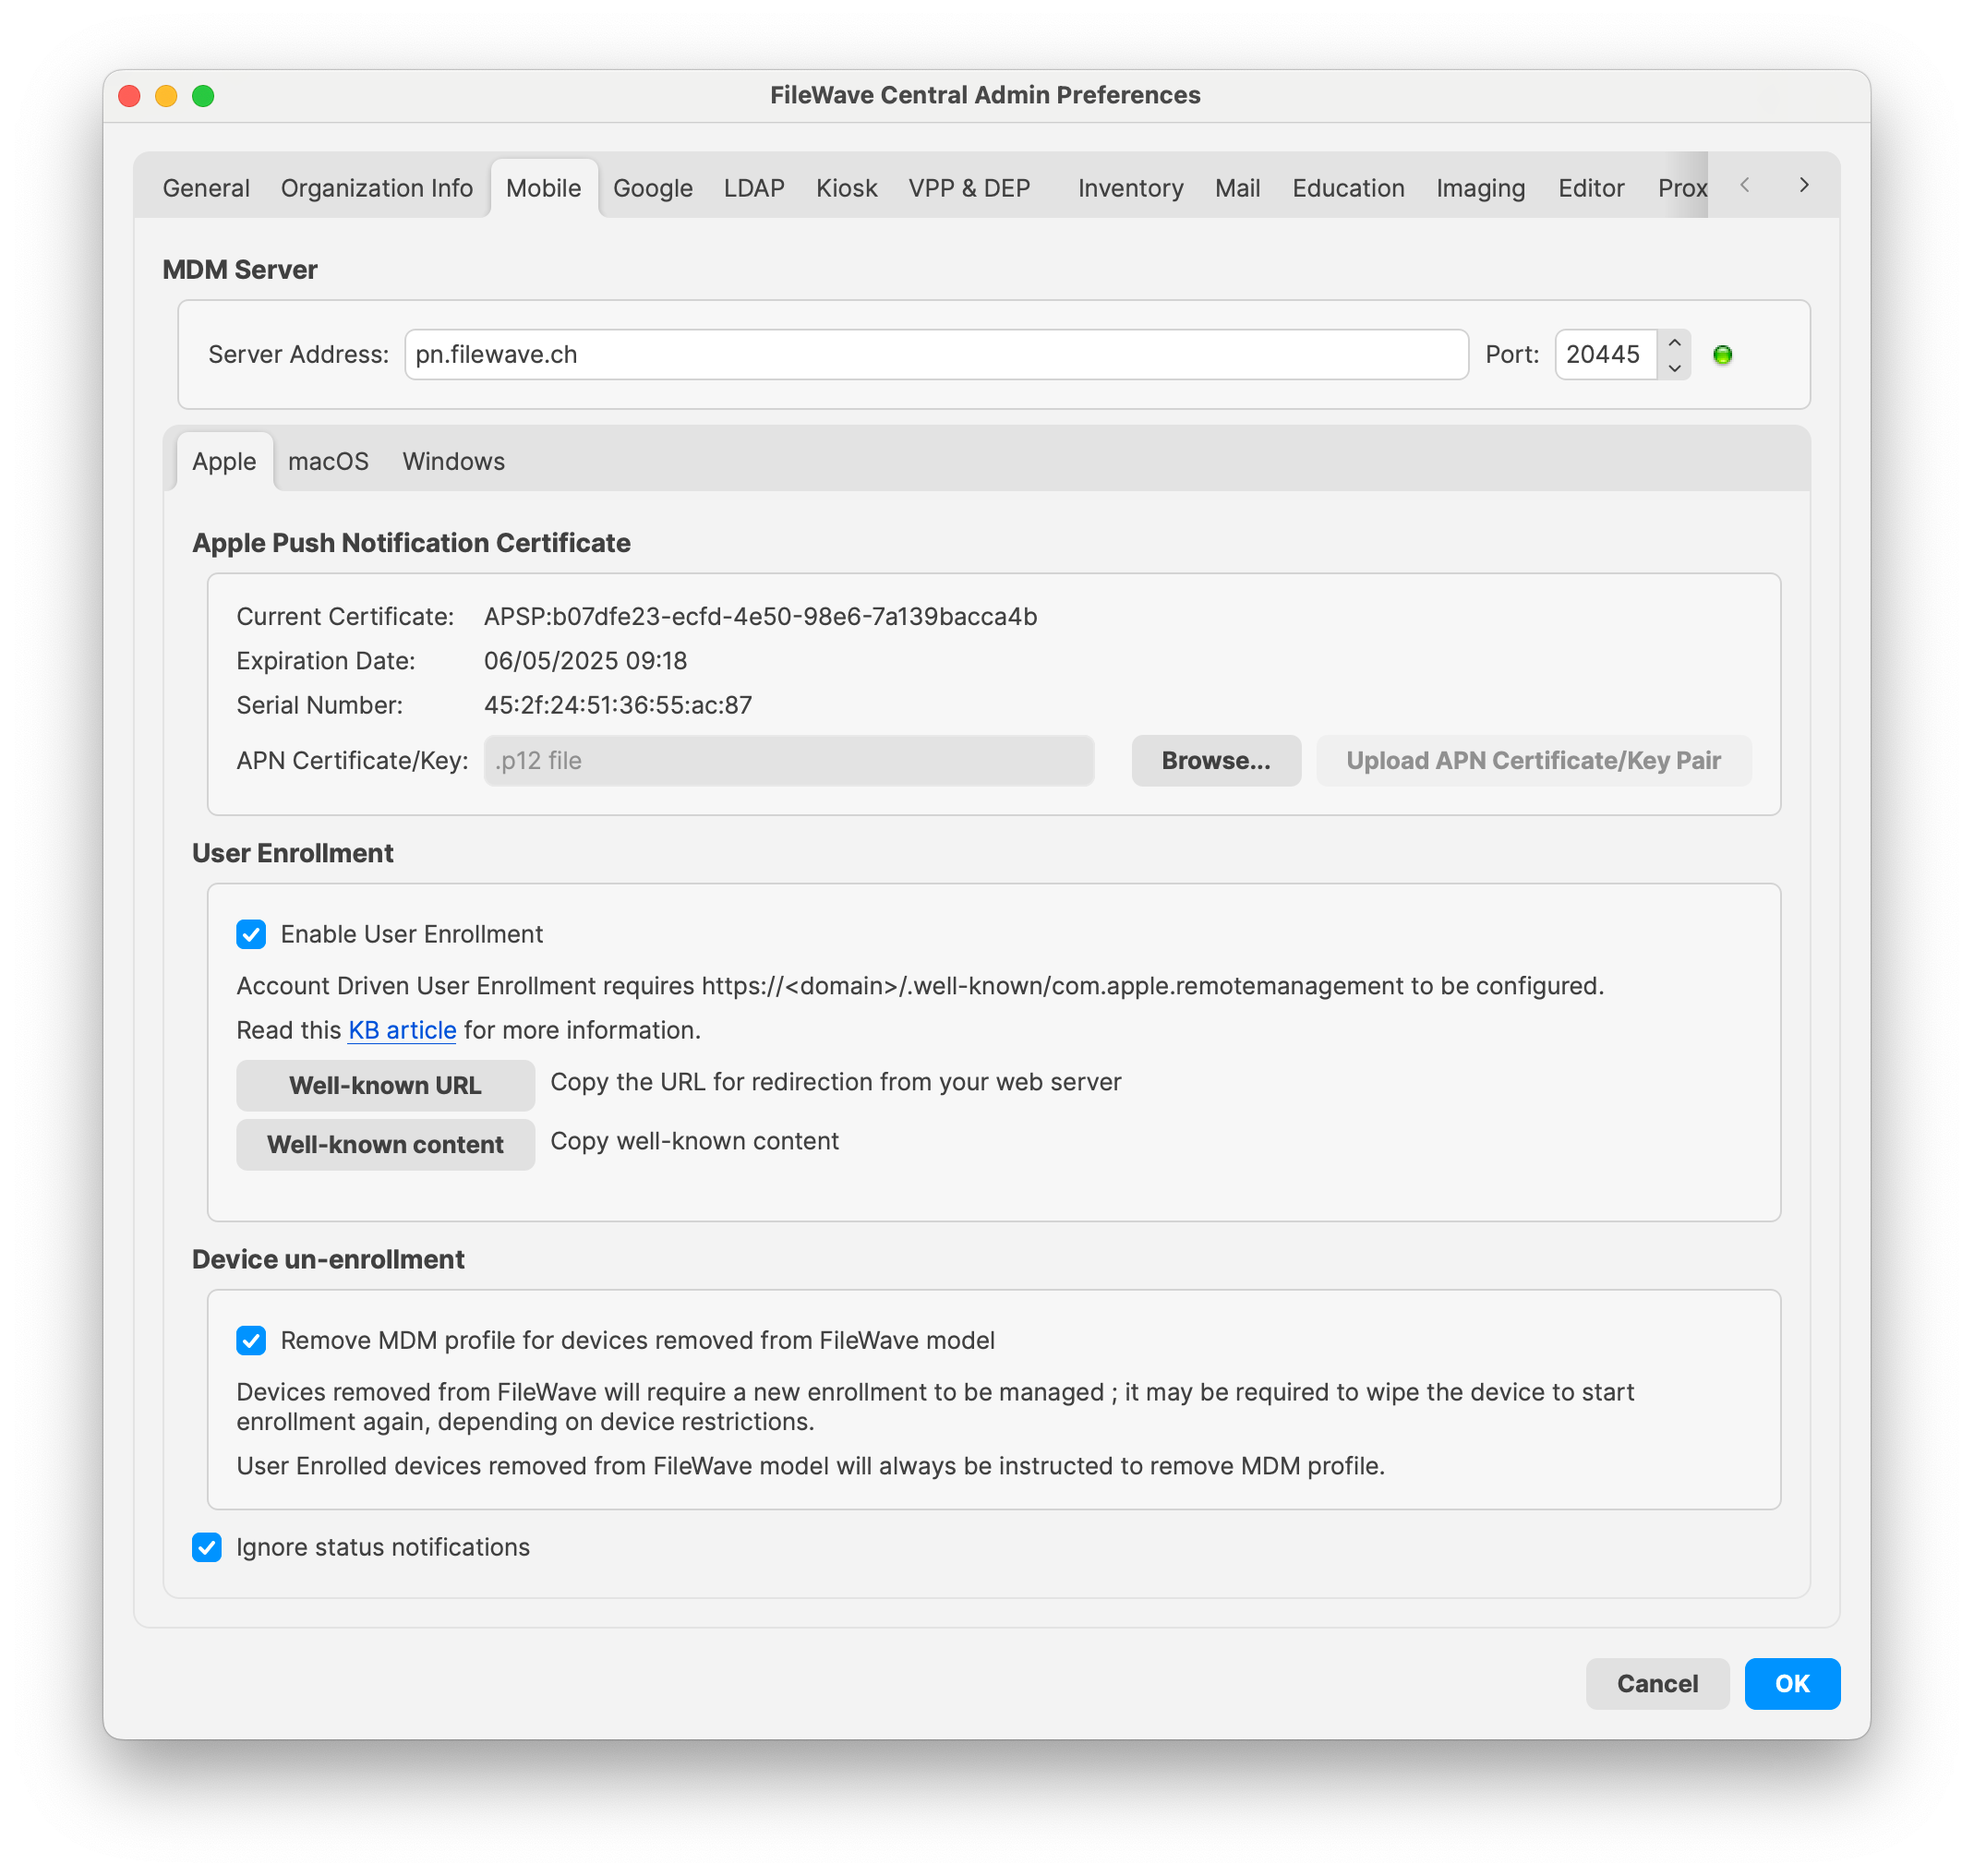
Existing User Enrollment option in FileWave now enables legacy BYOD and new ADE:
FileWave can’t manage your domain, but provides some helpers:
-
Well-known content (json) can be retrieved, so if you want to host the file yourself, you can easily get the content.
If you press the “Well-known content” button, following json will be copied into your clipboard : {"Servers": [{"Version": "mdm-byod", "BaseURL": "https://pn.filewave.ch:20445/ios/byod/enroll/"}]} ; you can then create the file which will be served by your web server. -
Another option is to setup a redirection from your web server (https://domain/.well-known/com.apple.remotemanagement) to FileWave server endpoint ; the endpoint can be retrieved by clicking the. Well-known URL button : https://pn.filewave.ch:20445/ios/byod/well-known/ for instance.
Check your web server documentation for details about how to setup redirection. Apache, for instance, can be configured by adding the following inside the VirtualHost section:
RewriteRule ^/.well-known/com.apple.remotemanagement https://pn.filewave.ch:20445/ios/byod/well-known/ [R=301,L]Related Content
Digging Deeper
Device Enrollment Process Workflow
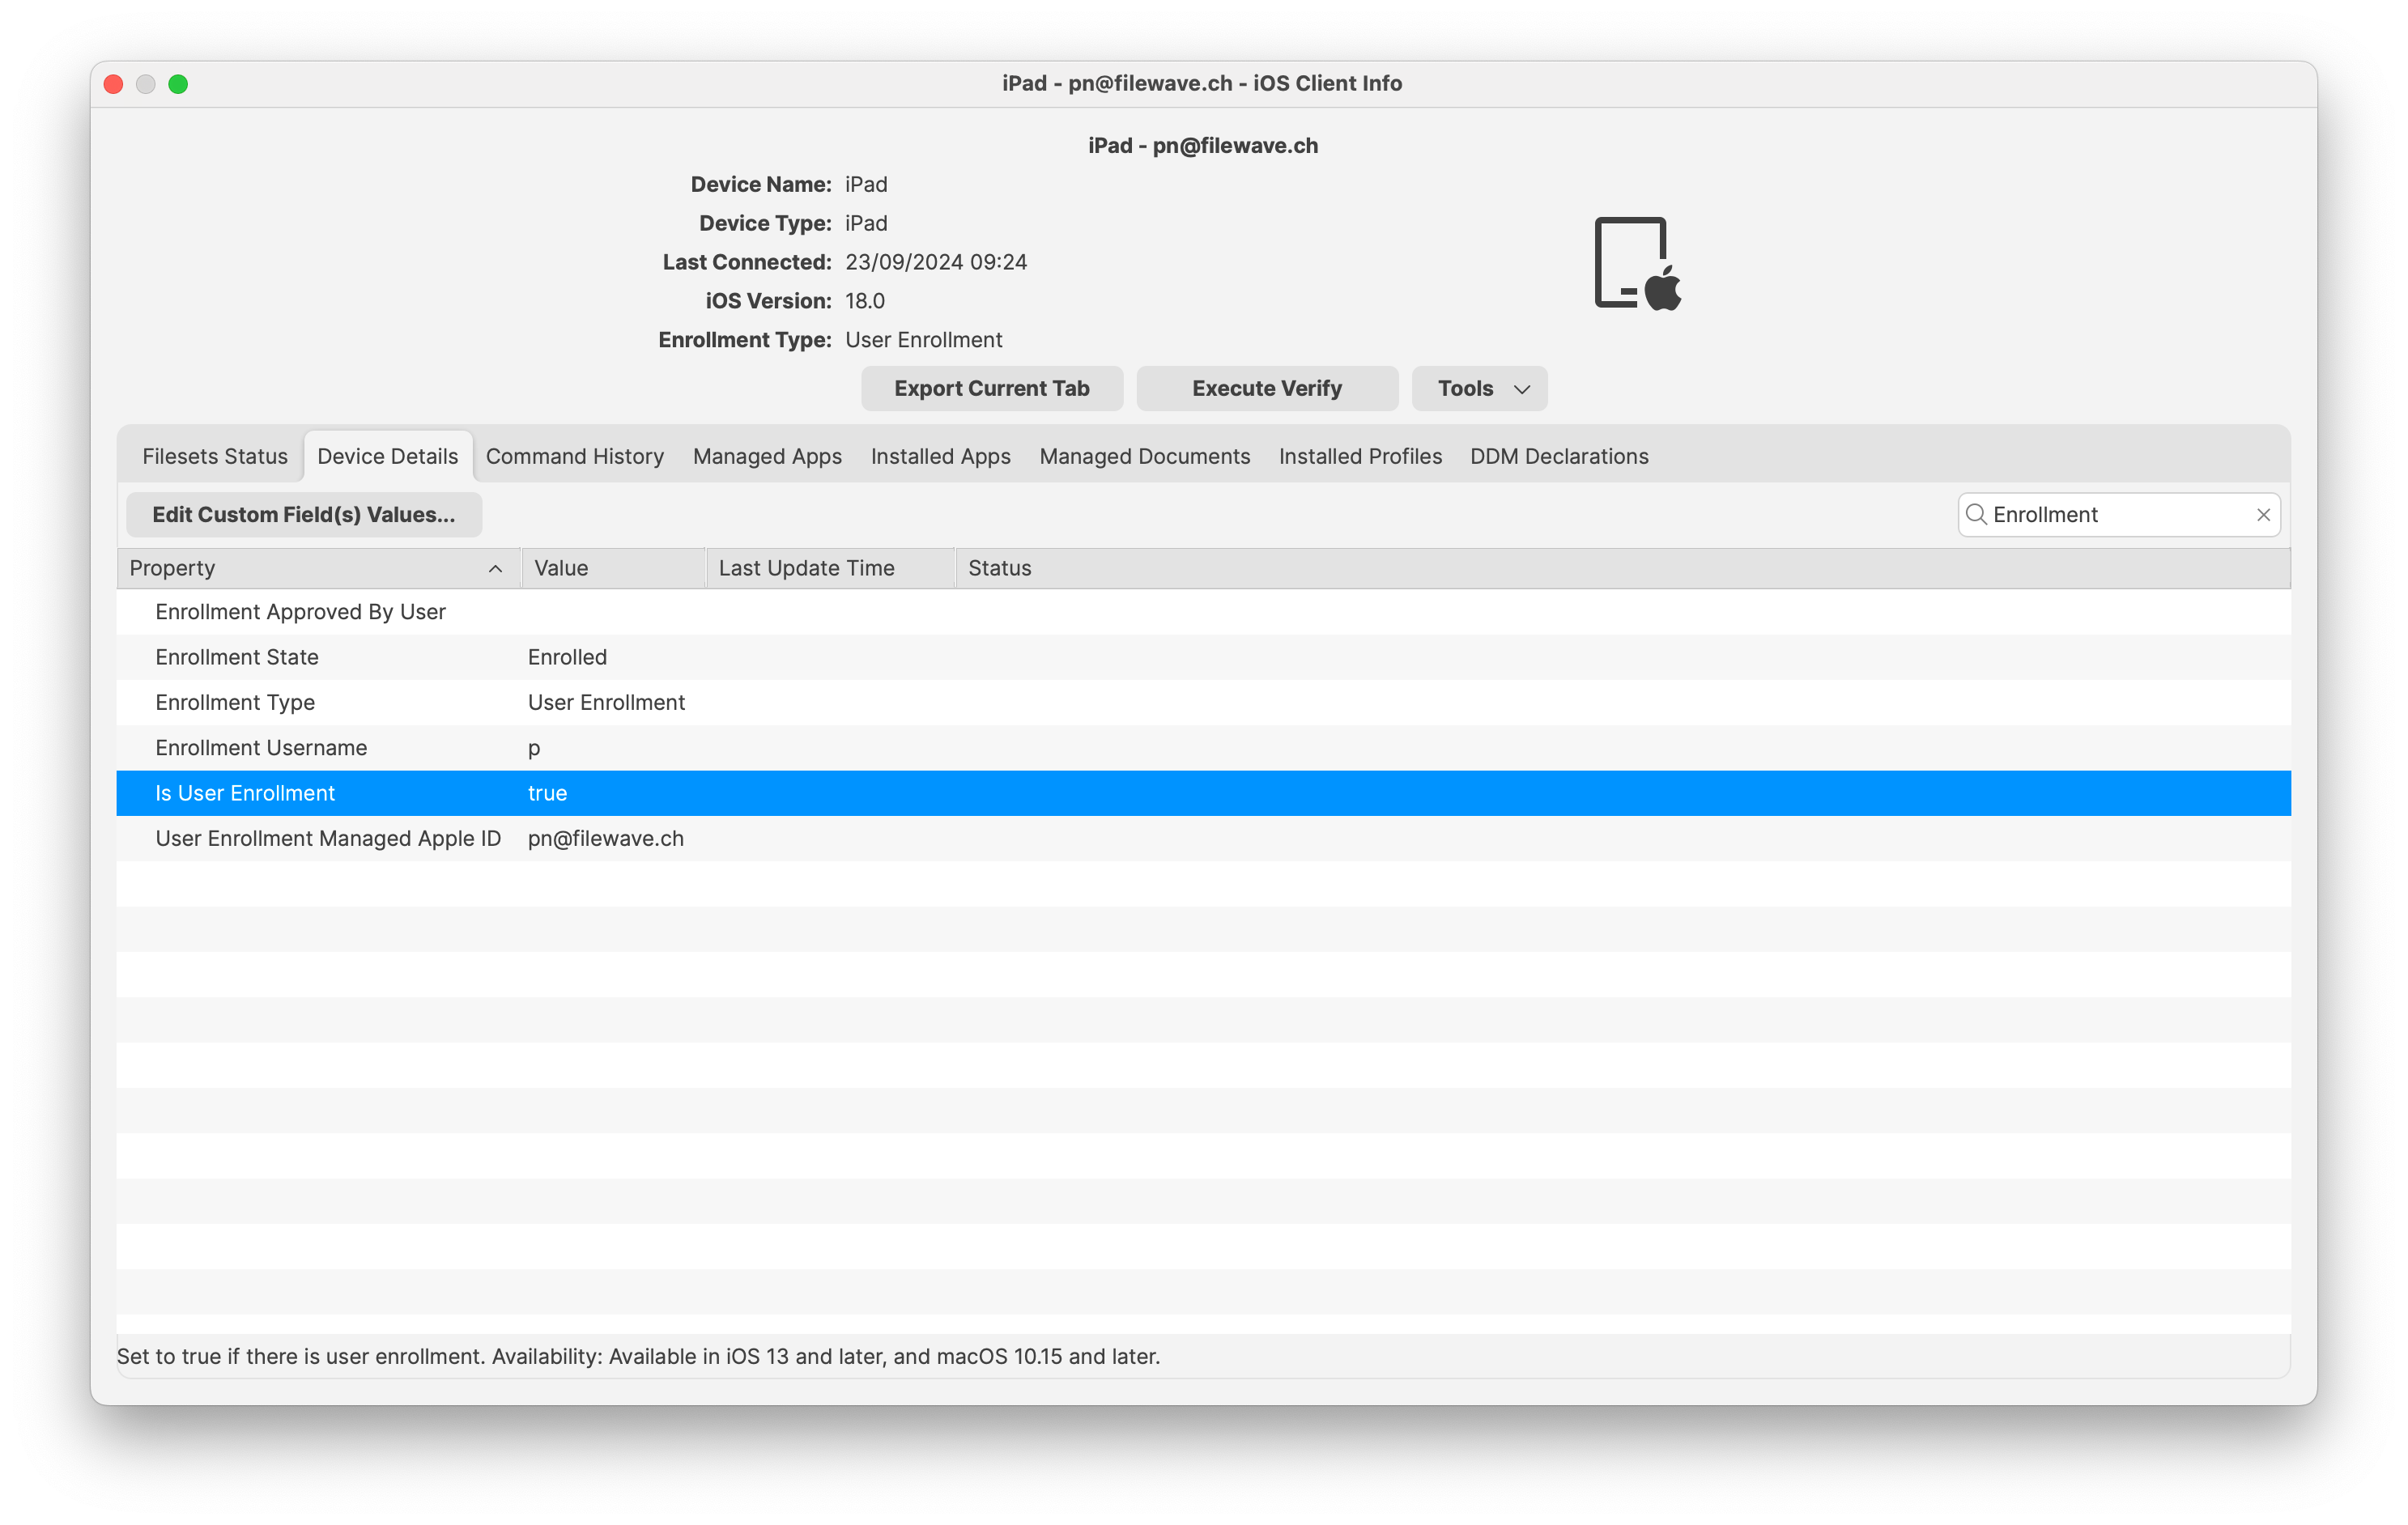
And now the device is ready. As a final step we just need to add the device to FileWave. It will show up in New Mobile Client dialog (or will be added to the model if Auto-Enrollment is set).
