Account-Driven Enrollment for iOS/iPadOS BYOD Devices (v15.0+)
What
In 2021, Apple introduced Account-Driven User Enrollment, a new method for initiating Bring Your Own Device (BYOD) enrollments. With the releases of iOS 17 and iPadOS 17, profile-based User Enrollment is deprecated, and starting with iOS 18 and iPadOS 18, it is no longer supported. To align with these changes, FileWave 15.5 now supports Account-Driven User Enrollment (ADE)ADUE), enabling organizations to securely enroll BYOD devices using this new workflow.
When/Why
When to Use
- BYOD Environments: When employees use their personal iOS or iPadOS devices for work purposes and need access to corporate resources.
- Transitioning from Profile-Based Enrollment: As profile-based User Enrollment is being phased out, organizations should begin migrating to Account-Driven User Enrollment to ensure compatibility with future iOS and iPadOS versions.
Why This Feature Matters
Apple aims to enhance the security and privacy of BYOD deployments. Account-Driven User Enrollment offers several benefits:
- Improved Security: Separates personal and corporate data more effectively, protecting user privacy and corporate assets.
- Simplified Enrollment: Users can enroll their devices by signing in with their Managed Apple ID, streamlining the enrollment process.
- Modern Authentication: Utilizes OAuth 2.0 and OpenID Connect for authentication, providing a more secure and standardized method.
- Organizational Control: Shifts the responsibility of secure enrollment to the organization, allowing for better compliance with internal policies.
Account-Driven Enrollment relies on the Well-known URI mechanism for Mobile Device Management (MDM) discovery, ensuring that devices can locate the MDM server securely and efficiently.
How
Enrolling a Device Using Account-Driven User Enrollment
To enroll an iOS or iPadOS device using Account-Driven User Enrollment with FileWave 15.5:
-
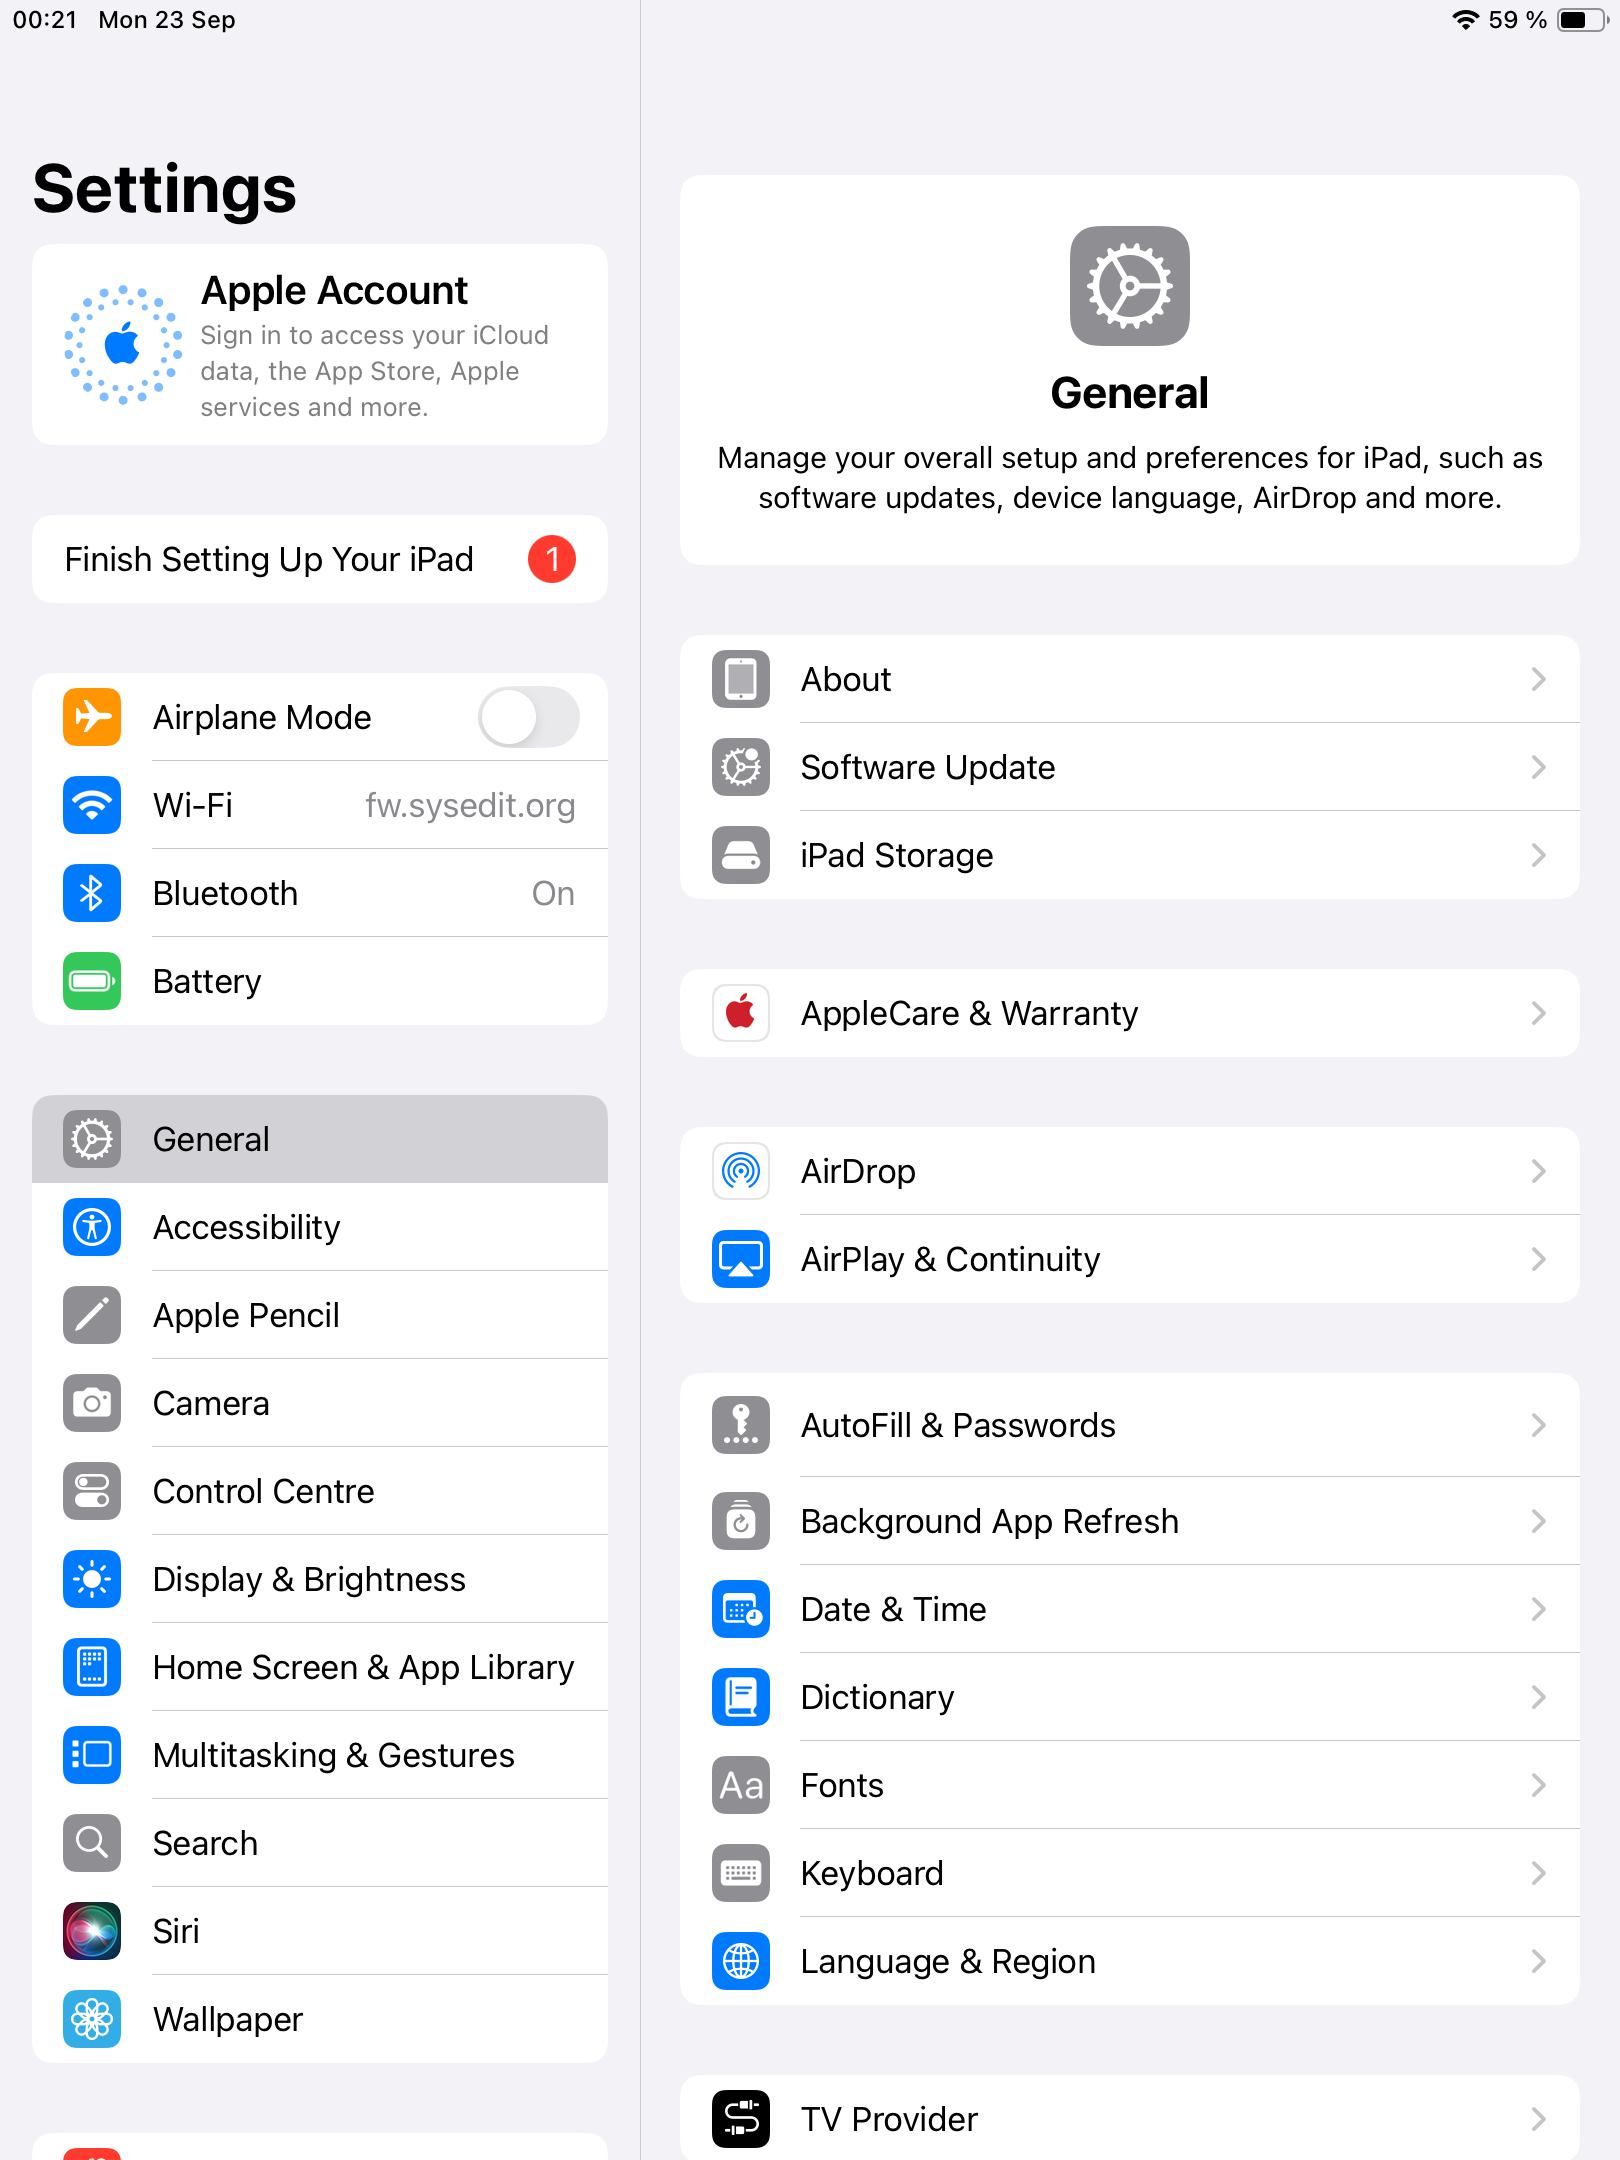
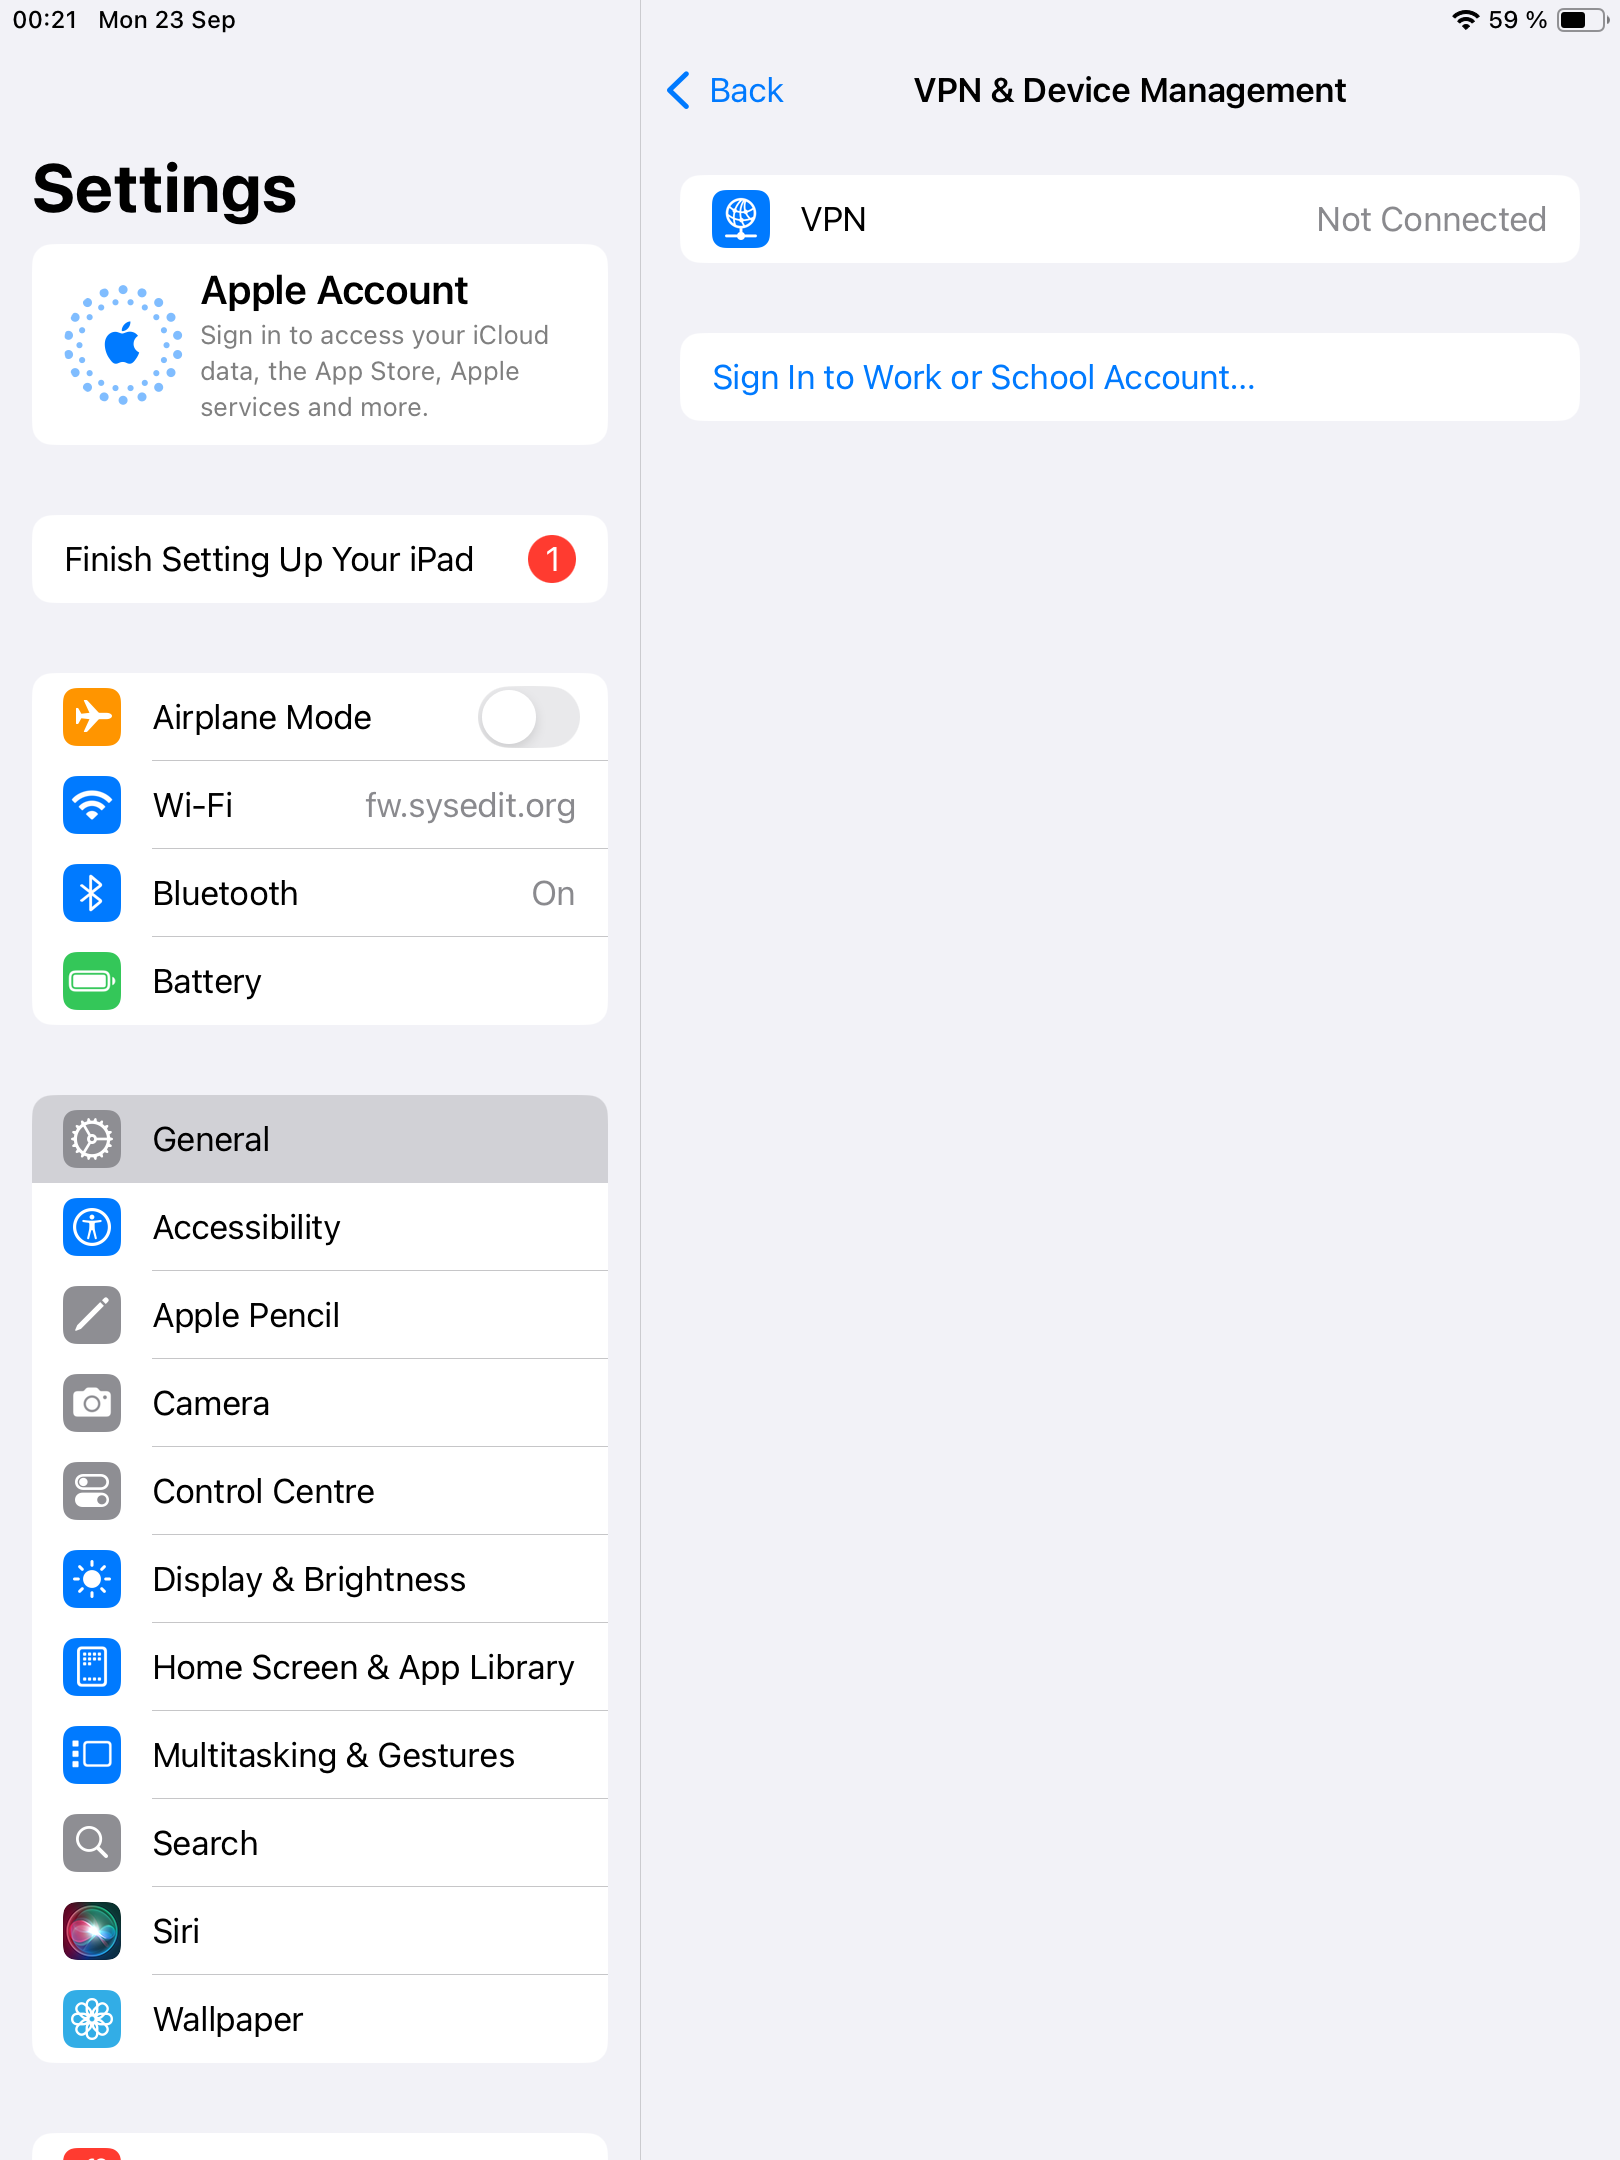
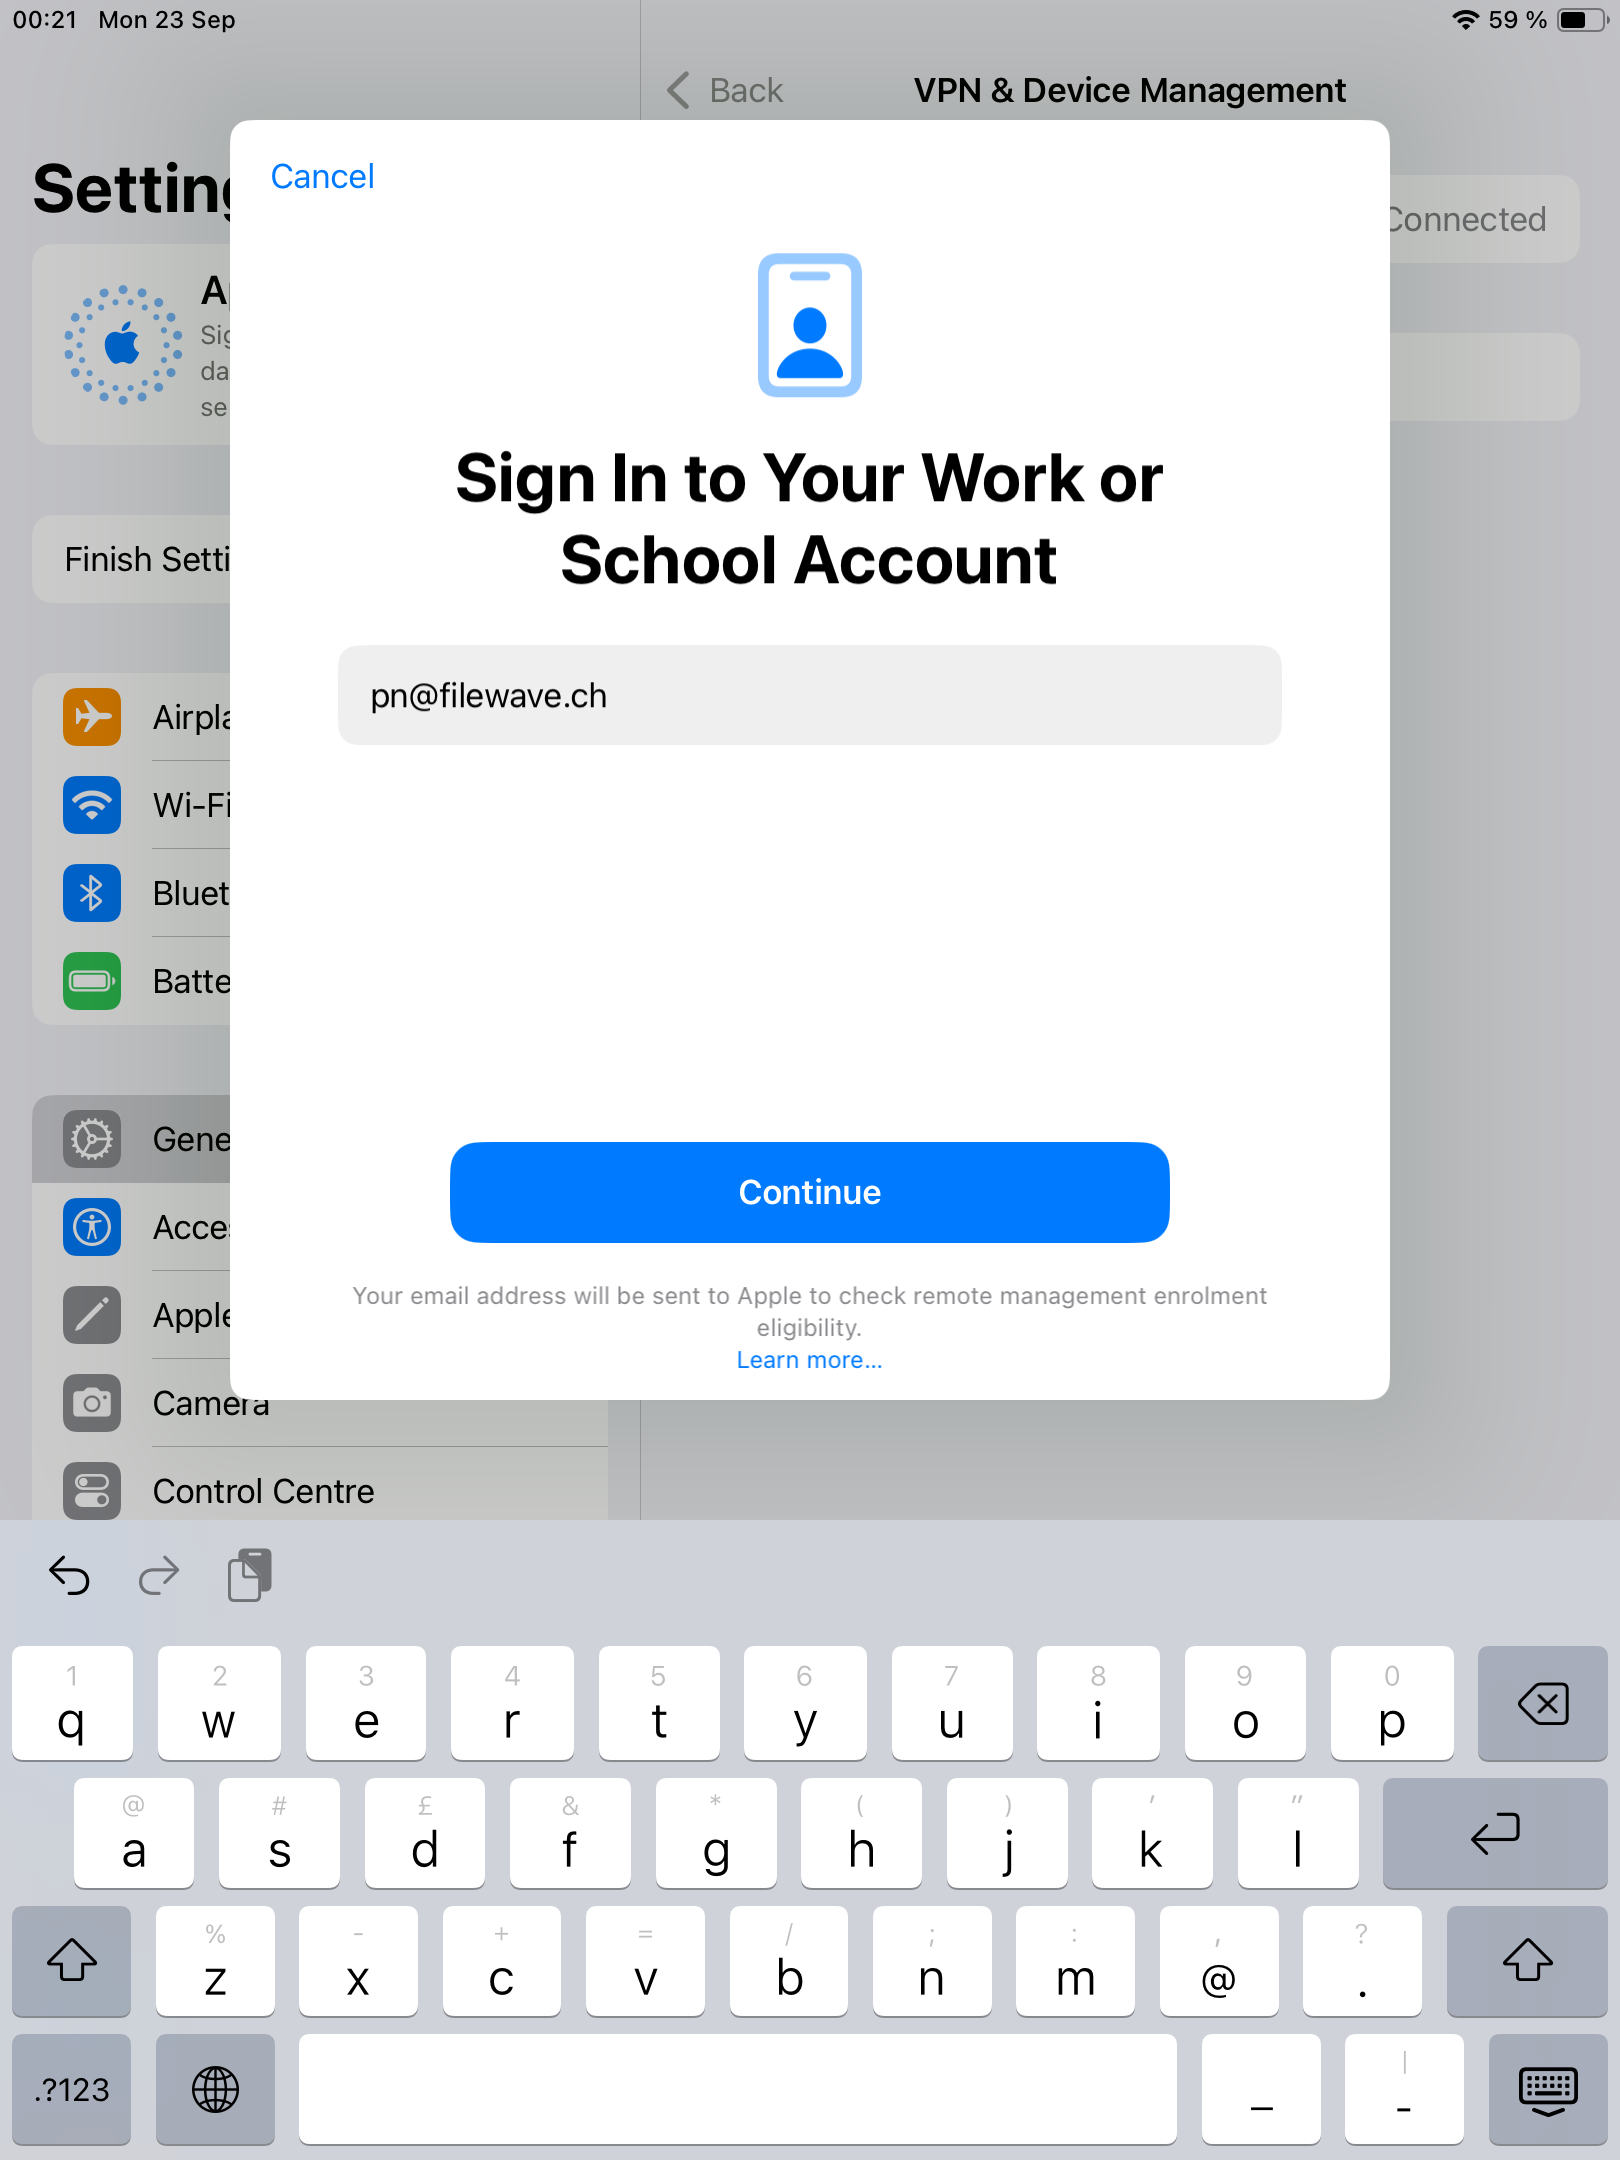
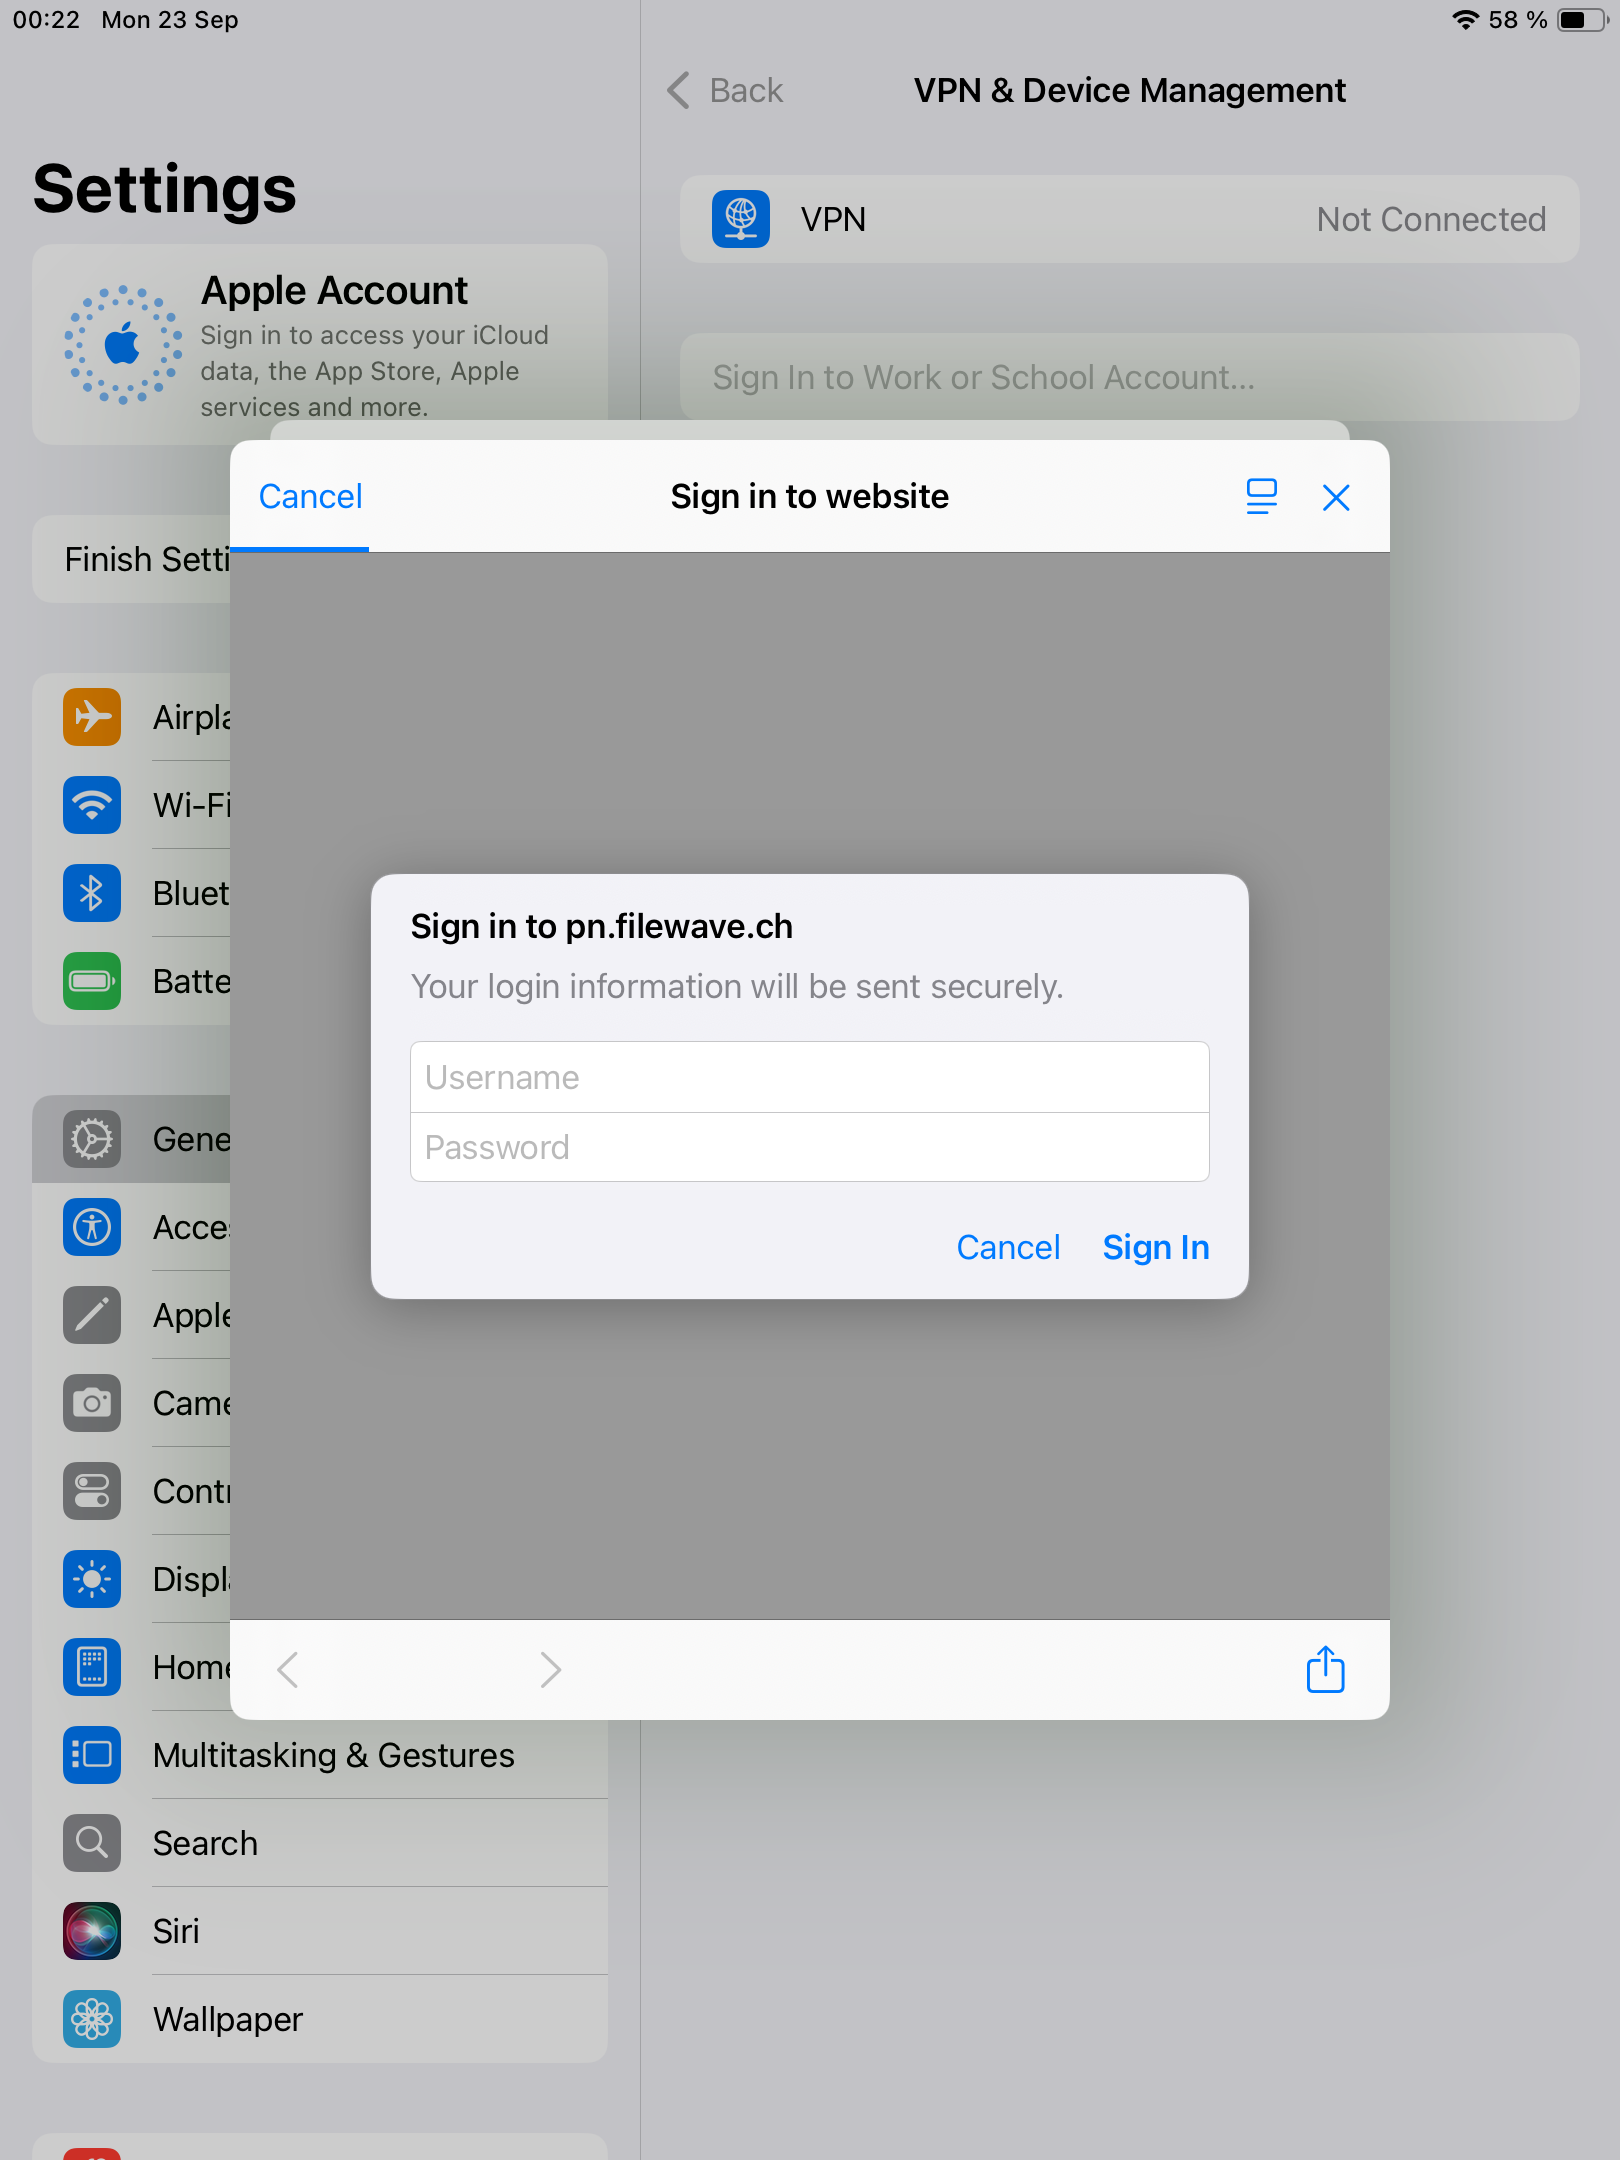
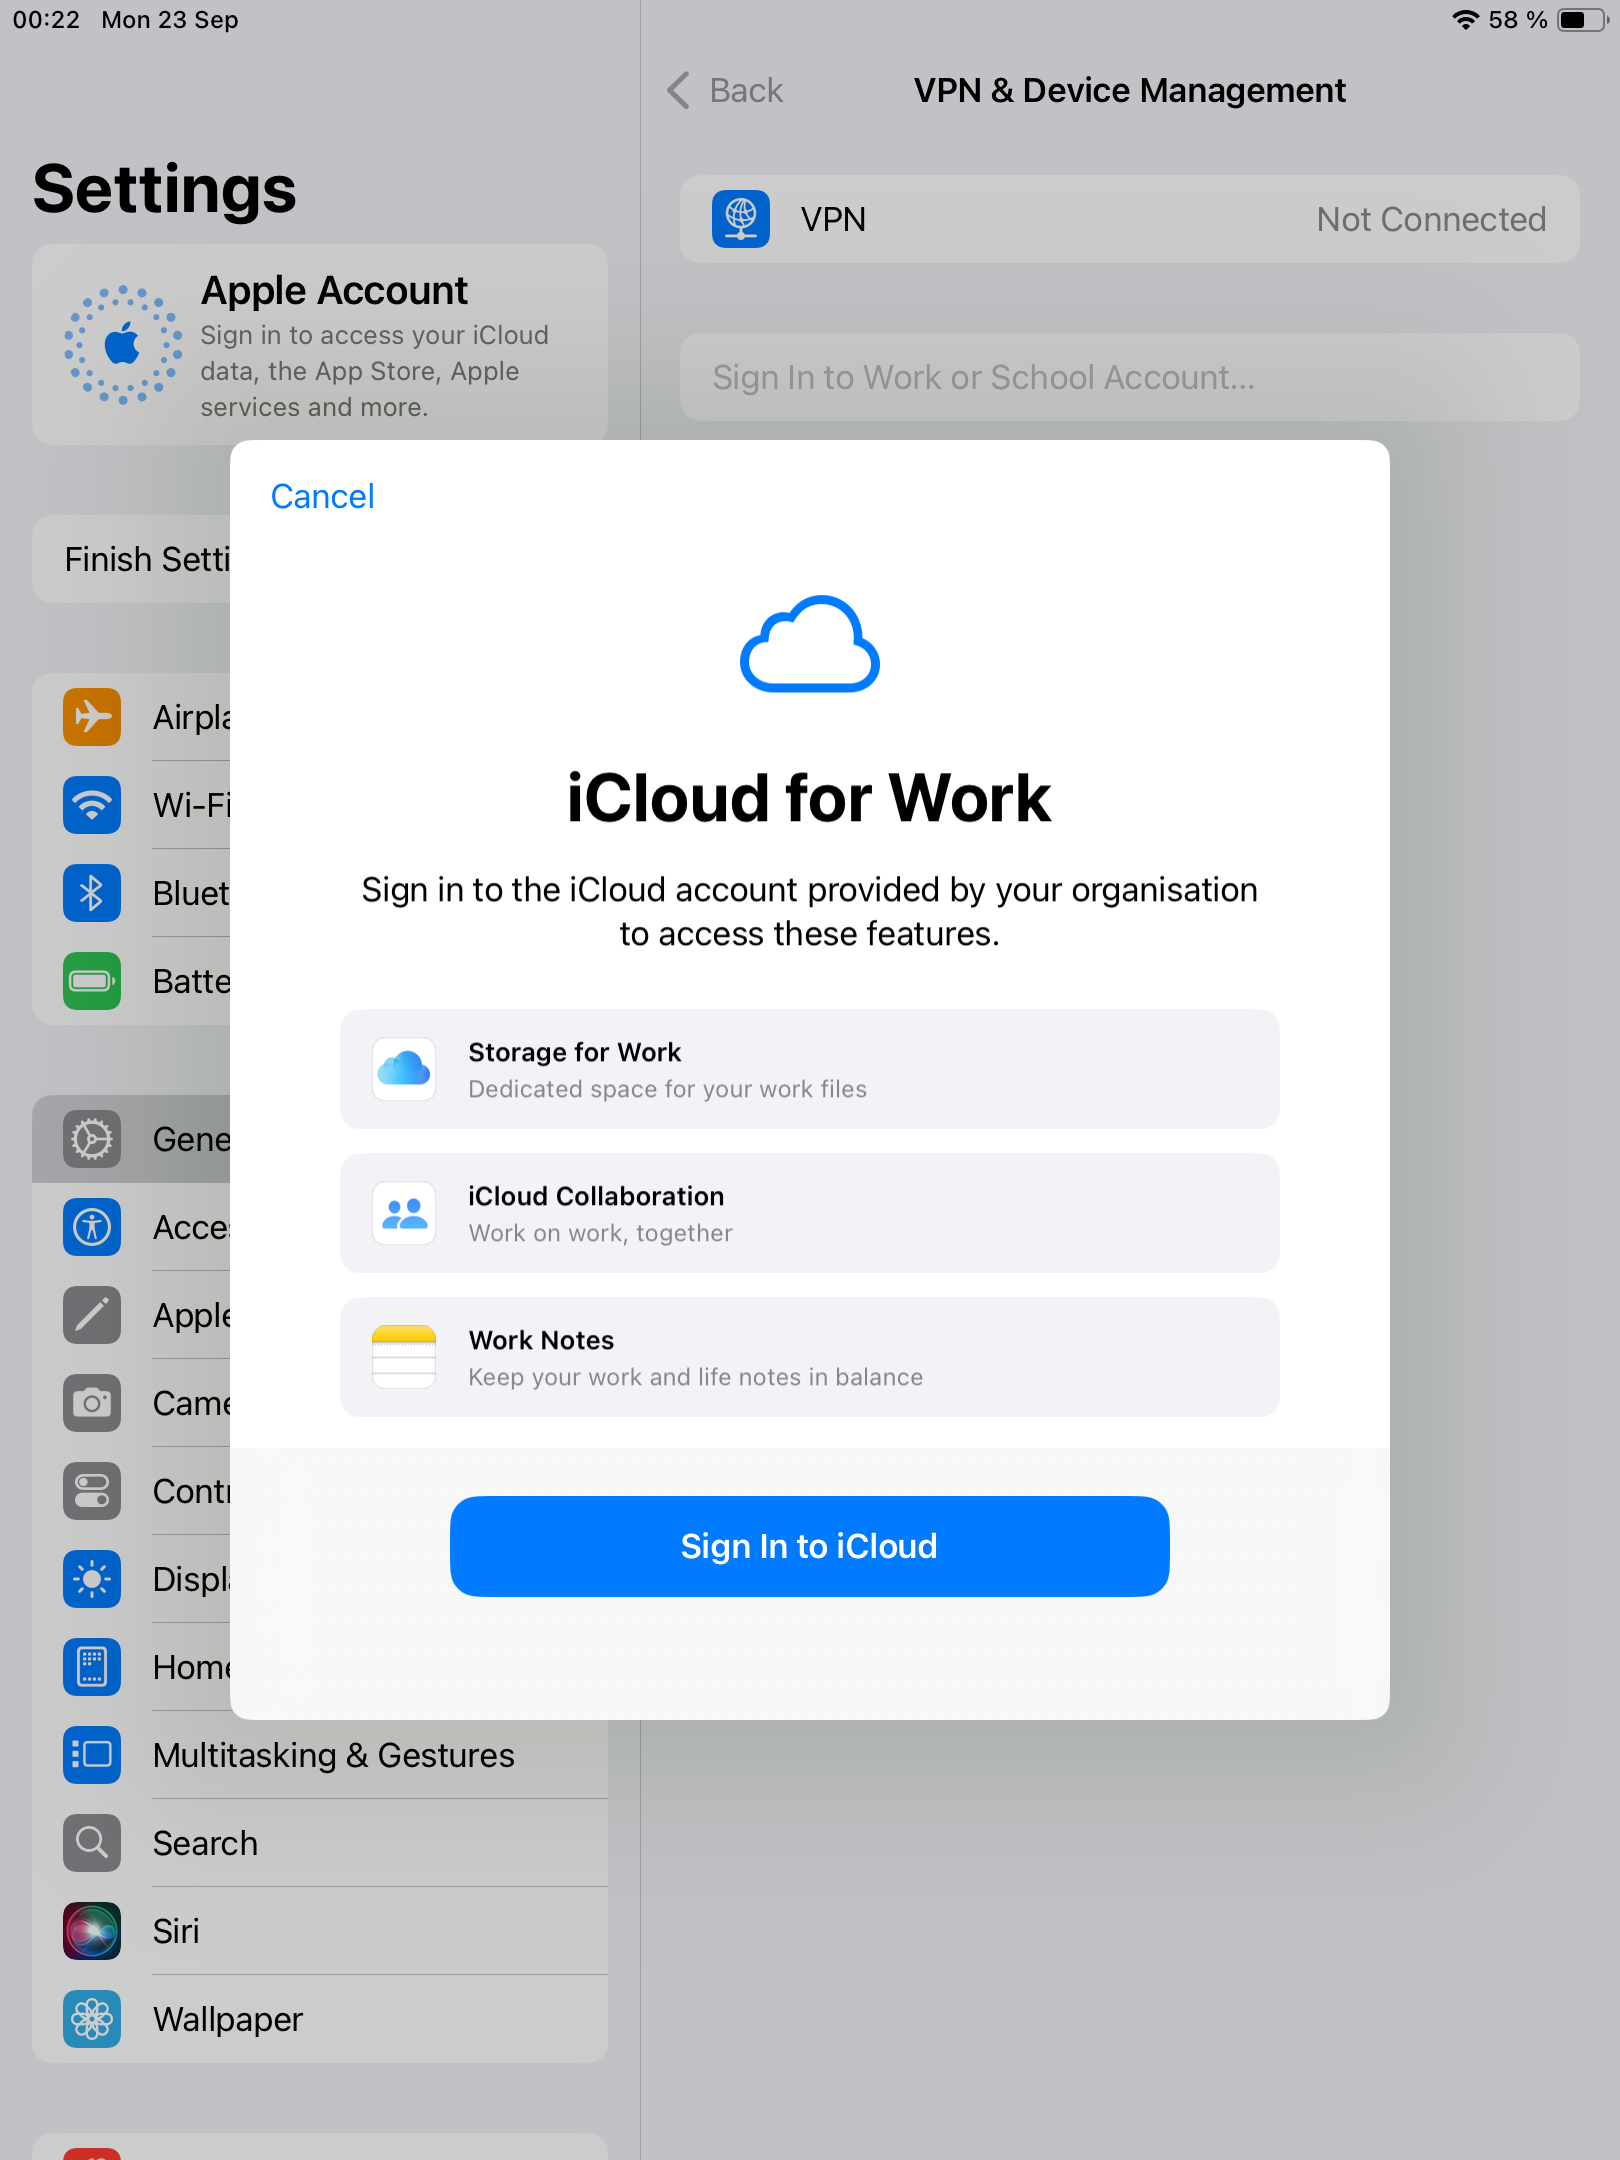
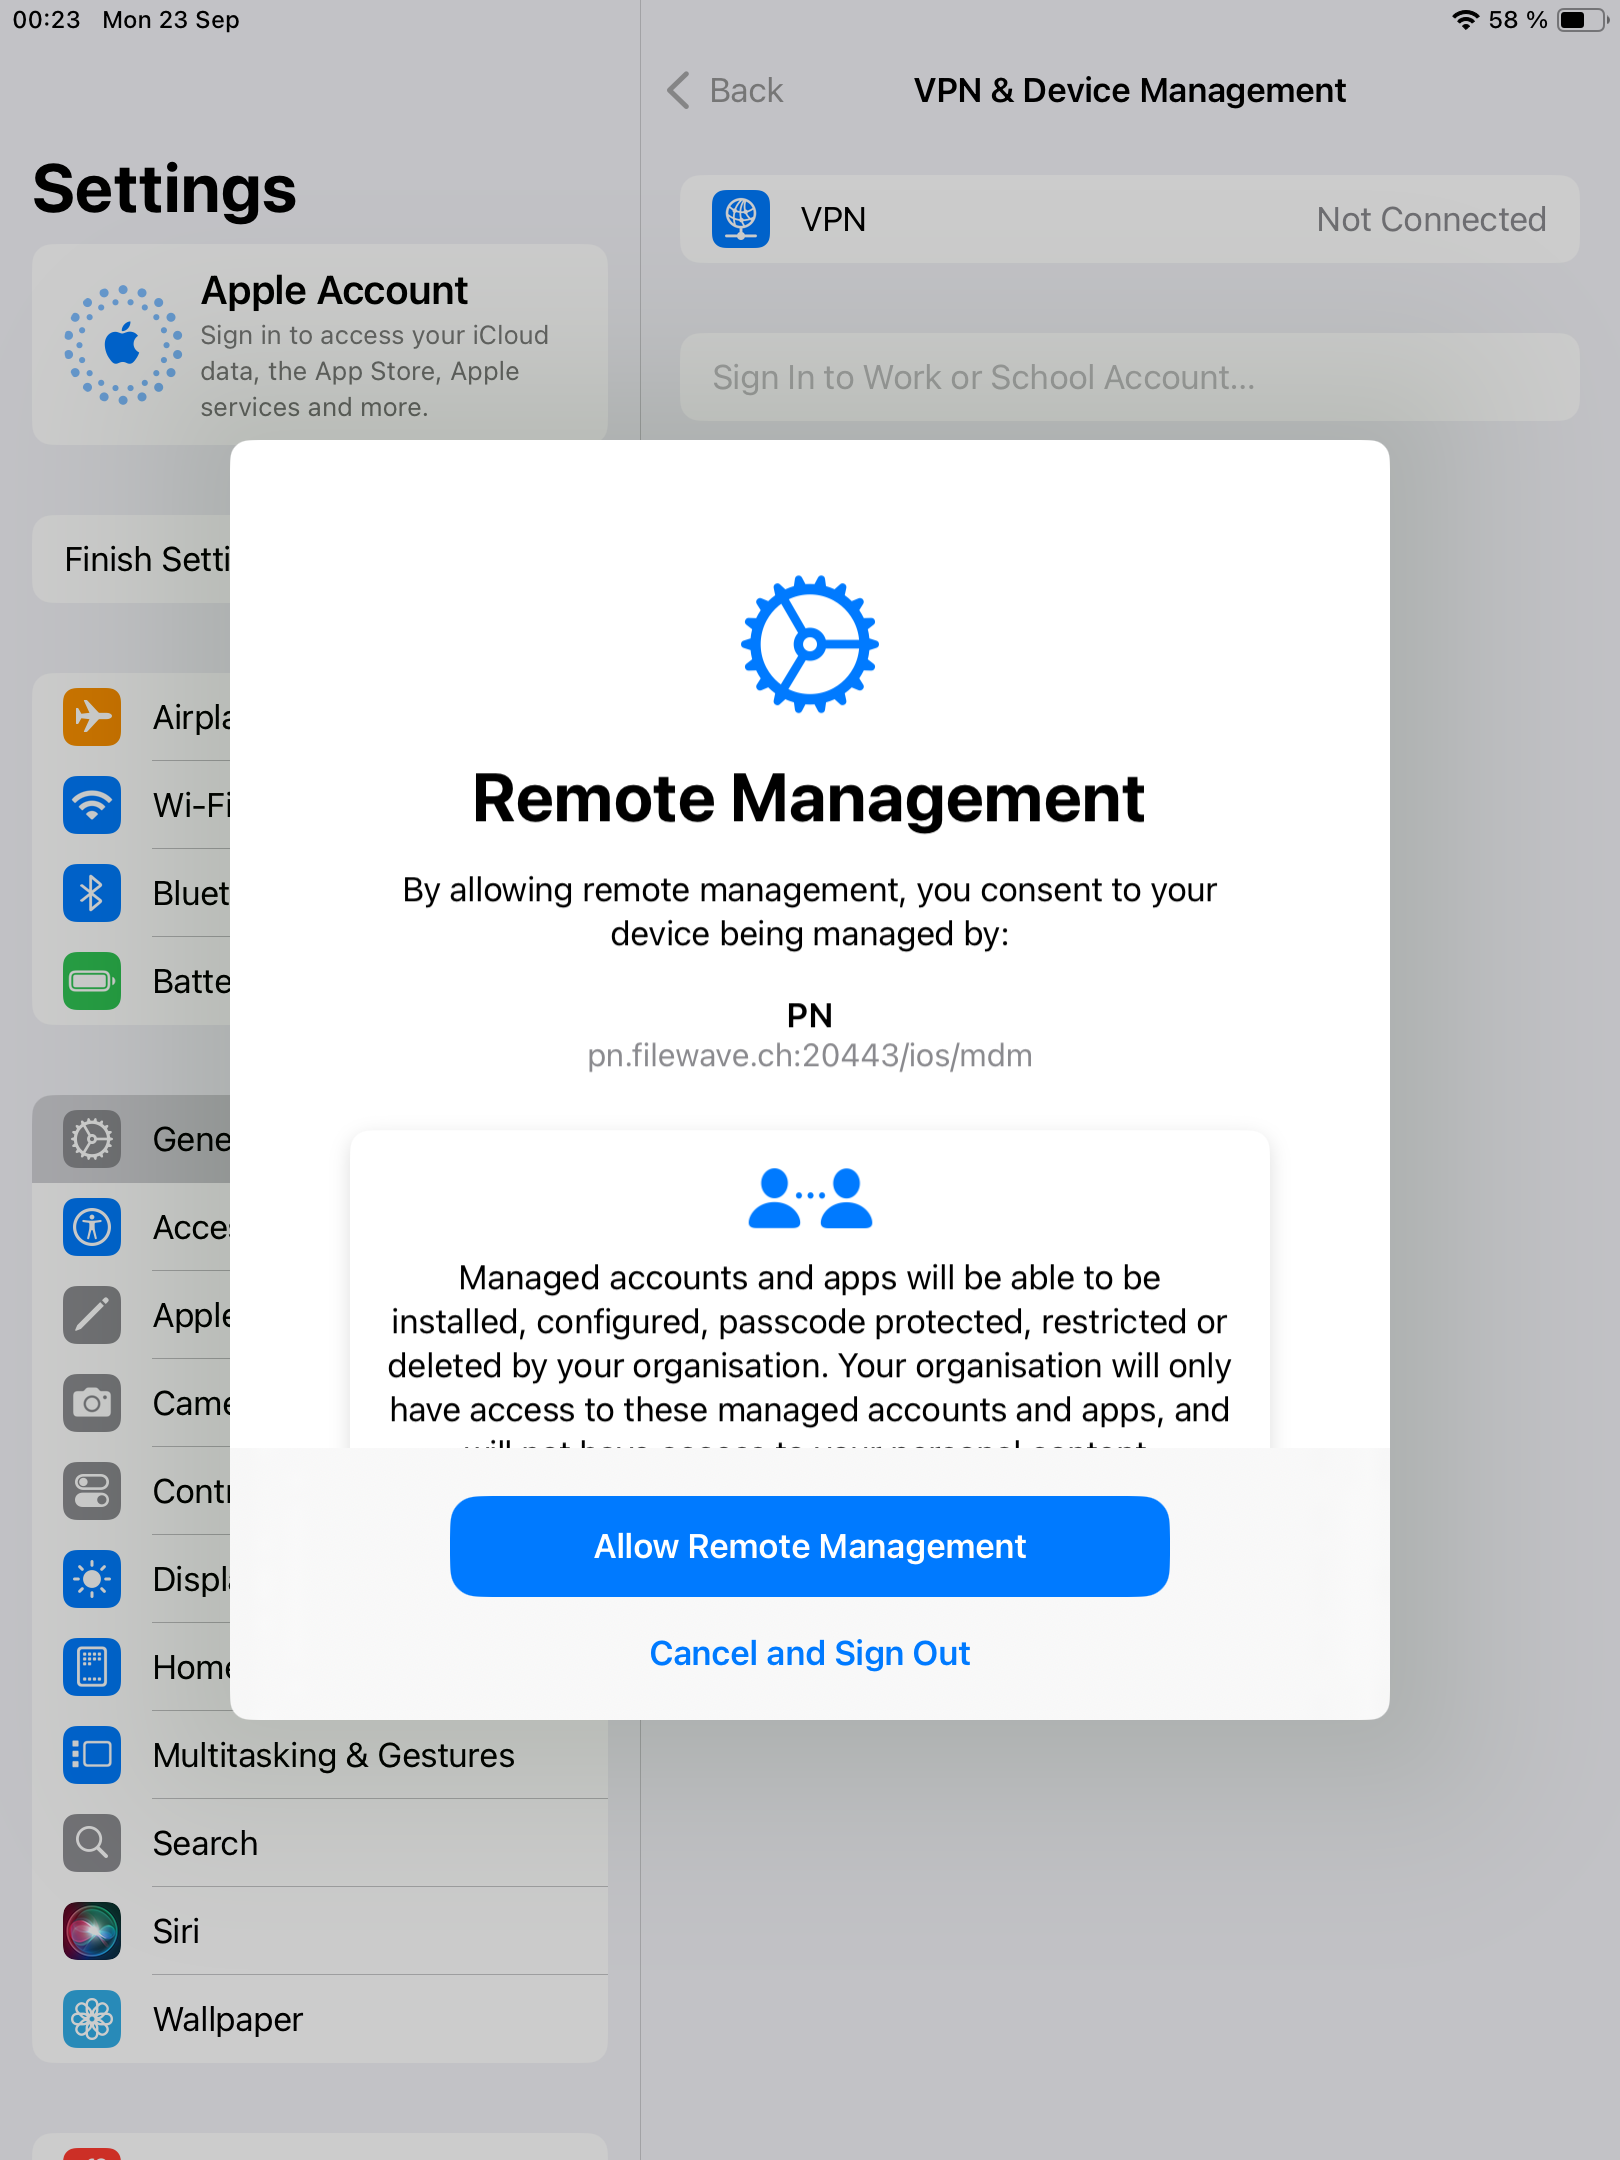
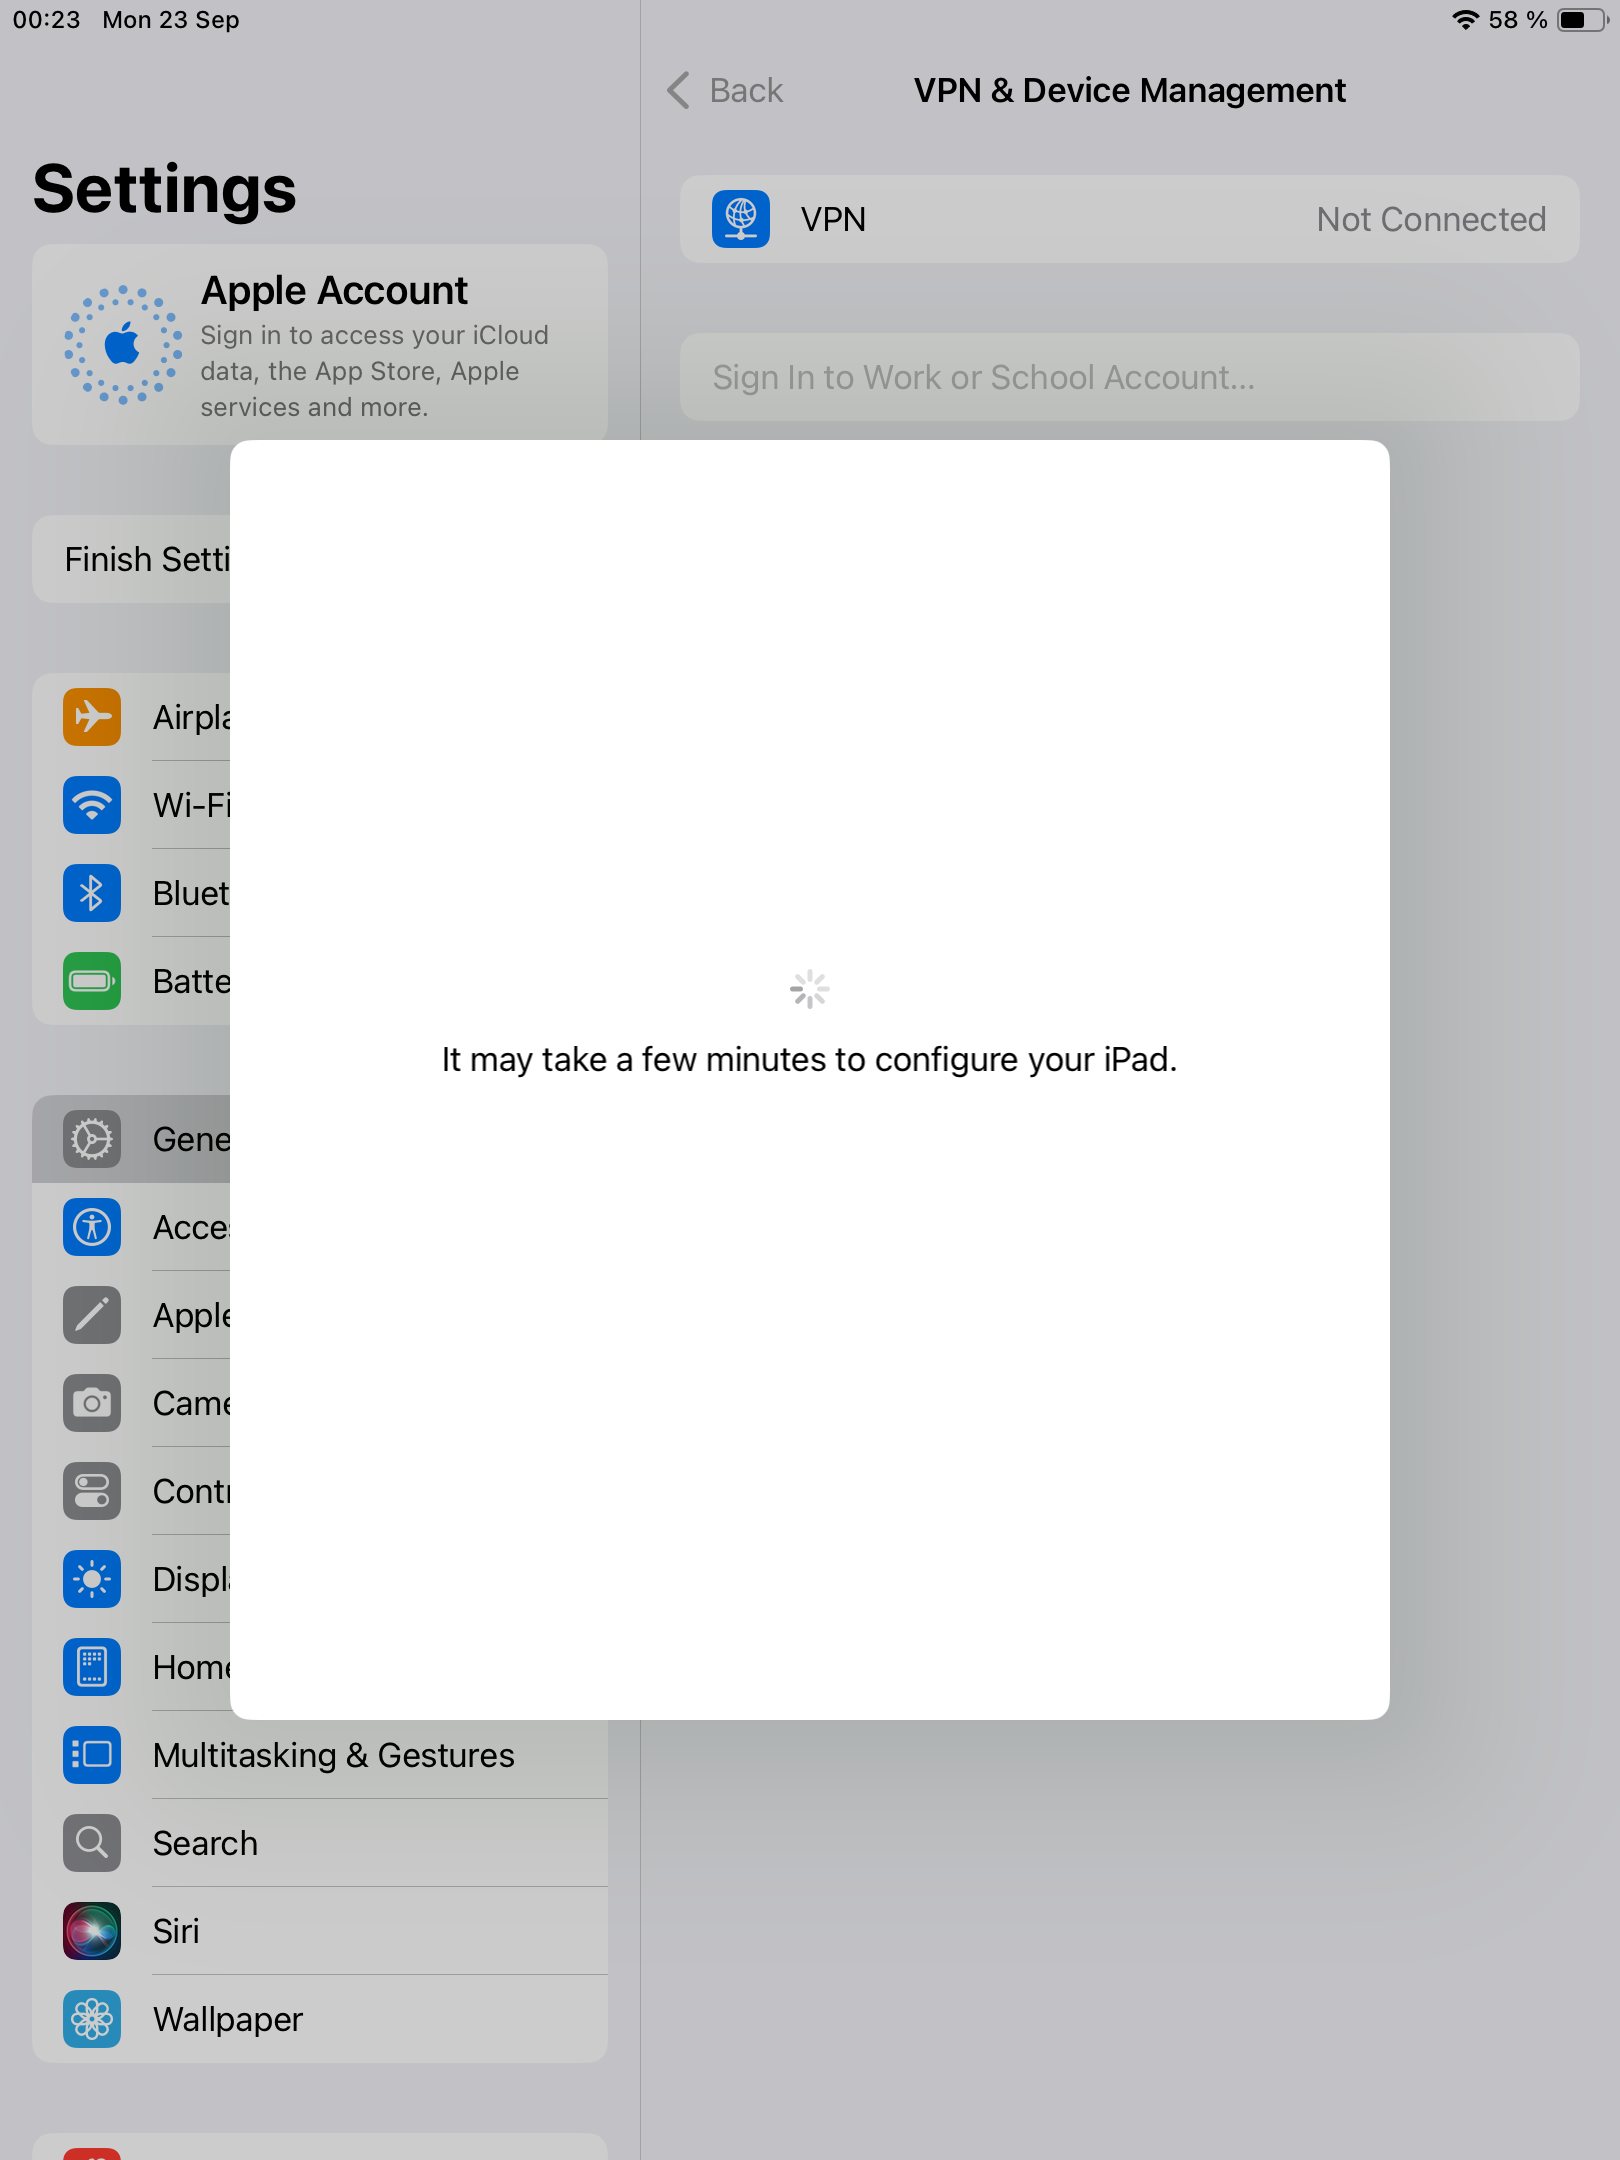
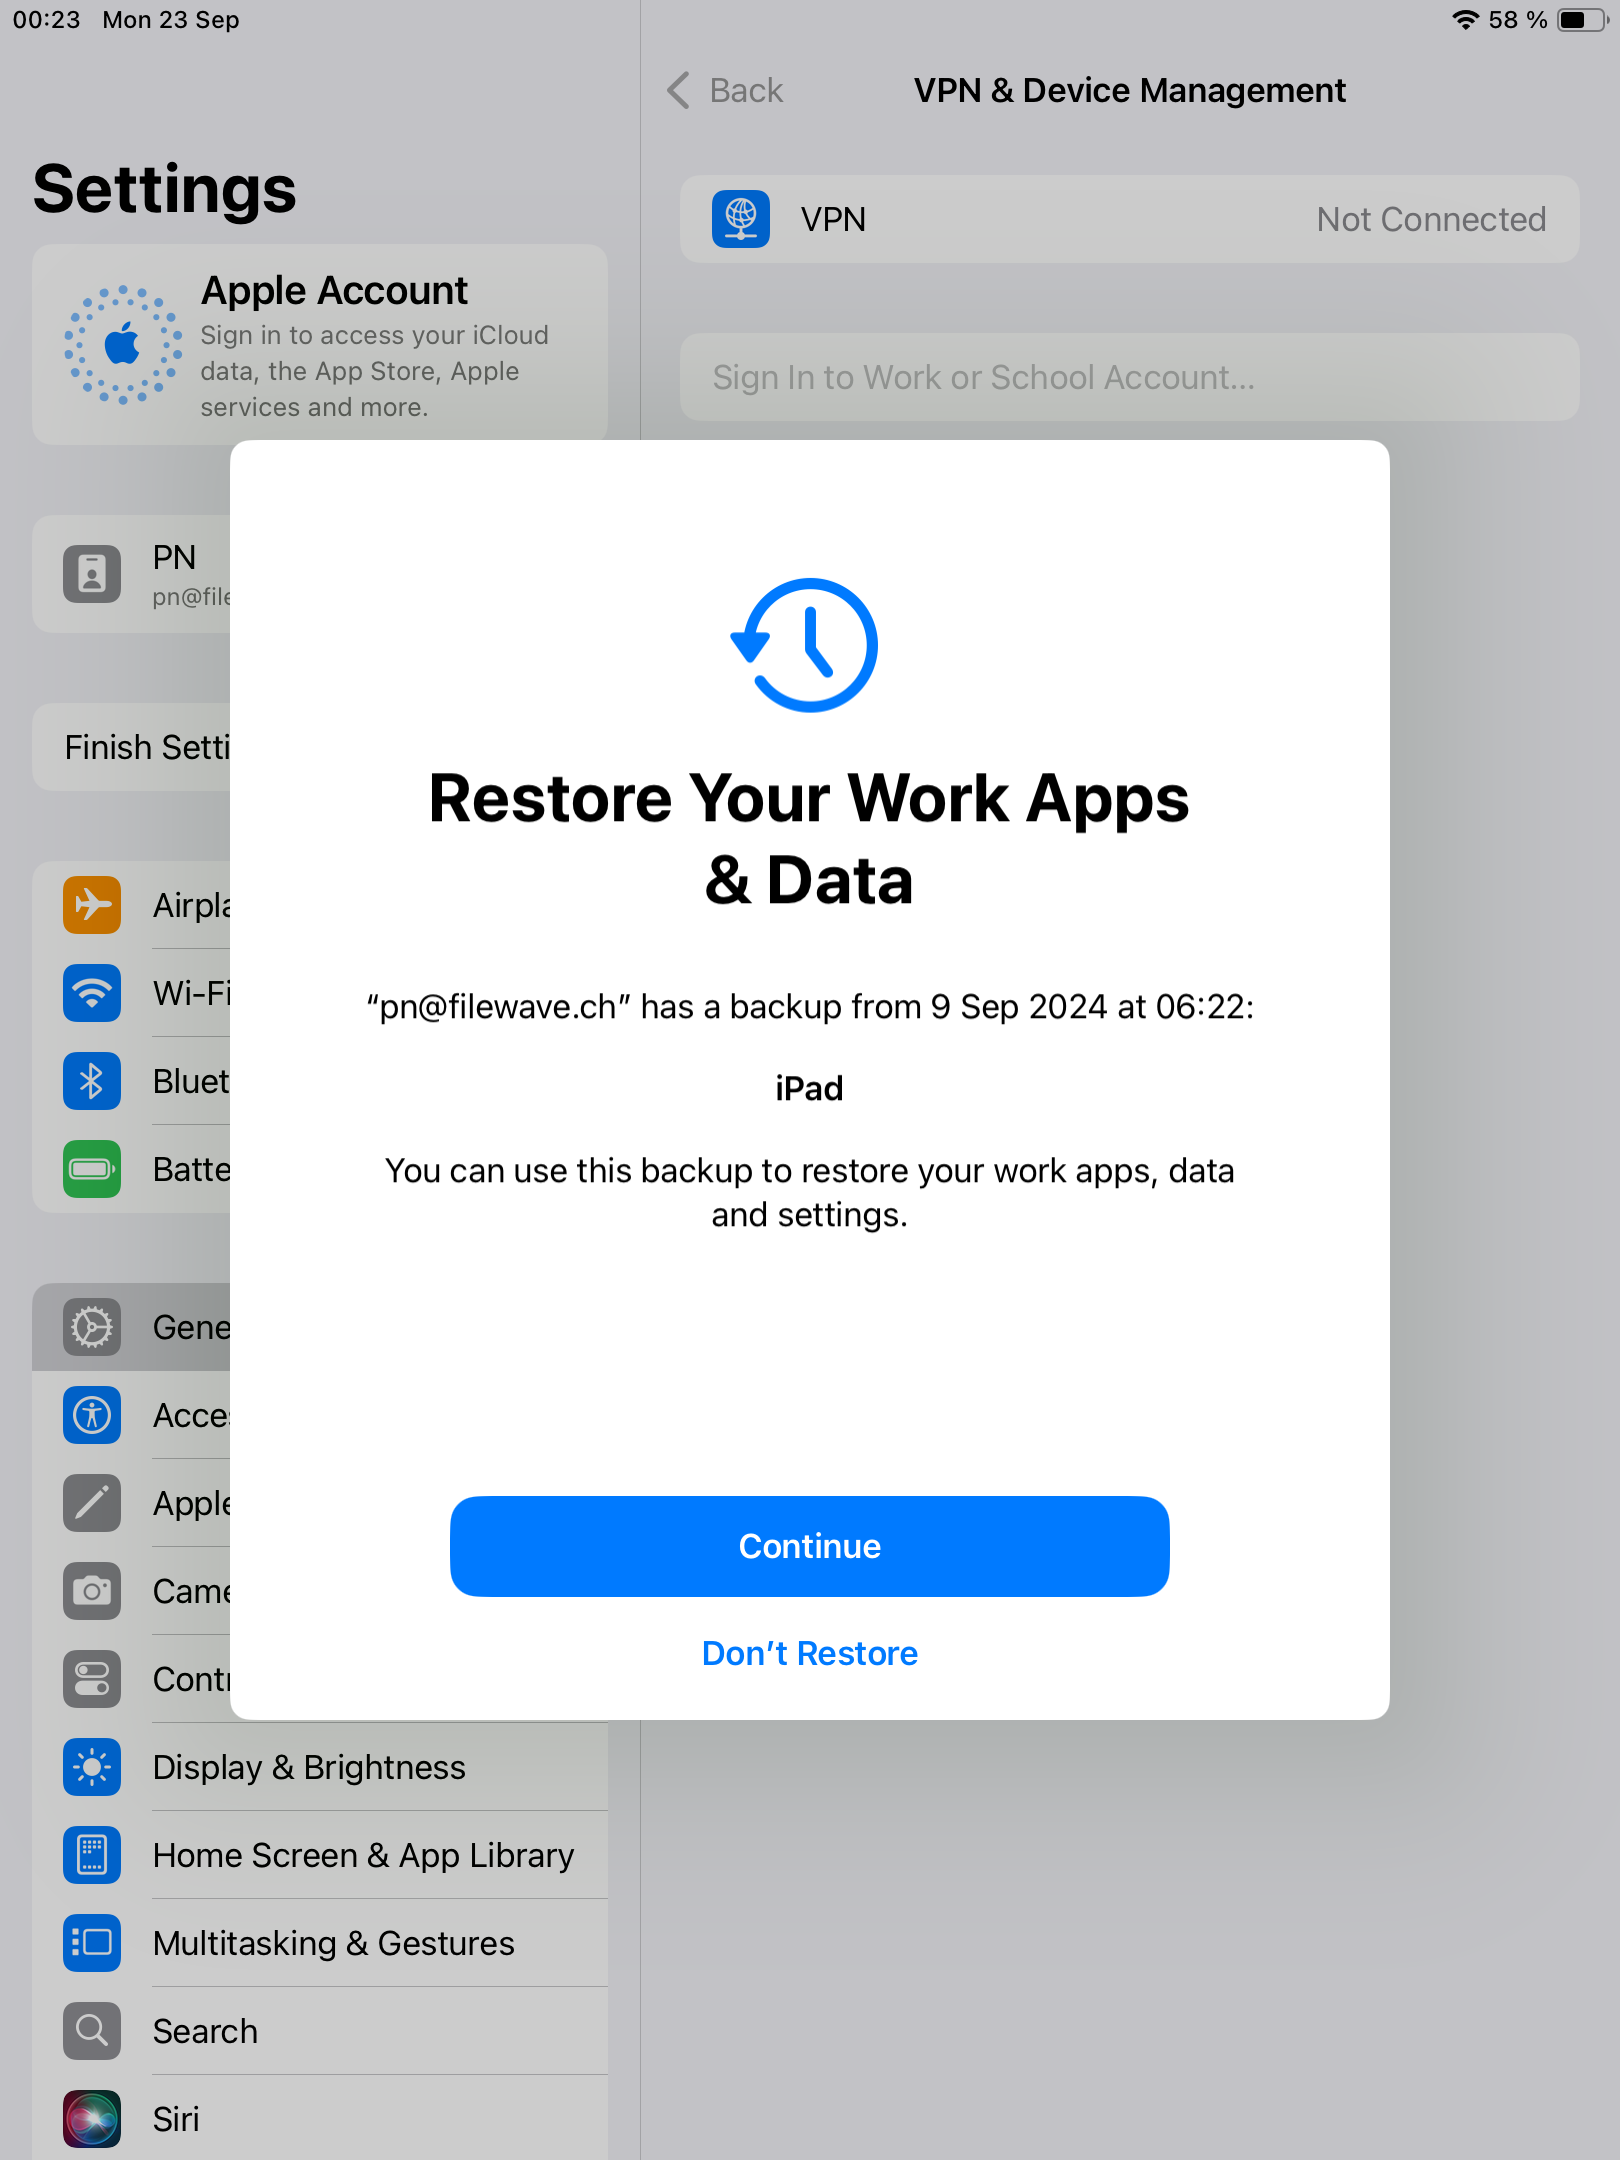
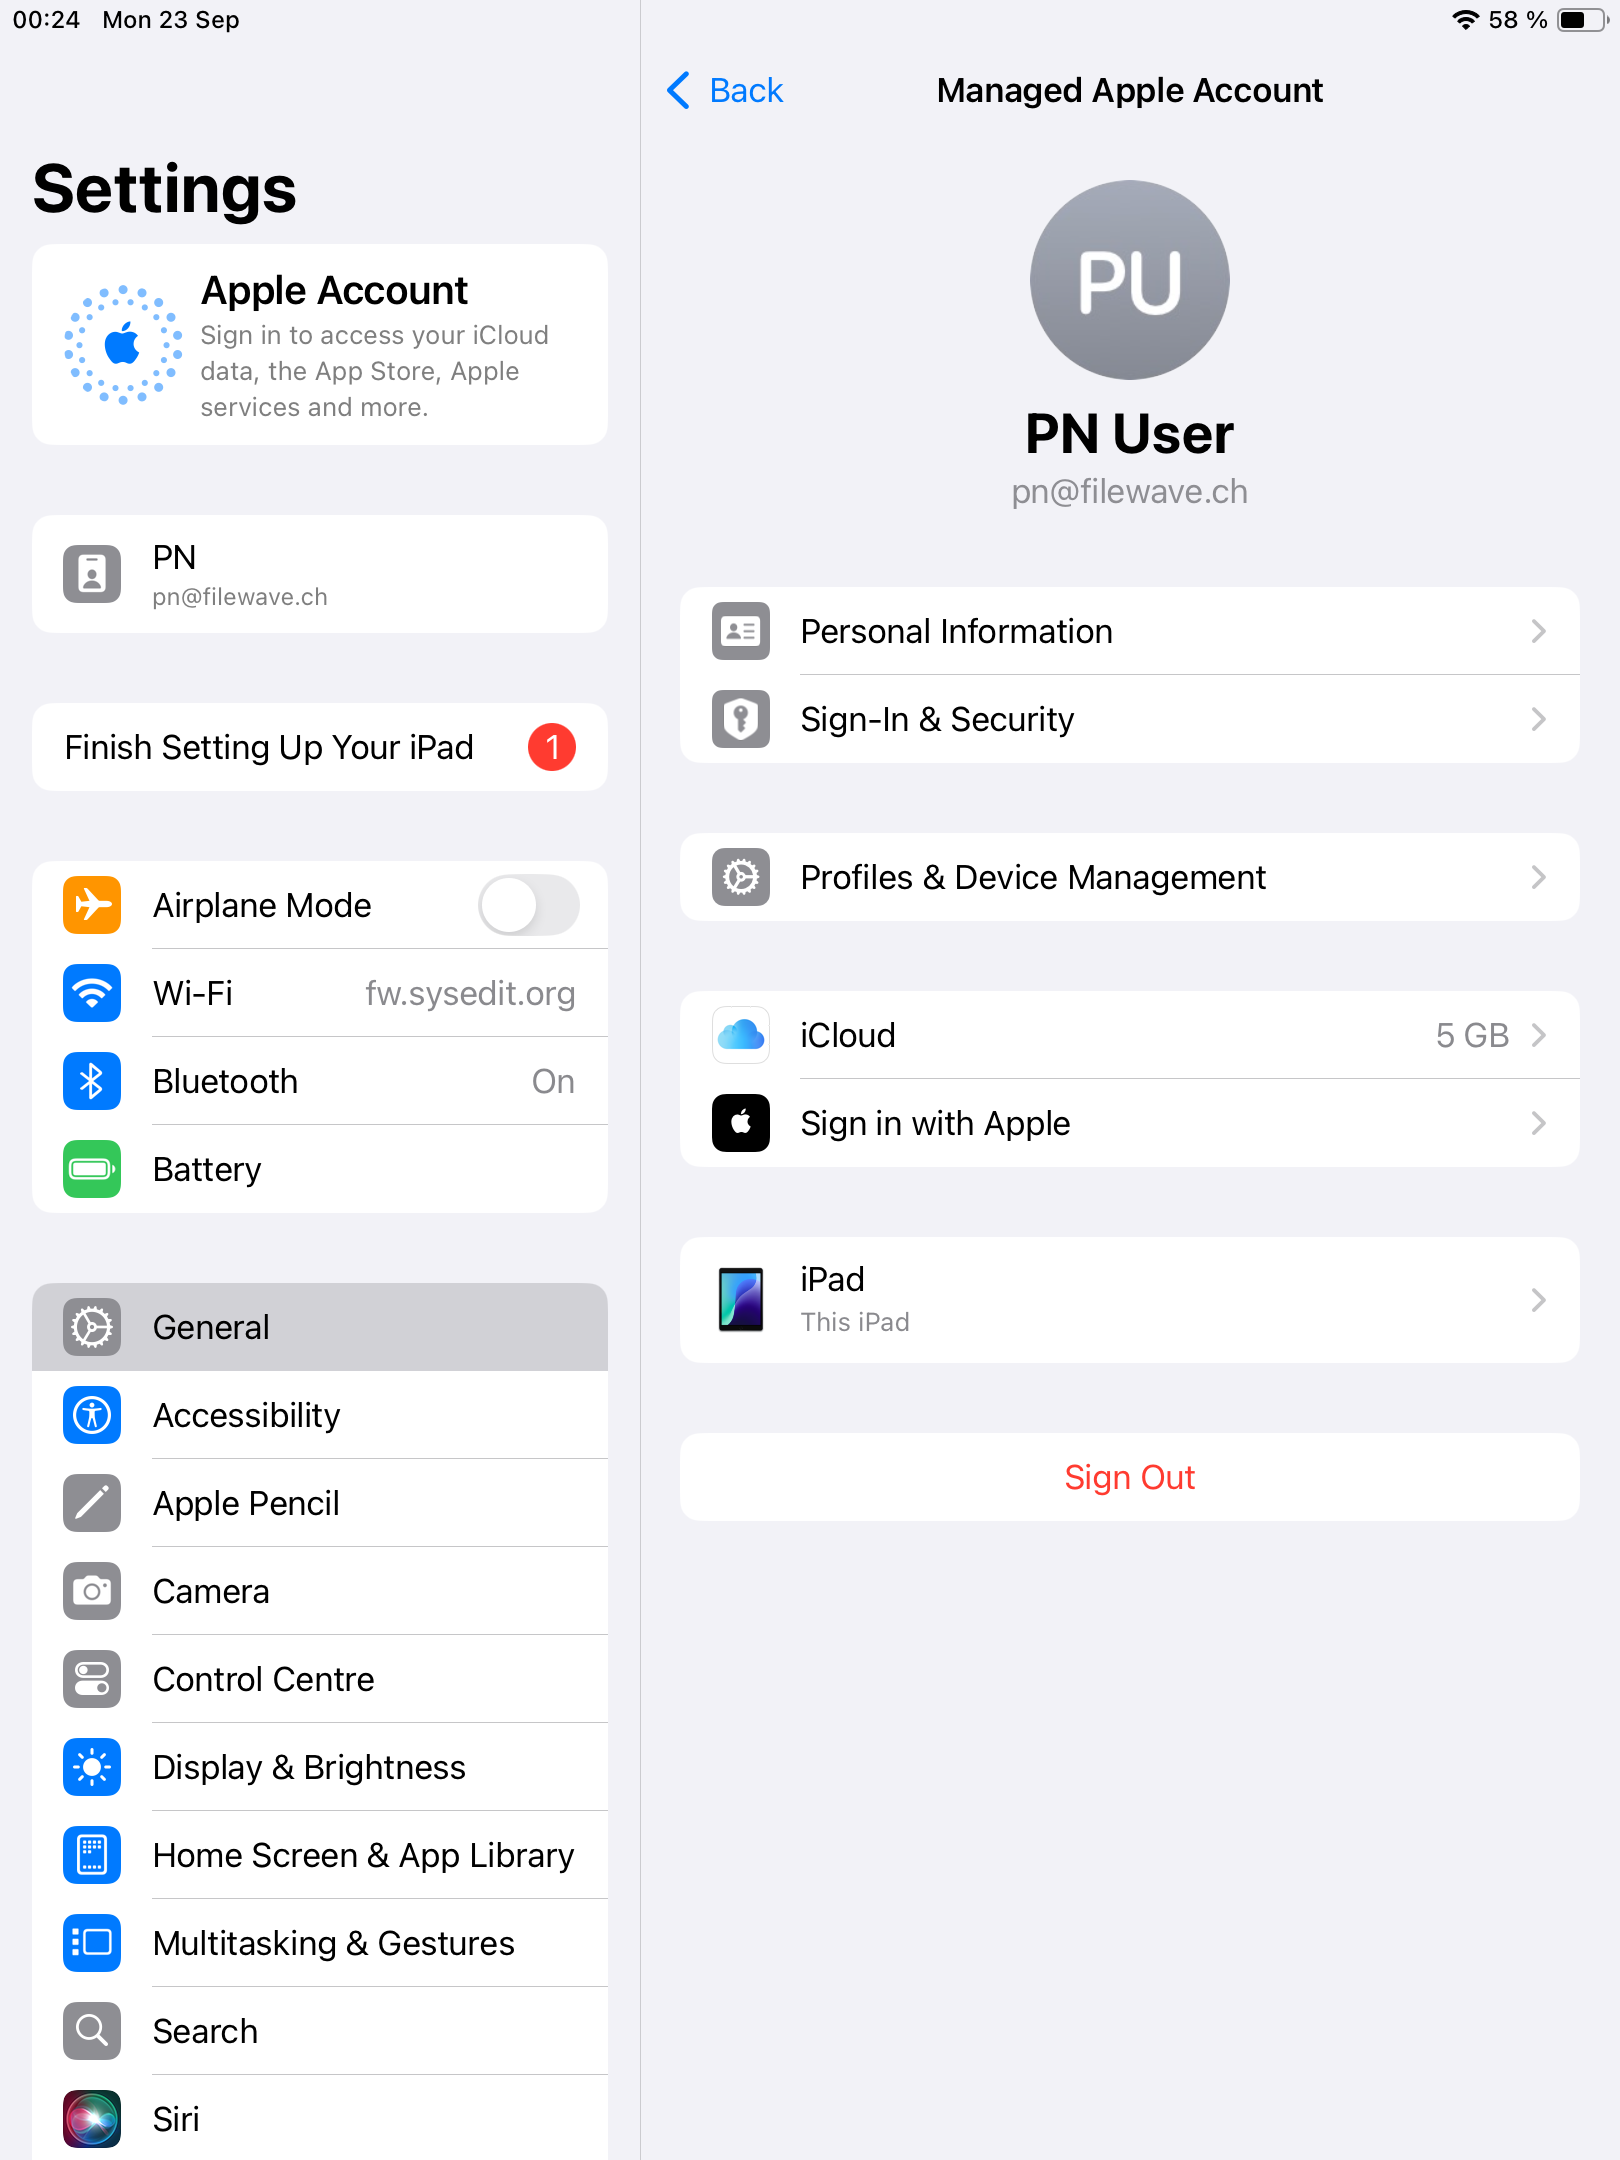
On their iPhone or iPad, the user navigates to Settings > General > VPN & Device Management and taps Sign In to Work or School Account.
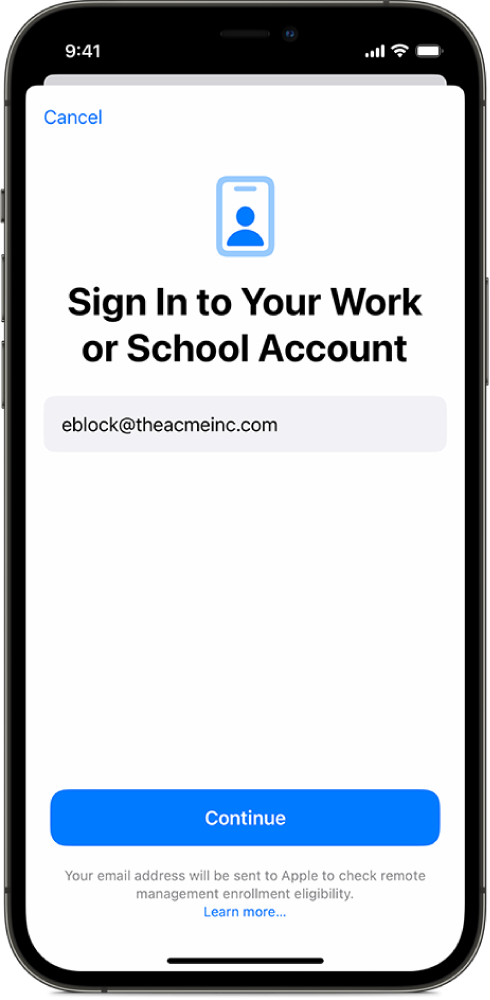
The email entered is used by the device to discover the MDM server. For example, if you enter “pn@widget.ch”, the device queries the widget.ch domain, specifically at https://widget.ch/.well-known/com.apple.remotemanagement.
This endpoint must return a specific JSON message containing all the information required to proceed with MDM BYOD enrollment. Therefore, organizations must have control over this URL, which could be an issue for those who completely outsource their website management (see below for potential workarounds).
FileWave Setup
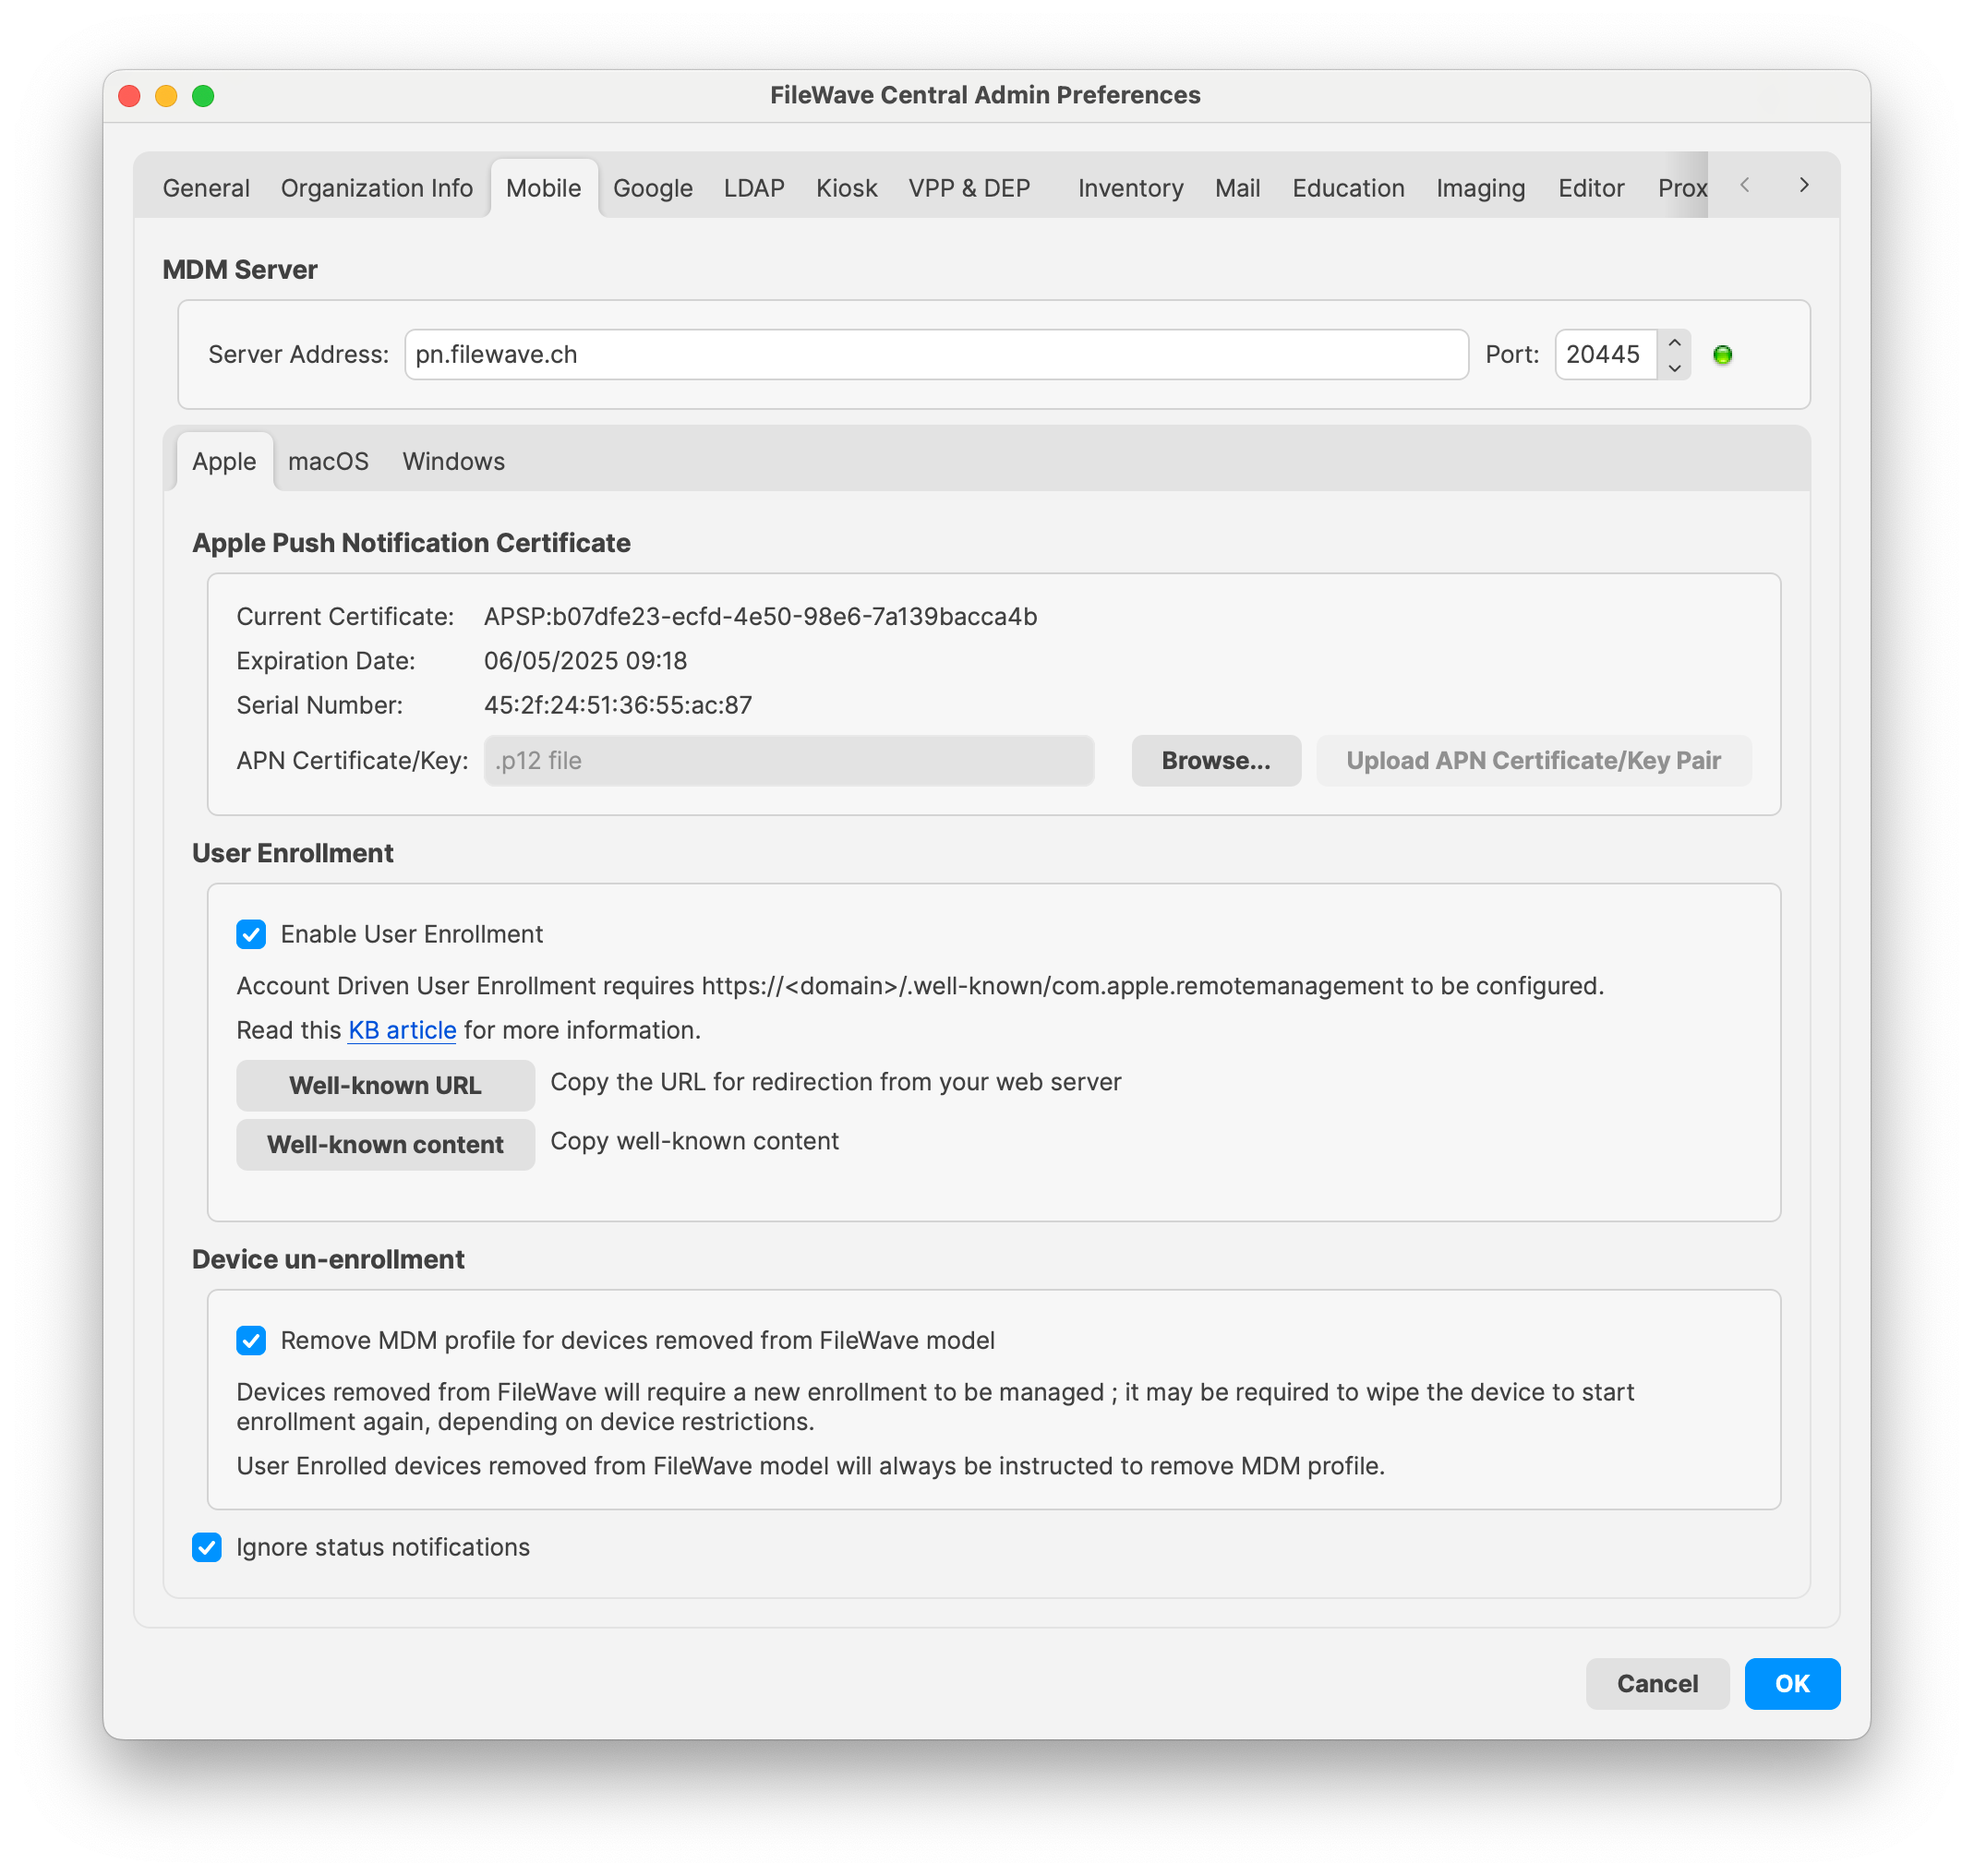
The existing User Enrollment option in FileWave now enables both legacy BYOD and the new Account-Driven Enrollment (ADE)ADUE):
FileWave cannot manage your domain but provides some helpful options:
-
Retrieving the Well-Known Content (JSON):
-
If you prefer to host the required file yourself, you can easily obtain the necessary JSON content from FileWave.
-
Click the “Well-known content” button in the FileWave interface. The following JSON will be copied to your clipboard:
{"Servers": [{"Version": "mdm-byod", "BaseURL": "https://pn.widget.ch:20445/ios/byod/enroll/"}]} -
Create a file containing this JSON and serve it from your web server at the appropriate URL (https://yourdomain/.well-known/com.apple.remotemanagement).
-
-
Setting Up a Redirection to the FileWave Server Endpoint:
-
Alternatively, you can configure your web server to redirect requests from https://yourdomain/.well-known/com.apple.remotemanagement to the FileWave server endpoint.
-
Retrieve the endpoint URL by clicking the “Well-known URL” button in FileWave. For example, the endpoint might be:
https://pn.widget.ch:20445/ios/byod/well-known/ -
Consult your web server documentation for details on setting up the redirection. For instance, to configure Apache, add the following directive inside the VirtualHost section:
RewriteRule ^/.well-known/com.apple.remotemanagement https://pn.widget.ch:20445/ios/byod/well-known/ [R=301,L]
-
Related Content
Digging Deeper
Device Enrollment Process Workflow
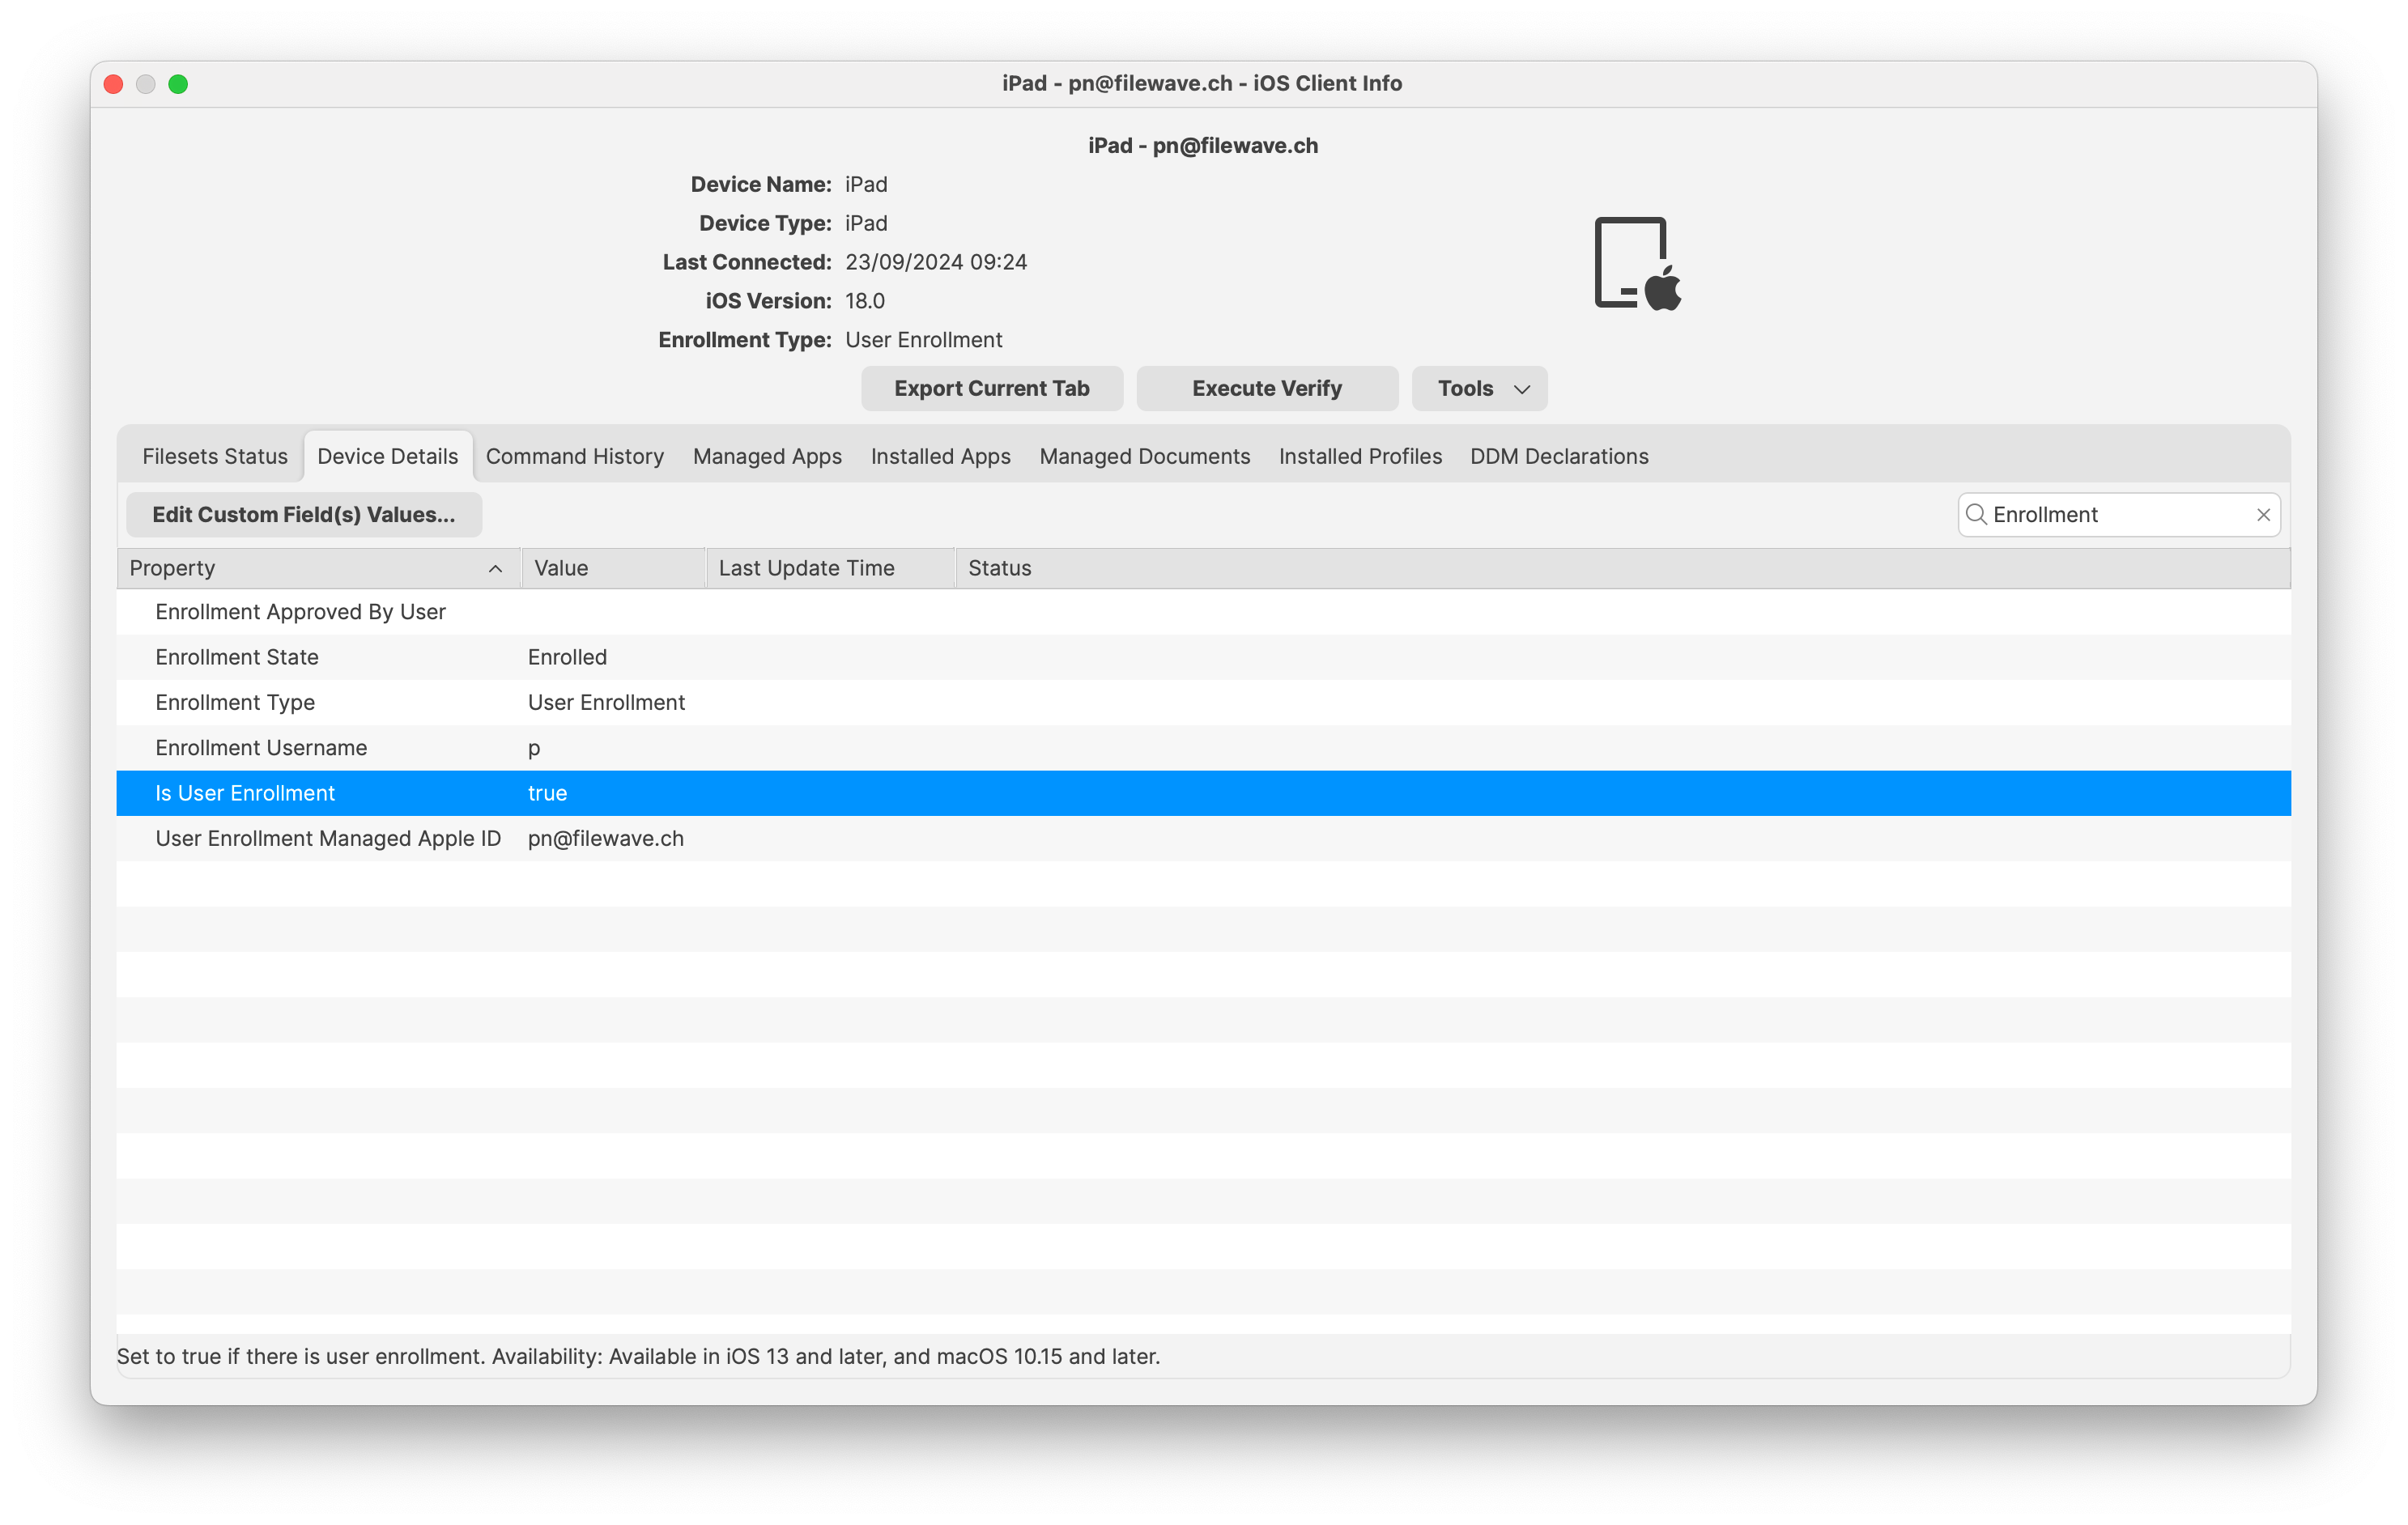
Now the device is ready. As a final step, you need to add the device to FileWave. It will appear in the “New Mobile Client” dialog, or it will be automatically added to the model if Auto-Enrollment is enabled.
