Creating Windows Driver Filesets
Description
This recipe is to walk you through the simple process of finding Windows OS drivers and uploading them into FileWave. Windows drivers are used in our Network Imaging process.
You can only assign a driver Fileset after an image association has been made.
To learn more about FileWave network imaging with Windows and the full process of creating, assigning, and deploying an image see: Network Imaging Guide
Ingredients
- FW Admin
- Internet Connection
- An unarchiving tool (like 7-zip)
Directions
-
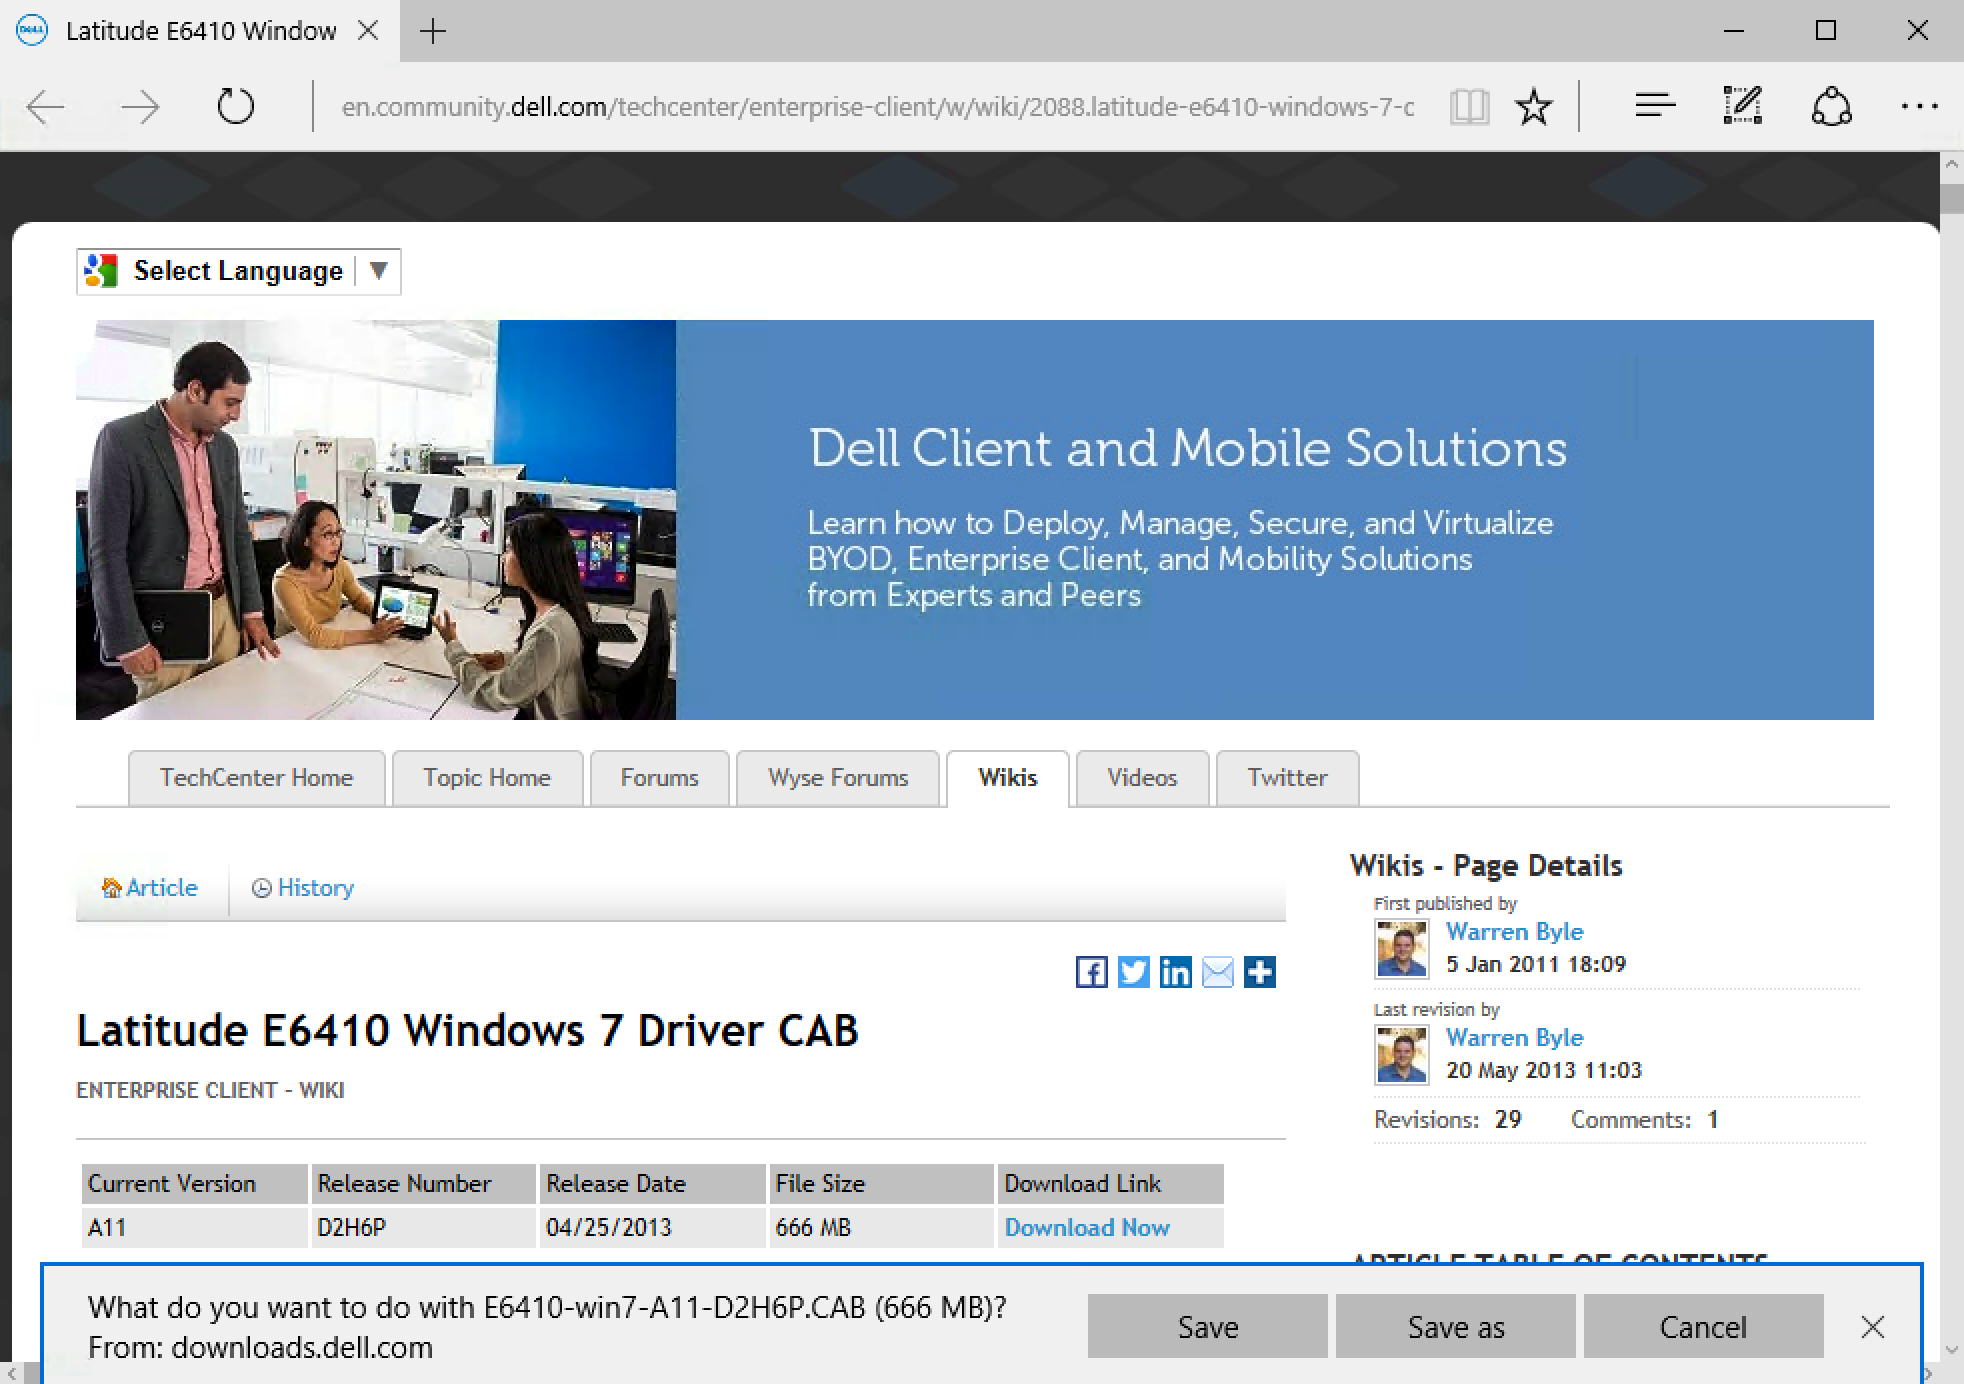
Find your driver packs from the manufacture. You will need to fine the .CAB or .INI files. In the screenshot below I simply google searched "Dell Latitude E6410 driver pack" and the second result find me the back below where I downloaded the .CAB file

-
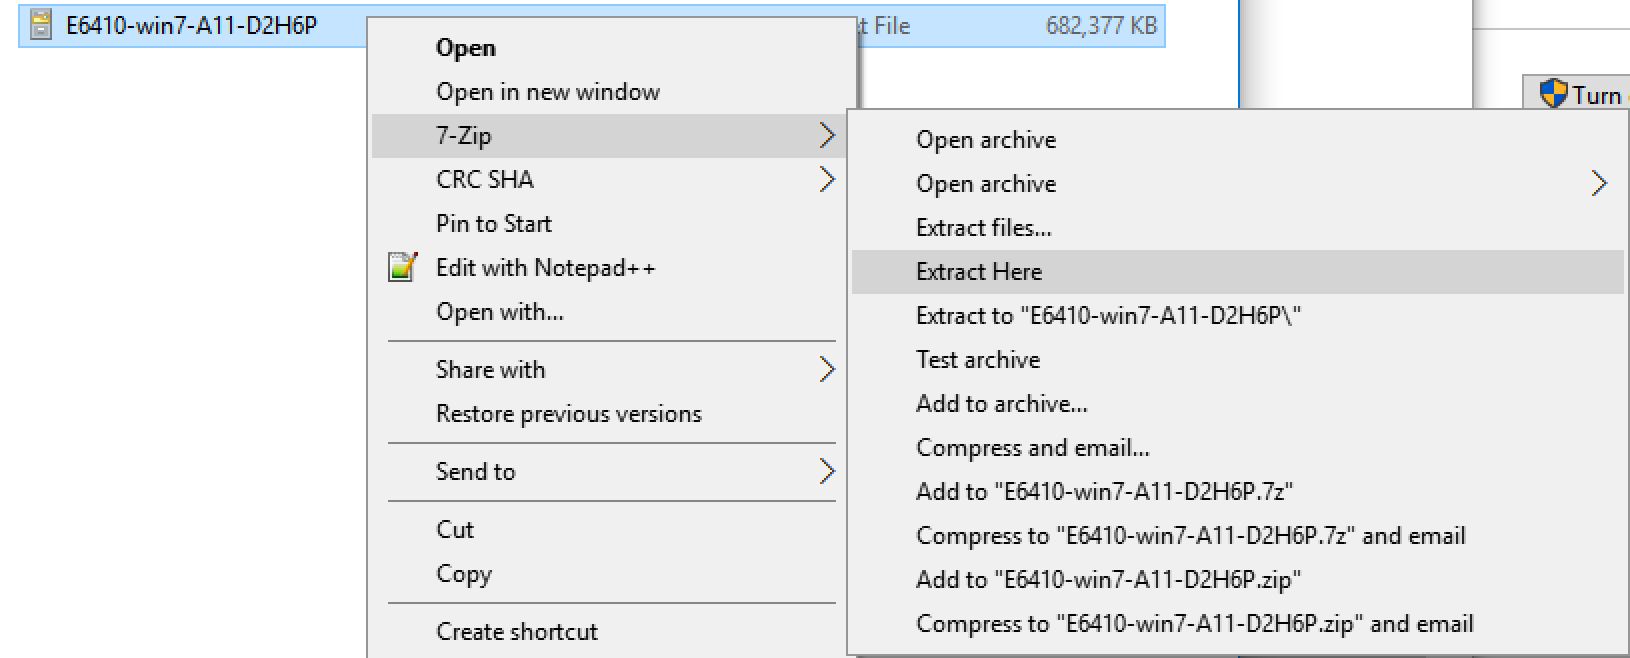
Once you have located and downloaded your driver pack it is time to extract it. Right click on the .CAB file and have 7-zip extract the file

-
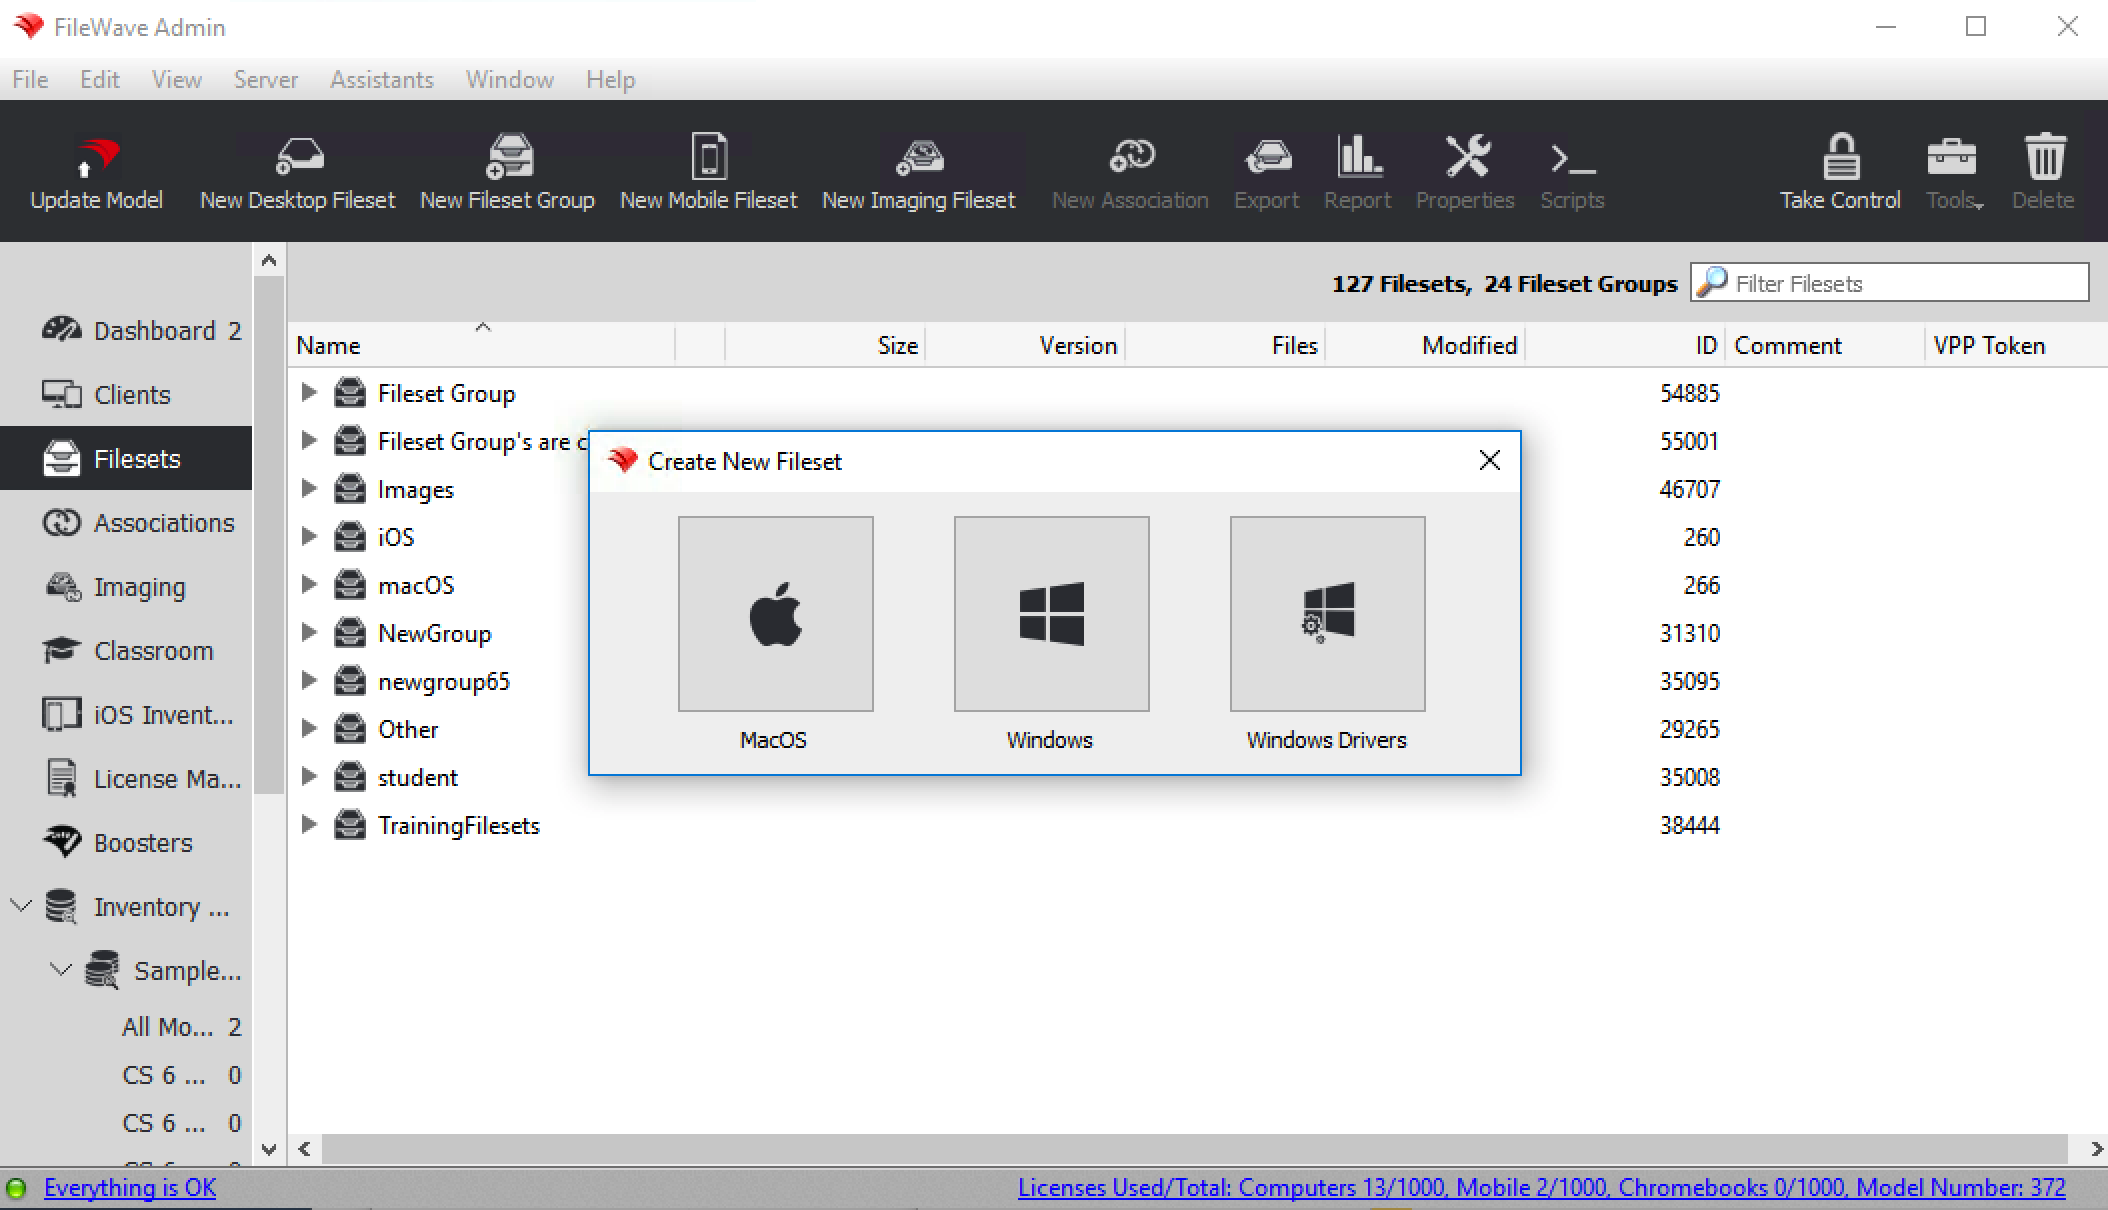
AfterAfter the driversareare extracted you can now upload the whole drivers folder into FileWave. -
Log
intointo FileWave Admin, go tothethe Filesetsthethe New Image Filesetthethe Create New Filesetselectselect Windows Drivers.
-
Now simply find the extracted folder from the .CAB file and bring it into FileWave. The Windows driver fileset will be visible in
thethe Filesetthethe Imaging -
When the fileset has turned black you can now associated the drivers in
thethe Imaging section. These drivers will be sent out to your device(s) during the network imaging process. -
Once in
thethe ImagingSimplySimply click,andand drop the drivers on top of your device, or group of devices.The drivers will be deployed along with an image that you have already assigned the device(s)