Webmin GUI (On-Premise)
Webmin GUI
For an on-premise installationFileWave of FileWaveServer, the Webmin GUI can help you set some options on theconfigure Debian operating system.system Notesettings thatsuch as time, networking, DNS, routing, and passwords. FileWave-hosted servers do not expose this doesWebmin notinterface. exist for servers hosted by FileWave. It’s especially important to setSet the root password asduring seenappliance below.setup and store it in your organization's approved credential system.
For Webmin on Debian know that you will need toDebian, go to Webmin -> Webmin Configuration -> Operating System and Environment and makeconfirm surethat it'sthe setoperating tosystem version matches the Debian 12.4 (Or whatever version weinstalled areon atthe when you set up your system.server. You can seecheck thisthe Debian version with cat /etc/debian_version on the server..
-
At the login
screenscreen, note the URL used to remotely manage the server,ex:for example https://myorg.filwave.filewave.net:10000.-
If there is no IP address
specifiedbecause DHCP is not available on the subnet for your FileWave LinuxAppliance,appliance,loginlog in withtheusername "fwadmin"withand password "filewave".Note that olderOlder appliances usedathe usernameof"root", butsineFileWave 15.5.0thisandhaslaternotusebeenfwadmintheforcasefirst login. -
Run
"nmtui"nmtuiat the command prompt to launch theNetworkNetworkManagerManager Texttext UIso you canand configurethenetworking for the FileWave VM appliance.You'll need to reloadReload the IP stack with"service network.restart"restartSkipIf you configure networking this way, skip the network configuration steps later intheWebmin.
-
-
Browse to
thisthe Webmin URL and log in with username "fwadmin" and password "filewave".WeYou will change this password later. -
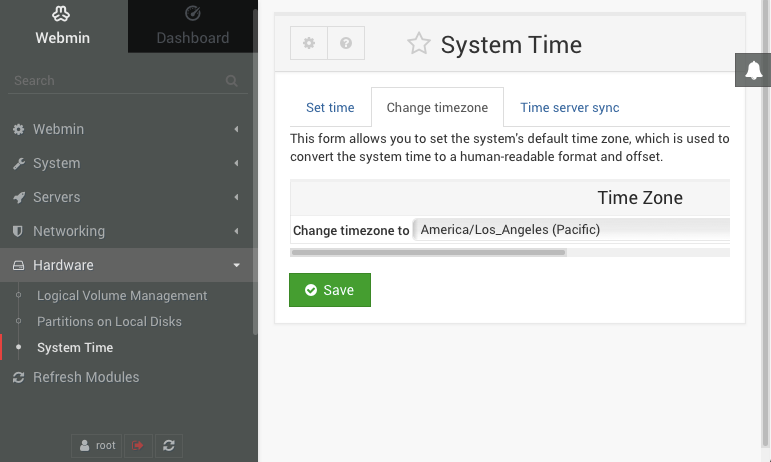
Browse to Hardware > System Time on the left,
pickselect the Change timezone tab on the right,pickchoose your timezonezone, and click Save. North American time zonesallstart with "America". -
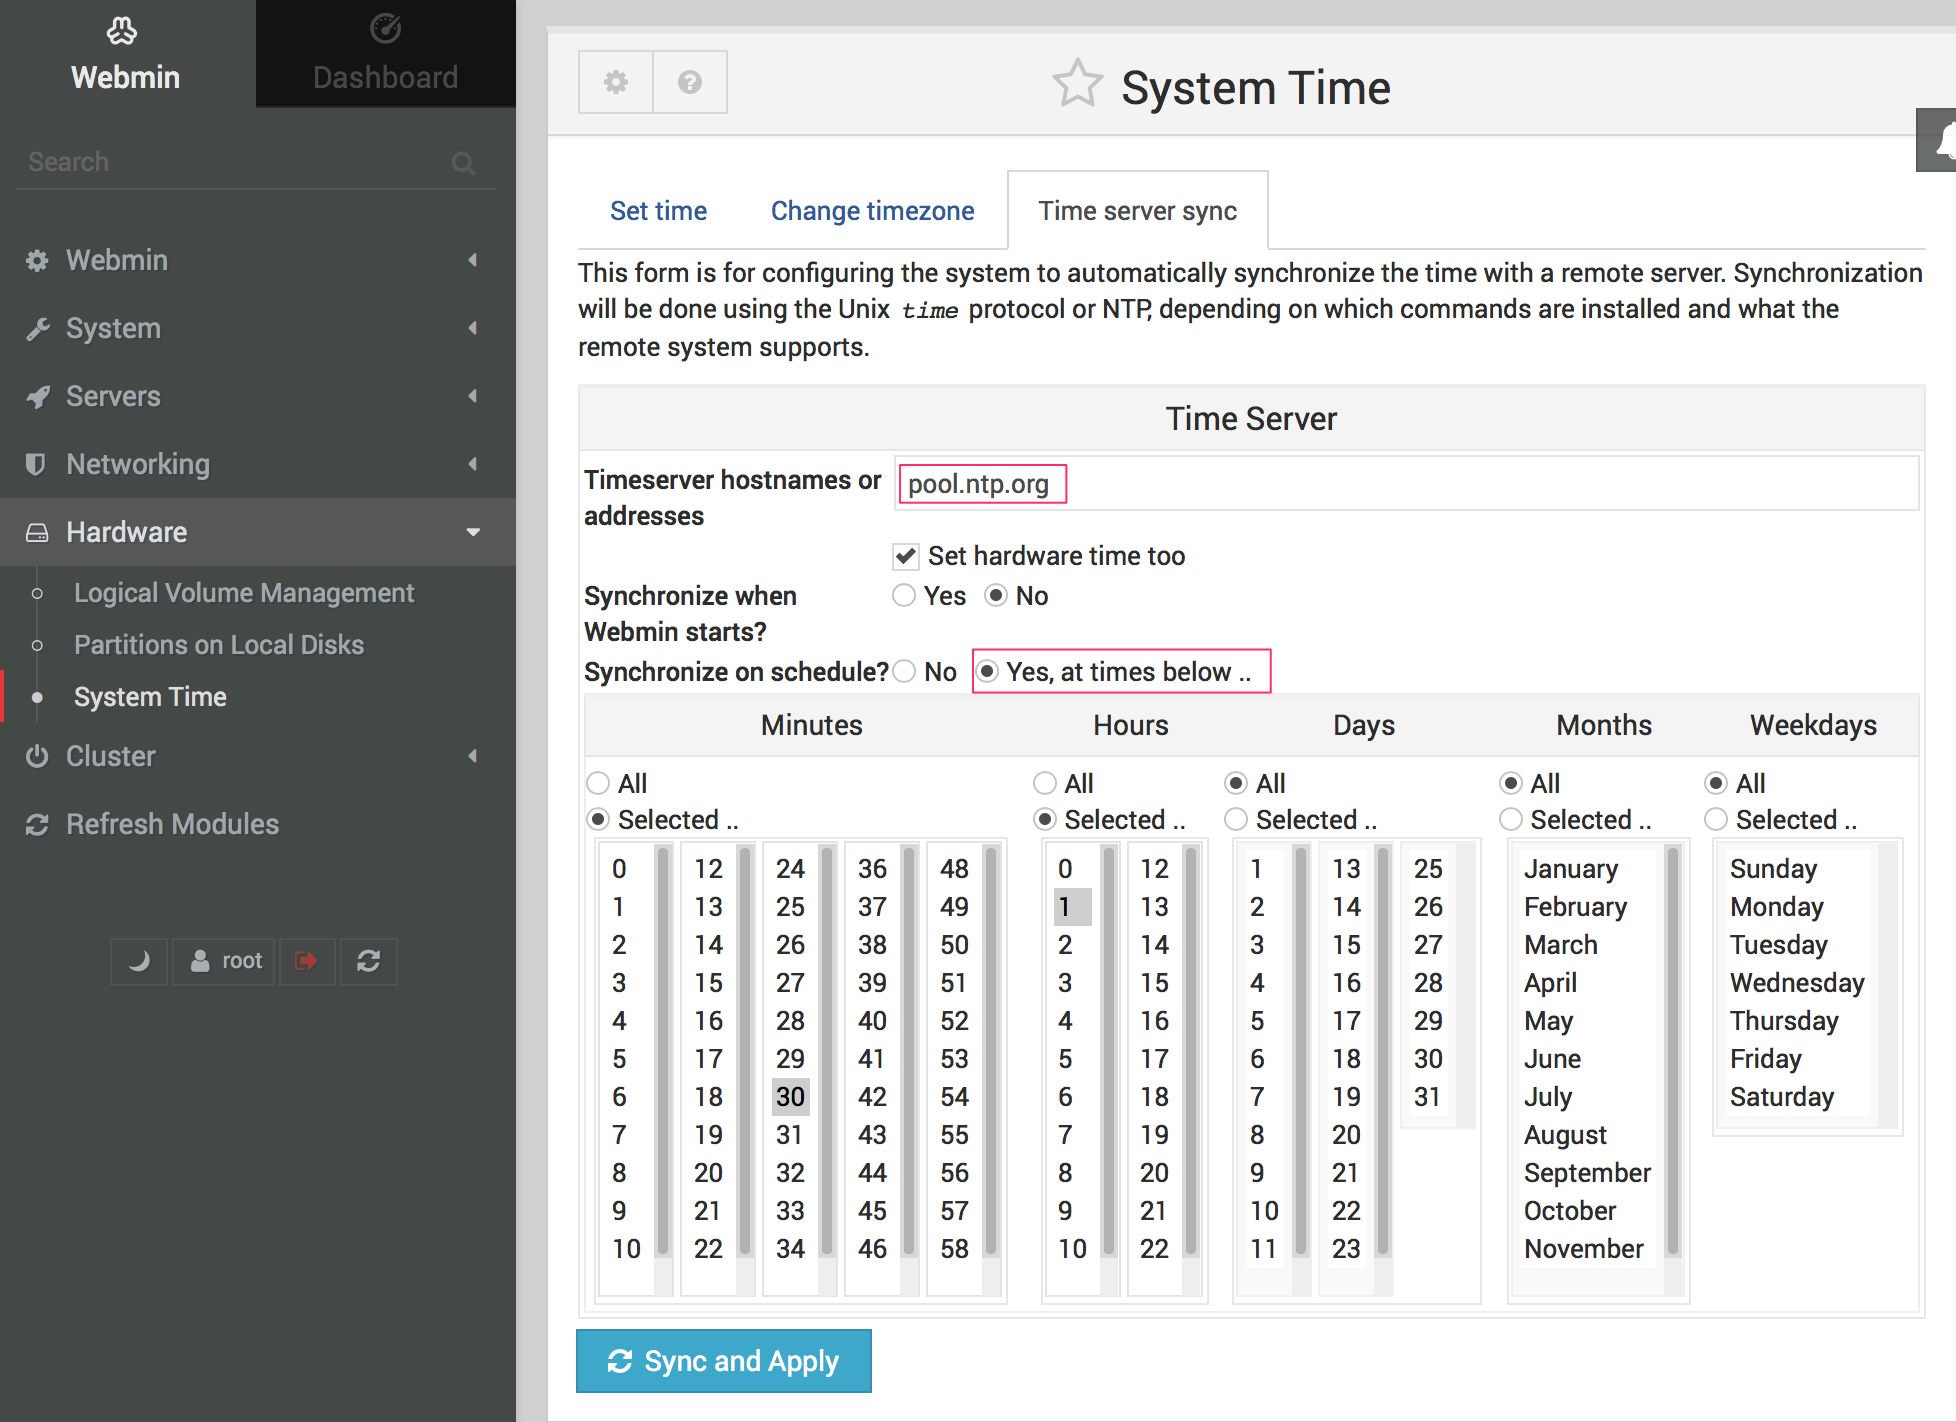
Switch to
thethe Time server sync tab, enter "pool.ntp.org" in the Timeserver hostnames or addresses field, set Synchronize on schedule? to "Yes, at times below", and clicktheSync and Applybutton.. -
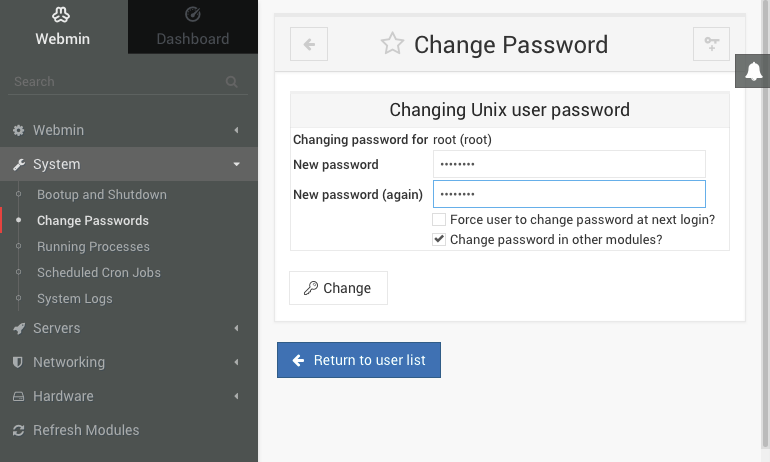
Go to System > Change Passwords on the left and select the "root" account on the right from the list of usernames. Enter a new root password, confirm it, and click Change.
NoteThisthat this will changechanges the defaultpassword for therootaccount used to log into the serverpassword from "filewave" towhateverthe value youchoosechoose, soenteruse a secure password thatisyoureasyorganizationforcanyourecovertowhenremember.needed. -
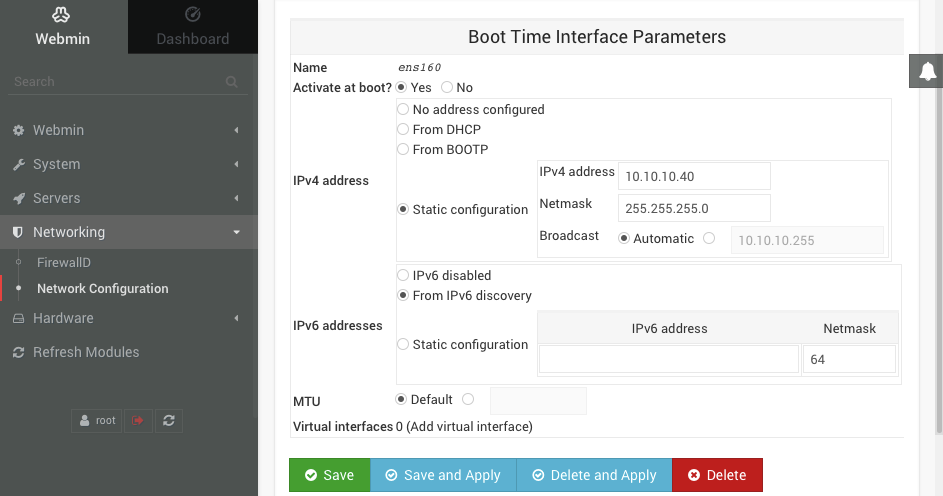
Choose Networking > Network Configuration on the left,
andthen Network Interfaces on the right. Click the blue link labeled "ens160" or "ens32" for the Ethernet adapter. Change the IPv4 addresssettingssetting to "Static configuration", enterathe staticIP,IPenter aand subnet mask,andthen click Save and Apply at thebottom_._bottom. -
You will no longer be able to access
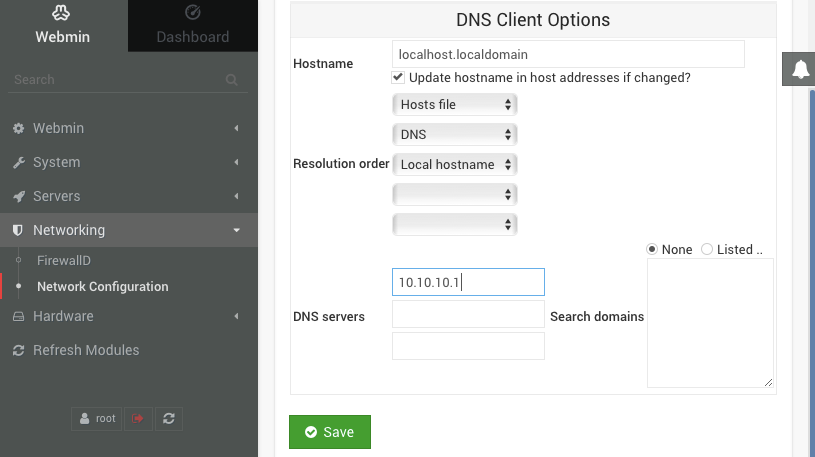
theWebminUI forthrough theFileWave servers via itsold DHCP IP address. Changethe address inyour browser's address bar tousethe new static IP address for the FileWaveserverserver,thatthenyou configured in the previous step. Browsebrowse to Networking > Network Configuration on theleft,left and Hostname and DNS Client on the right. Enter the IP address for your DNS server and click Save. -
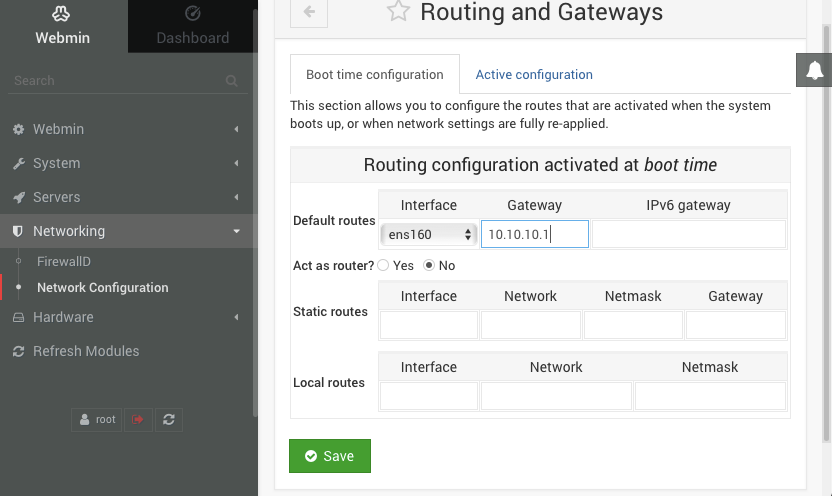
Select Networking > Network Configuration on the left,
andthen Routing and Gateways on the right. Pick "ens160" or "ens32" from the Default routespull-down,menu, enter the default gateway address for the subnet hosting the FileWaveserver is hosted on,server, and click Save. -
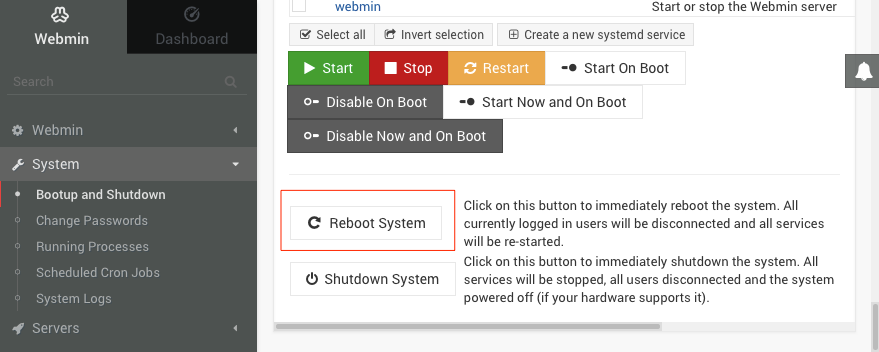
Go to
S_ystemSystem > Bootup andShutdown_Shutdown on the left, scroll to the bottom on the right, and clicktheReboot Systembutton.. WhenaskedWebmin asks you to confirmif you want to reboot the system with"shutdown -r now", clicktheReboot Systembuttonagain.