Webmin GUI (On-Premise)
Webmin GUI
For an on-premise FileWave Server, the Webmin GUI can help you review or adjust Debian OS-level settings such as time, networking, DNS, routing, and passwords. FileWave-hosted servers do not expose this Webmin interface. Set the root password during appliance setup and store it in your organization's approved credential system.
For Webmin on Debian, go to Webmin > Webmin Configuration > Operating System and Environment and confirm that the operating system version matches the Debian version installed on the server. You can check the Debian version with cat /etc/debian_version.
-
At the login screen, note the URL used to remotely manage the server, for example https://myorg.filewave.net:10000.
-
If there is no IP address because DHCP is not available on the subnet for your FileWave Linux appliance, log in with username "fwadmin" and password "filewave". Older appliances used the username "root", but FileWave 15.5.0 and later use fwadmin for first login.
-
Run
nmtuiat the command prompt to launch the NetworkManager text UI and configure networking for the FileWave VM appliance. Reload the IP stack withservice network restart. If you configure networking this way, skip the network configuration steps later in Webmin.
-
-
Browse to the Webmin URL and log in with username "fwadmin" and password "filewave". You will change this password later.
-
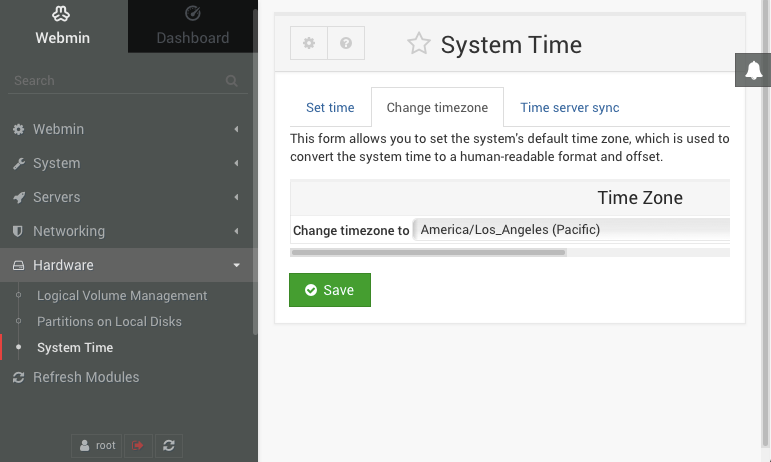
Browse to Hardware > System Time on the left, select the Change timezone tab on the right, choose your time zone, and click Save. North American time zones start with "America".
-
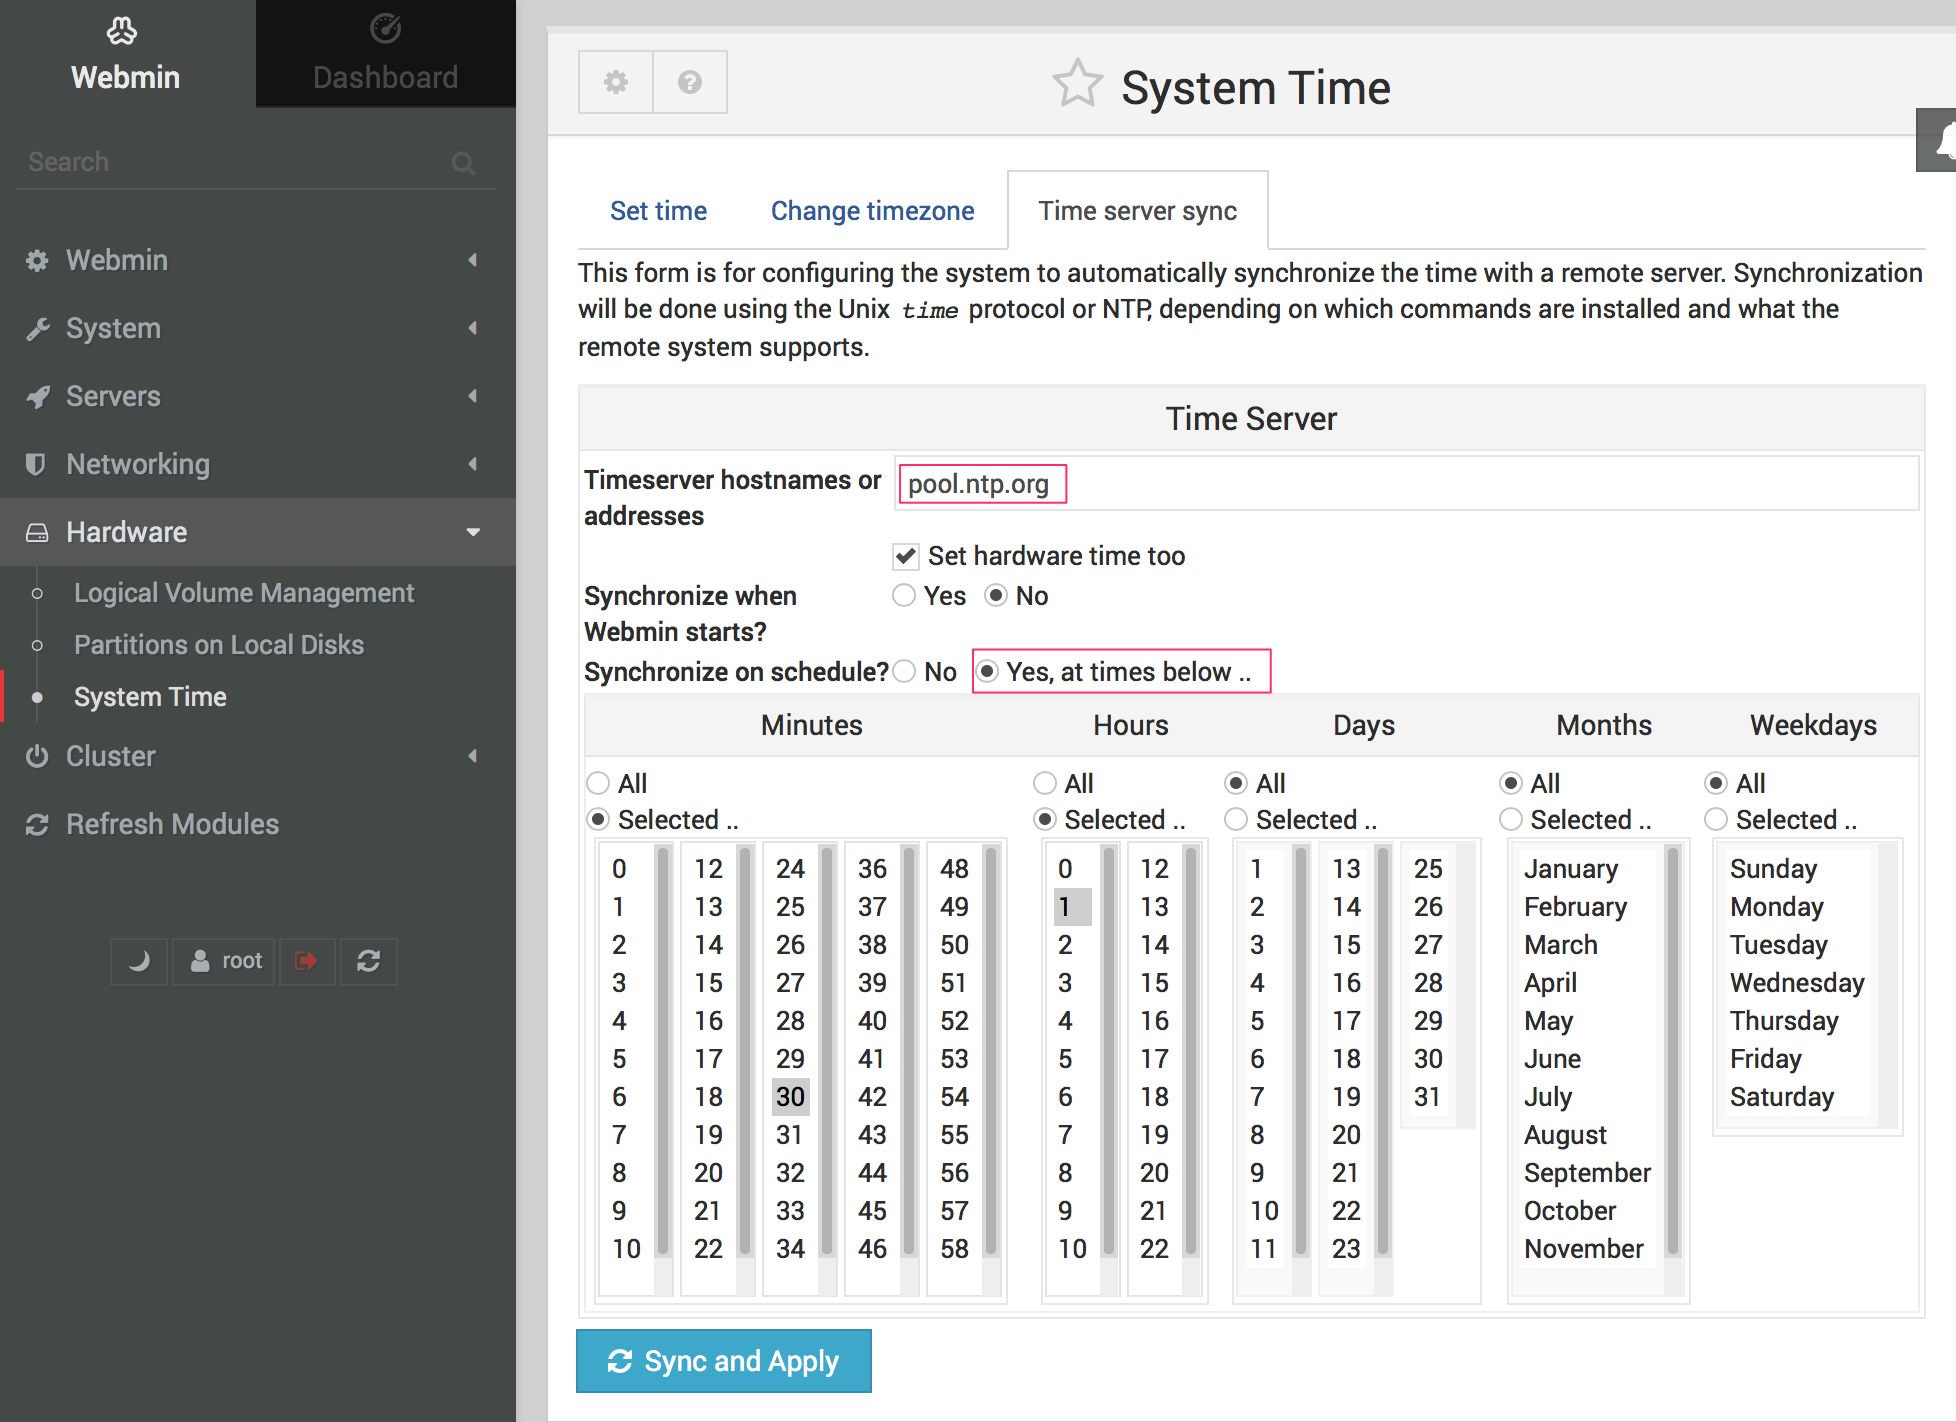
FileWave appliances are normally pre-configured for time synchronization. Use the Time server sync tab only if you need to verify or adjust the time source for your environment. If your organization requires a specific NTP server, replace the existing value with the approved hostname or address, set Synchronize on schedule? to "Yes, at times below", and click Sync and Apply.
-
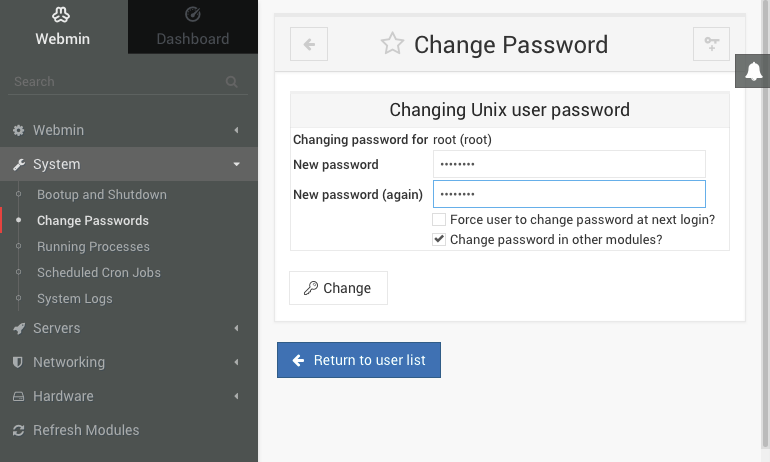
Go to System > Change Passwords on the left and select the "root" account on the right from the list of usernames. Enter a new root password, confirm it, and click Change. This changes the default root password from "filewave" to the value you choose, so use a secure password that your organization can recover when needed.
-
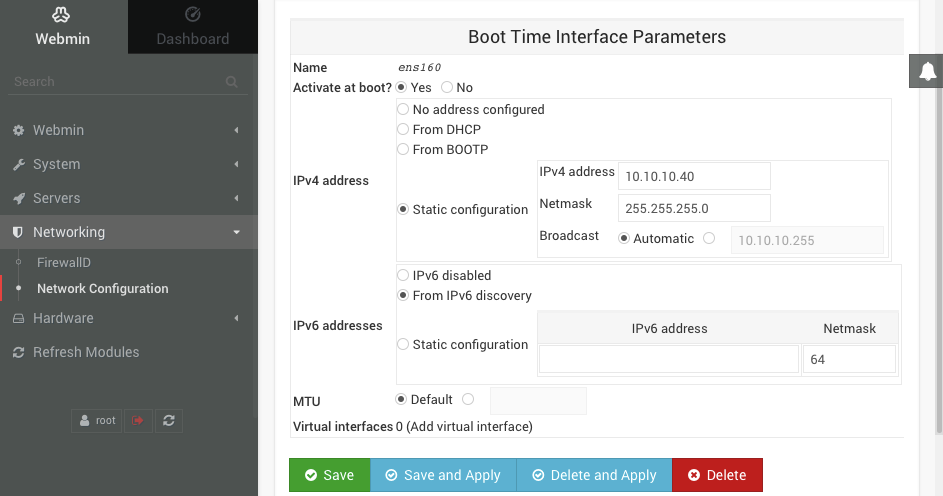
Choose Networking > Network Configuration on the left, then Network Interfaces on the right. Click the blue link labeled "ens160" or "ens32" for the Ethernet adapter. Change the IPv4 address setting to "Static configuration", enter the static IP and subnet mask, then click Save and Apply at the bottom.
-
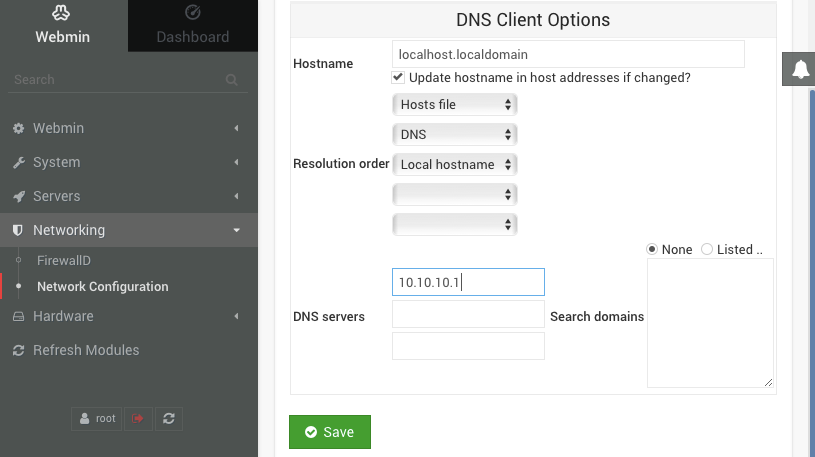
You will no longer be able to access Webmin through the old DHCP IP address. Change your browser's address bar to the new static IP address for the FileWave server, then browse to Networking > Network Configuration on the left and Hostname and DNS Client on the right. Enter the IP address for your DNS server and click Save.
-
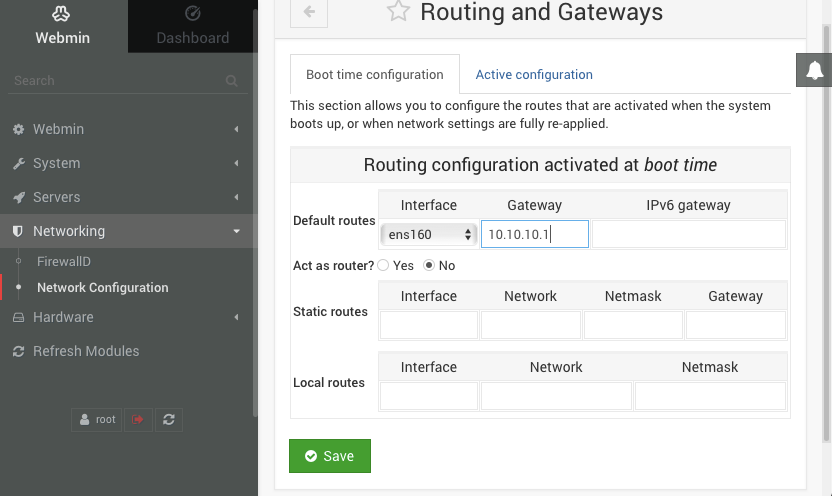
Select Networking > Network Configuration on the left, then Routing and Gateways on the right. Pick "ens160" or "ens32" from the Default routes menu, enter the default gateway address for the subnet hosting the FileWave server, and click Save.
-
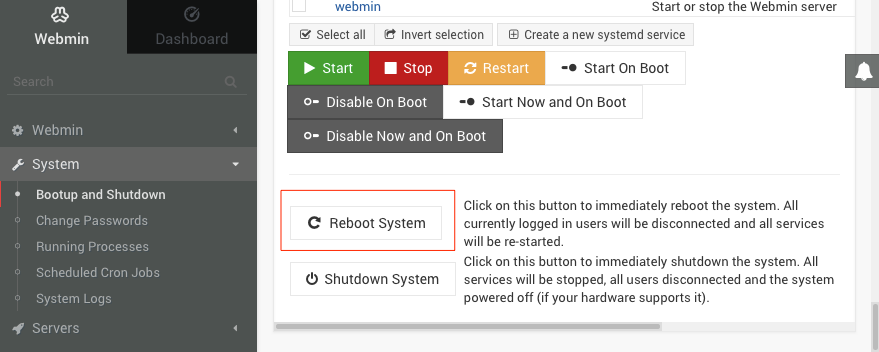
Go to System > Bootup and Shutdown on the left, scroll to the bottom on the right, and click Reboot System. When Webmin asks you to confirm "shutdown -r now", click Reboot System again.
No comments to display
No comments to display