
Include the FileWave Client in a Windows Base Image
What
TheInclude generatedthe FileWave Client in a Windows base image shouldso benewly leftimaged asdevices cleancan ascheck possible,in withimmediately. anyKeep chosenother installationsapplications handledout afterwards to prevent having to recreate the image more often than absolutely required. However,of the base image shouldwhen includepossible, and prevent the FileWavesource Client,device tofrom ensurechecking imaged devices check-in immediately after theClient imaginginstallation process.so The purpose of this guide is to avoid creating duplicate enrollments (namely, theits Device ID canand easilyserver berecord are not cloned ifto notevery careful)deployed for Windows devices when imaged.image.
InstallingInstall the FileWave Client should take place justimmediately before Syspreprunning isSysprep. commenced.
When/Why
the Thesource device offline during installation, then stop the FileWave Client shouldservice bebefore installed, prior to generatingreconnecting the image,network.
Prepare the source device
Use the personalized Custom MSI. The Custom MSI installer can be found here: Custom FileWave Client for Windows. MSI that points to your FileWave Server.
However,Do thisnot let the source device check in after the Client is installed. A check-in can create a server record and write device-specific configuration that should not be allowed to checkcopied into the FileWavebase Server,image.
When ensure thatbuilding the clientimage does not have any unique configuration passed onto each imaged device or that any database entries are created for this device.
Consider usingin a VMvirtual andmachine, takingtake a snapshot before makinginstalling anythe priorClient. configurationYou changescan return to that clean point if the basesource image.device Ifchecks ain mistakeor isanother made,preparation itstep will then be easy to rollback and redo that stage.fails.
If afterthe source device checks in, stop the FileWave Client isservice, installed the source device is allowed to check-in, then the client service will still need to be stopped. Afterwards,remove the generated clientClient recordrecord, shouldand be removed (run a Model UpdateUpdate. afterThen removal)return to the clean VM snapshot or uninstall and eitherreinstall the Client while offline before capturing the image.
See FileWave clientLog shouldFile beLocations uninstalledwhen and re-installed, generated FileWavechecking Client files shouldduring berecovery.
Install the VMClient back,without ifchecking created,in
Files required for removal/edited may be found on the following KB: FileWave File Locations
How
Prepare the device as per the prior instructions
Disable the network for this device
OpenFinish the Windows and application-neutral base-image preparation.
Disconnect or disable the source device's network connection.
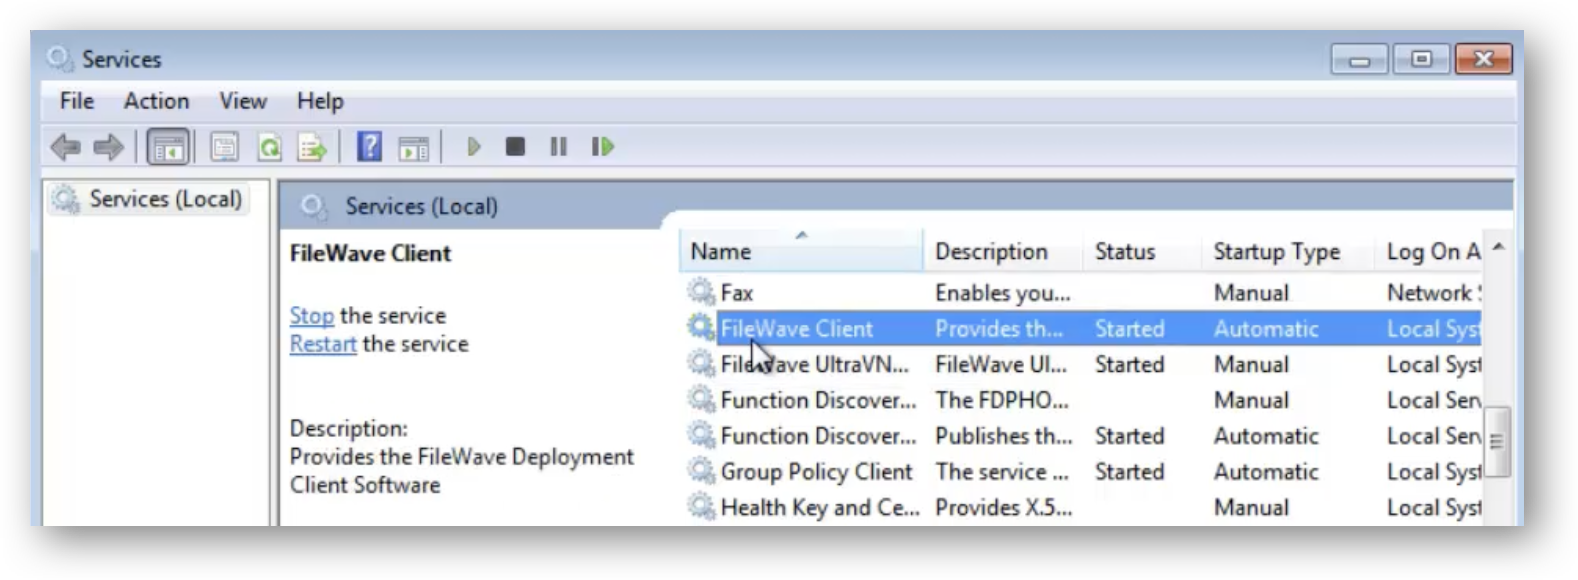
Open Windows Services (inso preparationyou tocan stop the FileWave Client)Client service immediately after installation.
InstalInstall the personalized Custom MSIMSI.
Stop the FileWave Client serviceservice.
Re-enableReconnect the network only after the service is stopped.
The source device is now ready tofor generateSysprep the baseand image capture. Continue with ‘Sysprep’. Next is to capture the image, be sure follow the Windows Network Imaging., then test that a deployed device receives its own identity and checks in as a new Client record.