
Include the FileWave Client in a Windows Base Image
What
Include the FileWave Client in a Windows base image so newly imaged devices can check in immediately. Keep other applications out of the base image when possible, and prevent the source device from checking in after Client installation so its Device ID and server record are not cloned to every deployed image.
Install the FileWave Client immediately before running Sysprep. Keep the source device offline during installation, then stop the FileWave Client service before reconnecting the network.
Prepare the source device
Prepare a personalized Windows Client MSI for the FileWave Server that the imaged devices will use, following Build Custom FileWave Client and Booster Installers. For Server and Central 16.4.0 or later, build the Windows Client package in Central and download the standalone MSI. The Windows pane is under Preferences > Enrollment in 16.4.1 and later, or Preferences > Mobile in 16.4.0. For Servers earlier than 16.4.0, use the Custom FileWave Client for Windows builder. Save the MSI on the source device before disconnecting its network connection. This is a new-installation package for the base image, not an Upgrade Fileset; Windows MDM enrollment is not required for this manual installation.
Do not let the source device check in after the Client is installed. A check-in can create a server record and write device-specific configuration that should not be copied into the base image.
When building the image in a virtual machine, take a snapshot before installing the Client. You can return to that clean point if the source device checks in or another preparation step fails.
If the source device checks in, stop the FileWave Client service, remove the generated Client record, and run a Model Update. Then return to the clean VM snapshot or uninstall and reinstall the Client while offline before capturing the image.
See FileWave Log File Locations when checking Client files during recovery.
Install the Client without checking in
Finish the Windows and application-neutral base-image preparation.
Disconnect or disable the source device's network connection.
Open Windows Services so you can stop the FileWave Client service immediately after installation.
Install the personalized Custom MSI.
Stop the FileWave Client service.
Reconnect the network only after the service is stopped.
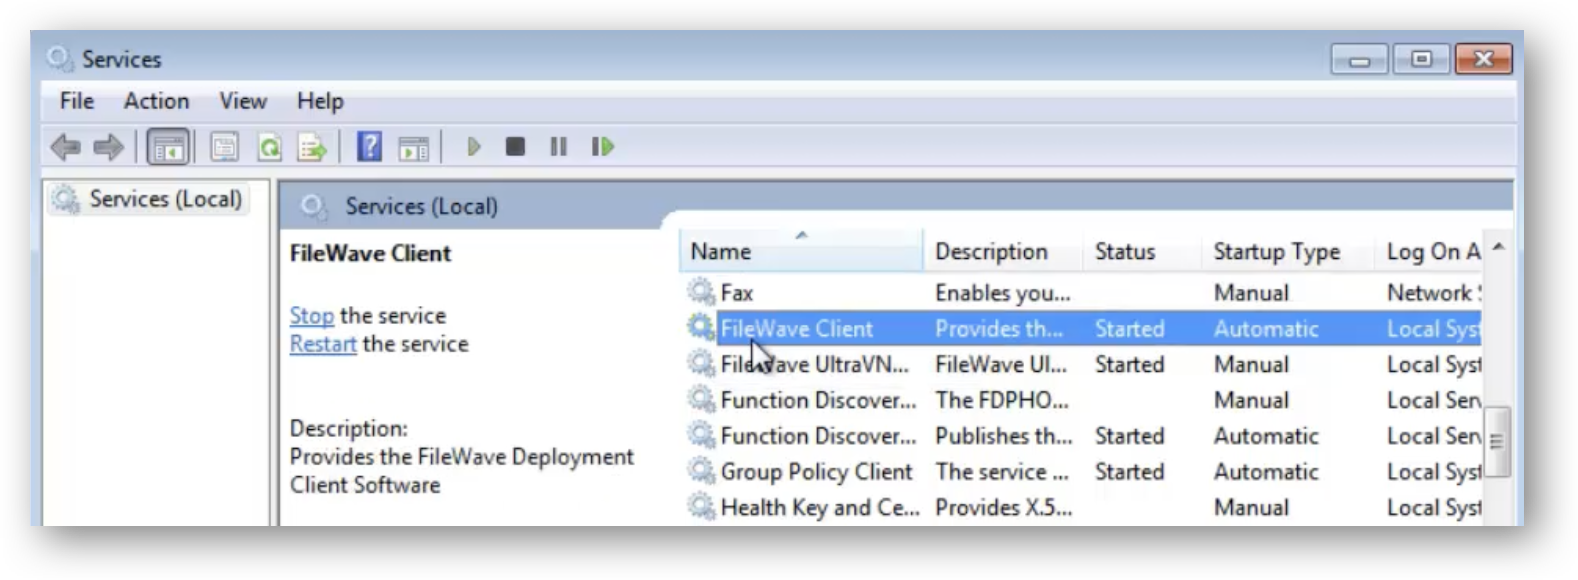
The source device is now ready for Sysprep and image capture. Continue with Windows Network Imaging, then test that a deployed device receives its own identity and checks in as a new Client record.
No comments to display
No comments to display