Chromebook Inventory Extension White Labeling (EOL)
What
White labeling the FileWave Chromebook Inventory Extension is no longer available. The steps below record the previous support-assisted process for historical reference; do not use them for a new deployment.
- Administrators downloaded the historical chromebook-whiteboxing.zip package and modified its icon and metadata.
- They opened a support ticket titled Chromebook Custom Extension and attached the modified ZIP file.
- After Support returned the customized extension, they published it through the Chrome Web Store developer dashboard.
Status
FileWave removed custom publishing when the extension moved to newer Chrome APIs. The supported path is the standard FileWave inventory extension.
Current workflow
FileWave 15.4 and later do not support this customization. Deploy the standard inventory extension by following Chromebook Client Pre-Requisites.
Related Content
Historical process details
The remaining steps and screenshots document the retired publishing process.
The ZIP file contained:
- icon_.png (so far we have 19, 38, 128 as size)
- data.json
data.json
{
  "name": "<NAME_HERE>",
  "description": "<DESCRIPTION_HERE>"
}
Historical Chrome Web Store publishing steps
After FileWave returned the customized extension, administrators used the following Chrome Web Store steps to publish it to their organization.
-
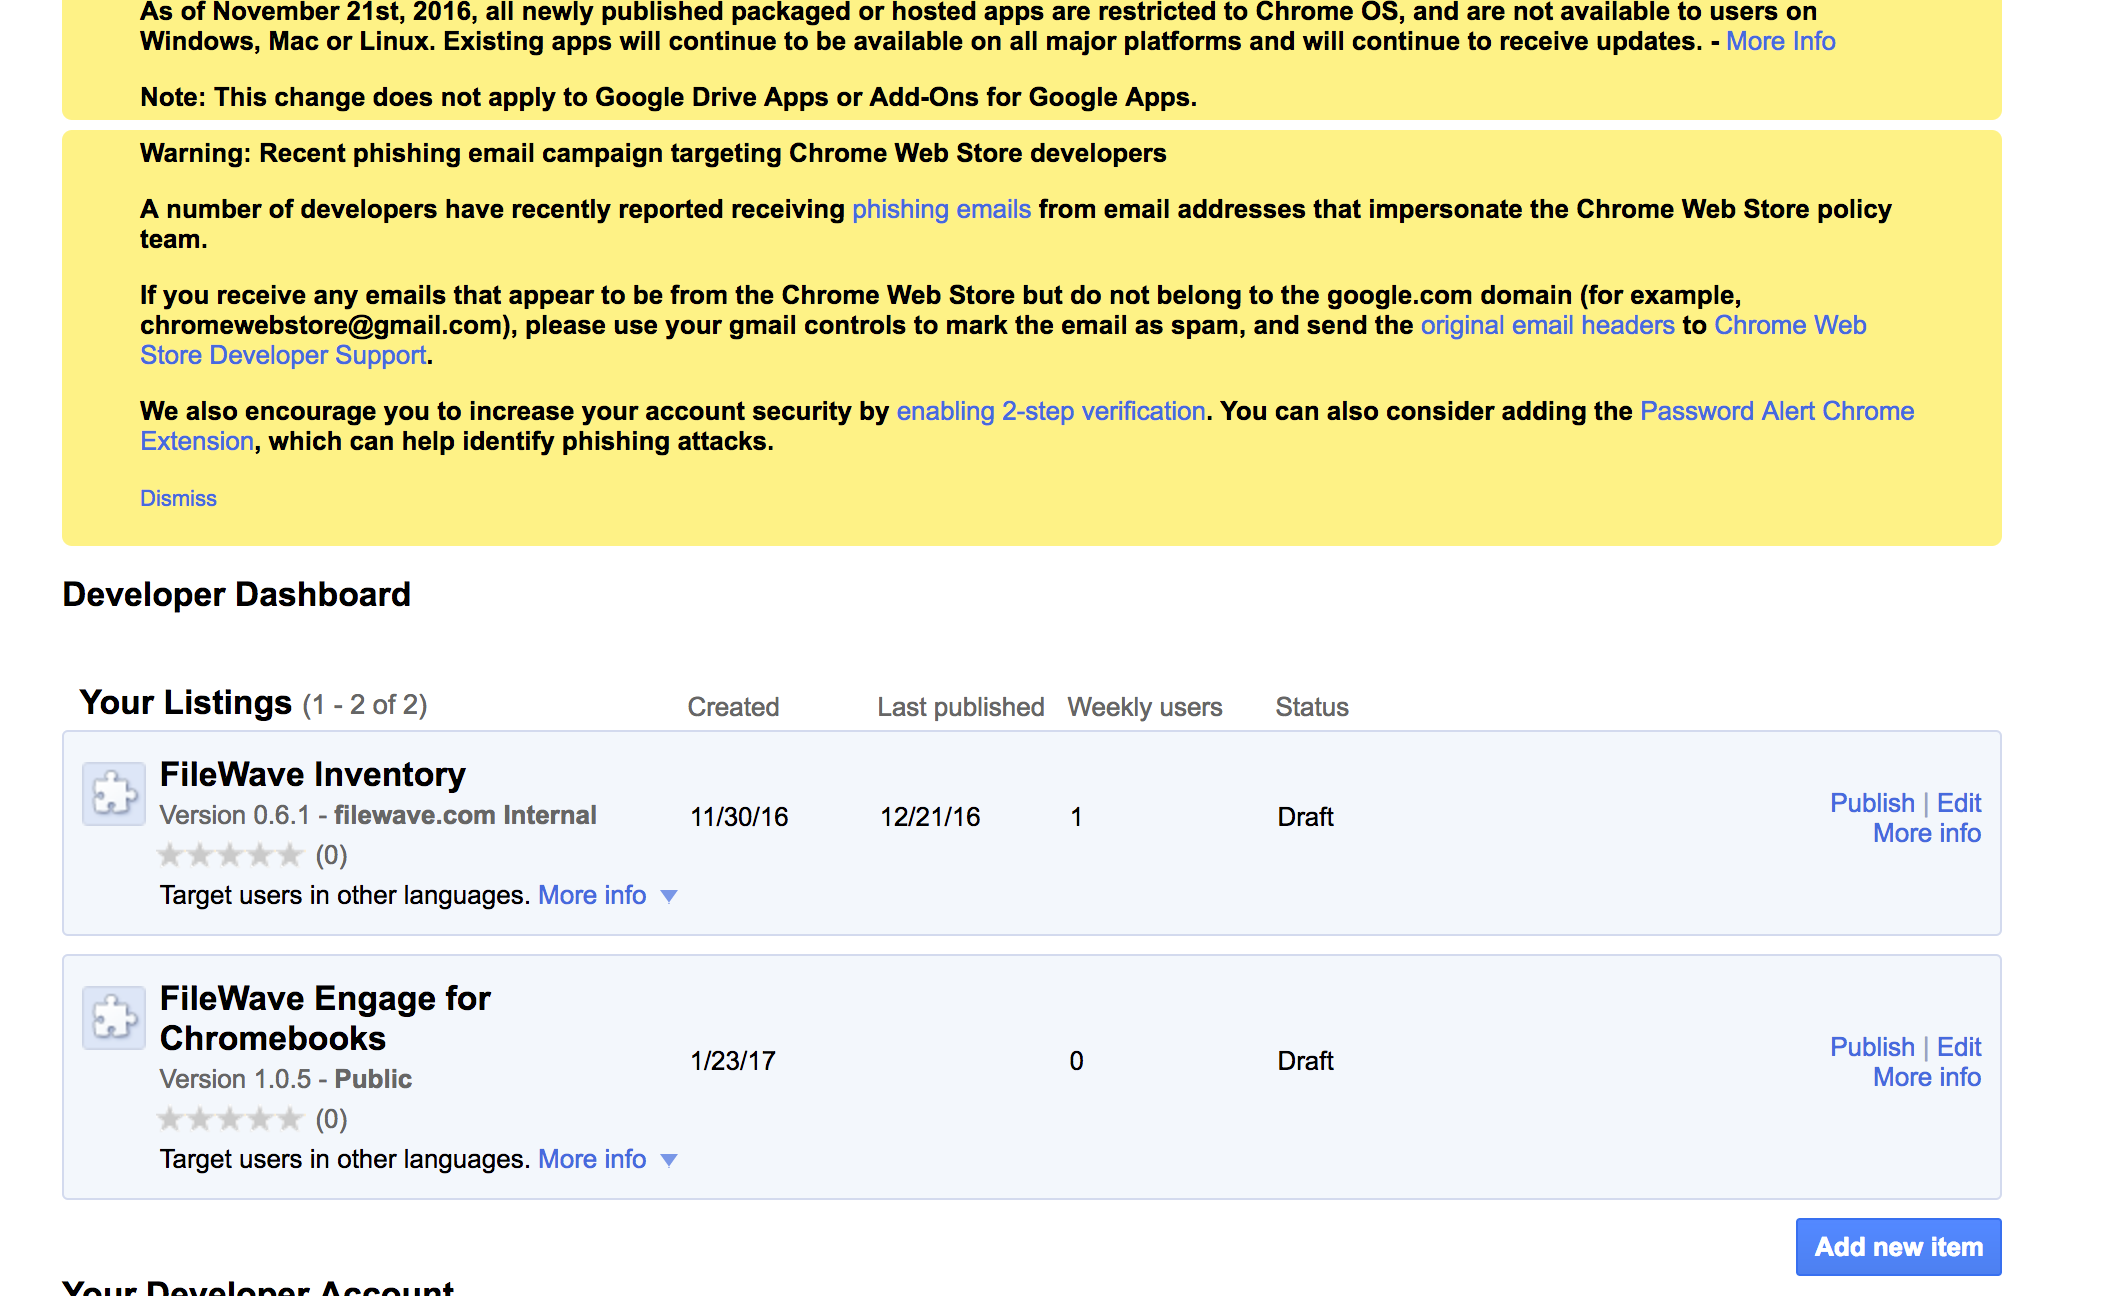
Login/Create an account to Google Developer Dashboard
-
Click on the "Add New Item" button
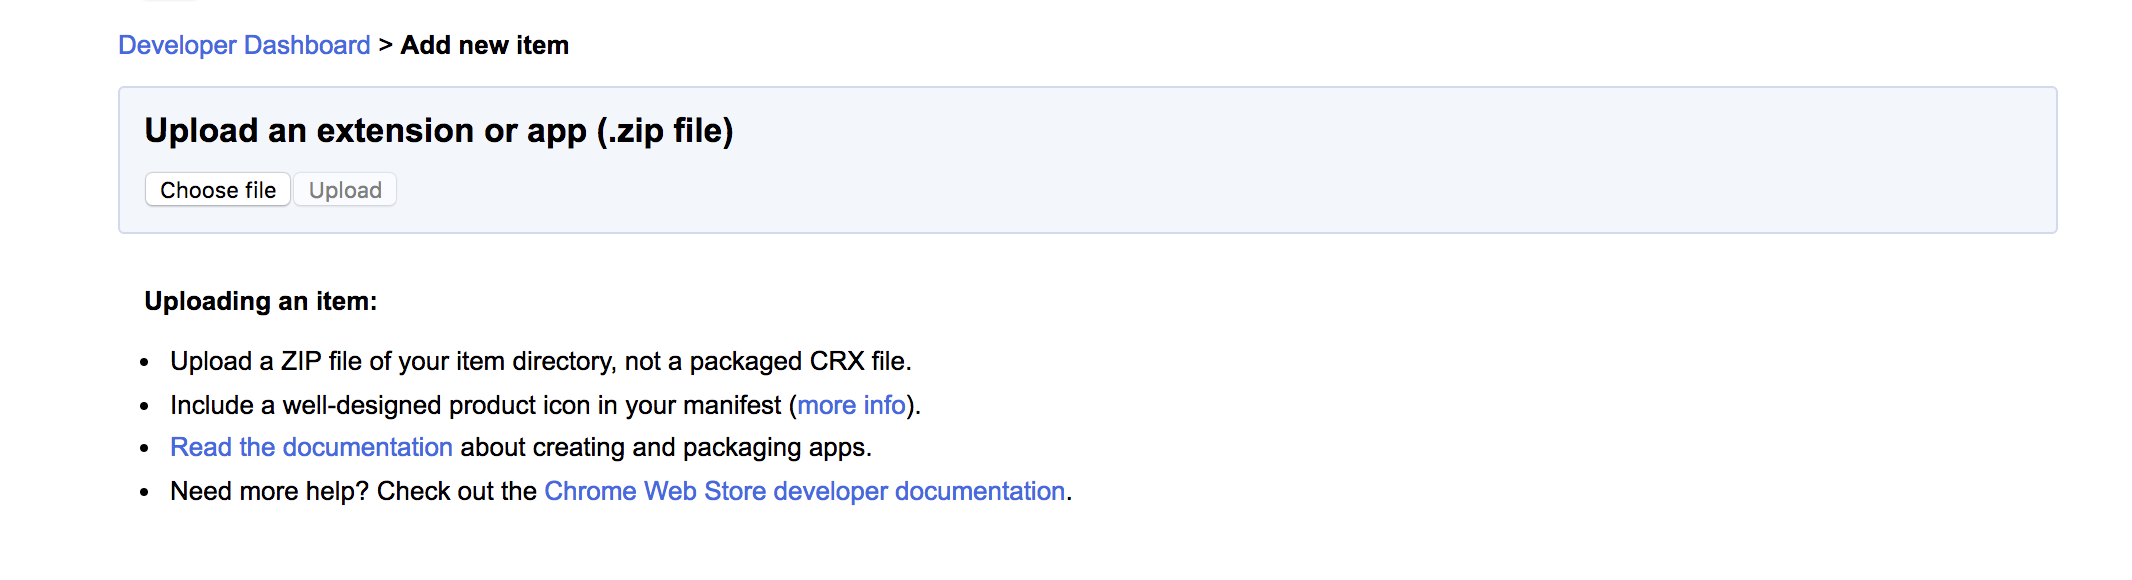
-
Upload the ZIP file
-
Edit/add Additional Info
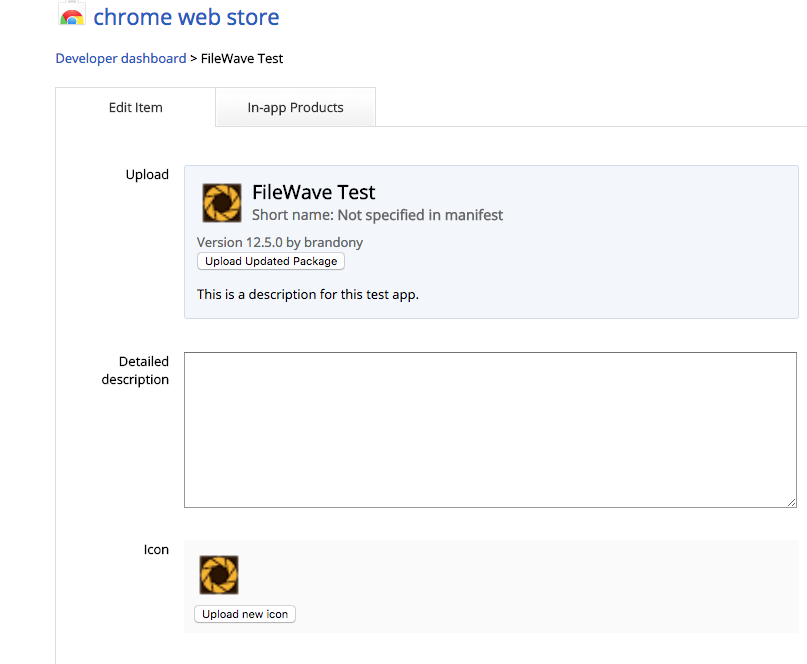
-
Publish the extension
No comments to display
No comments to display