
Chromebook Enrollment
How to enroll Chromebooks into FileWave
Goal: match one known Chromebook in Google Admin Console and FileWave, then read its available inventory. Complete Chromebook Client Pre-Requisites first. Google owns device enrollment and policy; FileWave imports the Google device records. Once the integration is configured, a provisioned Chromebook appears after synchronization without a separate FileWave enrollment step. Do not install a Windows/macOS Client, use New Client admission, or add a Model Update to this Google enrollment workflow.
Confirm the intended Google organization, the approved integration and license scope, one test serial number, and the Google user's enrollment permissions. FileWave synchronizes the full Chromebook list, so one test Chromebook or policy OU does not limit the connector's import or licensing scope. Do not set up or synchronize a new integration until its owners approve that broader scope.
Already enrolled in the correct Google organization? Leave the device enrolled and go straight to the identity and inventory checks. Do not reset it just to repeat the setup screens.
Provision one approved Chromebook
If you need to enroll a new Chromebook, use an approved spare or test device. The screenshots below show an older ChromeOS interface; follow the corresponding steps in your version. Google's current Enroll ChromeOS devices instructions also include device-use selection, Enroll the device, and license selection when prompted.
Do not sign in to a new Chromebook as a normal user before enterprise enrollment. Google says a device that was signed in first must be wiped before enrollment can restart. A wipe can delete local data. Stop and have the Google administrator confirm ownership, backups and any existing management or forced re-enrollment restrictions before authorizing a reset. This is not permission to wipe a personal or production device. Do not reset an already correctly enrolled test Chromebook.
Use the organization-approved Google enrollment account. The Google administrator must confirm accepted enrollment terms, applicable ChromeOS Enterprise Upgrade or ChromeOS Education Upgrade coverage, and permission for that user to enroll this device. Google distinguishes permission to enroll new devices from permission only to re-enroll existing devices. This lesson uses a signed-in-user Chromebook, not the Kiosk & Signage license route. Do not grant the enrollment user super-admin privileges just to get through the wizard.
Before continuing, check where the device will be enrolled and which policies it will inherit. Google's default is the top-level OU unless device-placement policy changes it; signing in with a user in a test OU does not prove the device will enter that OU.
- Turn on the approved device. On the older interface, start at Welcome:
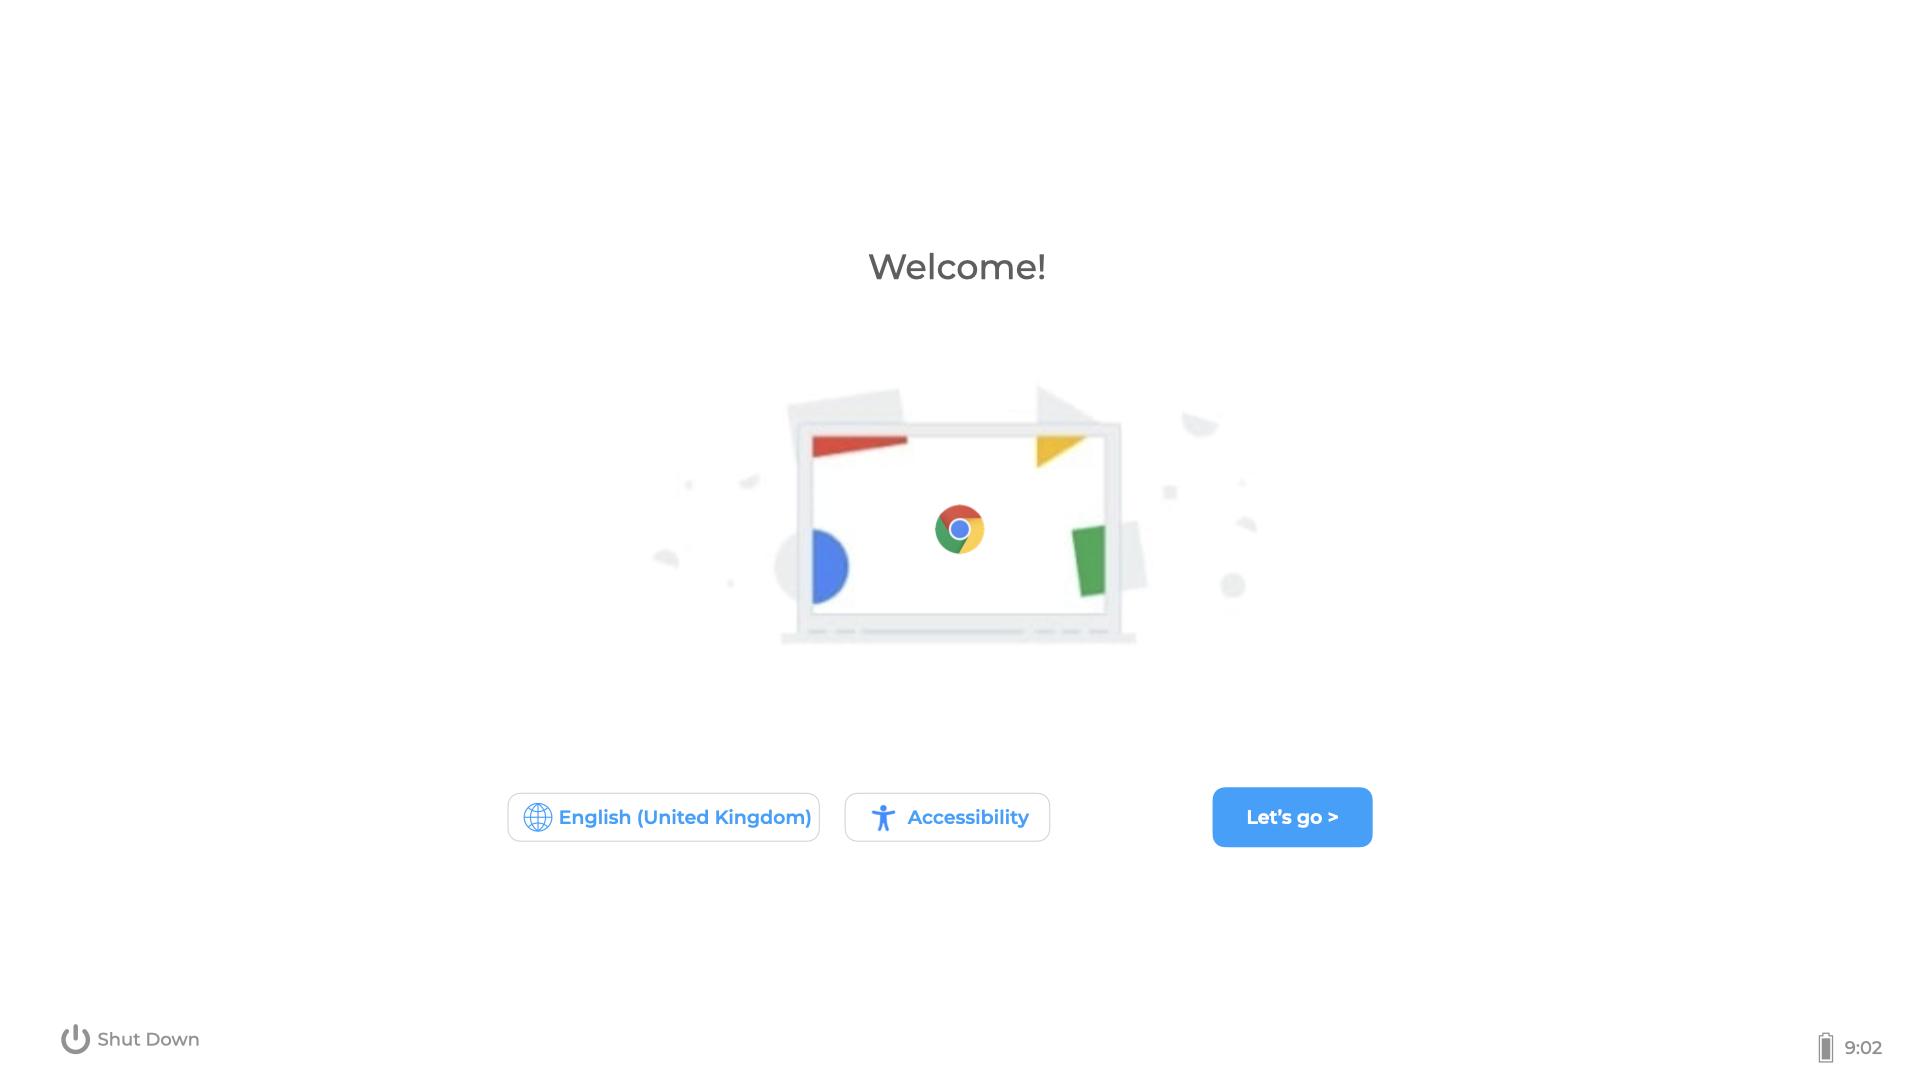
- Select Let's go, or the current setup equivalent, and connect to the approved Wi-Fi network. Follow applicable setup and terms prompts.
- Open Enterprise Enrollment before normal sign-in. It may appear automatically:
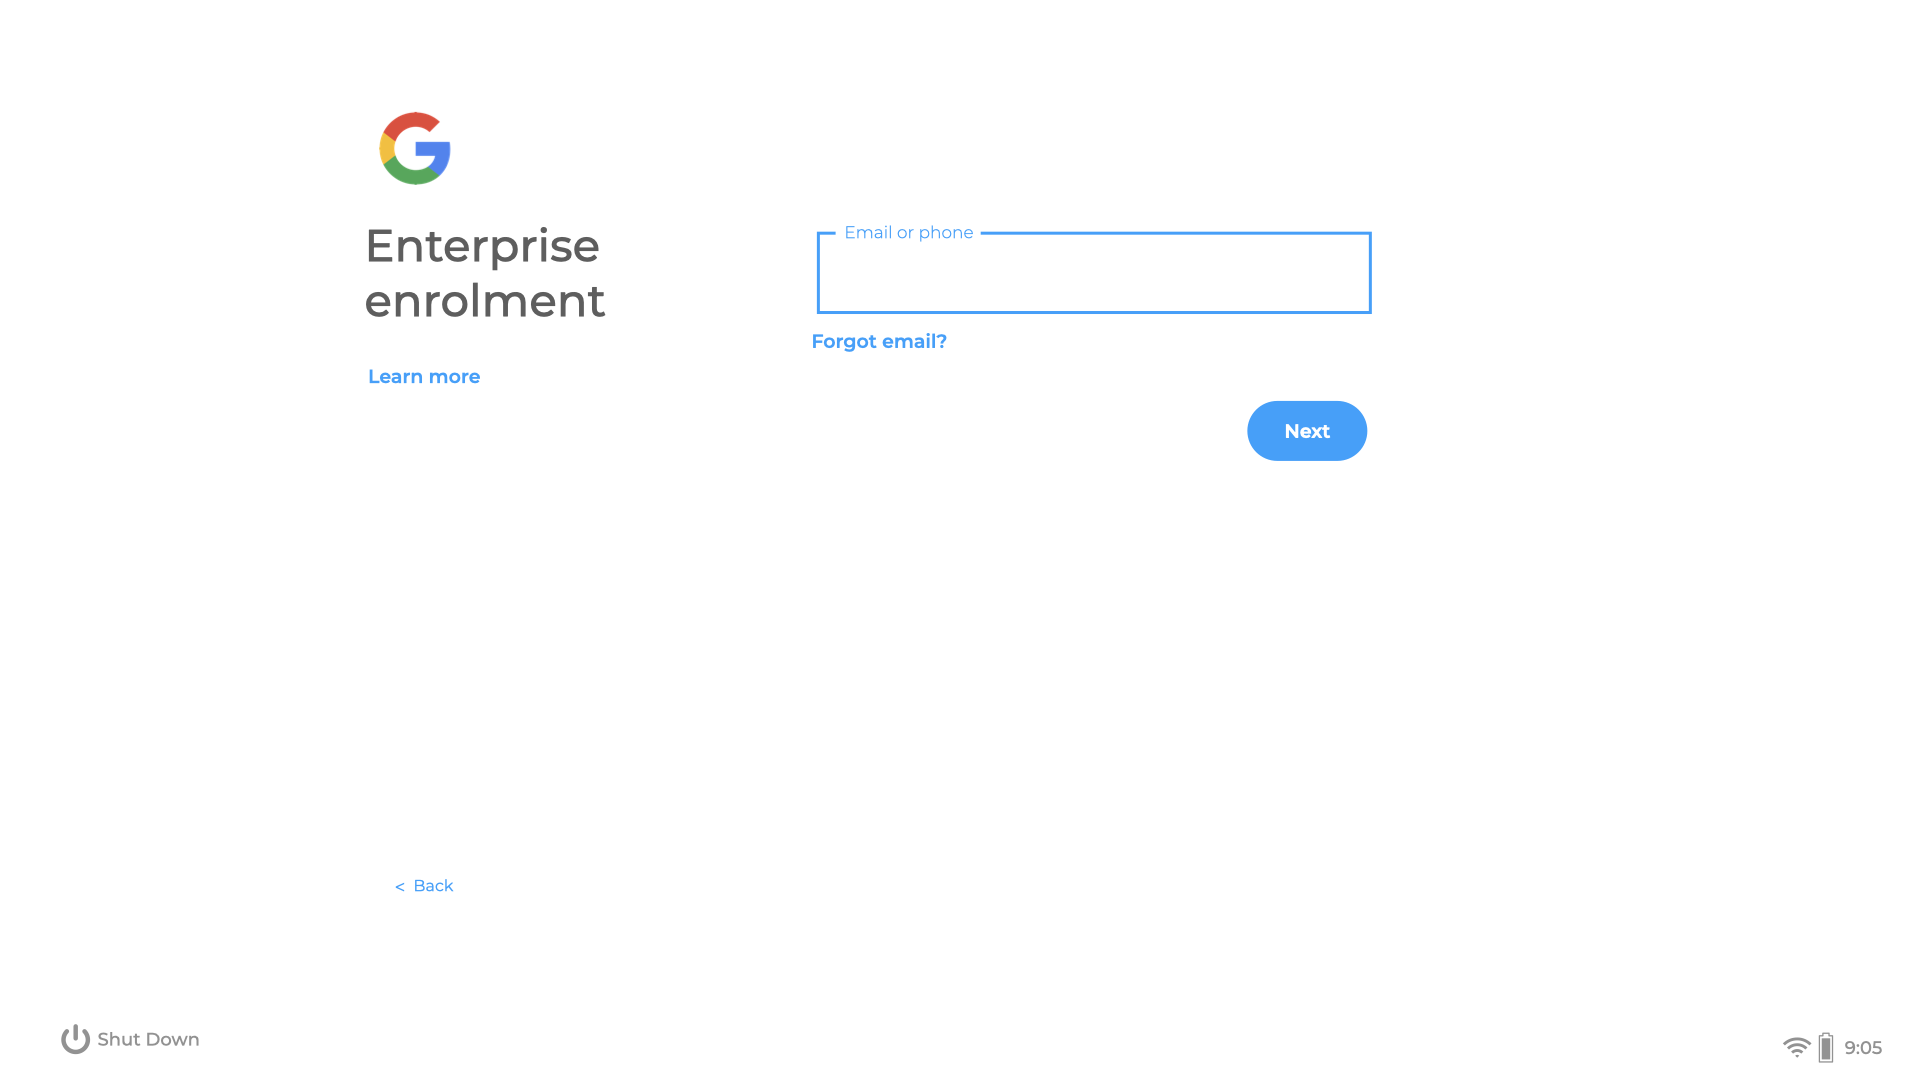
- If enrollment does not appear, press Ctrl+Alt+E or select Enterprise enrollment. On newer setup screens, select the appropriate device-use option, then Enroll the device → Next. Enter the authorized Google enrollment username and password in Google's sign-in flow and complete any required authentication. Do not record credentials in your test notes.
- If asked, enter the approved asset ID and location. Choose the approved ChromeOS Enterprise Upgrade or ChromeOS Education Upgrade and Enroll enterprise device when a license choice appears. If the account is ineligible, upgrades are unavailable, or the organization is wrong, stop and ask the Google administrator for help. Do not try a different license or account at random.
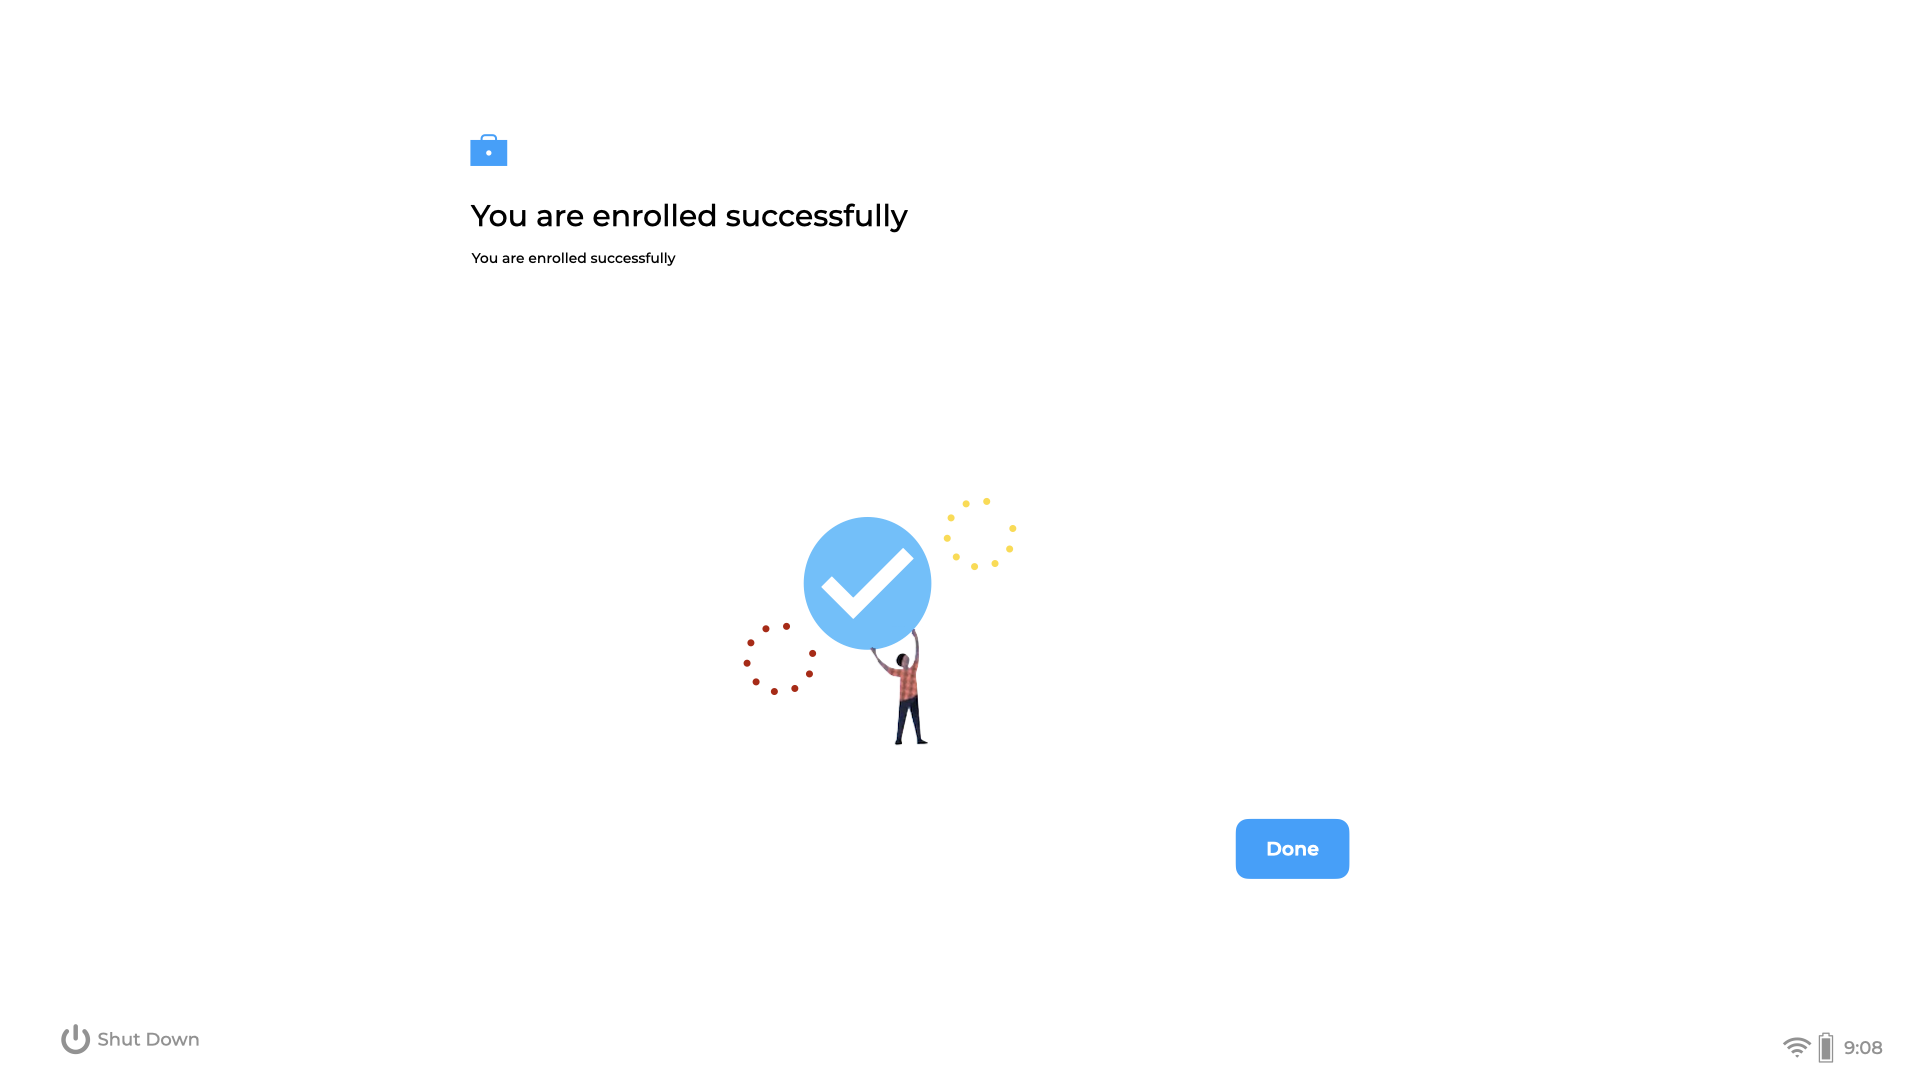
- Wait for enrollment to finish. The older interface shows a progress bar followed by a success page:
Match the Google and FileWave records
- In Google Admin Console → Devices → Chrome → Devices, locate the test Chromebook by its serial number. Check the intended organization, enrollment/provisioning state and actual OU. Do not accept a matching display name alone or move the device between OUs merely to tidy the test; a move can change policy.
- In FileWave Central → Preferences → Google, check the OAuth 2.0 Service Account synchronization status and Last synchronization time. After a successful Google sync, find the same serial number in Clients → Chromebooks and inspect the Google-derived OU/device information. A green status indicates that the connector succeeded; matching the serial number confirms that you are looking at your test device.
Optional manual Google synchronization: after the owner has approved the full import scope, select Synchronize in Preferences → Google → OAuth 2.0 Service Account. Do not use the separate EMM Configuration → Synchronize control; that is the Android integration. The existing screenshot below distinguishes the two buttons. If your supported Central version differs, ask the environment owner to identify the Google connector control before acting; if help is needed, contact FileWave Support if you are an existing customer, or your assigned SE if you are evaluating FileWave.
The documented Google Admin interval is configurable from 1–24 hours, with a 24-hour default. Observe the configured schedule instead of changing it for this test. A manual Google sync is an integration operation across its configured scope. It is not a read-only refresh of the device you selected, and it does not request immediate extension inventory.
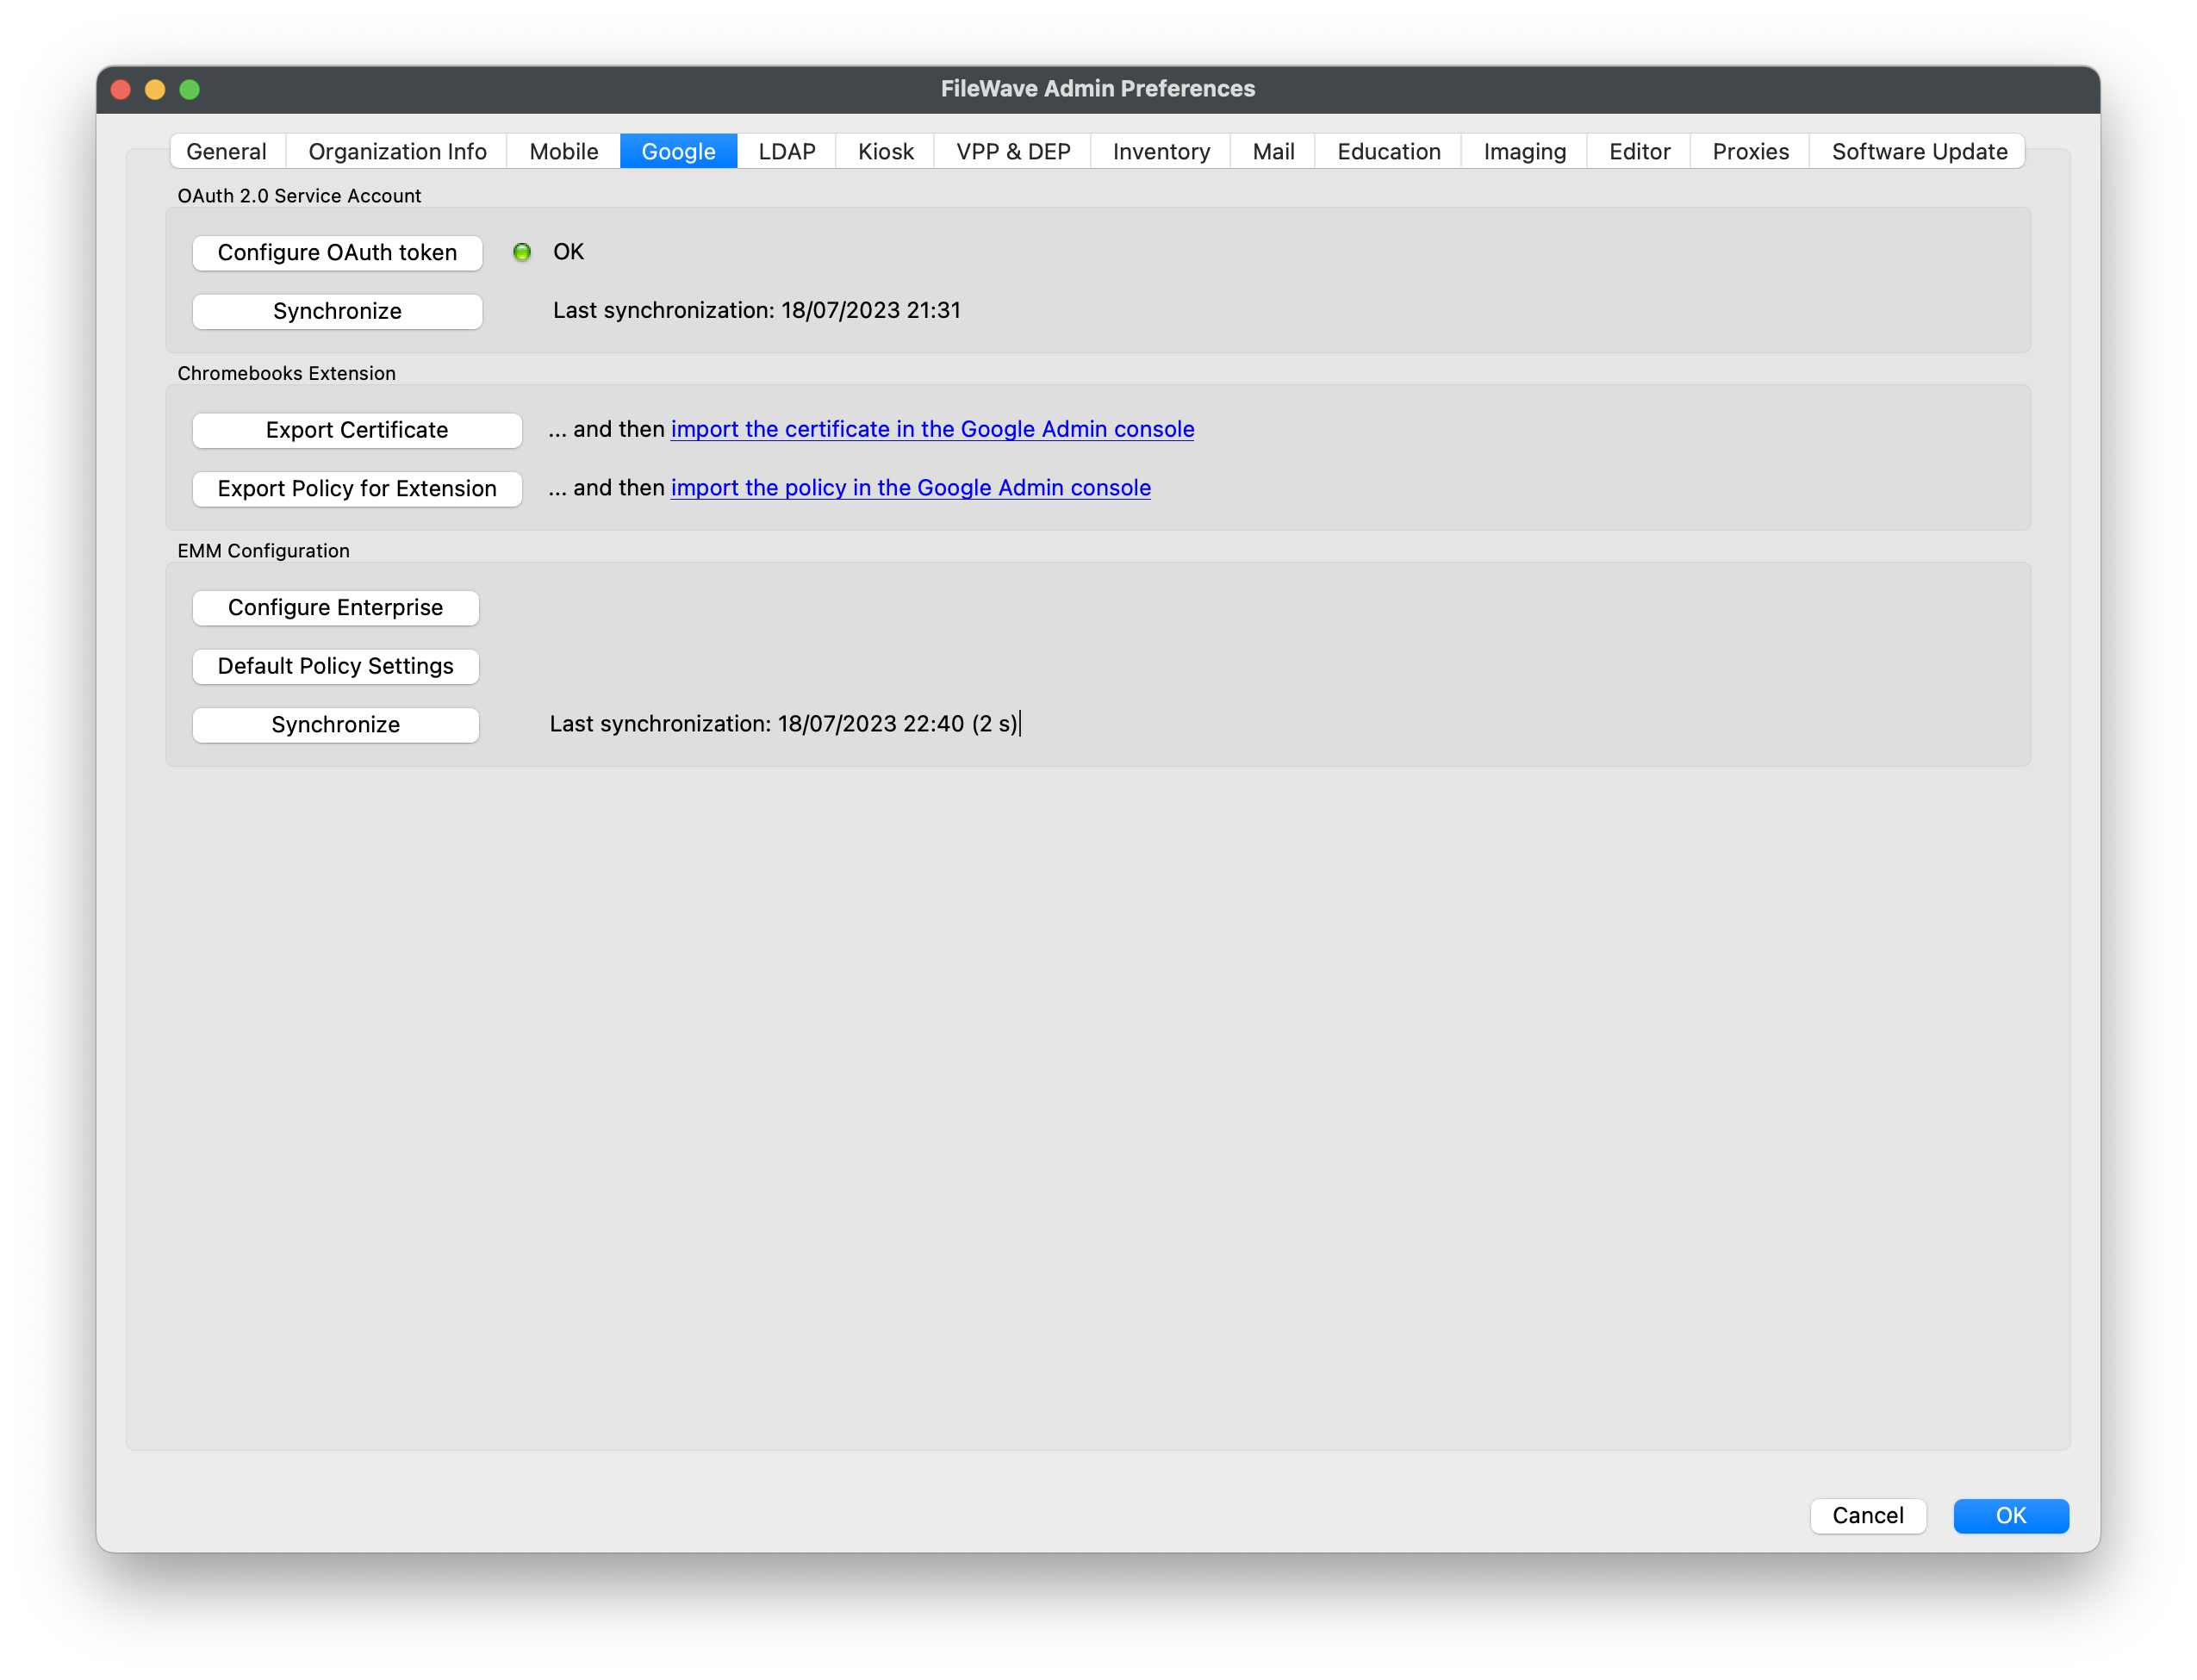
Older FileWave Admin Preferences example: Google tab, OAuth 2.0 Service Account at the top and the separate Android EMM Configuration below. Its historical OK status and timestamps are not evidence for your environment.
- On the Chromebook, select Done after successful enrollment. The signed-in-user route should return to the managed login screen. Check the expected management organization before letting the approved user sign in:
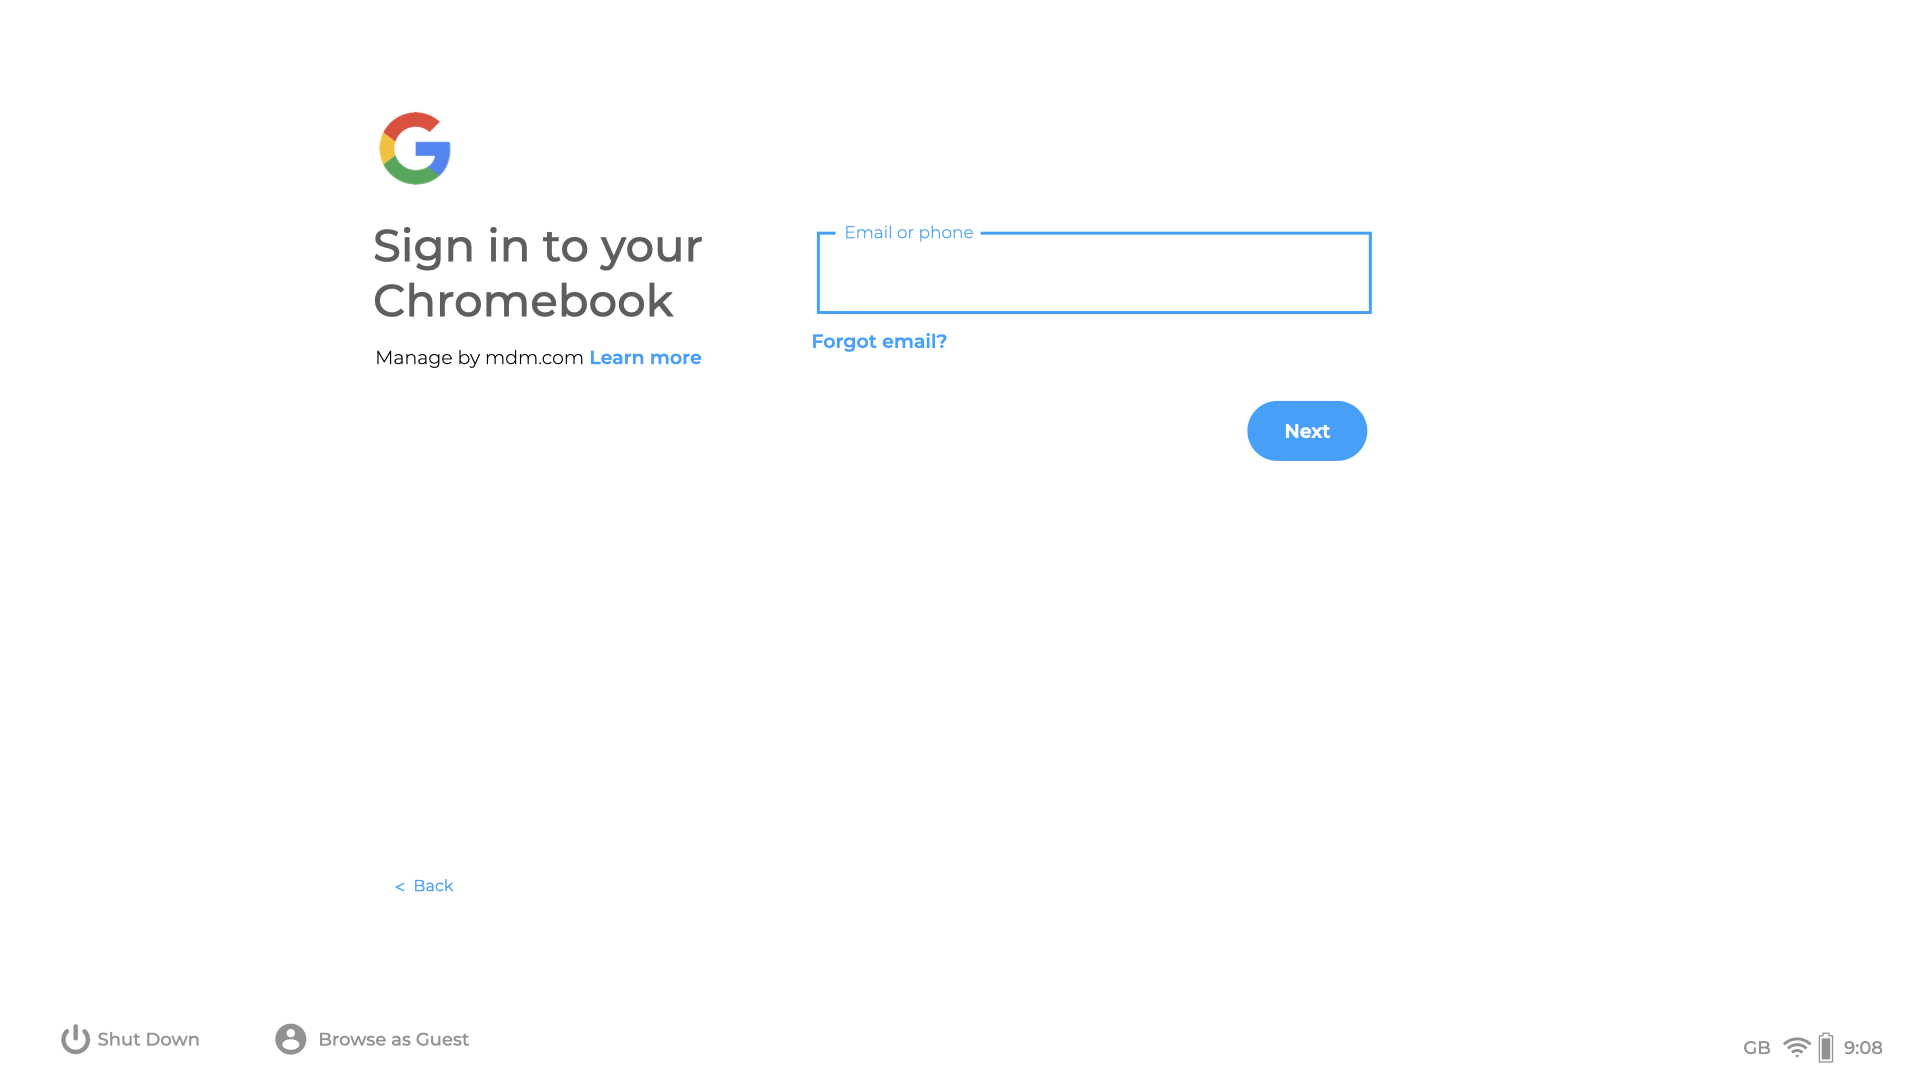
Existing managed sign-in example. The organization shown is illustrative; match your own intended organization.
Read one device's inventory
- Open the matched Chromebook's Client Info/device details in FileWave. Record the serial number, available OS/device information, OU, Google Last Sync value and the connector's Last synchronization time. Missing optional fields do not necessarily mean enrollment failed.
- If the optional FileWave Inventory Extension is part of your test, also inspect its available inventory and Last Connected. The extension behavior FAQ distinguishes Last Sync (device contact with Google) from Last Connected (direct extension contact with FileWave). Neither is the same as the connector's Google-to-FileWave sync time. For a fresh extension report, the intended user needs the extension installed, the device awake and online, Chrome open, and a reachable FileWave Server. The default extension interval is once per day.
- Note which evidence you actually observed: Google enrollment, FileWave record after a successful sync, and, only if configured and observed, extension communication. An imported record does not establish extension readiness or desktop Fileset support.
First success: you can identify the same approved Chromebook in both systems and explain where the inventory you read came from and how current it is. No software deployment, location collection, wipe, OU move or model commit is required.
If a checkpoint fails
- Missing in Google: check enrollment completion, the organization, enrollment-user permission and Google upgrade availability. Stop before another reset.
- Present in Google, missing in FileWave: check the connector identity, status, last successful synchronization and FileWave license capacity. Allow the scheduled sync to finish; use the optional manual sync only within the approved scope.
- Record present but extension inventory missing or old: return to the optional extension section in Chromebook Client Pre-Requisites. Check the effective user/device policy, user session, Chrome, network and certificate before assuming enrollment failed.
For further help, use the Chrome Troubleshooting Guide with your Google/server owners and the appropriate FileWave contact above. Hosted users do not edit server configuration or restart services. Do not use Verify/Refresh Inventory as a passive refresh: it can process device work. Do not broaden permissions, reset devices or commit a shared Model Update to diagnose a read-only result.
Continue without changing the device
Use Inventory Reports to inspect the available fields for this one serial-number record. Keep your next step read-only. Chromebook Management describes the Google-synchronized management model; the shared first-deployment lesson is not an instruction to deploy a Windows/macOS Fileset to ChromeOS.
Leave the test Chromebook in its agreed state. Before offboarding, ask the Google owner whether it should remain managed and use Removing ChromeOS / Chromebook devices. Do not delete records, deprovision, wipe, or disable the organization-wide connector merely as cleanup for this inventory exercise.
No comments to display
No comments to display