
Add a Mac to Apple Business Manager or Apple School Manager with Apple Configurator
With iOS 16 and Apple Configurator 2,for iPhone can add an eligible Mac to Apple Business Manager (ABM) or Apple School Manager (ASM), even when the Mac was not purchased through Apple or a participating reseller. After Apple records the Mac, assign it is possible to add macOS devices to ASMFileWave and ABM.complete Thisthe meansnormal thatAutomated devicesDevice notEnrollment acquired(ADE) via an Apple Purchasing Account tied to an Apple account can now be added manually using Apple Configurator on an iPhone.workflow.
Requirements
- iPhone running iOS 16 or
greater,later, with Apple Configurator2installed and connected to the internet - The
macOSMacdeviceiswasnotnevercurrentlypartassignedoftoanyanotherAutomatedorganization'sDeviceAppleEnrollmentBusiness(ADE) program,Manager orhasApplesinceSchoolbeenManagerreleased/disownedaccount - The macOS device to enroll is either Apple silicon or has an Apple T2 Security Chip and is running macOS 12.0.1+
- The macOS device to enroll is erased and not yet set up
ASMAorManagedABMAppleaccountAccountwhichwithhas permissionspermission to adddevices,devicesforandexample:manageAdministrator,device-management-serviceSiteassignmentsManagerin(Apple School Manager only)ABM orDevice Enrollment ManagerASM
If athe deviceMac is already in use, itback up all required data before erasing all content and settings. Apple Configurator must capture the Mac at the Select Your Country or Region pane in Setup Assistant.
Apple gives users a 30-day provisional period in which a manually added device can be completelyreleased erasedfrom beforeABM commencingor thisASM, process.supervision, Inand thisthe instance,assigned alldevice necessarymanagement dataservice. storedThe onperiod begins after the device mustis besuccessfully backedassigned upand in advance.enrolled.
Directions
- Launch Apple Configurator on the iPhone and sign in
to Apple Configurator usingwith the requiredABMManagedorAppleASM accountAccount - Turn on the macOS device to enroll and connect to the network. Consider connecting the power adaptor to prevent the device from sleeping
- Place the iPhone next to the Mac, ready to scan the upcoming image
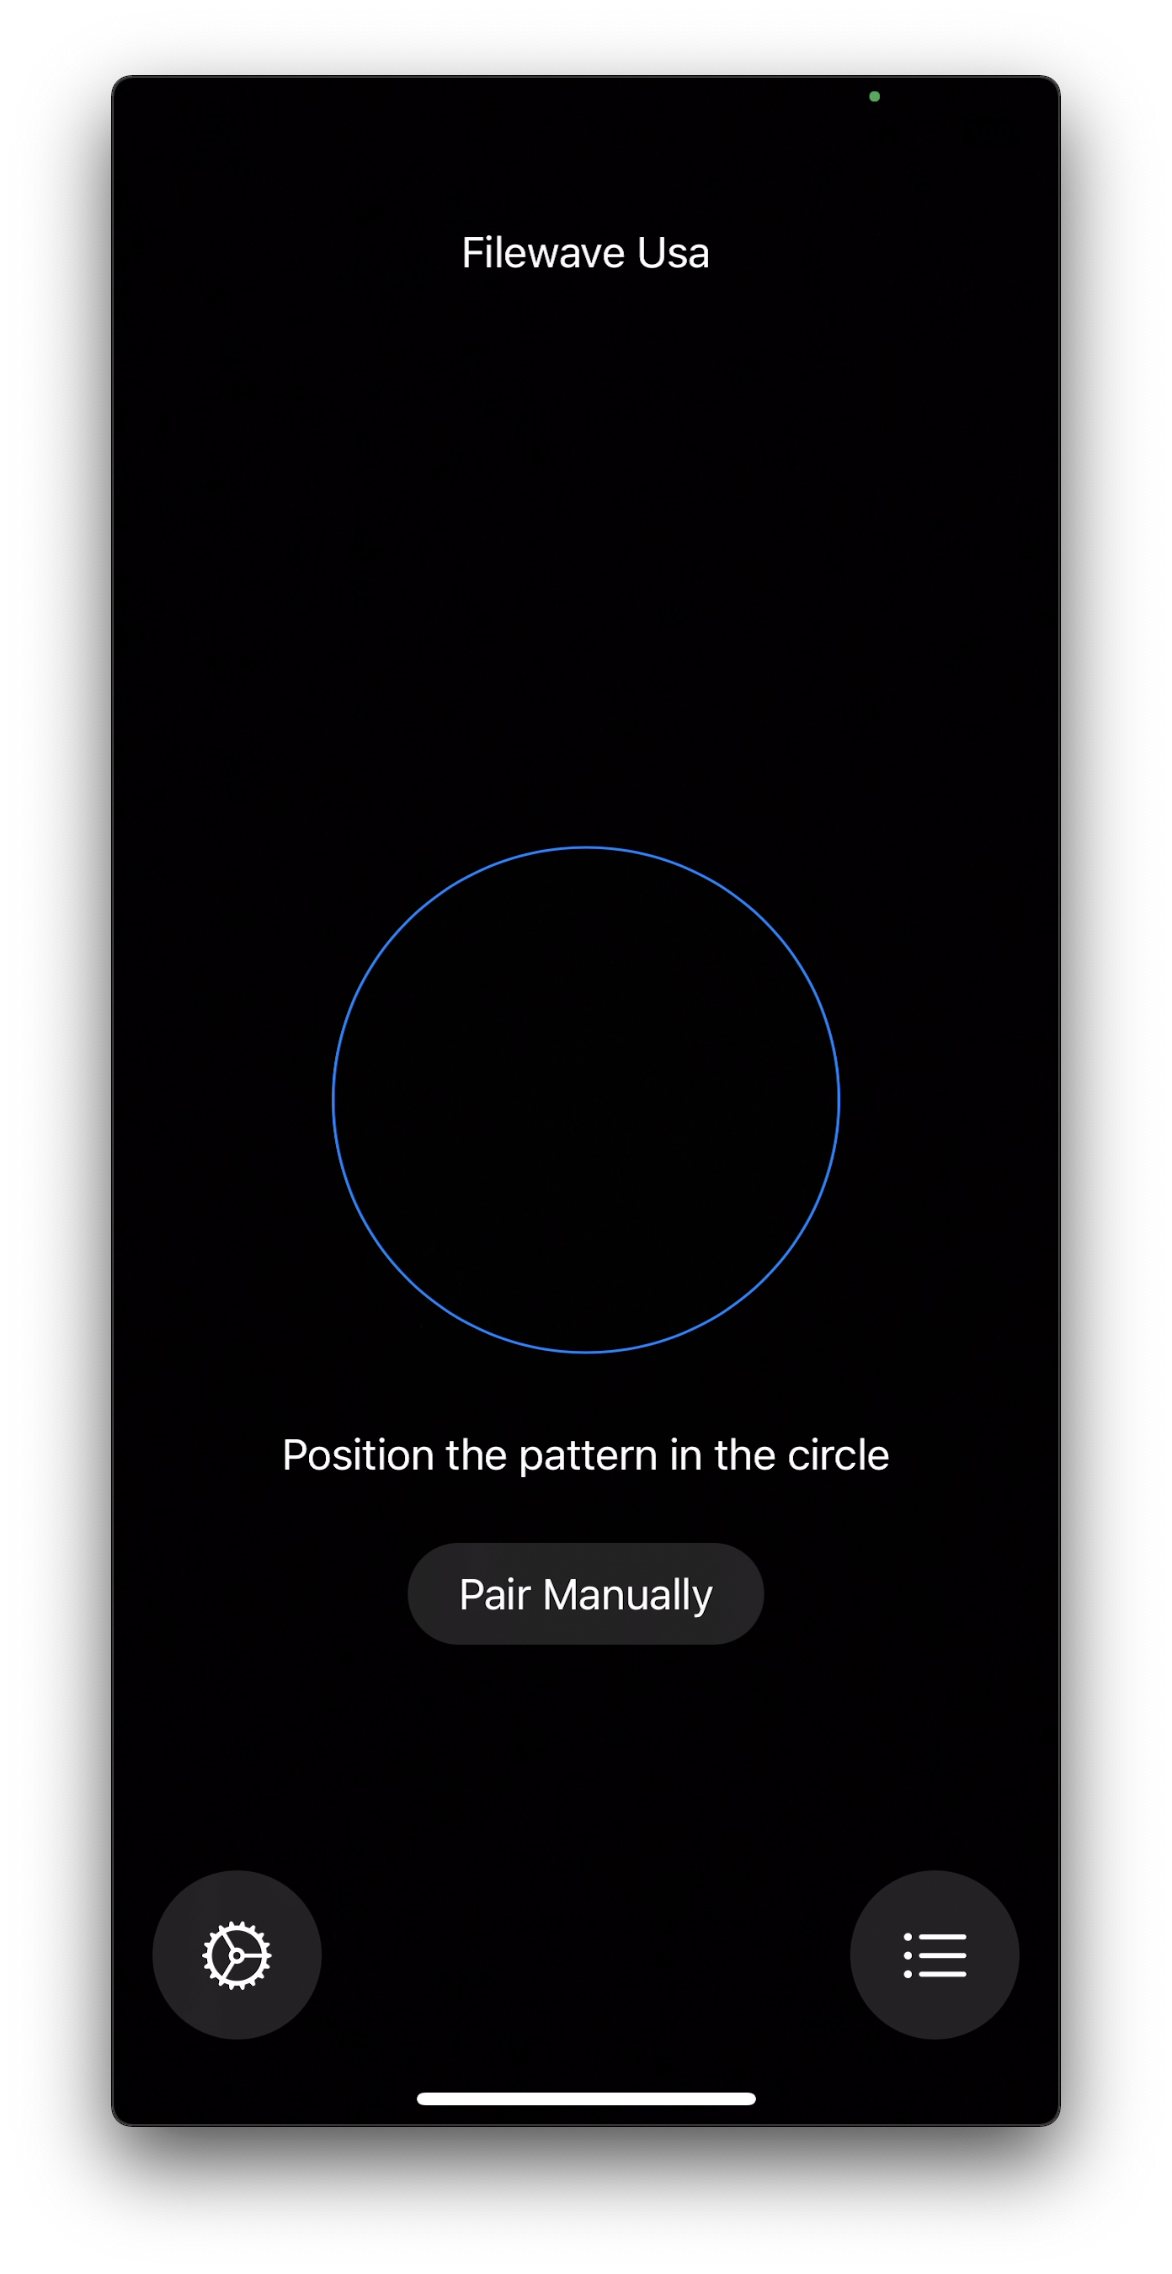
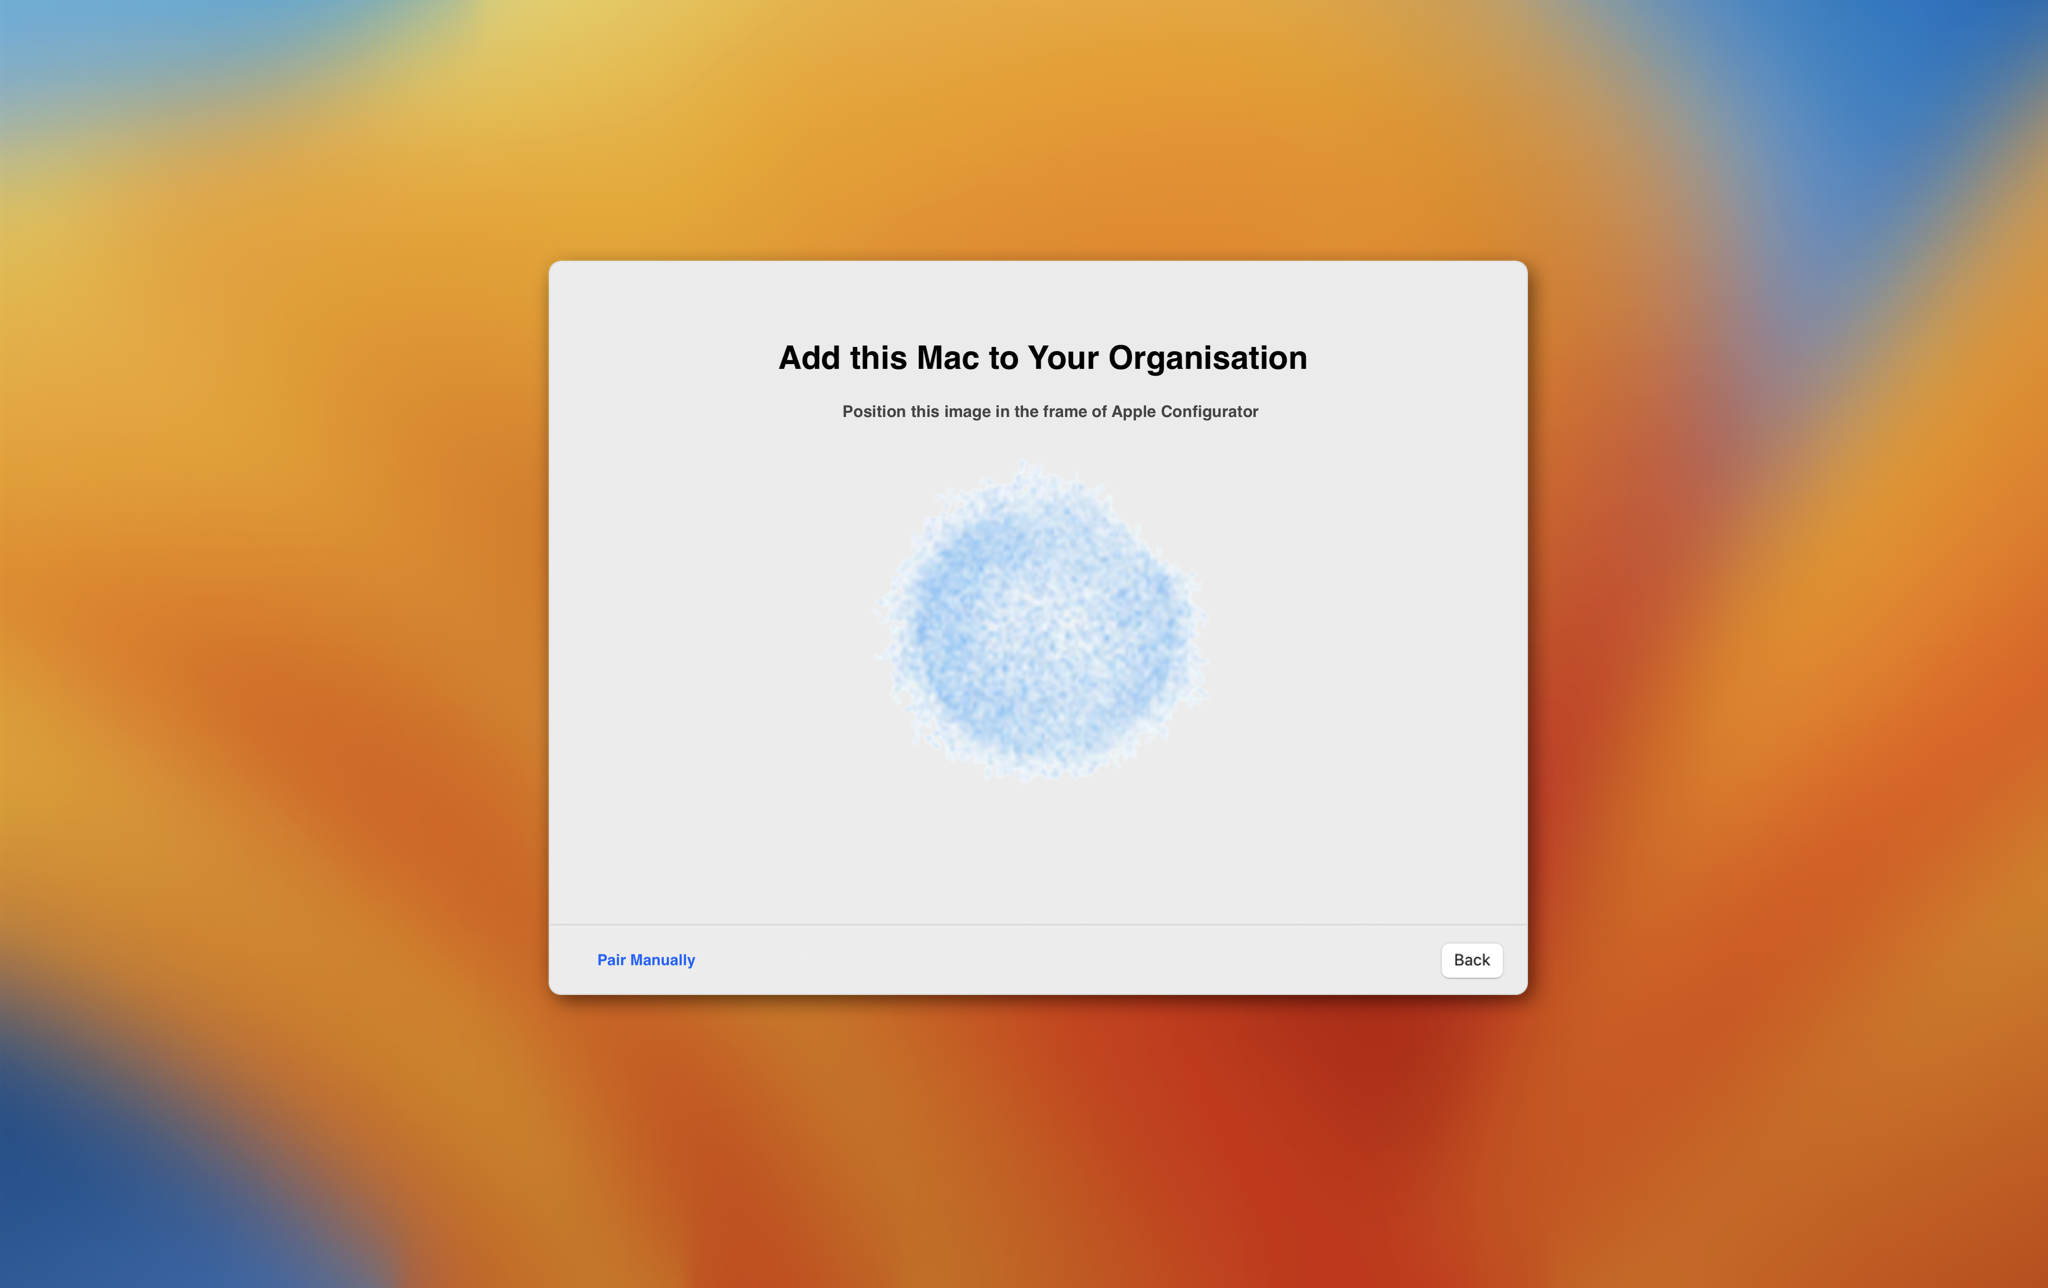
- The macOS device should display an image to capture using the iPhone
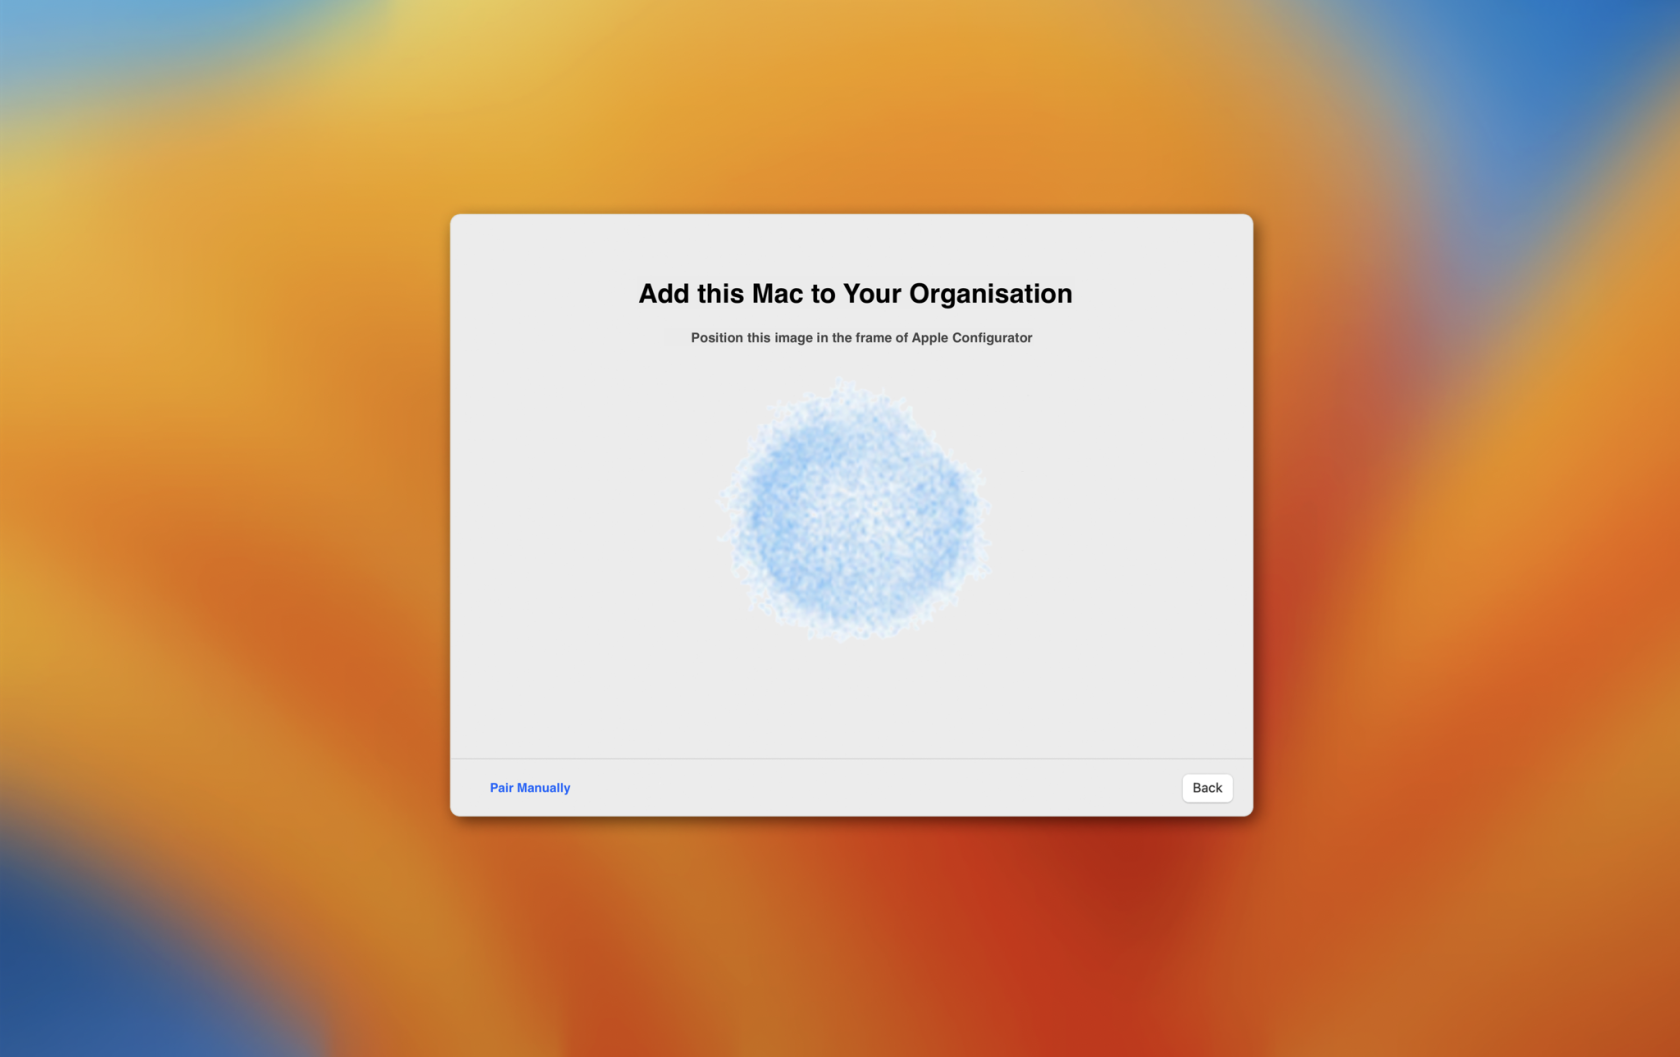
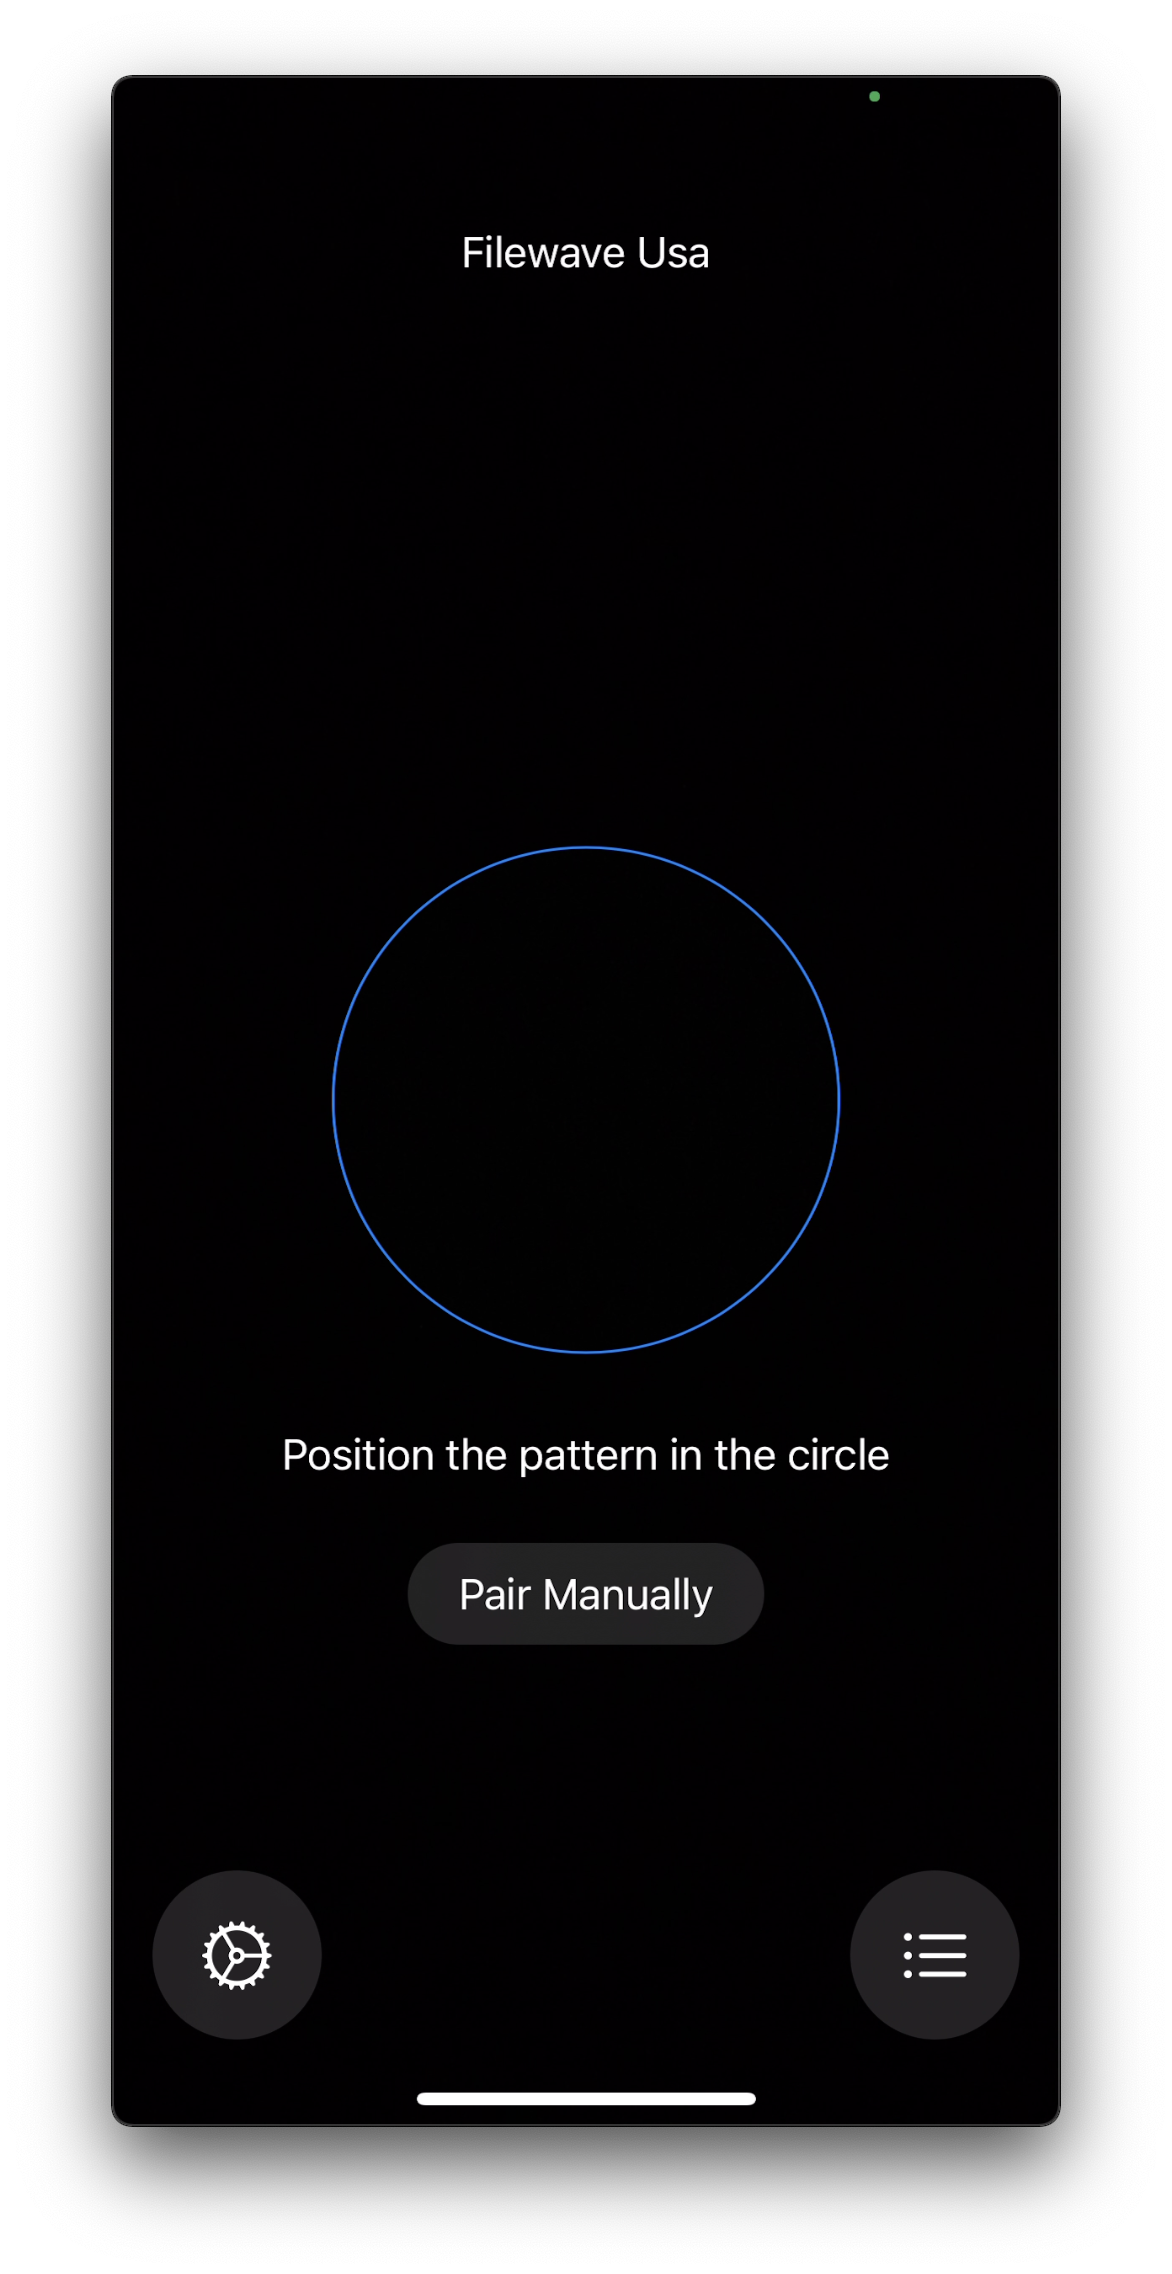
On capturingScan theimage,image and wait for Apple Configurator to report success. If scanning is unavailable, select Pair Manually and enter thedevice should report success and be added to the list of devices within your ABM/ASM account. Alternatively, choose to 'Pair Manually' and use thesix-digit codeprovidedshowntobycompleteSetupthis process.Assistant.
When prompted with the options to Restart or Shutdown, refrain from restarting until steps below have been completed.
Now thatAfter the deviceMac hasappears beenin addedABM toor ASM/ABM,ASM, continue withcomplete the typicalFileWave ADE process, explained below:handoff:
- Assign the device to the FileWave MDM server within the ABM/ASM account
SynchronizeIn FileWave Central, synchronize ADEthe FileWave Admin consolefromeither: FileWave Admin >Preferences > VPP &ADE,ADE or Assistants > ADE Association Management- If
there aren't anyno AssignmentRulesRulesetup to associateapplies an enrollment profile, assignonethe profile manually to thenewnewlydevicesynchronizedthat is now showing in the listMac andsyncsynchronize ADEagain (step 2).again.
The deviceMac mayis now beready enrolledto intoenroll in FileWave usingthrough ADE!ADE.
ForContinue more information on ADE Enrollment:with Automated Device Enrollment (ADE). For Apple's eligibility, provisional-period, pairing, and assignment rules, see Add Apple devices to Apple School Manager or Apple Business.