Android Client Pre-Requisites
Obtaining JSON File
Android EMM (Enterprise Mobility Management) is built into FileWave as of version 13.1. This feature requires activation. Activation may be generated from the following link:
Add the FileWave Server Activation Code in the Customer ID box and select Generate Key. On doing so, the required JSON file will need to be downloaded and saved.
This process cannot be repeated. If you have an issue with activation, please contact support.
Setup
Requirements
- Server and Admin running FileWave Version 13.1.0 +
- Android 8 or newer Device(s) as of FileWave 15.3.0 (Requirements may change, confirm with latest release notes)
- Generated JSON key (see above)
- Network Port 443 inbound and outbound between FileWave server and Google (See Default TCP and UDP Port Usage for full list and topology)
- A standard Google account (non G-Suite, currently a Google API requirement))
- Perform the changes in FileWave as the fwadmin user specifically because some steps will not be able to be accomplished without doing so
A Google account may only be registered to a single EMM instance:
Unlike standard Google or Gmail accounts, a G Suite administrator manages all accounts associated with each of these editions. G Suite provides access to a core set of apps that include Gmail, Calendar, Drive, Docs, Sheets, Slides, Forms, Google+, Hangouts Meet, Hangouts Chat, Sites, and Groups.
You are not required to setup Google Cloud Messaging (GCM/Firebase) for Android EMM to work. Any references to it are for Chromebooks.
Configure Service Account
Open FileWave Admin 'Preferences' > 'Google' tab and click 'Configure Enterprise' under the EMM Configuration section. If the Google tab is not yet apparent, the FileWave server service will require a restart after requesting the JSON.
- Proceed by selecting the 'Choose File' button in the 'Set Up an Android Management Enterprise' window
- Select service account file, then press 'Upload'
- When requested, enter a display name for your enterprise and 'Sign Up'. This is merely an internal identifier but will be visible on devices.
- Press 'Click here' link to finalize the setup. The link opens a browser, navigating to Google Play website. Finalize enterprise creation using the chosen Google account.
- On registration completion, the browser should redirect to the FileWave server website informing success. 'Enterprise "[display name]" successfully created.'
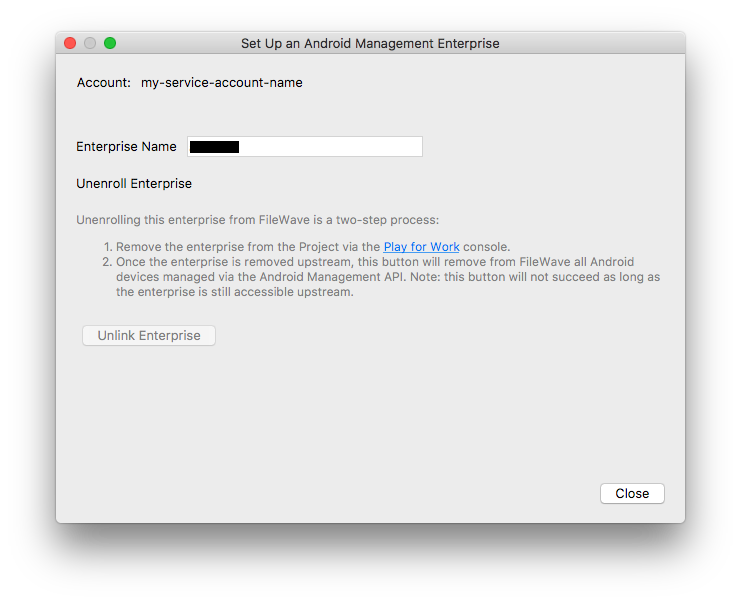
The FileWave Admin should now display the successfully configured Android EMM account:

Enrolling Android Devices
You are now set to enroll Android devices as described here: Android Enrollment