Chromebook Enrollment
How to enroll Chromebooks into FileWave
IfBefore youenrolling haven'tChromebooks, already,review please consult the Platform Integrations > Chromebooks section to learn how to syncconfirm Google Admin Console is syncing with FileWave. OnceAfter thisthat sync hascompletes, completed, all of your "Provisioned"provisioned Chromebooks will automatically appear in yourFileWave Central without a separate FileWave Admin. No need for any additional enrollment process.step.
Provisioning Chromebooks
Fortunately,Provisioning provisioningthe ChromebooksChromebook itself is somewhata simplershort thandevice-side workflow once the configuration.Google integration is configured.
Do not log into the Chromebook before enrolment.enrollment. DoingIf so,a willuser requiresigns resettingin first, reset the device and startingstart the enrollment process from scratchagain.
AYou need a configured Google Enrolmentenrollment user will be required to enrolenroll the devicedevice.
On power up, the device should present the Welcome page:
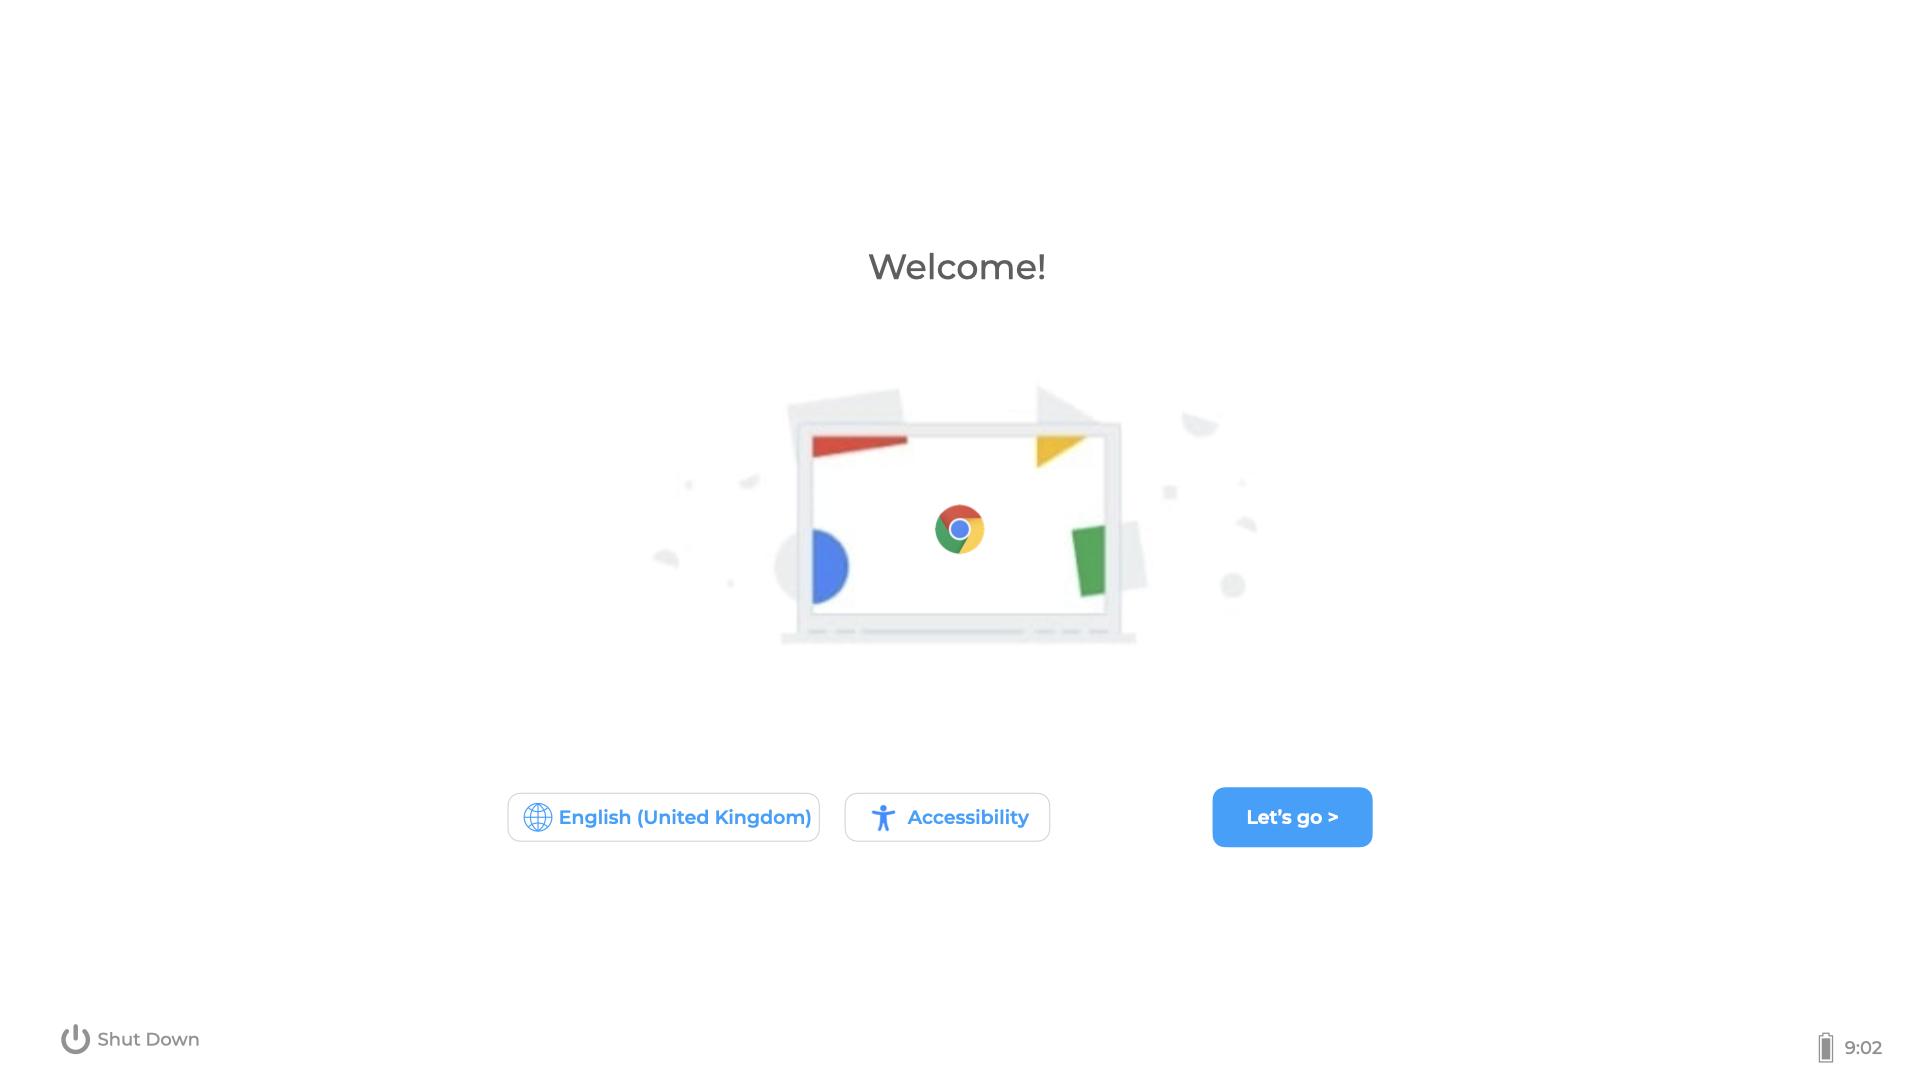
Click 'Let's go' andgo, then select a Wi-Fi to join.network.
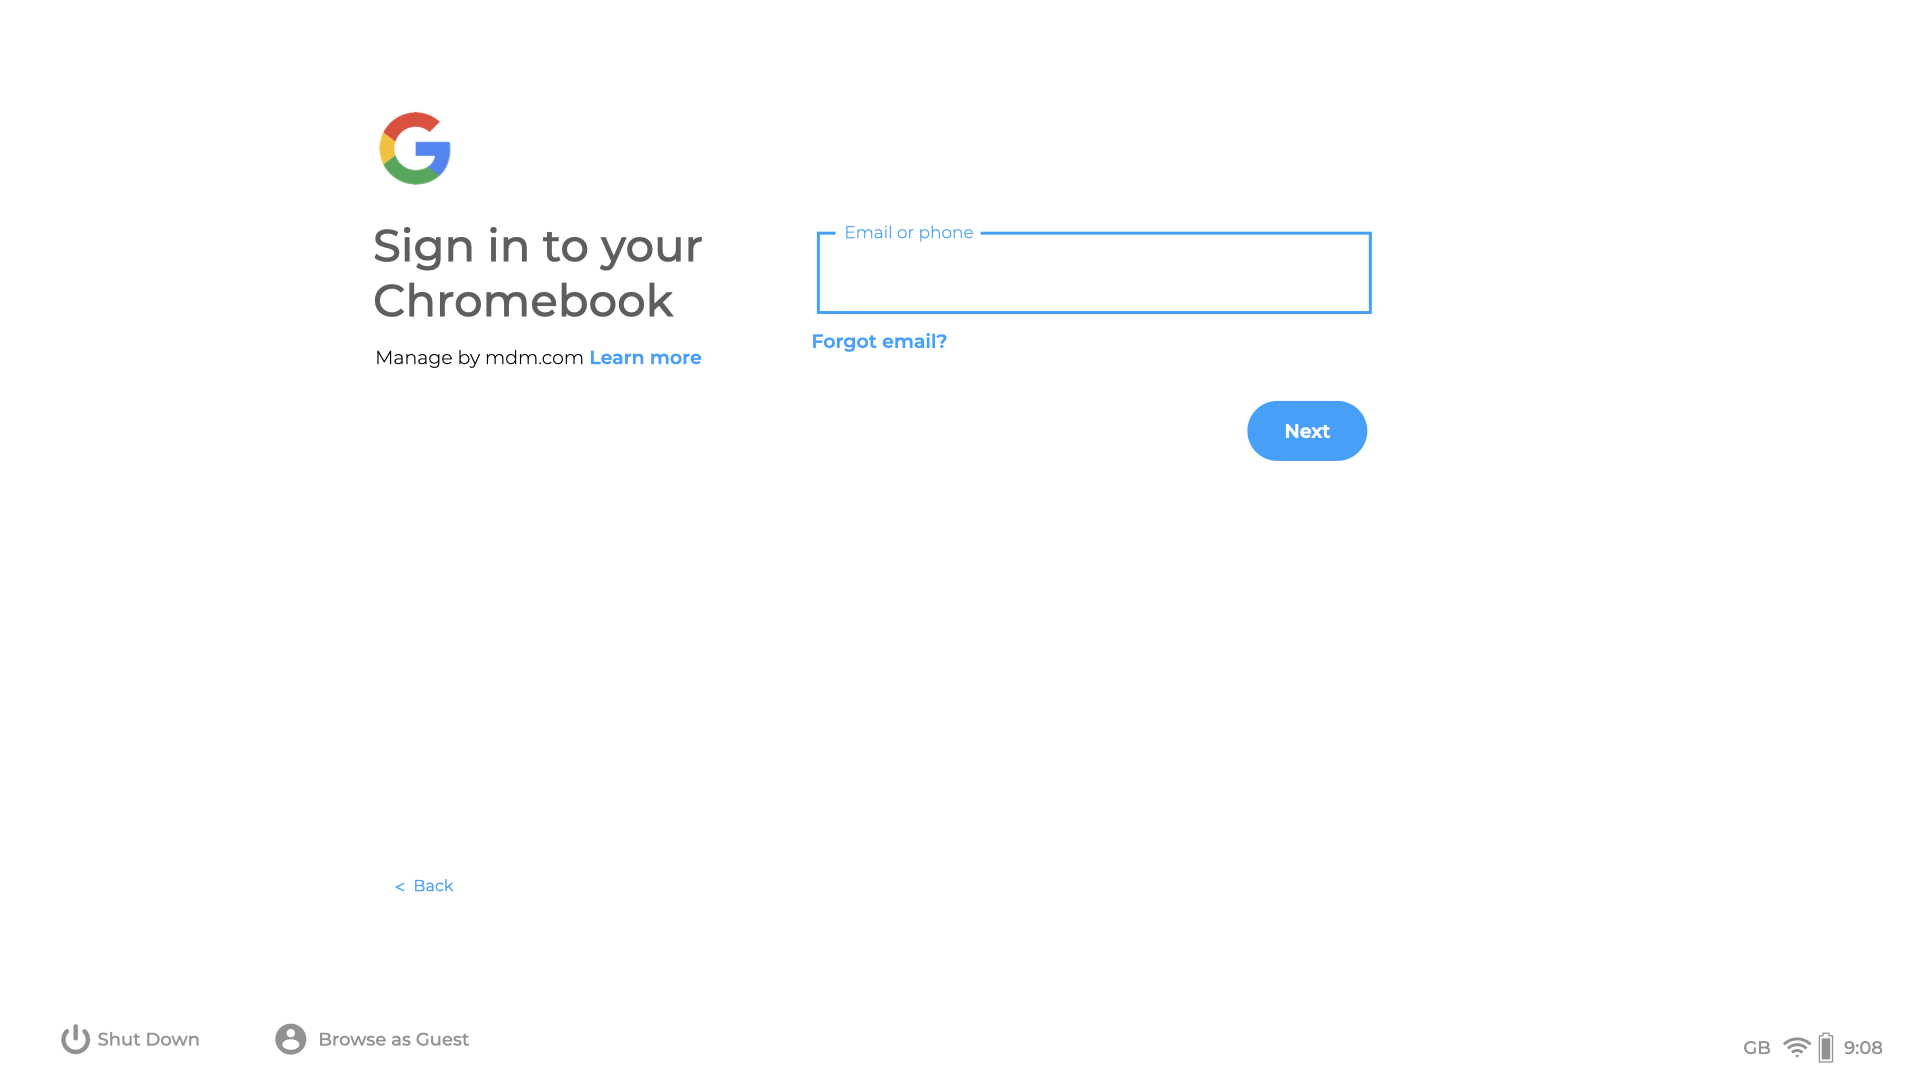
OnceAfter the device has joinedjoins a network, theit device mightmay show an Enterprise EnrolmentEnrollment page:
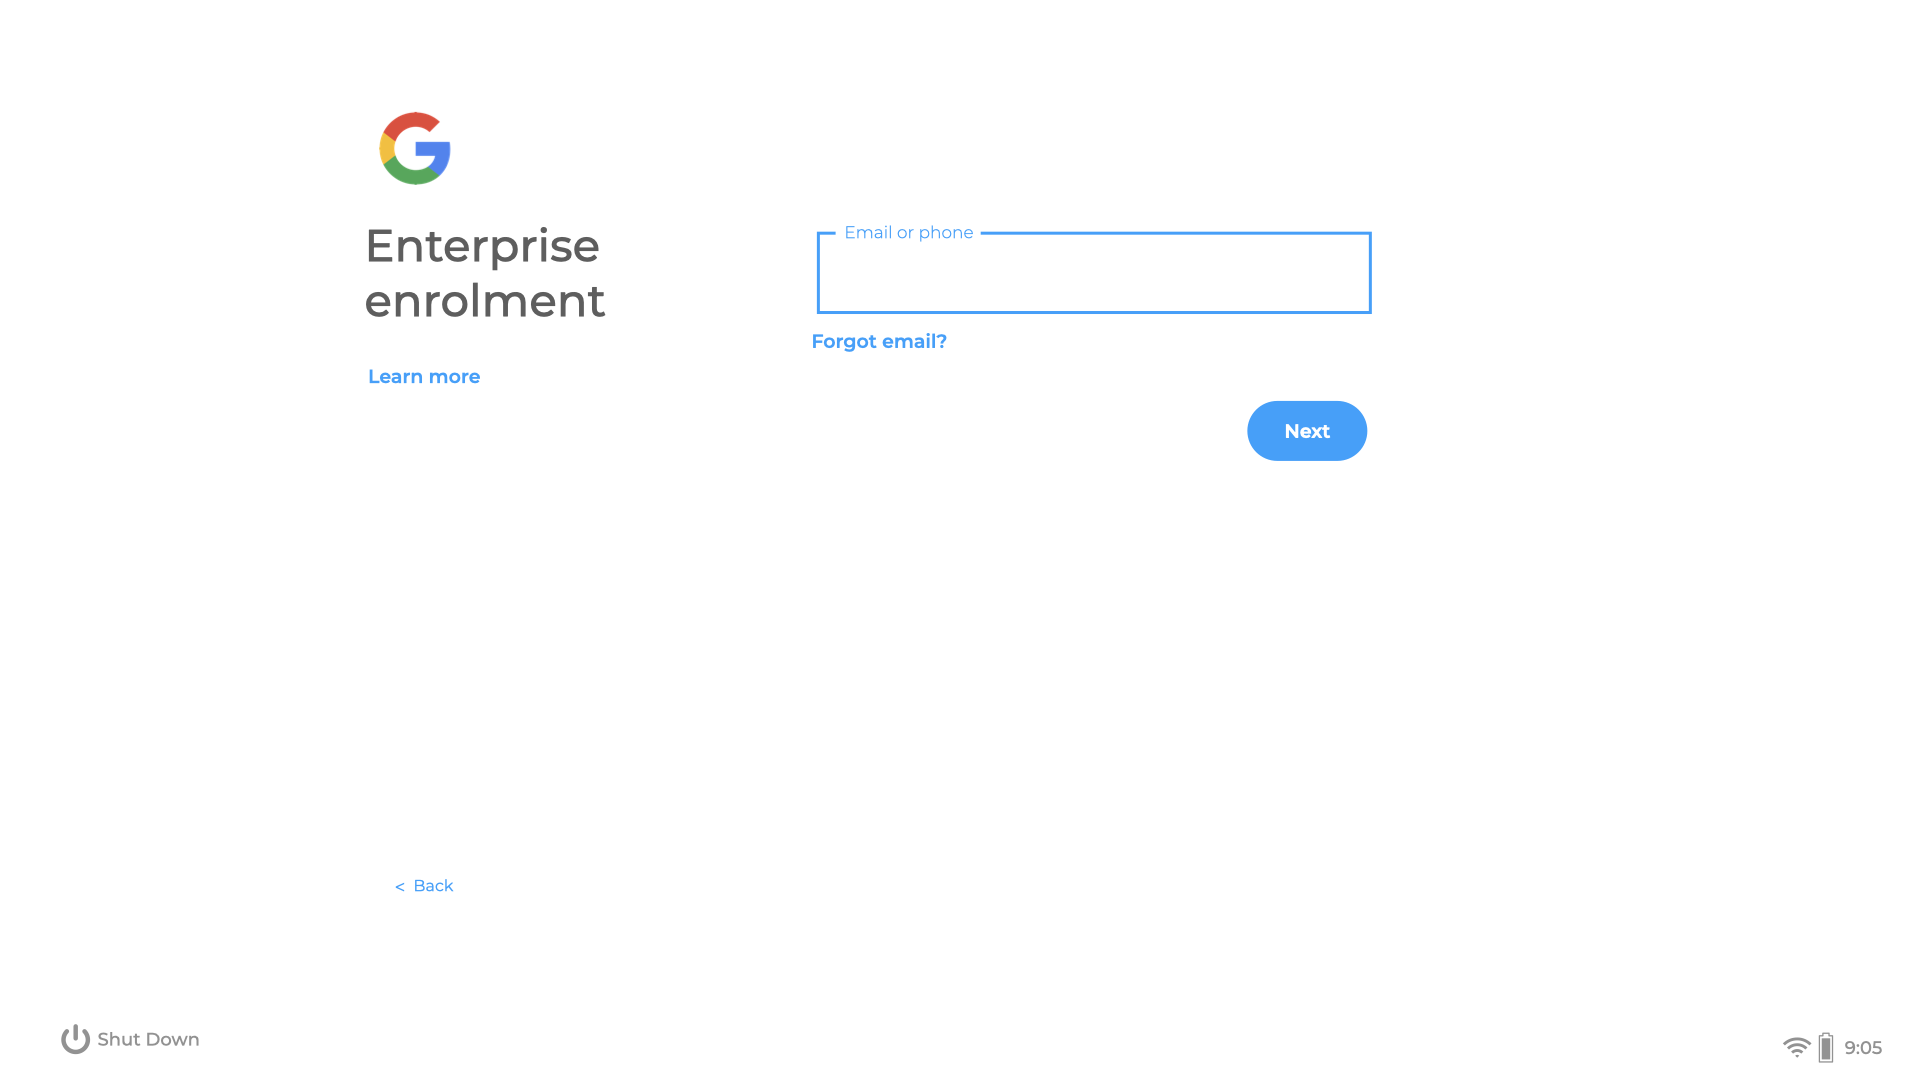
If it does not, selectpress CTRL ALT Ctrl+Alt+E to enrolenroll the device. Enter the Google Enrolmentenrollment username and password.
The device will provideshows a progress bar showingwhile enrolmentenrollment is takingrunning. place.When Onenrollment completioncompletes, a success page should be displayed:appear:
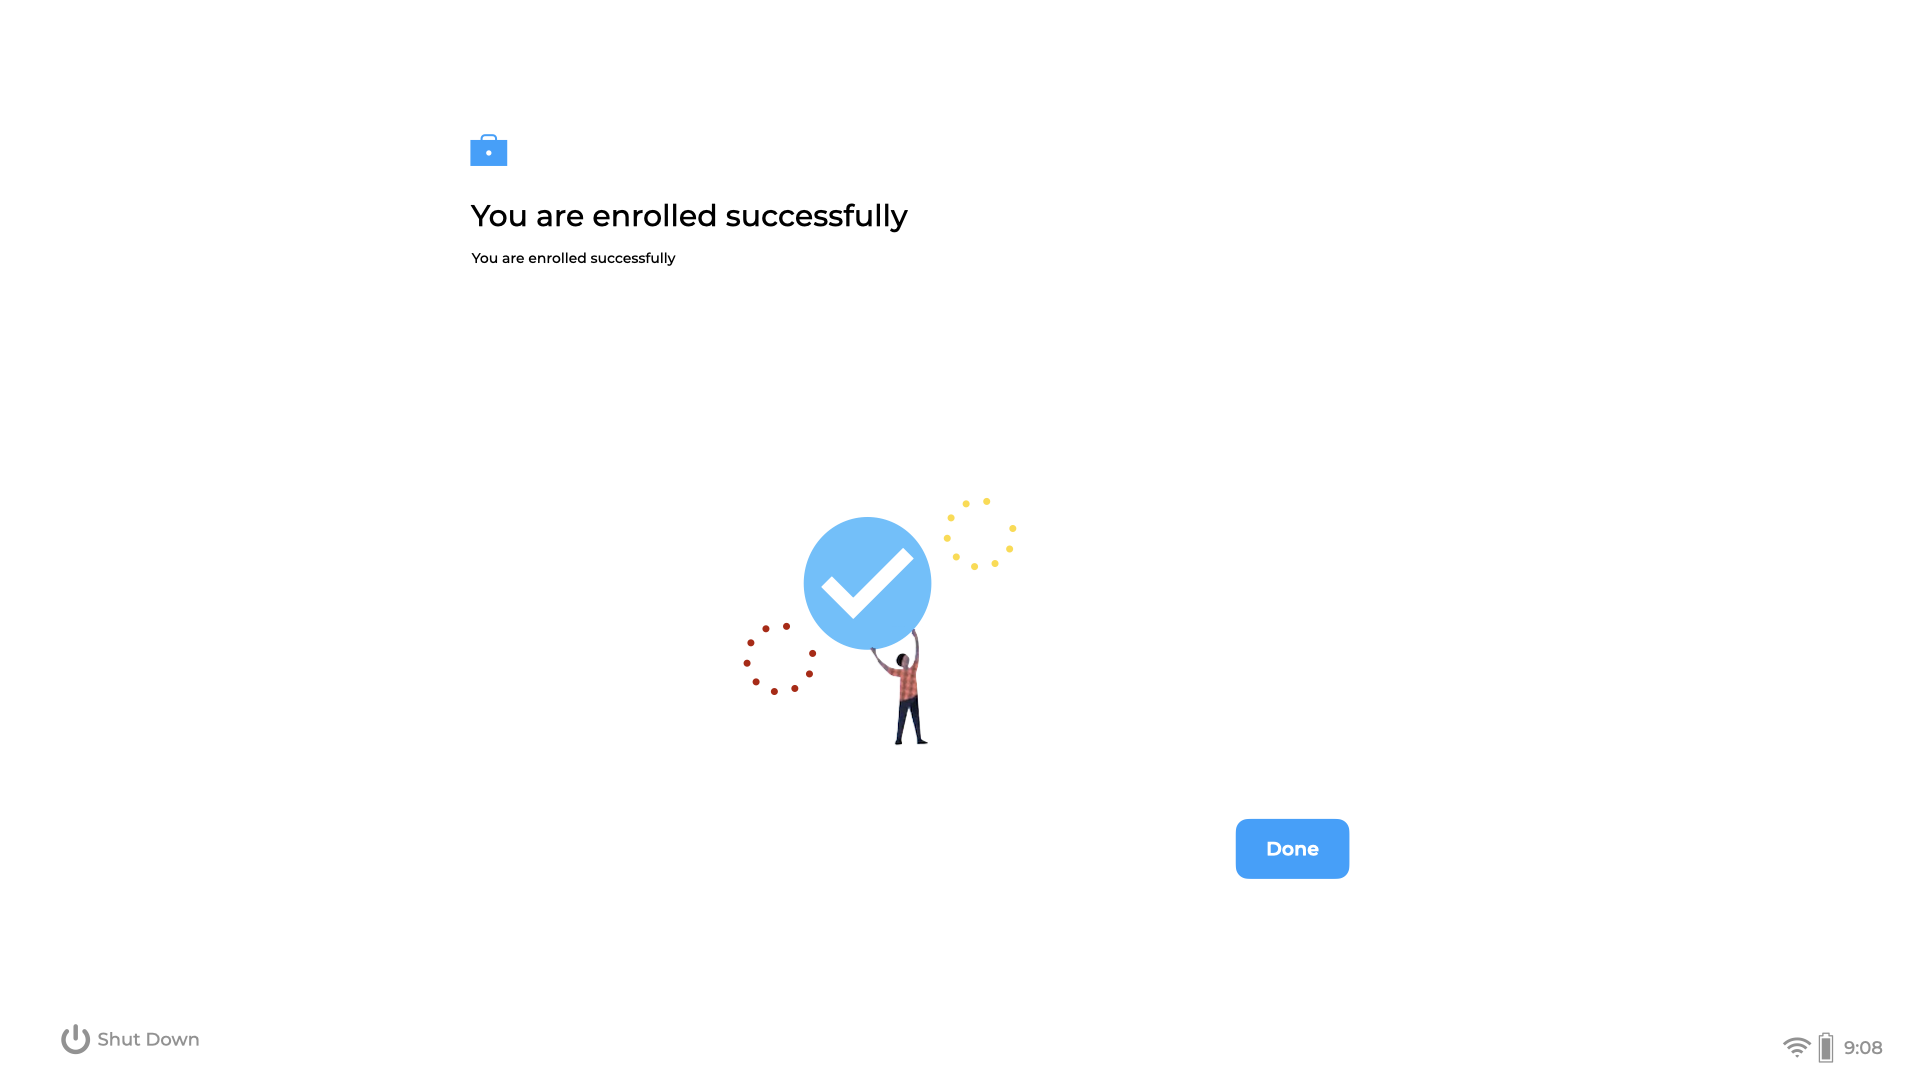
At this pointpoint, the device should show in the Google Admin Console as aprovisioned. ProvisionedAfter device. Onthe next FileWave,FileWave Google,Google OAuth synchronisation,synchronization, the device should appear in the FileWave Client view.
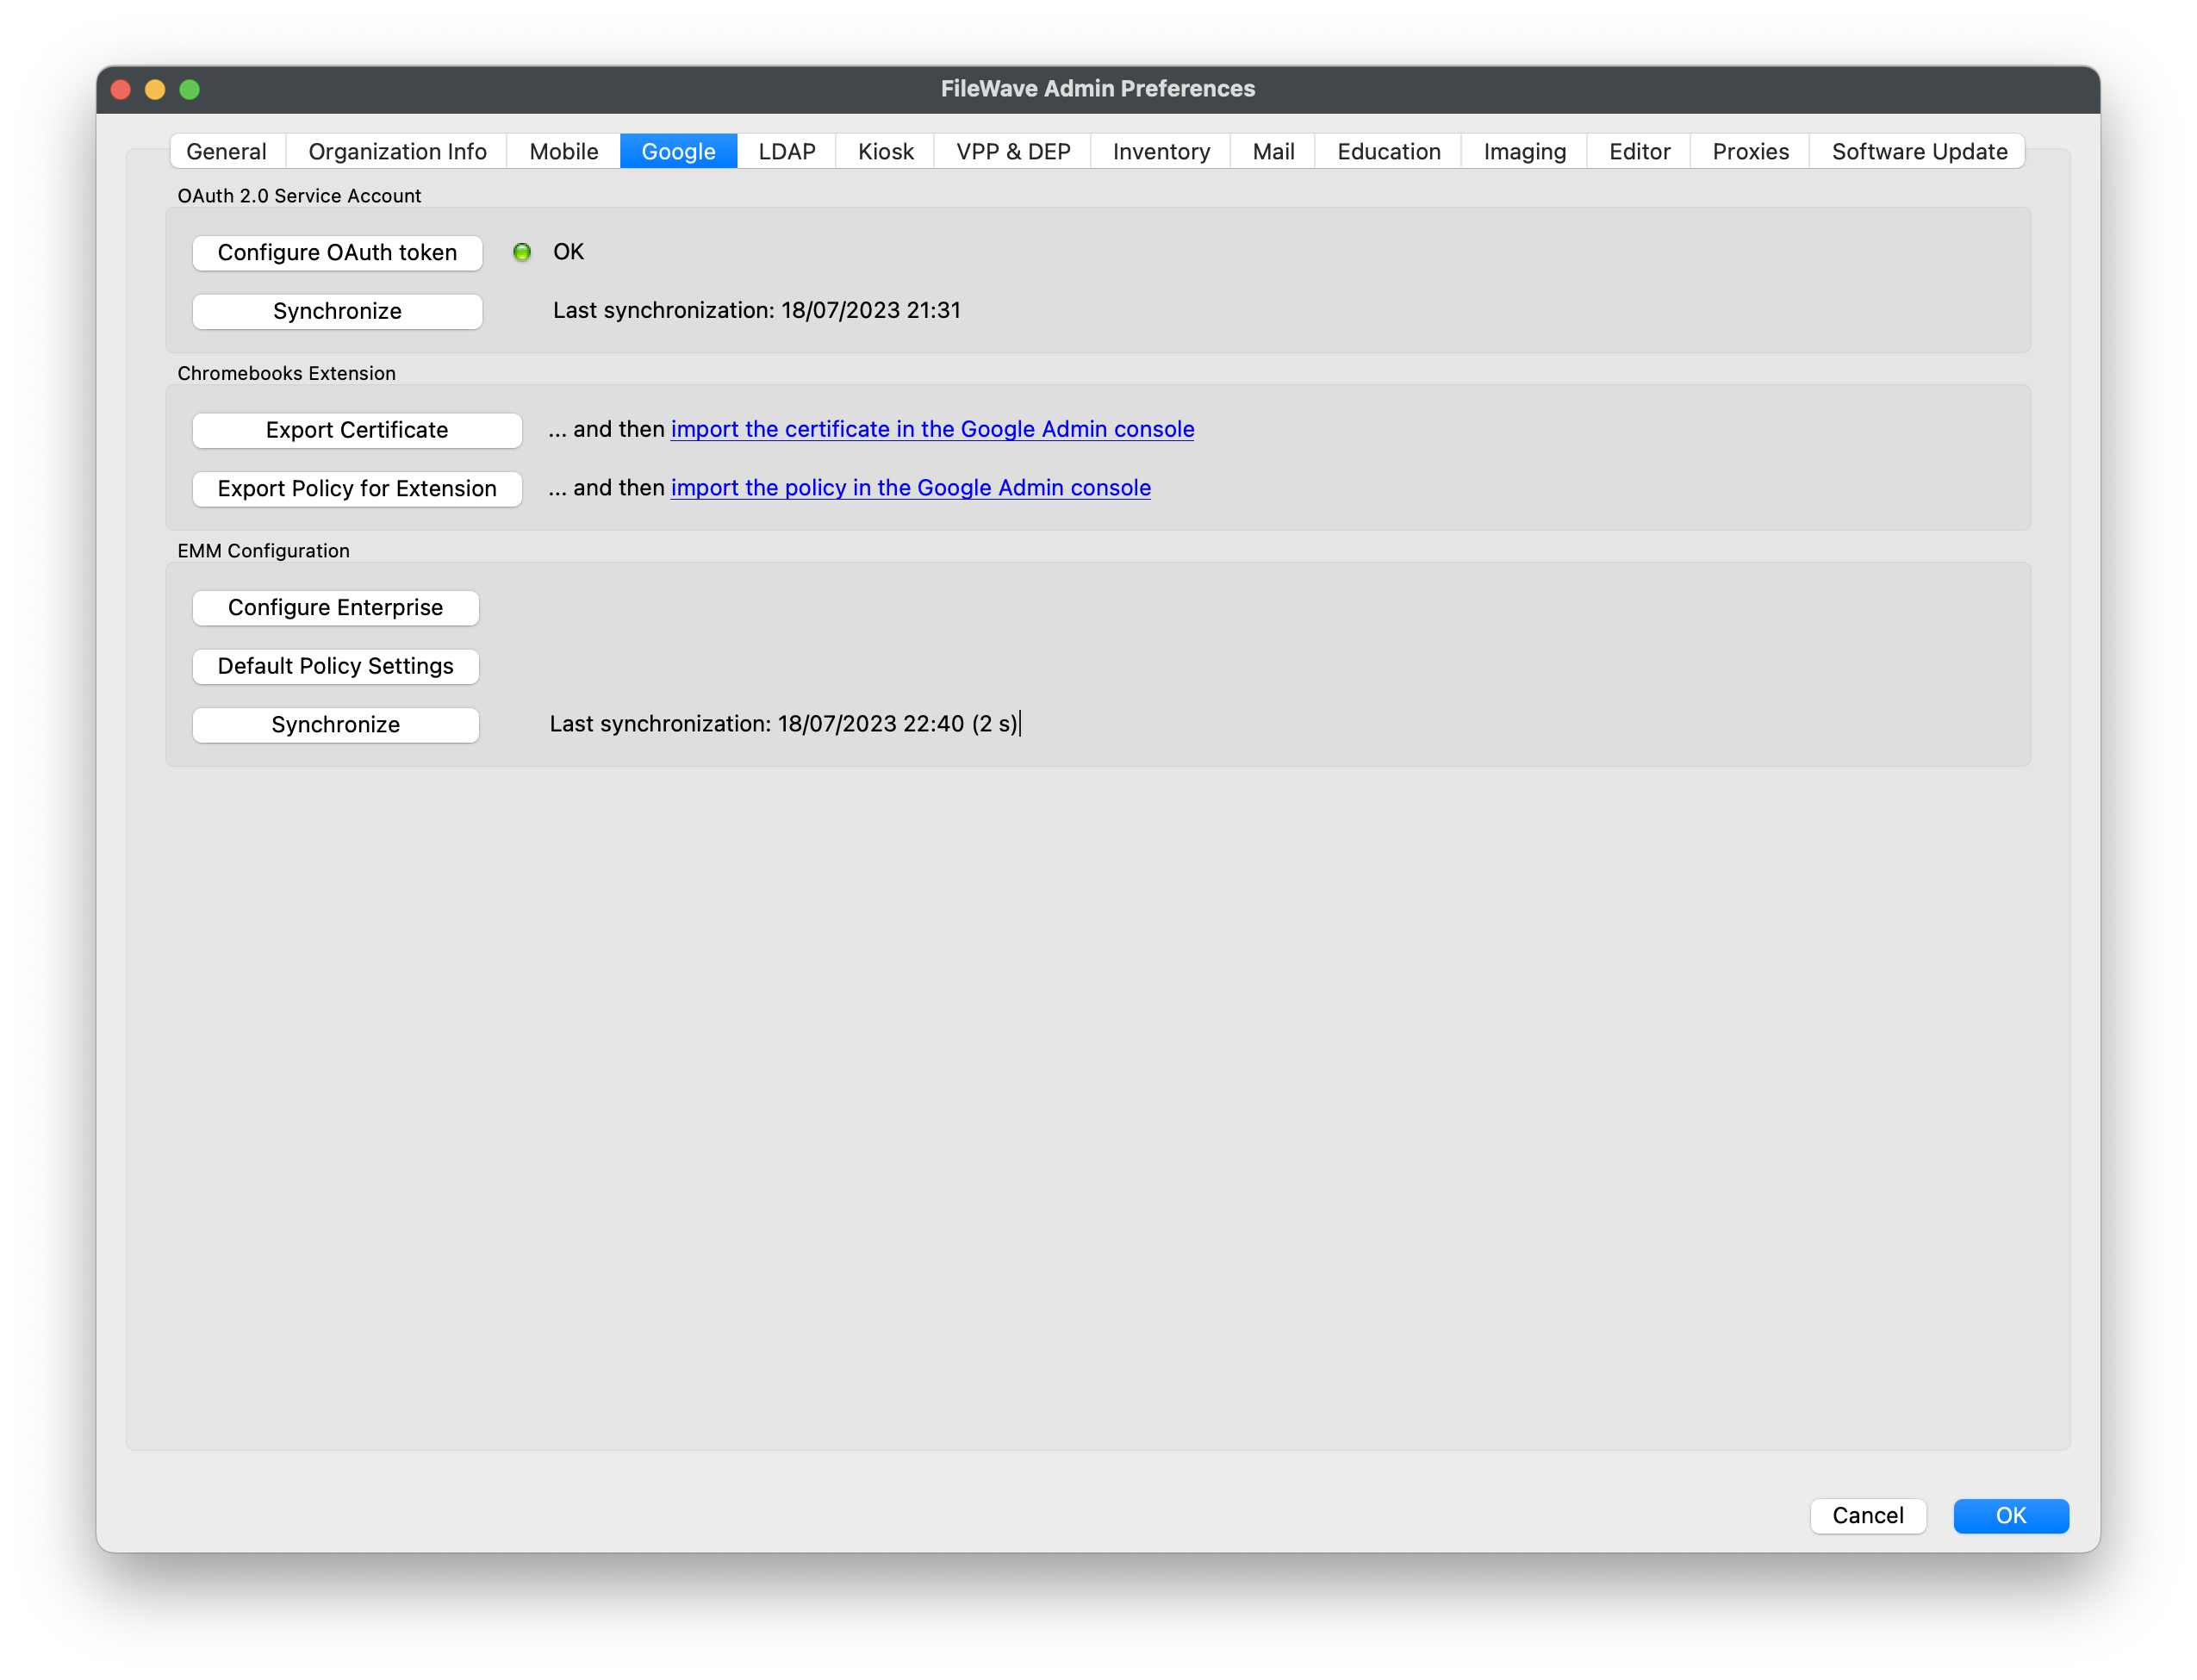
SynchronisationYou maycan betrigger triggeredsynchronization manually from the FileWave Central preferences:
Clicking 'Done'Done on the device should present the login page to the user: