Chromebook Enrollment
How to enroll Chromebooks into FileWave
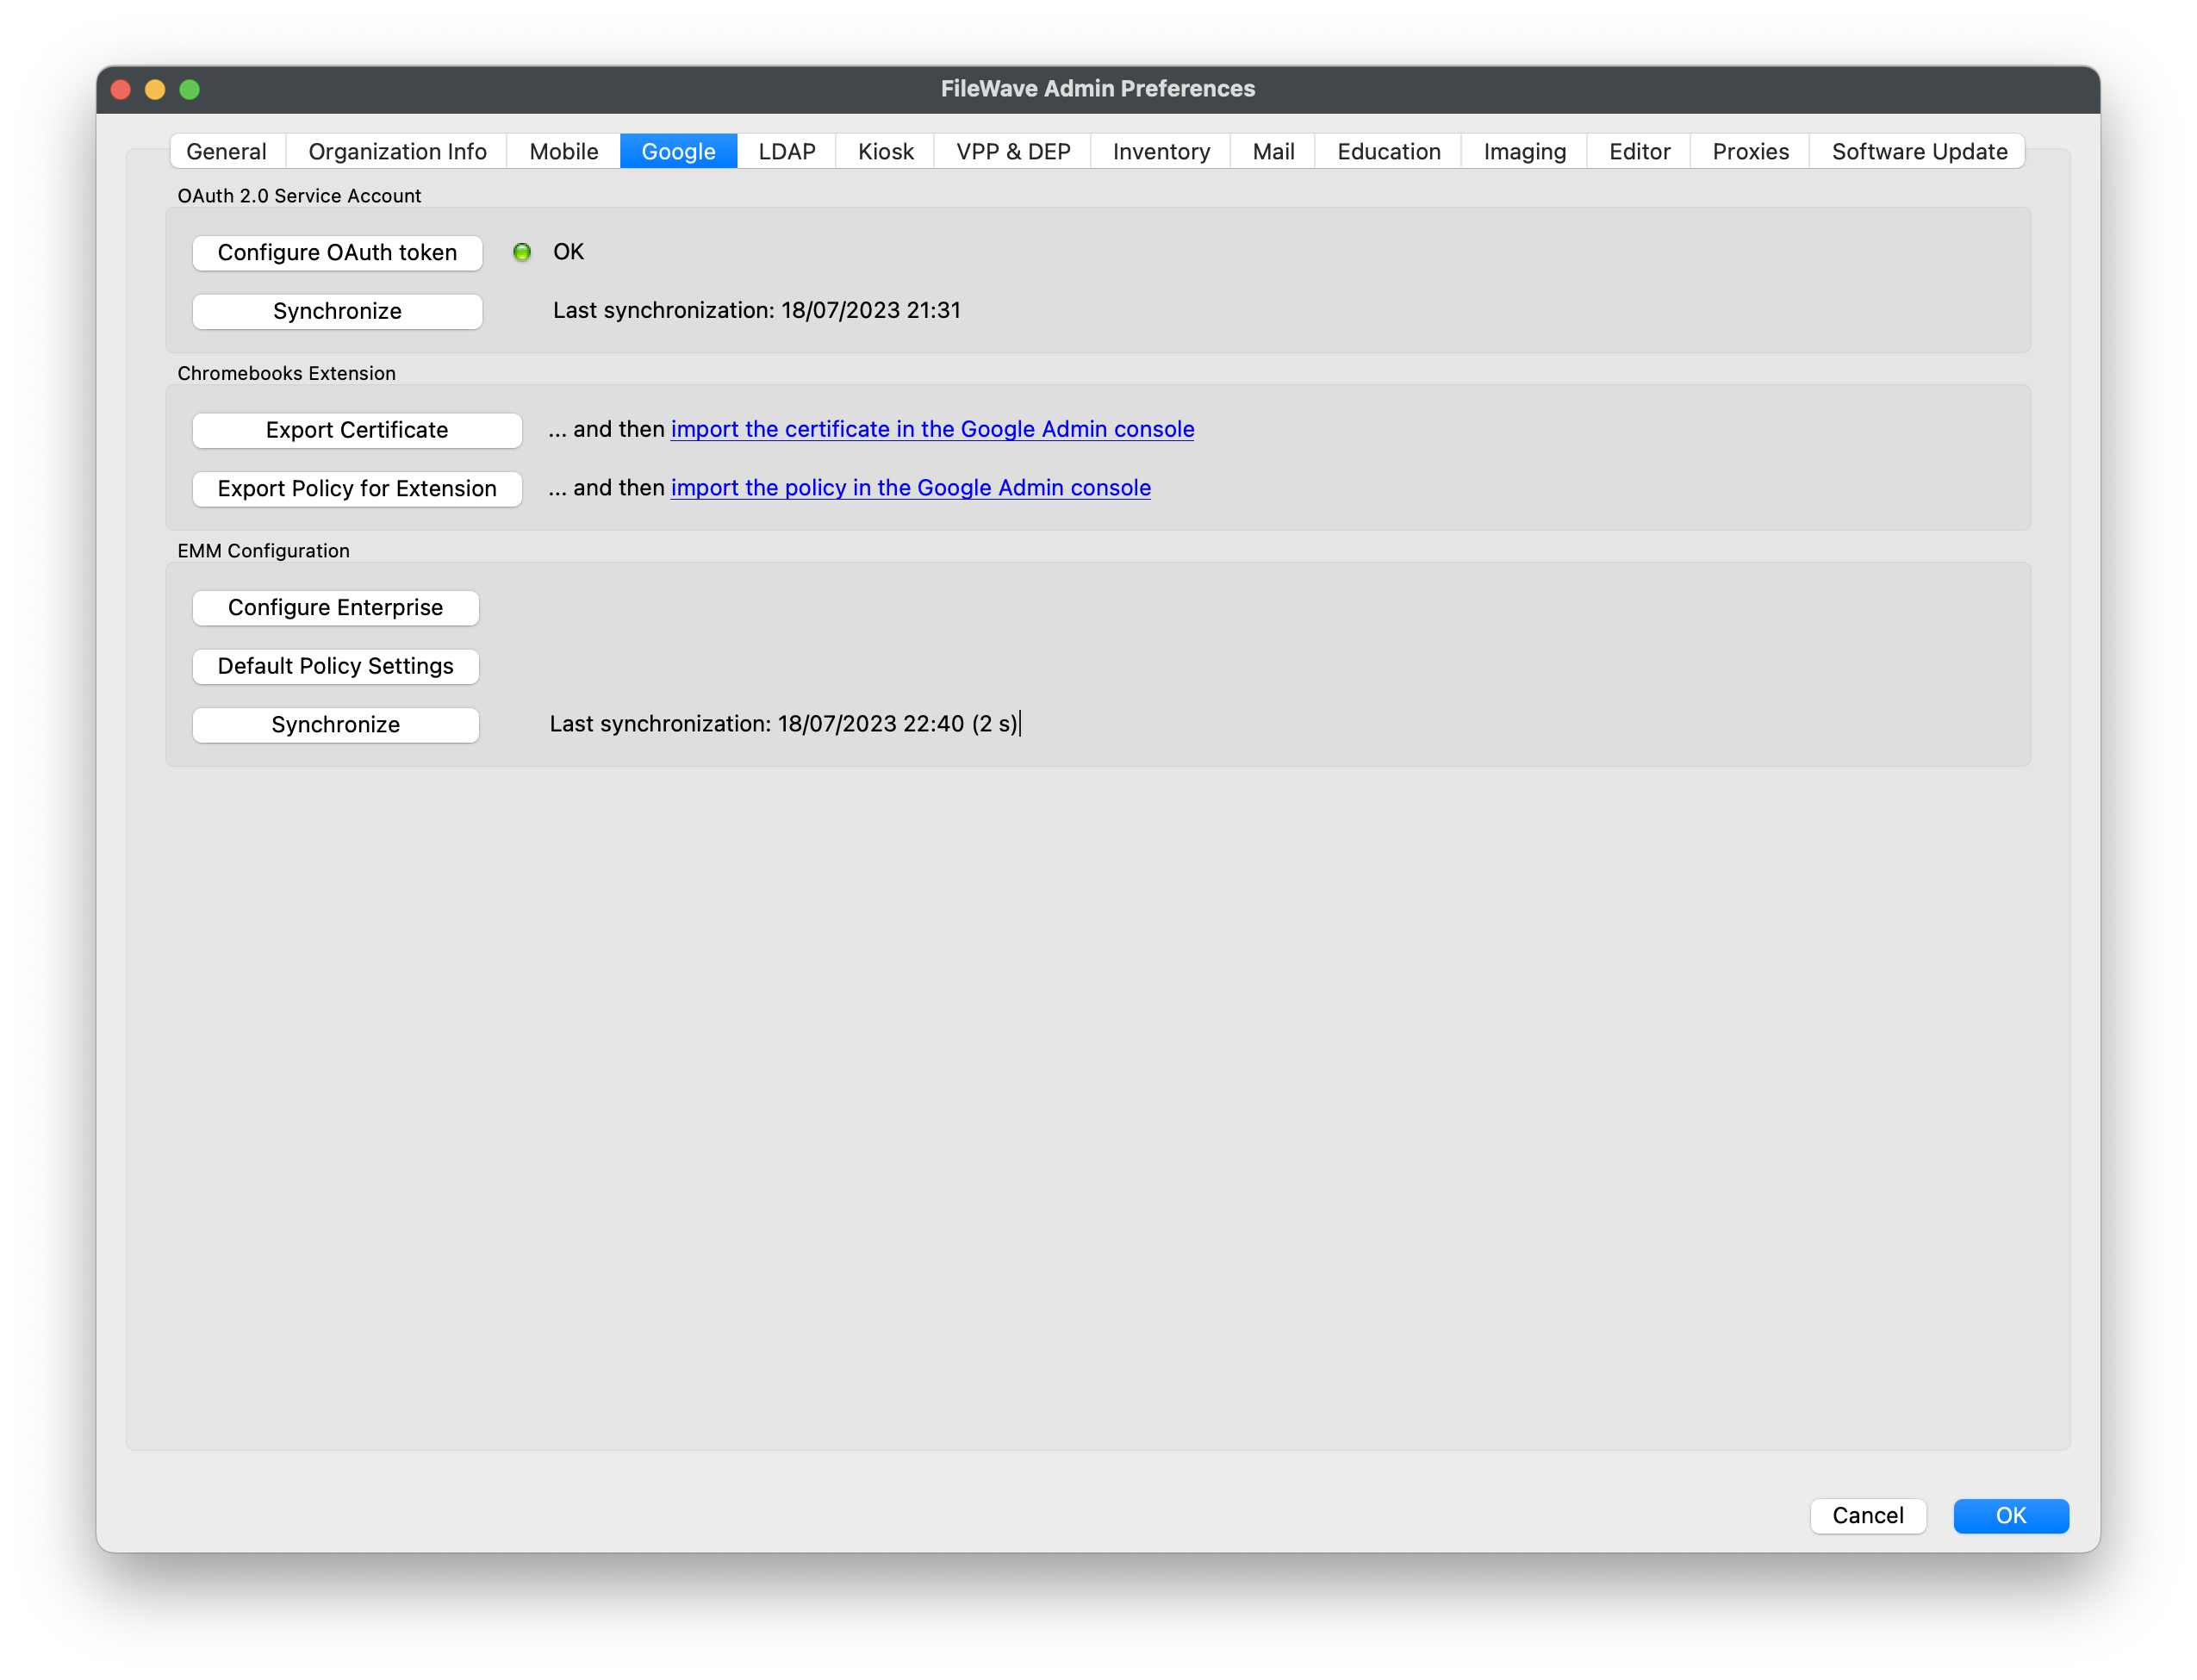
Before enrolling Chromebooks, review Platform Integrations > Chromebooks to confirm Google Admin Console is syncing with FileWave. After that sync completes, provisioned Chromebooks appear in FileWave Central without a separate FileWave enrollment step.
Provisioning Chromebooks
Provisioning the Chromebook itself is a short device-side workflow once the Google integration is configured.
Do not log into the Chromebook before enrollment. If a user signs in first, reset the device and start the enrollment process again.
You need a configured Google enrollment user to enroll the device.
On power up, the device should present the Welcome page:
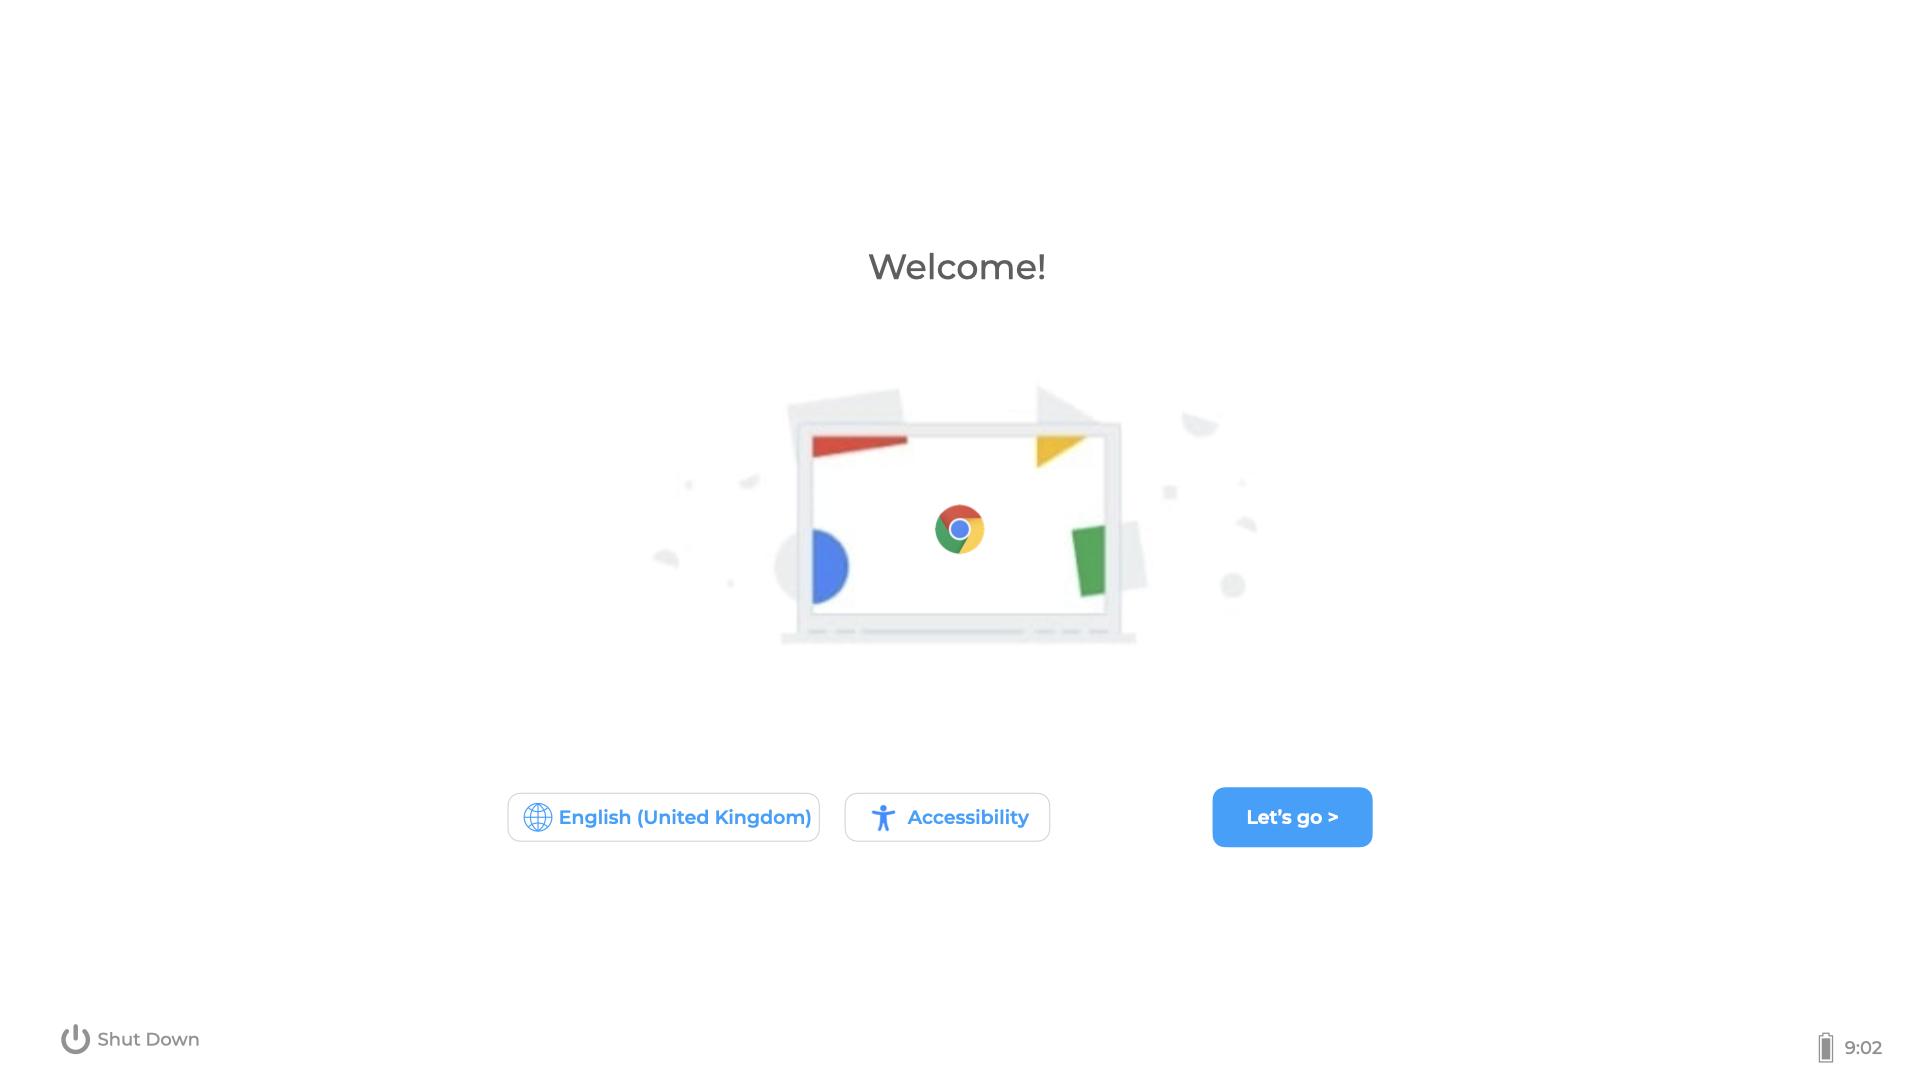
Click Let's go, then select a Wi-Fi network.
After the device joins a network, it may show an Enterprise Enrollment page:
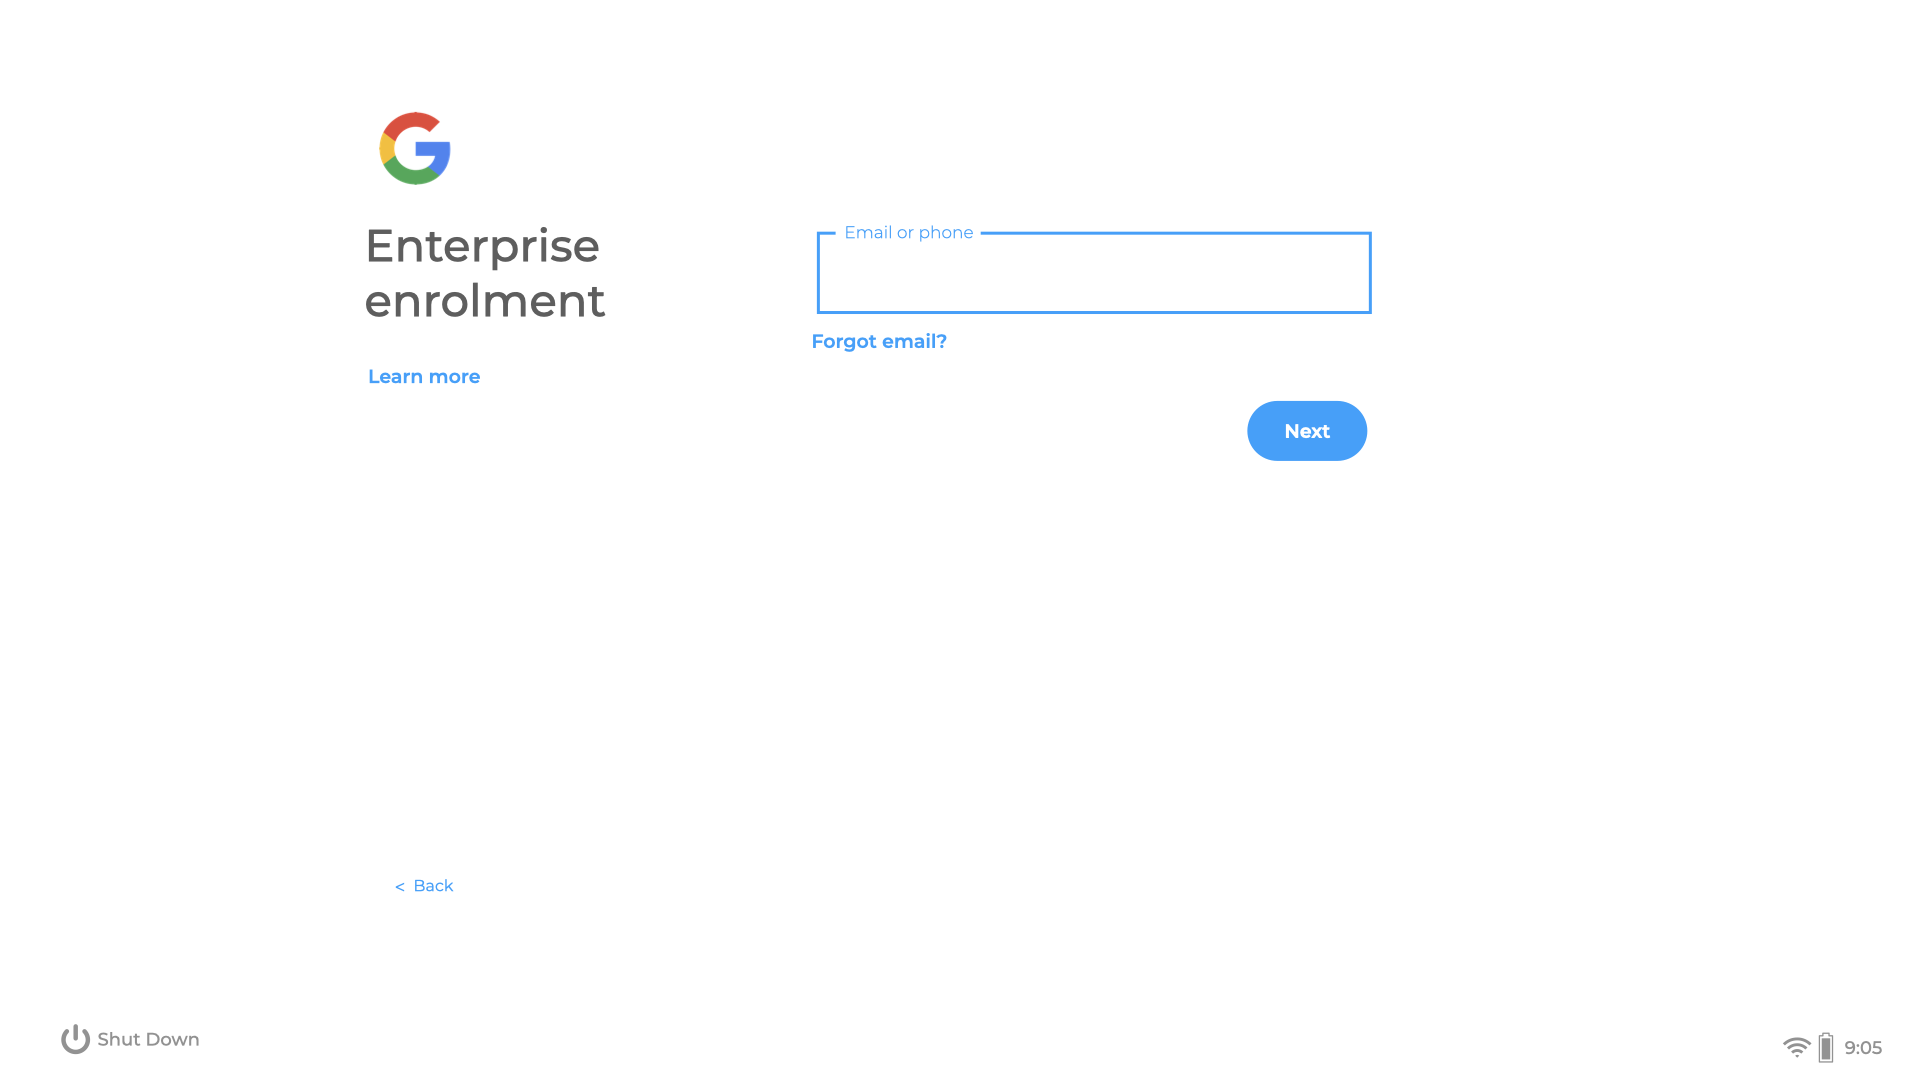
If it does not, press Ctrl+Alt+E to enroll the device. Enter the Google enrollment username and password.
The device shows a progress bar while enrollment is running. When enrollment completes, a success page should appear:
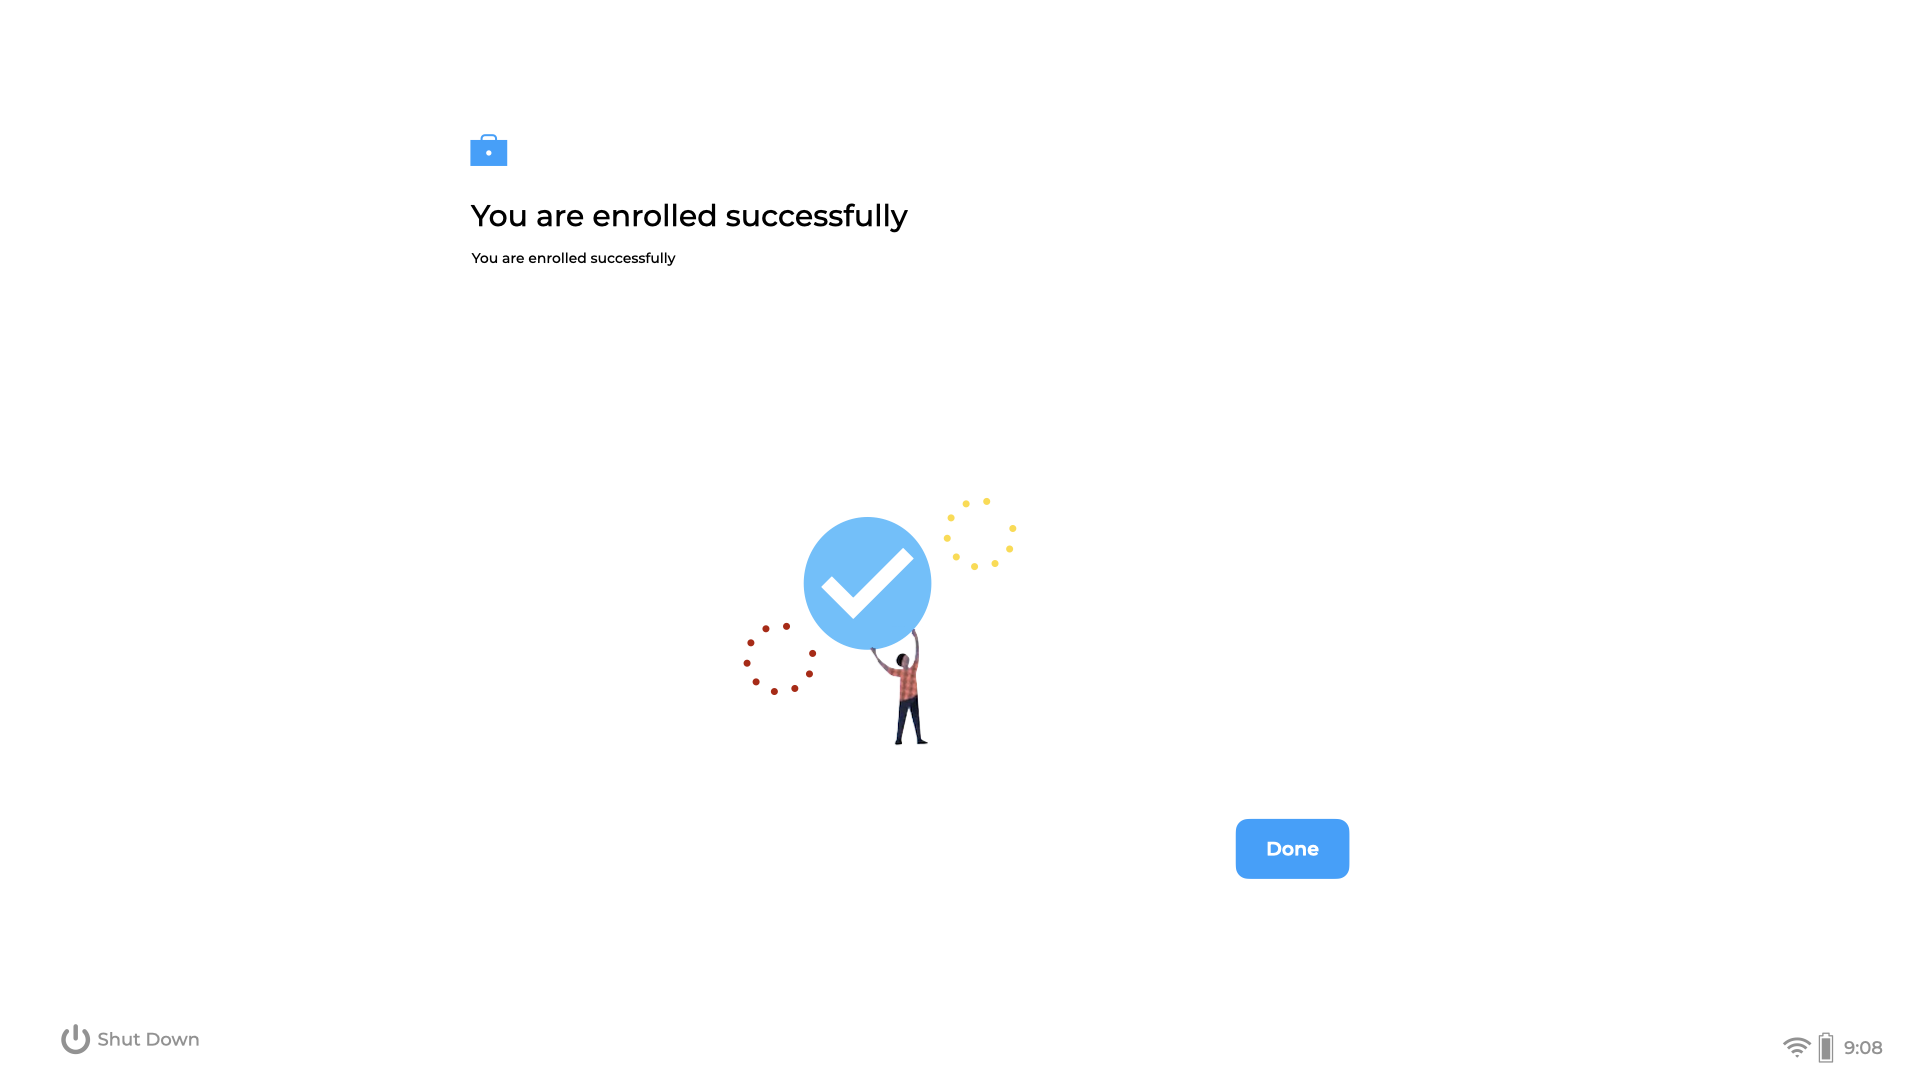
At this point, the device should show in Google Admin Console as provisioned. After the next FileWave Google OAuth synchronization, the device should appear in the FileWave Client view.
You can trigger synchronization manually from FileWave Central preferences:
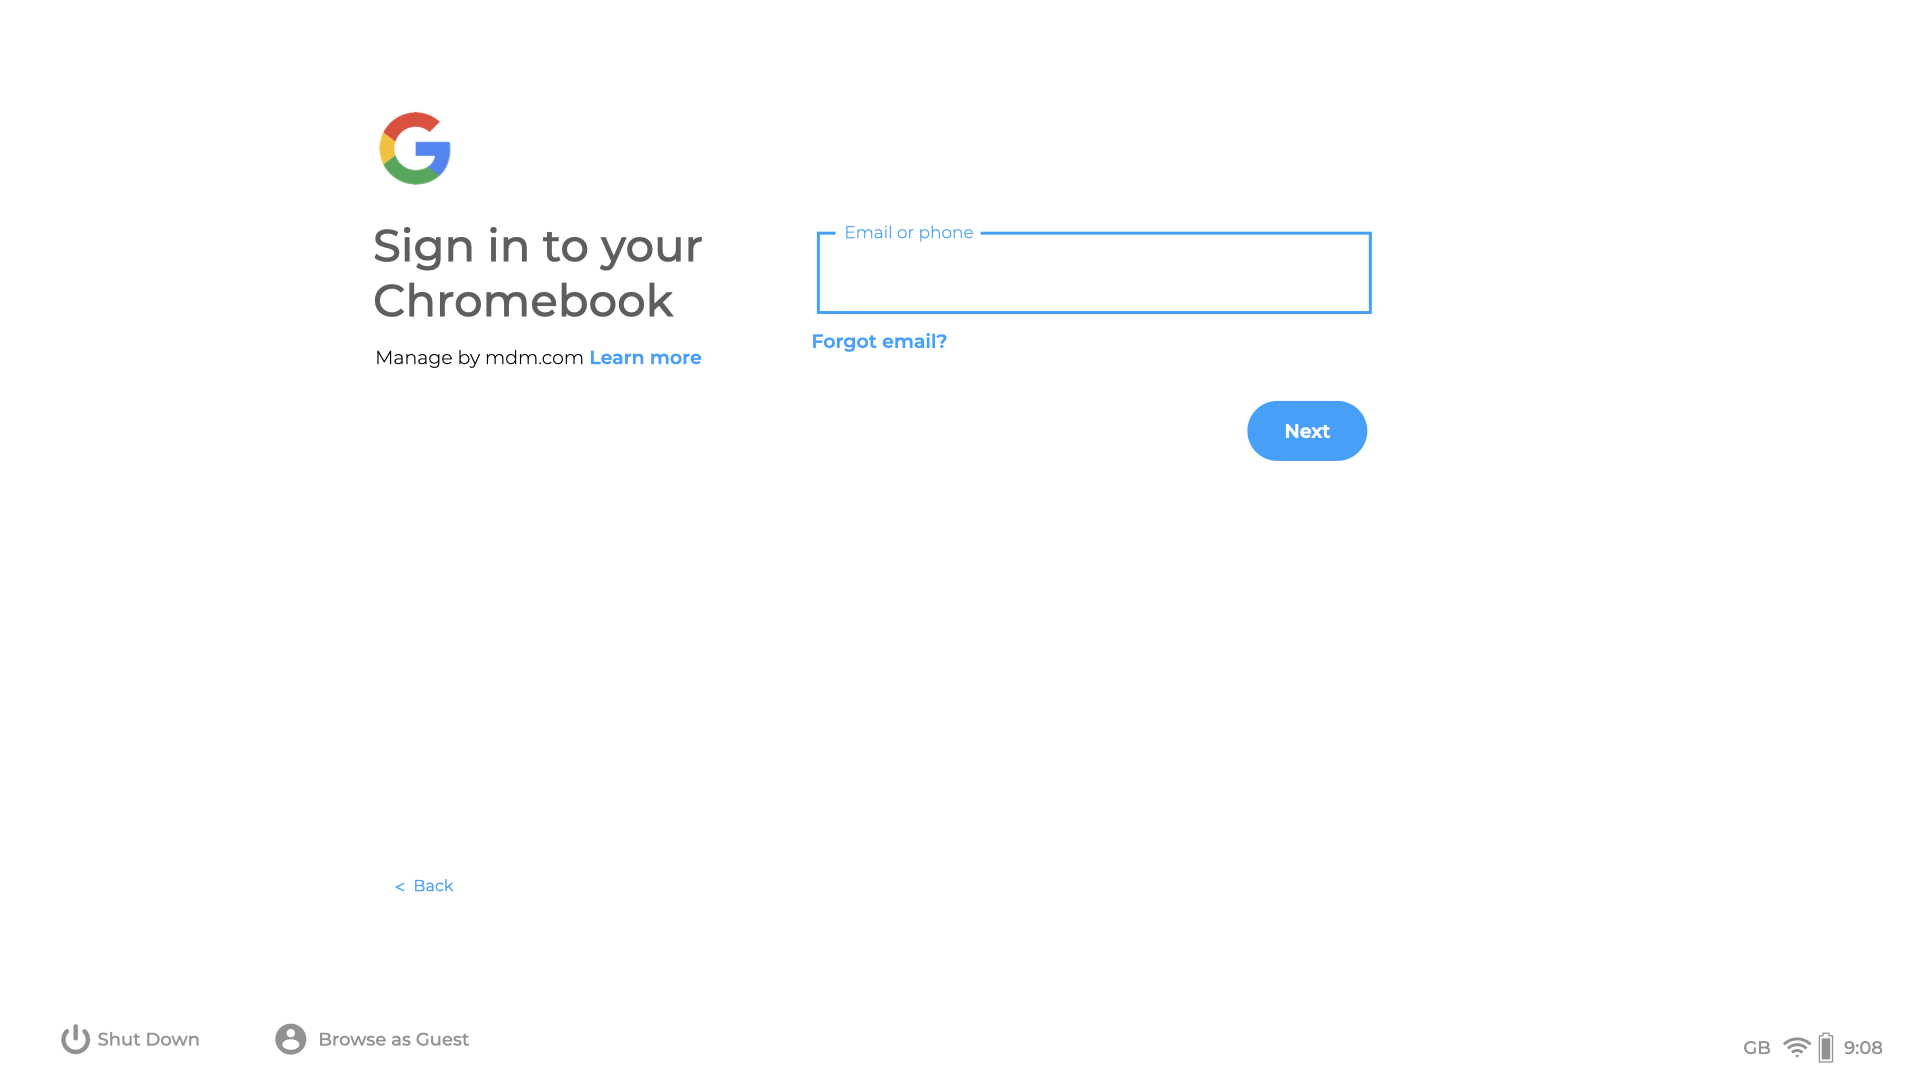
Clicking Done on the device should present the login page to the user:
No comments to display
No comments to display