
Upgrading your On-Premise FileWave Server
What
Use this guide to upgrade an on-premises FileWave Server and then update or verify the administrator tools, Boosters, clients, Kiosk, and enrollment packages that remain under your control.
If your FileWave server is hosted by FileWave, you may review the KB article here: Your Hosted FileWave Server Has Been Upgraded - What Are Your Next Steps?
When/Why
Follow the sequence below to protect the existing environment, complete the Server upgrade, verify service health, and move each managed component to the appropriate post-upgrade workflow.
How
The Server upgrade is completed first. FileWave Central, Boosters, clients, Kiosk, and enrollment packages are handled after the Server is confirmed healthy.
Before upgrading, please visit the Known Issues tab of the Known Issues.
Upgrade FileWave components in this order:
- Lock desktop and iOS/iPadOS clients.
- Back up the FileWave Server.
- Upgrade the FileWave Server software.
- Upgrade FileWave Central.
- Connect with FileWave Central and verify the environment.
- Upgrade FileWave Boosters.
- Upgrade FileWave Clients.
- Confirm iOS/iPadOS Kiosk licensing.
- Prepare macOS and Windows client packages for new enrollments.
1. Lock Desktop and iOS Clients
It's always a good idea to lock all your client devices before upgrading your FileWave components. That way you can verify that the server is running correctly and not worry about your macOS and Windows clients getting any of the changes. Keep in mind that Chromebooks cannot be locked - you can sort by platform to skip Chromebooks and use shift-click to select all of your Windows and macOS devices.
-
Highlight all of your Desktop devices → right click → select "Lock".
-
Change the filter to mobile, highlight all iOS devices → right click → select "Lock"
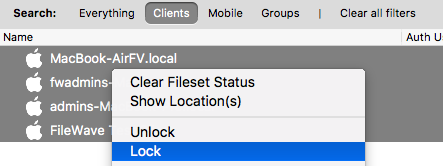
What is a Lock?
See Locking Devices
2. Backup your FileWave server
There are two ways to do so depending on your server. If you are running a Linux or macOS server you need to use the backup script that we provide to backup your server. Please always run a manual backup with the script we offer before starting the upgrade. We offer this knowledge base article for this process and the commands you will need to run as well as a way to check the backup file.
If you are running a virtual machine for your FileWave server you are still able to use the backup script we offer but are also able to take a snapshot of the server in your virtual environment as a backup. Before taking the snapshot of the server please turn off the virtual machine so that FileWave server services are not running when you are backing up the Virtual Machine. This will prevent any issues with fragmented information in the backup.
If you do not want to stop the VM, you can use the below commands to stop the FileWave services and then take the backup.
Stop the FileWave Server Services (for VM Snapshot only)
sudo fwcontrol server stopAfter the backup is complete, please start the services again using the following command
sudo fwcontrol server start3. Upgrading the FileWave Server software
Once you have a backup of your FileWave server created you will first Upgrade the FileWave server software before upgrading your FileWave Central (FileWave Admin Native) app, FileWave boosters, or FileWave clients. If you upgrade your FileWave clients' software first before upgrading the server, for example, your clients may break the connection to the server. Upgrading the FileWave server is not as intimidating as it may seem as it is an in-place upgrade and you do not need to uninstall anything first or stop the FileWave server services. Below you will find sections for macOS, Linux, and Windows Server.
Beginning with FileWave 16.3, the Server upgrade performs extended database-integrity checks and migrates the embedded database to PostgreSQL 18. Upgrading to FileWave 16.4 is supported only from FileWave 16.0.0 or later. If the Server is older than 16.0.0, first upgrade to 16.0.0—16.2.x is recommended—and verify that intermediate upgrade before proceeding to 16.4. If the PostgreSQL 18 migration fails, FileWave falls back to PostgreSQL 17 and continues in degraded mode. Stop and contact FileWave Support before proceeding.
Example upgrade path: 13.3.1 → 14.7.2 (PostgreSQL 12) → 16.0/16.1/16.2.x (PostgreSQL 12 + 17) → 16.4.0 (PostgreSQL 17 + 18).
3.1 macOS Server Upgrade
macOS Server Upgrade
The macOS server upgrade is similar to installing any other pkg software on a macOS machine.
-
On your macOS FileWave server go to the Knowledge Base → Downloads → select the most recent version of FileWave
FileWave Downloads Page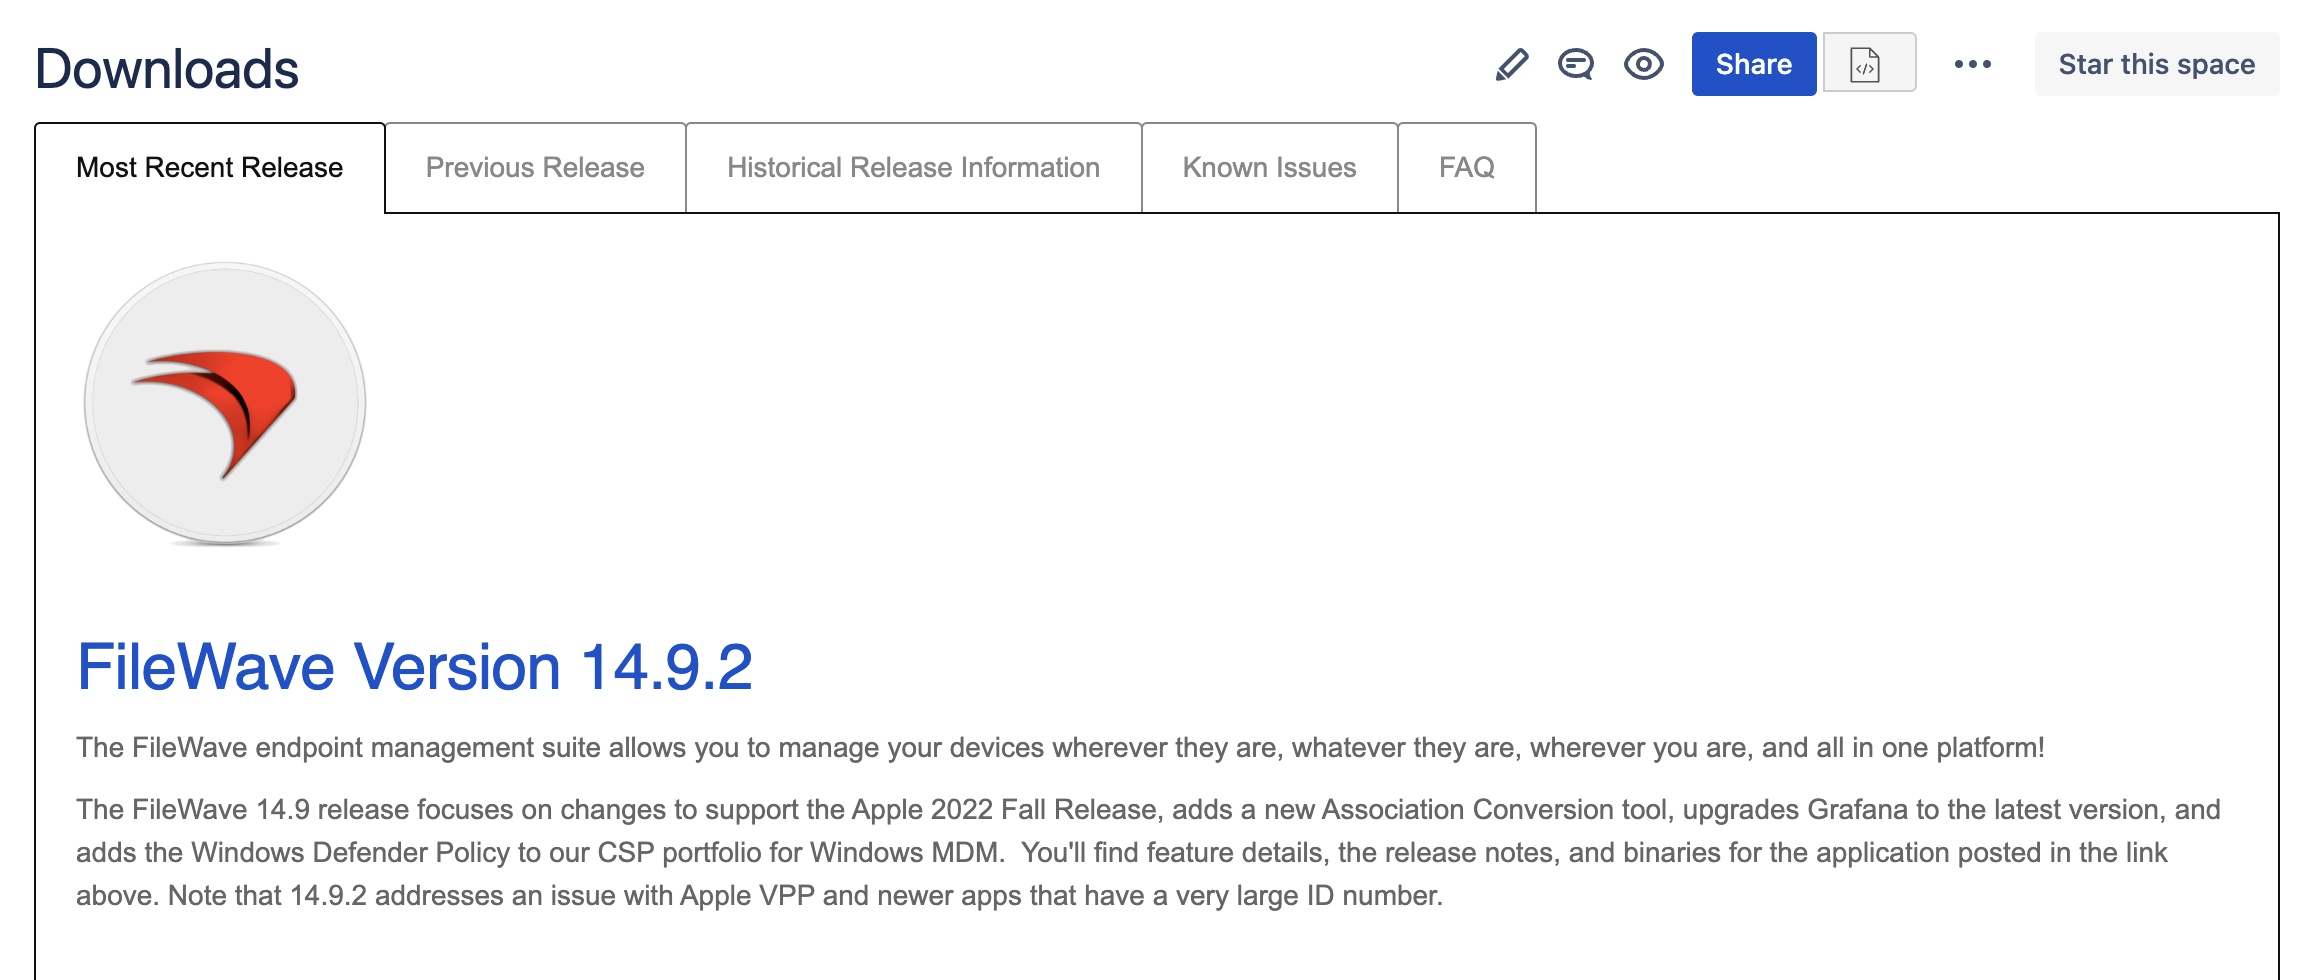
-
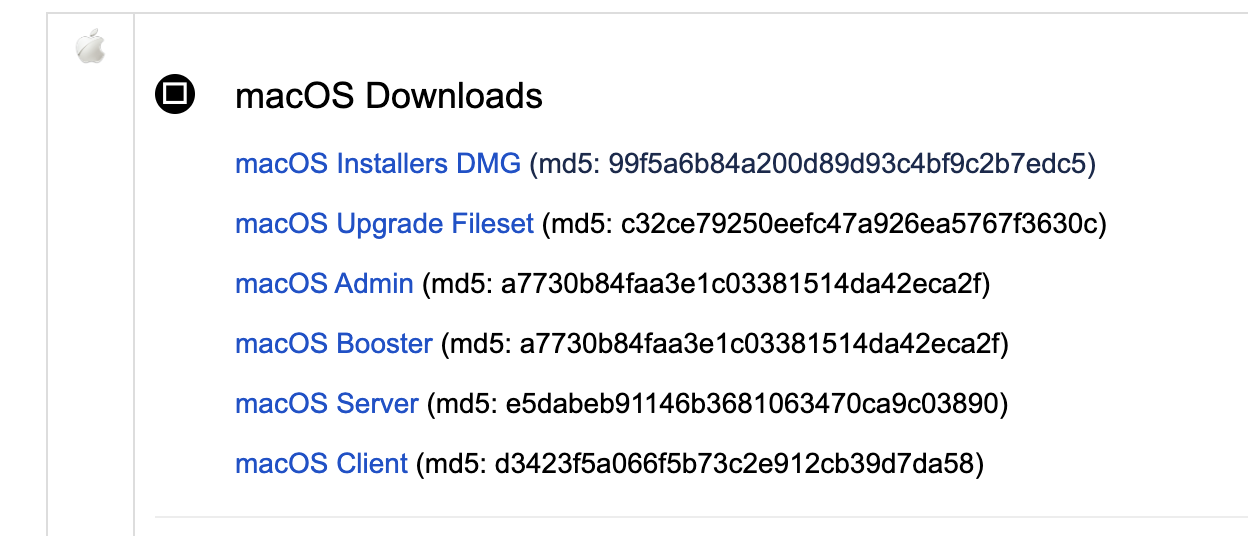
You will then scroll down on the page until you see "macOS Installers" and select it. This will download all of the FileWave Installers for the version of FileWave you want to upgrade to in a .dmg file. If you only want to upgrade the server, select “macOS Server”.
-
Run the installer you just downloaded. If you downloaded the bundle, double-click on the FileWave Server installer after mounting the dmg.
-
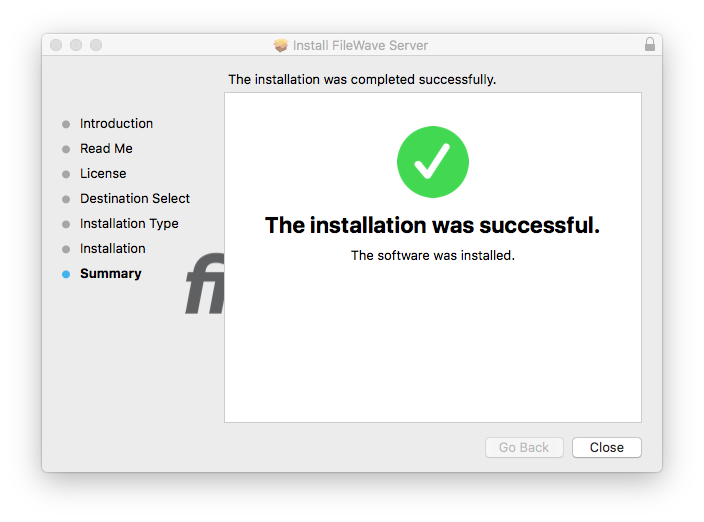
The installer can take a while to run but when it is finished you will be presented with the window below and you are finished with upgrading the server. (If the upgrade reports a failure please contact our Support Team immediately and they can assist you with it)
-
You are now done upgrading the server and will then move to upgrade your FileWave Central (FileWave Admin Native) app.
3.2 Linux Server Upgrade
Linux Server Upgrade
The Linux server upgrade can be intimidating since it will all be done in Terminal but we try to make it as simple as possible for you.
-
Go to the Knowledge Base → Downloads → select the most recent version of FileWave
FileWave Downloads Page -
Scroll down on the page until you see "Linux Downloads". You can download the .deb and move it to the server or just run the one-liner command under Upgrading Linux Servers → Upgrading the FileWave Server to download and install all at once. There is also a one-liner command there for Boosters as well as IVS if you have them.
-
Connect to your FileWave Linux server and run the command to install. If you don’t have direct access to the server, you can connect using SSH in Terminal or Putty on Windows.
-
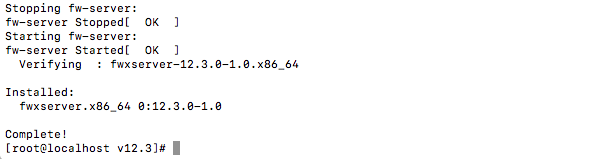
Once you have run the command on your server it can take a little while to finish and you will be presented with a similar message as below. If you see that the installation failed please contact our support team immediately and they can assist you with this. You will see more information on your session but this will show at the end of the messages.
-
Confirm your installed FileWave Version by running the following:
fwcontrol server versionYou are now done upgrading the server and will then move to upgrade FileWave Central (FileWave Admin Native App).
3.3 Windows Server Migration
Windows Server Migration
No longer compatible with FileWave Server 14+
Please contact Professional Services to migrate your server to Linux.
4. Upgrade FileWave Central
FileWave Anywhere is updated automatically with the FileWave Server.
Beginning with FileWave 16.3.0, FileWave Central for macOS and Windows checks the Server version when connecting. If Central is older than the FileWave Server, it offers to upgrade to the matching version. You normally do not need to download and install FileWave Central manually.
- Launch FileWave Central and connect to the upgraded FileWave Server.
- When Central reports that a newer matching version is available, accept the upgrade.
- Follow the macOS or Windows installer prompts. The existing version does not need to be uninstalled first.
- Relaunch FileWave Central and reconnect to the Server.
FileWave Central should match the FileWave Server version unless the release notes explicitly state otherwise.
4.1 Manual FileWave Central upgrade
Use the manual fallback
Use this workflow only if the automatic upgrade is unavailable, you previously declined it, or FileWave Support or the release notes direct you to install Central manually.
- Open the FileWave Downloads page and select the version running on the Server. If you downloaded the macOS Server bundle, the matching Central installer is also available in that bundle.
- Download macOS Admin or Windows Admin for the administrator workstation.
- Run the PKG or MSI and follow the installer prompts. You do not need to uninstall the existing version first.
- Launch FileWave Central and reconnect to the upgraded Server.
5. Launch FileWave Central (FileWave Admin) to Confirm the Upgrade
Launch FileWave Central (FileWave Admin) to Confirm the Upgrade
The next step once the FileWave Central/Admin application is upgraded is to launch the Central/Admin application to connect to the newly upgraded server. After an upgrade, you always want to connect to the server and verify everything is running and working correctly. This will allow you to spot any issues quickly and, if necessary, contact our FileWave Support Team for assistance.
Do not hesitate to contact our Support Team quickly if you think there may be an issue as that will help us get you back up and running as quickly as possible.
-
Check the warning light in the bottom left-hand corner. You are looking for it to say "Everything is OK" as shown below. If you see the light as yellow or red please select the message to view the error. If you’re unsure how to resolve an error, don't hesitate to get in touch with Support.

-
Make sure Filesets are showing. Select the Filesets tab and make sure you see your Filesets and structure. If you are having issues contact our support team.
-
If you have iOS devices, please navigate to Clients view, filter by Mobile devices and select an iOS device you know is on to make sure it is able to check in after being unlocked (it also helps to sort by the Last Connect column; if the most recent checkin is within the last minute or so, should be copacetic). If you receive any errors or information is not showing please contact our Support team.
-
Go to the Clients tab of the FileWave Admin and make sure you see your correct group structure and your Clients showing. Remember your FileWave Clients should still be locked so they will not be getting any changes yet.
-
Update the Model, If this fails please contact our Support team
-
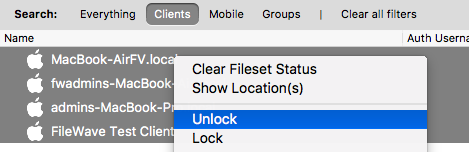
Go back to the FileWave client tab and unlock one or two clients that you know are on to make sure they are checking in correctly. We suggest checking a couple of machines before unlocking all your clients.
-
After you’re confident these devices are working correctly, you can select all of your devices and unlock them.
-
If everything looks good, move on to upgrading your Boosters and Clients if needed.
6. Upgrade FileWave Boosters
Upgrade FileWave Boosters
FileWave Server 16.4 automatically schedules eligible Boosters for upgrade after the Server upgrade. The default delay is seven days.
In FileWave Central, open Preferences > Upgrades to review or change the delay. This pane also contains the client-upgrade batch size, error threshold, and report schedule.
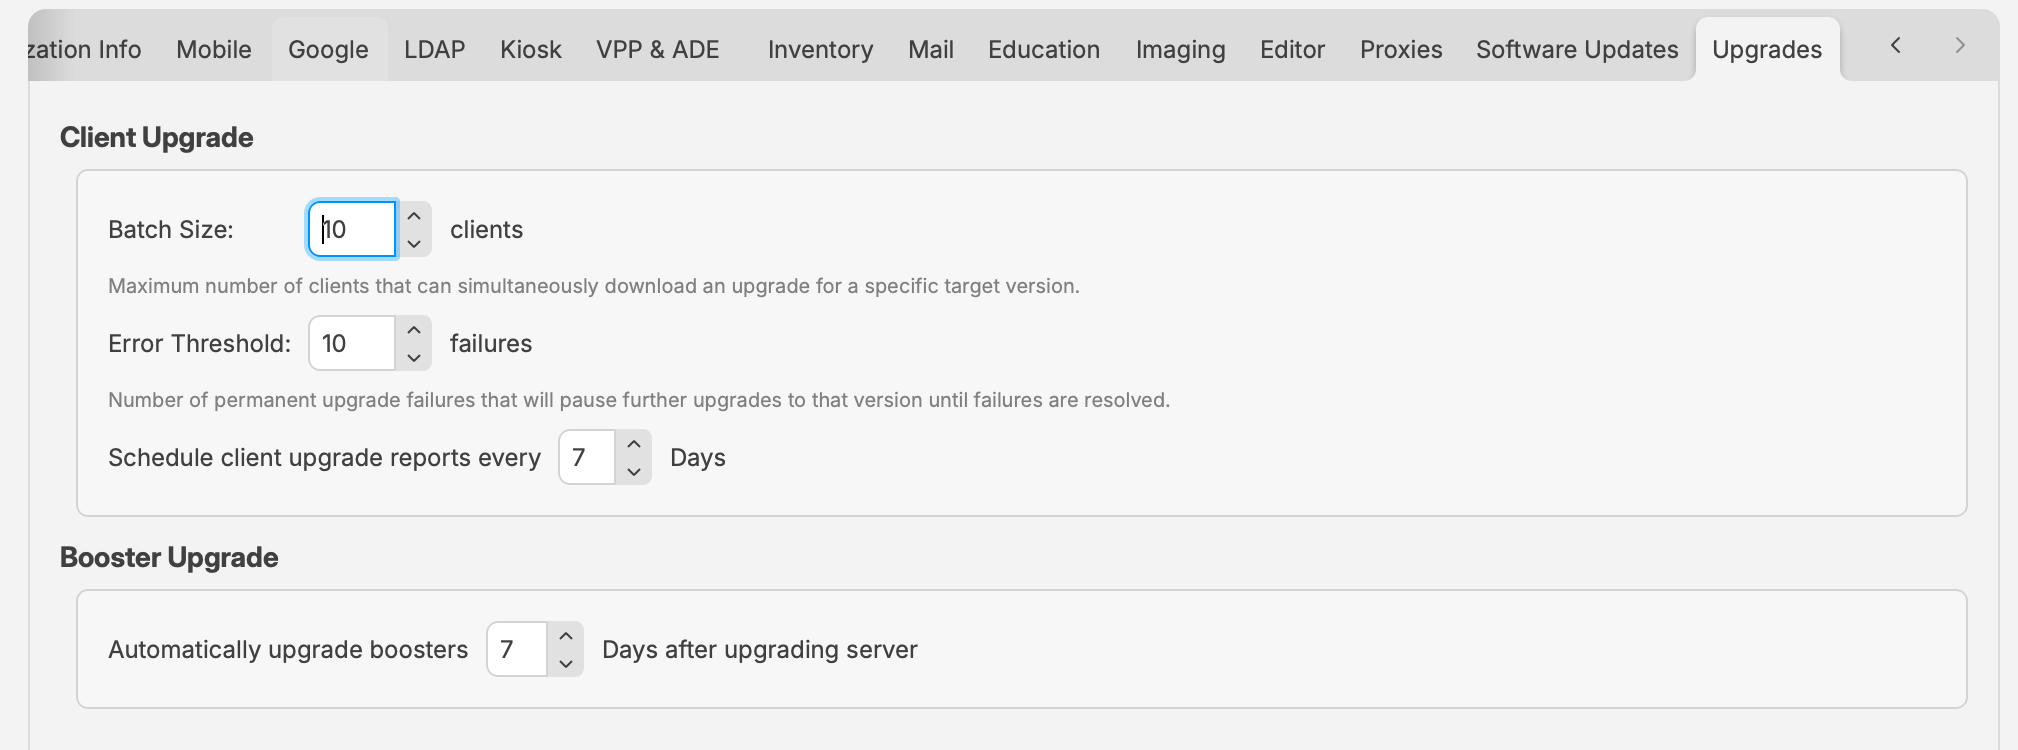
FileWave Central 16.4 centralizes client-upgrade controls and the automatic Booster-upgrade delay.
FileWave 16.4 validates both the reported upgrade state and the installed Booster version. Failed automatic upgrades are retried within defined limits, and one failed Booster does not cancel upgrades for the remaining Boosters.
- Use the Boosters view to monitor upgrade availability, scheduled work, and results.
- Investigate Boosters that remain below the target version or report repeated failures.
- Contact FileWave Support if a Booster cannot complete the upgrade.
FileWave Servers earlier than 16.4 continue to use their version-specific manual Booster upgrade workflow.
7. Review and upgrade Imaging Virtual Servers
Review and upgrade Imaging Virtual Servers (IVS)
If your environment uses FileWave Network Imaging, include each Imaging Virtual Server in the upgrade plan. Upgrading the FileWave Server does not automatically make an IVS earlier than 16.4 eligible for Central-managed upgrades.
IVS 16.4.0 and later: In FileWave Central, open Preferences > Imaging to view available IVS updates, schedule an upgrade, and monitor its progress and outcome. FileWave handles the package download, installation, and required reboot.
Do not begin an IVS upgrade while image capture or deployment is active. FileWave blocks the upgrade during active imaging so those operations can finish safely.
IVS earlier than 16.4.0: Perform one final manual IVS upgrade using the version-specific package and instructions from FileWave Downloads. After the IVS reaches 16.4.0, future upgrades can be managed through Central.
- FileWave IVS 16.3.0 and later require Debian 13.
- After the reboot, confirm that Central reports the intended IVS version and healthy Imaging status.
- Resolve any enrollment, certificate, or connectivity issue before starting imaging work again.
See FileWave Network Imaging / IVS Overview for the complete version-aware upgrade workflow.
8. Upgrade FileWave Clients
Client upgrades do not have to begin immediately after the Server upgrade, but keeping clients current is strongly recommended. The correct workflow depends on both the FileWave Server version and the client version.
Do not use a custom client PKG or MSI to upgrade an already enrolled device. Custom client packages are for new installations and enrollment. Use integrated client upgrades or the appropriate Upgrade Fileset.
8.1 Integrated upgrades for clients running 16.3 or later
Upgrade clients through Software Update
When the FileWave Server is running 16.4 or later, macOS and Windows clients already running FileWave Client 16.3 or later can be upgraded through Software Updates > Manage > FileWave Client Upgrades.
The integrated workflow stages upgrades in controlled batches, monitors progress, retries transient failures, pauses a target version when the configured permanent-failure threshold is reached, and provides reporting.
- Review Preferences > Upgrades and confirm the batch size, error threshold, and report schedule.
- Open Software Updates > Manage > FileWave Client Upgrades and select the target client version.
- Start with a representative pilot group.
- Monitor download, installation, retry, and failure status before expanding the rollout.
8.2 Upgrade Fileset bridge for earlier clients
Bridge clients running versions earlier than 16.3
Clients running versions earlier than FileWave Client 16.3 must first use the macOS or Windows Upgrade Fileset from the FileWave Downloads page. The FileWave 16.4 Upgrade Filesets include a client-version requirement and are skipped on clients already running 16.3 or later.
- Open the FileWave Downloads page and download the macOS or Windows Upgrade Fileset for the target FileWave version.
- Import the downloaded
.filesetinto FileWave Central. - Deploy it to a small test group of clients running versions earlier than 16.3 and update the Model.
- Confirm that the test clients upgraded successfully before expanding the deployment.
- After the bridged clients reach 16.3 or later, manage future upgrades through the integrated Software Update workflow.
Each Upgrade Fileset includes operating-system requirements. A client on an unsupported operating system remains on its original FileWave Client version.
Windows upgrade troubleshooting: If a Windows Client Upgrade Fileset does not complete, inventory does not show the new version, or the client service does not restart, see Troubleshooting Windows Client Upgrade Fileset Issues.
9. Confirm iOS/iPadOS Kiosk licensing
Confirm iOS/iPadOS Kiosk licensing
FileWave Kiosk for iOS and iPadOS is distributed through the Apple App Store as a VPP/Apps and Books application. Before upgrading, confirm that FileWave is synchronizing with Apple School Manager or Apple Business Manager and that enough free FileWave Kiosk licenses have been acquired.
See Automatic updating of iOS/iPadOS Kiosk for the complete workflow.
10. Prepare macOS and Windows client packages for new enrollments
Prepare client packages for new enrollments
FileWave uses custom macOS and Windows client packages for initial enrollment and new installations. These packages are not the upgrade mechanism for already enrolled clients.
FileWave Server 16.4 or later
- In FileWave Central, open Preferences > Mobile.
- Select macOS or Windows.
- Select Show settings and review the package configuration.
- Select Build macOS client package or Build Windows client package.
- After the build completes, use the corresponding Download button when you need the installer for a new deployment.
- Enable Keep the package up to date when FileWave should rebuild the package after future Server upgrades.
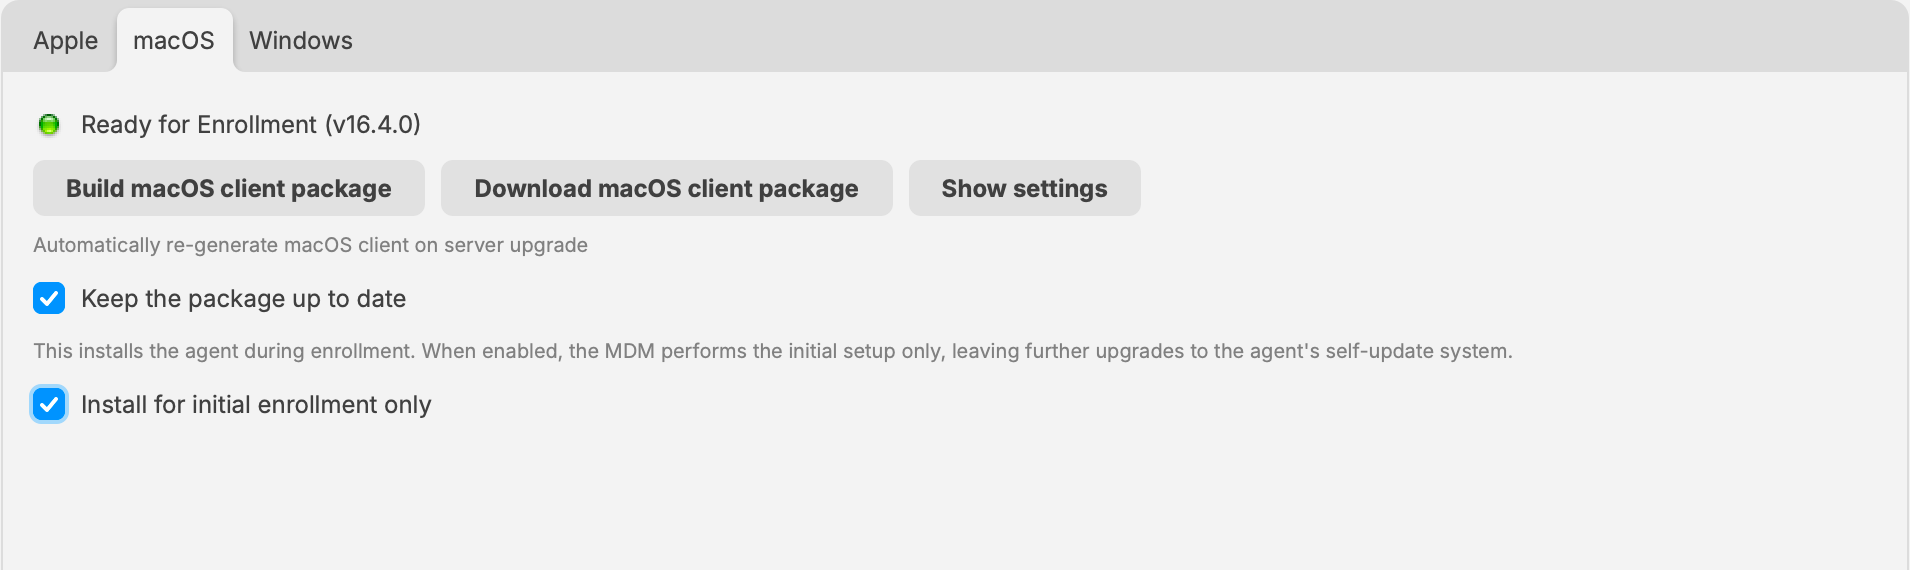
FileWave Server 16.4 manages the macOS enrollment package directly in FileWave Central.
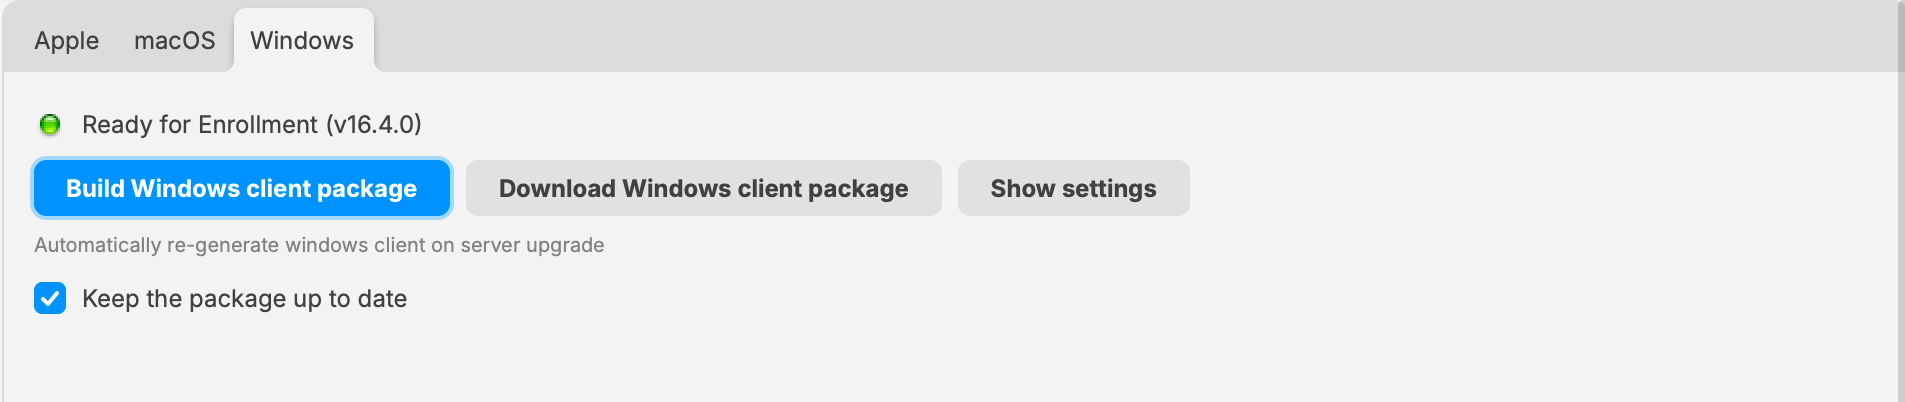
FileWave Server 16.4 manages the Windows enrollment package directly in FileWave Central.
FileWave Server earlier than 16.4
Earlier supported FileWave Server versions continue to use custom.filewave.com until the Server is upgraded to 16.4.
- Build the required custom PKG or MSI at custom.filewave.com.
- Download and unzip the package.
- In FileWave Central, open Preferences > Mobile and select the applicable macOS or Windows pane.
- Upload the unzipped installer, wait for the successful-upload message, then select OK.
- Update the Model when the change requires distribution.
Do not deploy either package to an already enrolled device as an upgrade. Use the client-upgrade workflow described in section 7.