White Labeling the Chromebook Extension
Getting StartedWhat
It'sIt was previously possible to customize the user-visible information for the FileWave Inventory Extension


It'swas possible to customize icons, name and description:

Customer data
If you would like a "whiteboxed" version of the extension you have to:involved:
- Download chromebook-whiteboxing.zip and modify the data inside (adding a new icon, description, etc.)
- Create a support Ticket titled "Chromebook Custom Extension" and attach your new modified Zip File
- Wait till we send back your "whiteboxed" extension then continue to the "How to publish" section below
When/Why
As part of an overhaul of the extension to leverage new APIs and enhancements the ability to publish it with customizations is removed for now. If this returns in a future version then this article will be updated.
How
This customization is not possible in FileWave 15.4+ and this article remains to make customers aware of the change. You would use the inventory extension as outlined in Chromebook Client Pre-Requisites rather than this customized method.
Related Content
Digging Deeper
This was the actual process to publish in the past.
The ZIP file contains:contained:
- icon_.png (so far we have 19, 38, 128 as size)
- data.json
data.json
{
"name"``: "<NAME_HERE>"``,
"description"``: "<DESCRIPTION_HERE>"
}
How to publish
How to publish a "whiteboxed" version of the extensions
Once you get the "whiteboxed" version of your extension, you have to follow some steps to make it available to your organization.
-
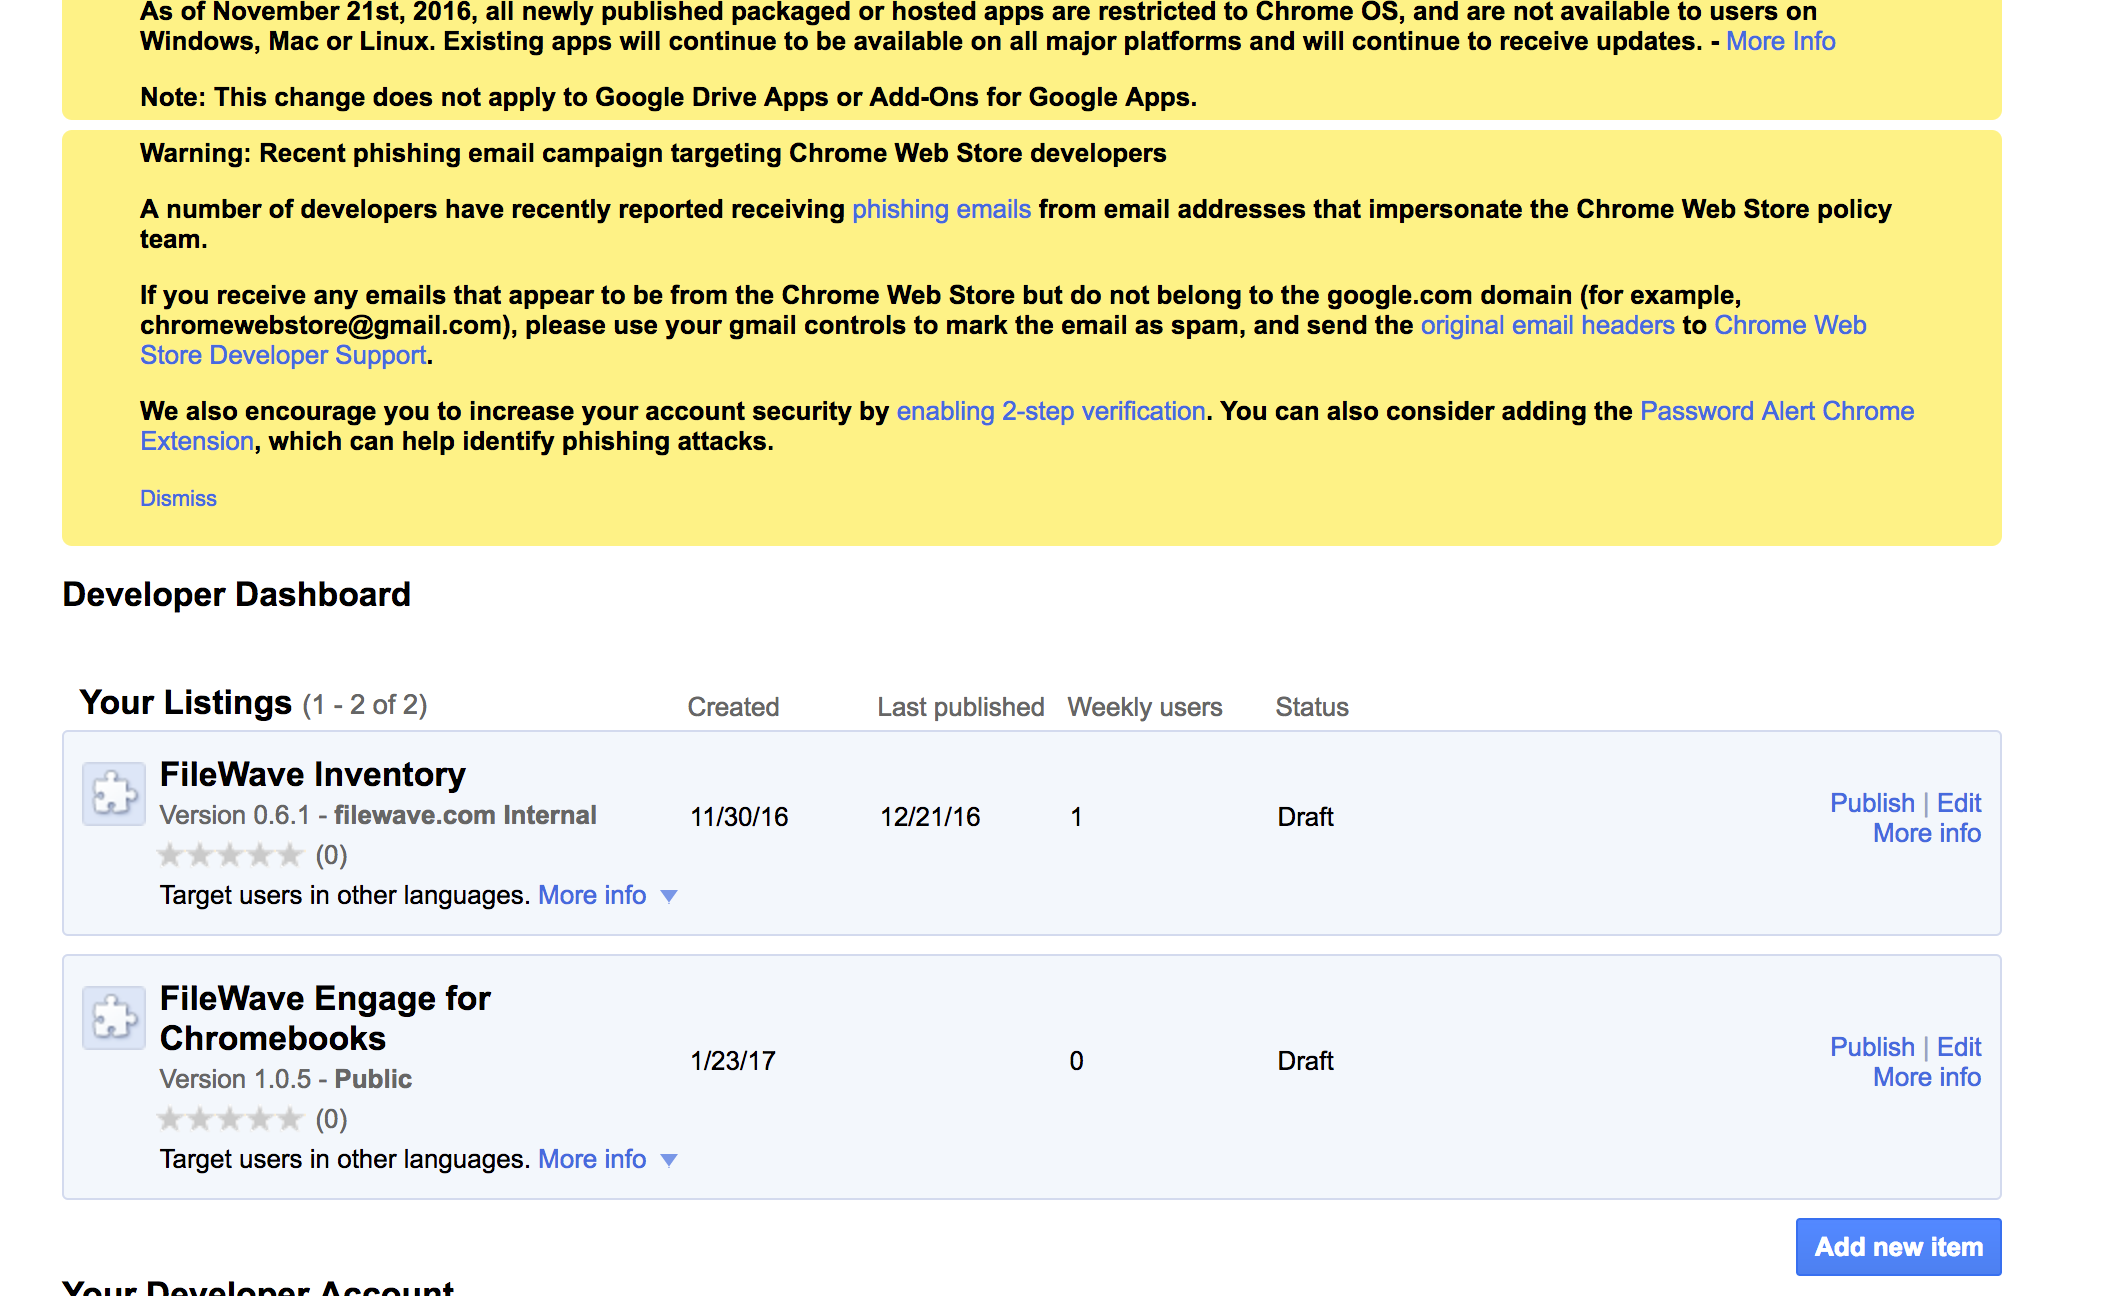
Login/Create an account to Google Developer Dashboard
-
Click on the "Add New Item" button

-
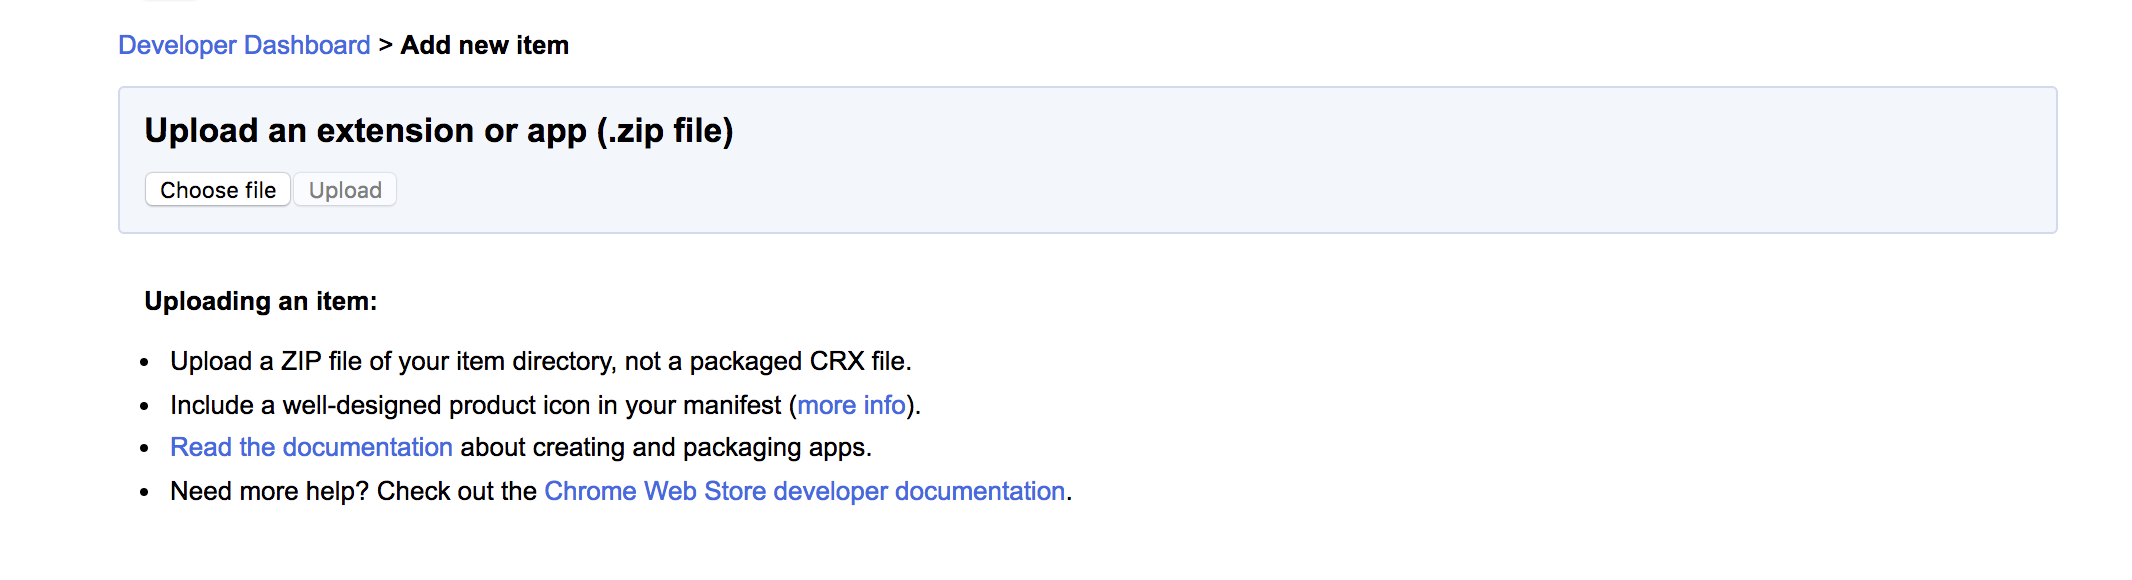
Upload the ZIP file

-
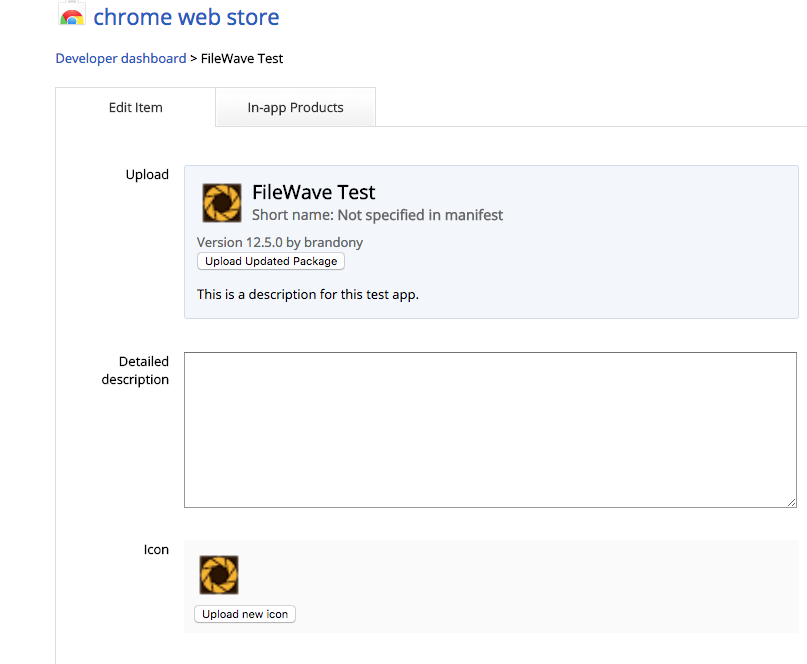
Edit/add Additional Info

-
Publish the extension