Detecting the Display Model using a Custom Field
Use a FileWave Custom Field to collect the display model reported by Mac and Windows devices. This is useful when you want display information available in inventory, Smart Groups, or device lists without manually checking each computer.
Adding the Custom Field
- Download the Custom Field export: Display Model Custom Field.customfields.
- In FileWave Admin, go to Assistants > Custom Fields > Edit Custom Fields > Import and import the downloaded file.
- Save the changes in the Custom Fields dialog.
- Assign the Custom Field to the devices that should report display model information. You can right-click selected devices and choose Edit Custom Field(s) Associations, use a Smart Group to target the field, or enable Assigned to all devices while editing the Custom Field.
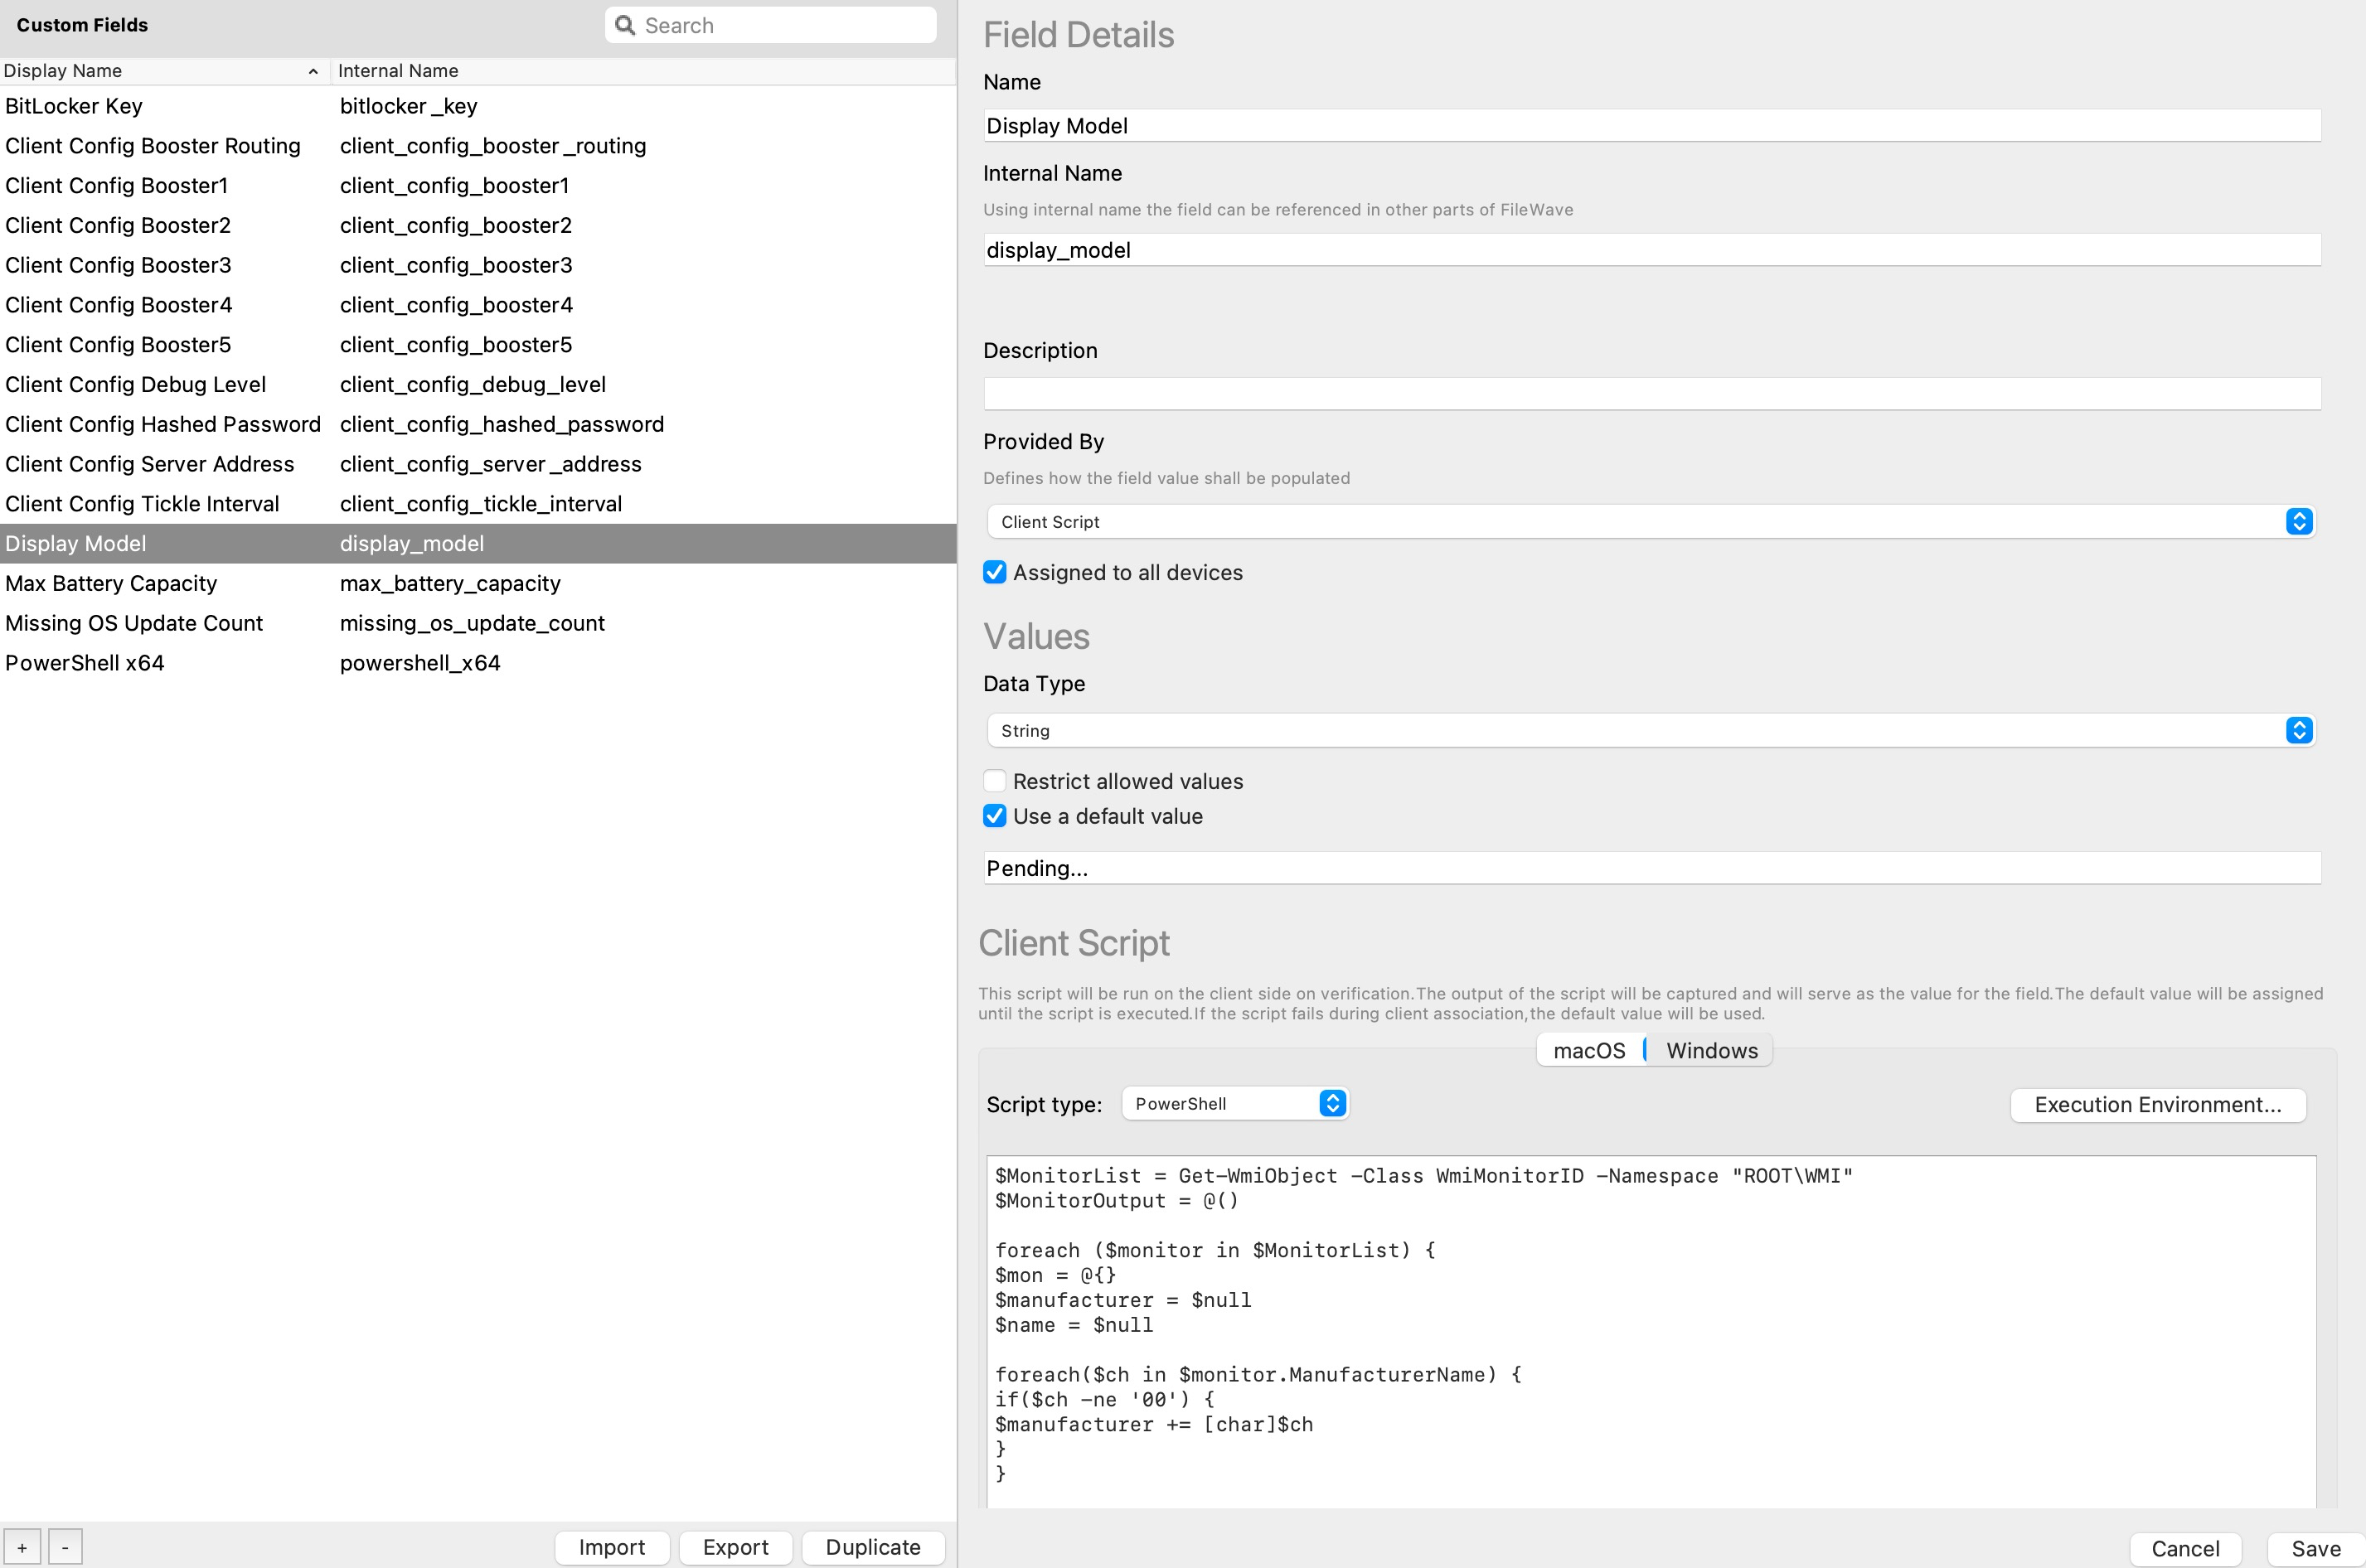
The imported field uses a client script. The Windows section uses PowerShell to read monitor information from ROOT\WMI:
$MonitorList = Get-WmiObject -Class WmiMonitorID -Namespace "ROOT\WMI"
$MonitorOutput = @()

foreach ($monitor in $MonitorList) {
$mon = @{}
$manufacturer = $null
$name = $null

foreach($ch in $monitor.ManufacturerName) {
if($ch -ne '00') {
$manufacturer += [char]$ch
}
}

foreach($ch in $monitor.UserFriendlyName) {
if($ch -ne '00') {
$name += [char]$ch
}
}
$mon = $manufacturer + " " + $name
$MonitorOutput += $mon
}
$MonitorOutput=$MonitorOutput -join ', '
$MonitorOutput
exit 0
The macOS section uses a shell script to read display details from system_profiler:
#!/bin/bash
DisplayModel=`system_profiler SPDisplaysDataType | grep "Resolution:" -B1 | awk -v n=3 'NR%n==1' | sed "s/^[ \t]*//" | sed 's/:/,/g' | tr '\n' ' '`
echo ${DisplayModel}
exit 0
After the field is imported and assigned, save the Custom Fields dialog and allow clients to check in. Devices with more than one attached display may report multiple display models as a comma-separated value.
Results
Once inventory has updated, add the Display Model column to the Clients view, use it in Smart Group criteria, or reference it anywhere Custom Field inventory values are useful.
No comments to display
No comments to display