Upgrading your On-Premise FileWave Server
What
Needing to upgrade your on-premise FileWave server? This guide will go over the steps involved in updating your FileWave server for macOS, Linux, and Windows.
If your FileWave server is hosted by FileWave, you may review the KB article here: Your Hosted FileWave Server Has Been Upgraded - What Are Your Next Steps?
When/Why
What steps do you need to take to continue managing your devices? This article will guide you to upgrade your FileWave Central/Admin application and your FileWave clients, boosters along side creating custom installers for your macOS DEP enrolled and Windows MDM devices.
How
This guide will go over the steps involved in updating your FileWave on-premise server for macOS, Linux, and Windows.
Before upgrading, please visit the Known Issues tab of the Known Issues.
For best results, upgrade the FileWave components in the following order:
1. Lock Desktop and iOS Clients
2. Backup your FileWave server
3. Upgrading the FileWave Server software
4. Upgrading FileWave Central (FileWave Admin Native App)
5. Launch FileWave Central (FileWave Admin) to Confirm the Upgrade
6. Upgrading your FileWave Boosters
7. Upgrading the FileWave Client
8. Upgrading the iOS/iPadOS App Portal IPA
9. macOS DEP and Windows MDM: Upgrade Client Packages
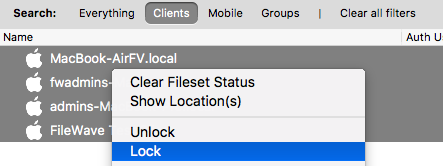
1. Lock Desktop and iOS Clients
It's always a good idea to lock all your client devices before upgrading upgrading your FileWave components. That way you can verify that the server is running correctly and not worry about your macOS and Windows clients getting any of the changes.
-
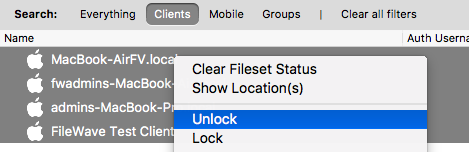
Highlight all of your Desktop
devicesdevices → rightclickclick → select "Lock". -
Change the filter to mobile, highlight all iOS
devicesdevices → rightclickclick → select "Lock"
What is a Lock?
See Locking Devices
2. Backup your FileWave server
There are two ways to do so depending on your server. If you are running a Linux or macOS server you need to use the backup script that we provide to backup your server. Please always run a manual backup with the script we offer before starting the upgrade. We offer this this knowledge base article for this process and the commands you will need to run as well as a way to check the backup file.
If you are running a virtual machine for your FileWave server you are still able to use the backup script we offer but are are also able to take a snapshot of the server in your virtual environment as a backup. Before taking the snapshot of the server please turn off the virtual machine so that FileWave server services are not running when you are backing up the Virtual Machine. This will prevent any issues with fragmented information in the backup.
If you do not want to stop the VM, you can use the below commands to stop the FileWave services and then take the backup.
Stop the FileWave Server Services (for VM Snapshot only)
sudo fwcontrol server stopAfter the backup is complete, please start the services again using the following command
sudo fwcontrol server start3. Upgrading the FileWave Server software
Once you have a backup of your FileWave server created you will first Upgrade the FileWave server software before upgrading your FileWave Central (FileWave Admin Native) app, FileWave boosters, or FileWave clients. If you upgrade your FileWave clients' software first before upgrading the server, for example, your clients may break the connection to the server. Upgrading the FileWave server is not as intimidating as it may seem as it is an in-place upgrade and you do not need to uninstall anything first or stop the FileWave server services. Below you will find sections for macOS, Linux, and Windows Server.
3.1 macOS Server Upgrade
macOS Server Upgrade
The macOS server upgrade is similar to installing any other pkg software on a macOS machine.
-
On your macOS FileWave server go to the Knowledge
BaseBase →DownloadsDownloads → select the most recent version ofFileWaveFileWave
FileWave Downloads Page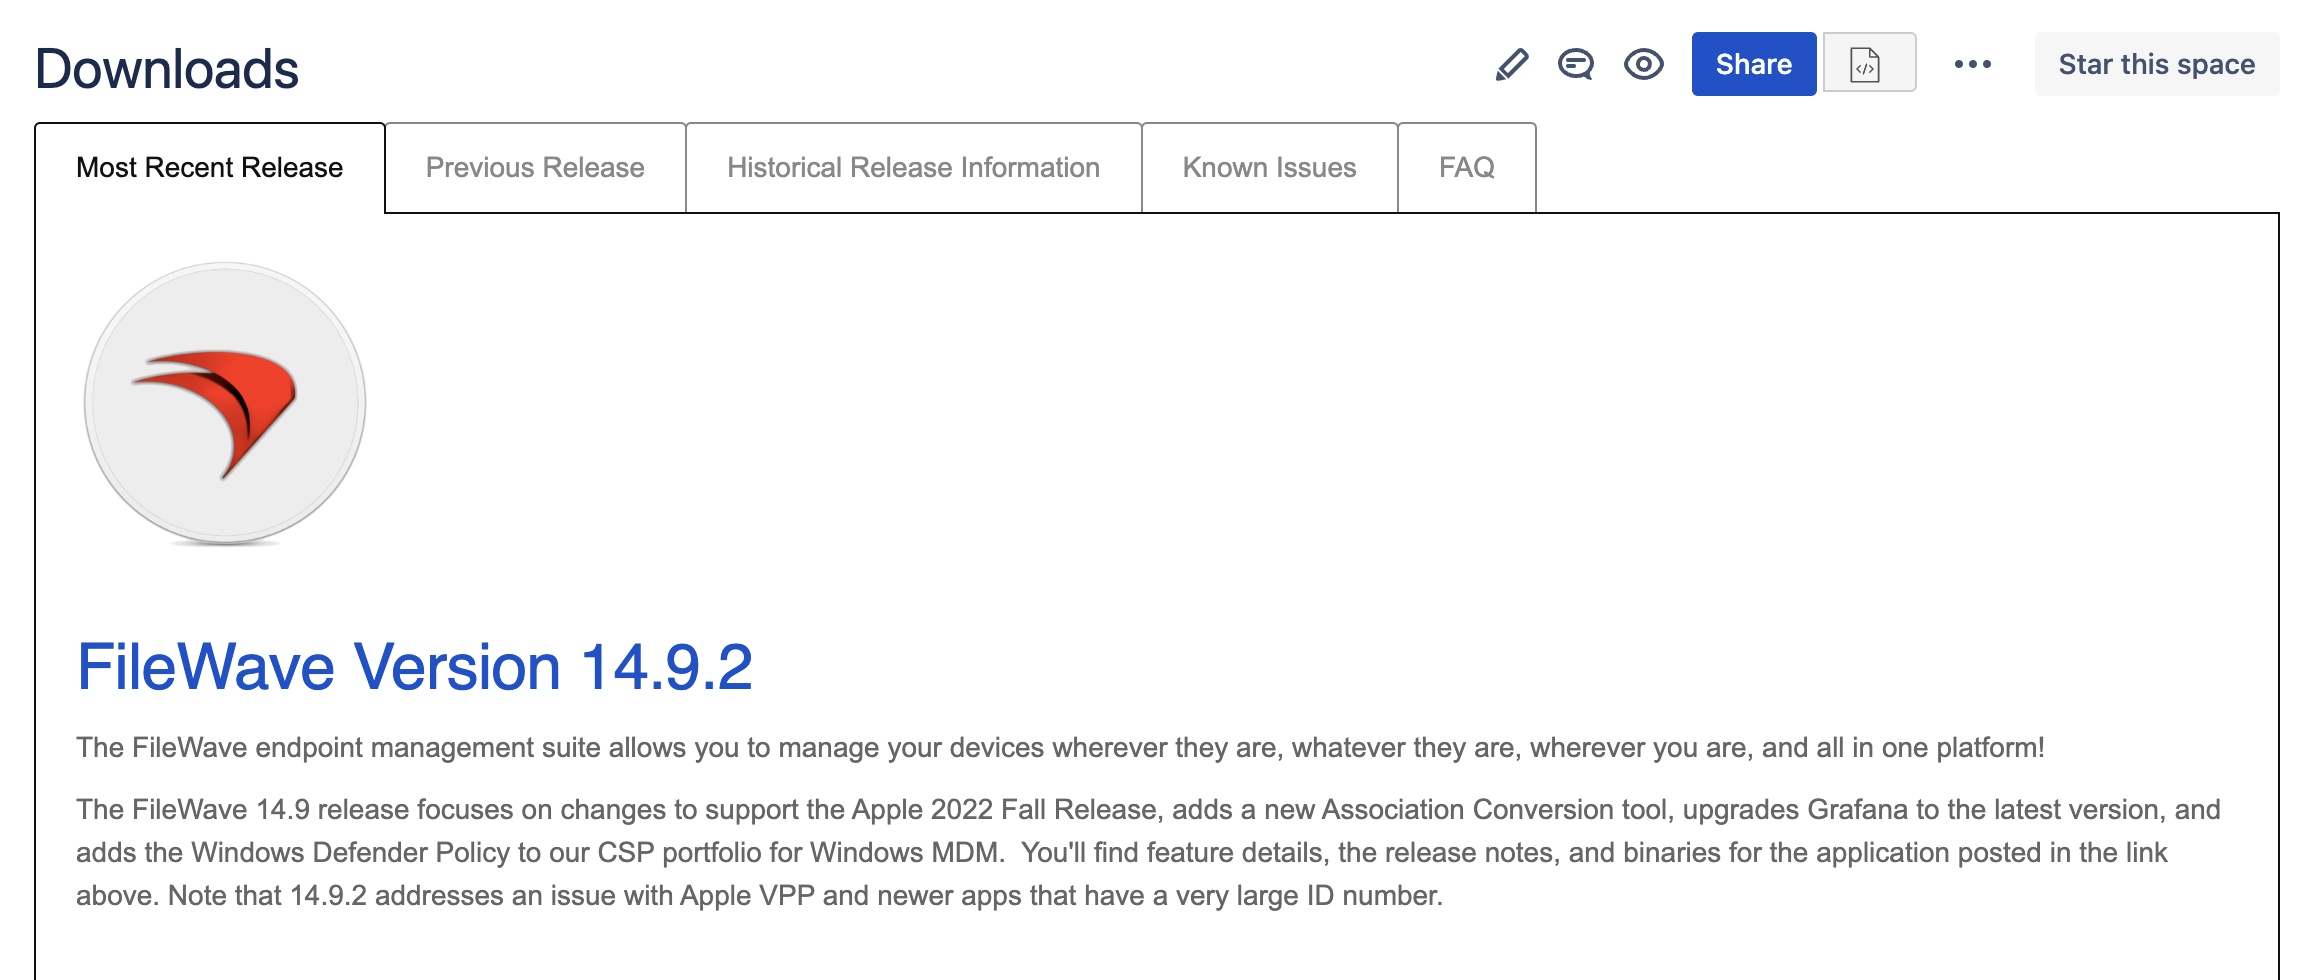
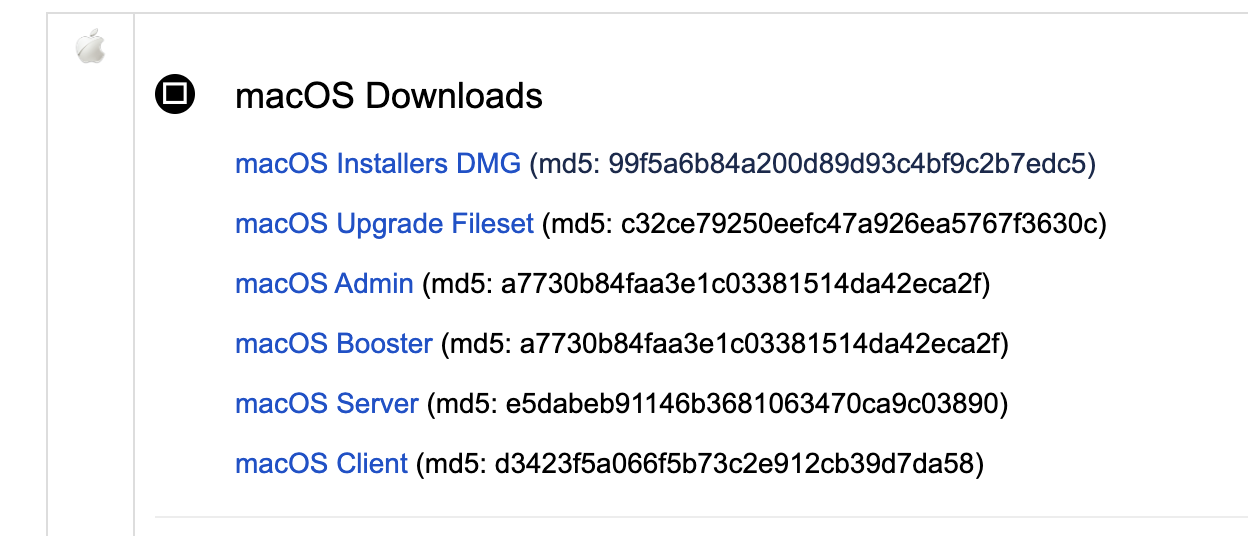
-
You will then scroll down on the page until you see "macOS Installers" and select it. This will download all of the FileWave Installers for the version of FileWave you want to upgrade to in a .dmg file. If you only want to upgrade the server, select “macOS Server”.
-
Run the installer you just downloaded.
-
The installer can take a while to run but when it is finished you will be presented with the window below and you are finished with upgrading the server. (If the upgrade reports a failure please contact our Support Team immediately and they can assist you with it)
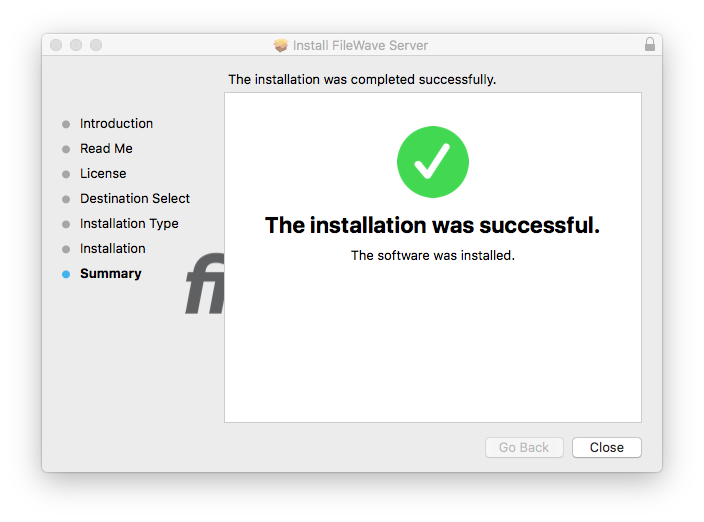
-
You are now done upgrading the server and will then move to upgrade your FileWave Central (FileWave Admin Native) app.
3.2 Linux Server Upgrade
Linux Server Upgrade
The Linux server upgrade can be intimidating since it will all be done in Terminal but we try to make it as simple as possible for you.
-
Go to the Knowledge
BaseBase →DownloadsDownloads → select the most recent version ofFileWaveFileWave
FileWave Downloads Page -
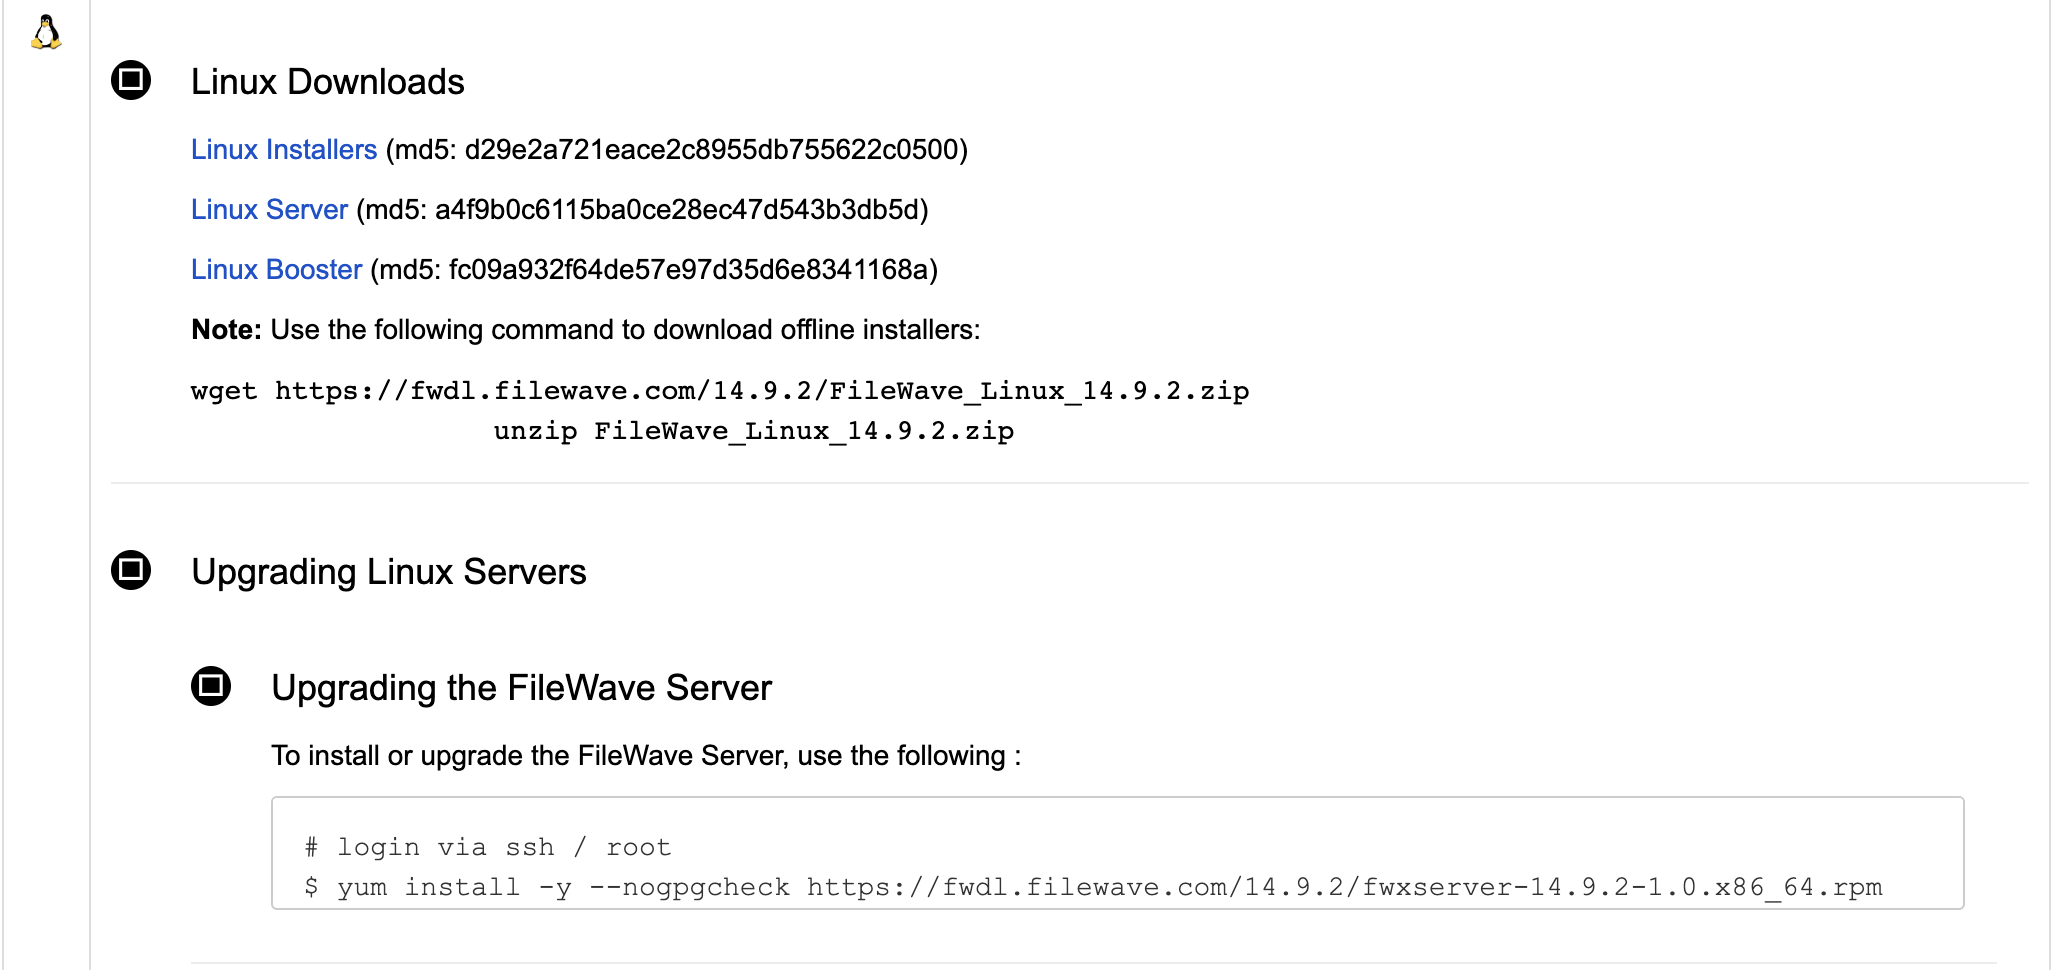
Scroll down on the page until you see "Linux Downloads". You can download the .rpm and move it to the server or just run the ‘yum install’ command under Upgrading Linux Servers → Upgrading the FileWave Server to download and install all at once.
-
Connect to your FileWave Linux server and run the command to install. If you don’t have direct access to the server, you can connect using SSH in Terminal or Putty on Windows.
-
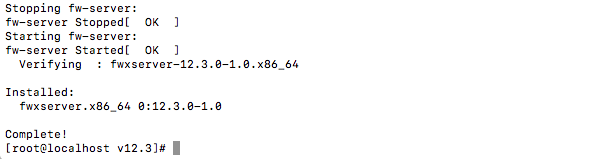
Once you have run the command on your server it can take a little while to finish and you will be presented with a similar message as below. If you see that the installation failed please contact our support team immediately and they can assist you with this. You will see more information on your session but this will show at the end of the messages.
-
Confirm your installed FileWave Version by running the following:
fwcontrol server versionYou are now done upgrading the server and will then move to upgrade FileWave Central (FileWave Admin Native App).
3.3 Windows Server Migration
Windows Server Migration
No longer compatible with FileWave Server 14+
Please contact Professional Services to migrate your server to Linux.
4. Upgrading FileWave Central (FileWave Admin Native App)
FileWave Anywhere (Web Admin) is automatically updated with the Server.
To connect to your upgraded server, you will need to use the same version of FileWave Central (FileWave Admin Native) unless stated otherwise on the Downloads page. When you are updating FileWave Central (Admin) simply run the installer for your designated OS.
The installer does not require the old version to be uninstalled and is similar to running a PKG or MSI for any other software. FileWave Central is supported on macOS and Windows.
4.1 macOS FileWave Central
macOS FileWave Central
If you’re upgrading FileWave Central (Admin) on your server and you downloaded the bundle to upgrade the server, the Central/Admin package is already downloaded and you can install it from the .dmg
-
On your macOS workstation go to the Knowledge
BaseBase →DownloadsDownloads and select the most recent version ofFileWaveFileWave
FileWave Downloads Page -
You will then scroll down on the page until you see "macOS Downloads" and expand the section. Select and download “macOS Admin”
-
Double-click on the downloaded PKG to launch the installer and follow the install instructions on the screen.
-
Once the installation finishes you are ready to connect to your FileWave Server using FileWave Central (FileWave Admin).
4.2 Windows FileWave Central
Windows FileWave Central
If you’re upgrading FileWave Central (Admin) on your server and you downloaded the bundle to upgrade the server, the Central/Admin package is already downloaded and you can install it from the .msi
-
On your Windows workstation go to the Knowledge
BaseBase →DownloadsDownloads and select the most recent version ofFileWaveFileWave
FileWave Downloads Page -
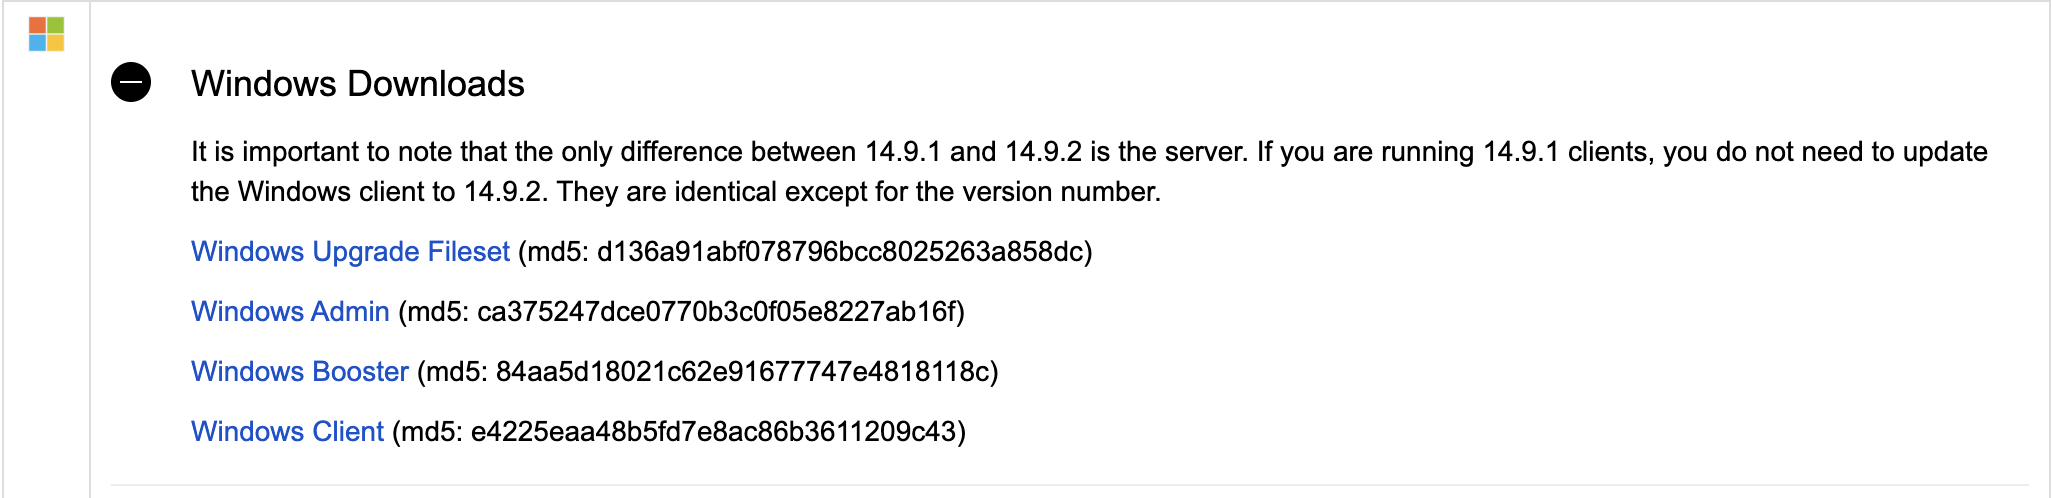
You will then scroll down on the page until you see "Windows Downloads" and expand the section. Select and download “Windows Admin”
-
Double-click on the downloaded Windows Installer to launch the installer and follow the install instructions on the screen.
-
Once the installation finishes you are ready to connect to your upgraded FileWave Server using FileWave Central (FileWave Admin).
5. Launch FileWave Central (FileWave Admin) to Confirm the Upgrade
Launch FileWave Central (FileWave Admin) to Confirm the Upgrade
The next step once the FileWave Central/Admin application is upgraded is to launch the Central/Admin application to connect to the newly upgraded server. After an upgrade, you always want to connect to the server and verify everything is running and working correctly. This will allow you to spot any issues quickly and, if necessary, contact our FileWave Support Team for assistance.
Do not hesitate to contact our Support Team quickly if you think there may be an issue as that will help us get you back up and running as quickly as possible.
-
Check the warning light in the bottom left-hand corner. You are looking for it to say "Everything is OK" as shown below. If you see the light as yellow or red please select the message to view the error. If you’re unsure how to resolve an error, don't hesitate to get in touch with Support.

-
Make sure Filesets are showing. Select the Filesets tab and make sure you see your Filesets and structure. If you are having issues contact our support team.
-
If you have iOS devices, Select "iOS Inventory" to make sure you see rows of iOS device information. Also, select "Refresh" from the top menu to make sure this information refreshes. While in this tab as well please select an iOS device you know is on to make sure it is trying to check in. If you receive any errors or information is not showing please contact our Support team.
-
Go to the Clients tab of the FileWave Admin and make sure you see your correct group structure and your Clients showing. Remember your FileWave Clients should still be locked so they will not be getting any changes yet.
-
Update the Model, If this fails please contact our Support team
-
Go back to the FileWave client tab and unlock one or two clients that you know are on to make sure they are checking in correctly. We suggest checking a couple of machines before unlocking all your clients.
-
After you’re confident these devices are working correctly, you can select all of your devices and unlock them.
-
If everything looks good, move on to upgrading your Boosters and Clients if needed.
6. Upgrading your FileWave Boosters
Upgrading your FileWave Boosters
The process of upgrading Boosters is similar to upgrading the Central/Admin application as it does not require you to back up your FileWave Booster before the upgrade or uninstall the existing version. Starting with FileWave 14.4.0, you can upgrade the Boosters inside Admin. If your Boosters are not on 14.4.0 yet, download the installers directly on the Booster to install.
In FileWave Central (FileWave Admin), go to the Boosters tab. The simplest way to upgrade multiple boosters is to use the "Upgrade All Boosters" button in the toolbar of the Boosters section of the native console:

It automatically schedules all boosters to upgrade. Alternatively, you can select multiple boosters and use the context menu or toolbar button to upgrade them.
To track the progress of upgrading multiple boosters, you can use the new Booster Upgrade status field mentioned earlier. You can also use the new check box Upgrade available which allows you to filter out boosters that have no upgrade available. This check box is displayed in both the Boosters and Booster Details tabs:


If one Booster fails to upgrade, all remaining Boosters will cancel their scheduled upgrade to prevent any issues.
7. Upgrading the FileWave Client
Upgrading the FileWave client is not required immediately after upgrading the FileWave server but is highly recommended. Older versions of the FileWave client are compatible with newer releases of FileWave. When you are ready to upgrade your FileWave clients, simply deploy the provided Fileset to do so.
Never deploy the Custom Client PKG/MSI to the devices as a way to upgrade them. They are only for devices that are not currently enrolled in FileWave. Only upgrade the client using the Upgrade Fileset.
7.1 Upgrading your macOS clients
Upgrading your macOS clients
macOS client upgrade fileset
-
On your workstation go to the Knowledge
BaseBase →DownloadsDownloads and select the most recent version ofFileWaveFileWave
FileWave Downloads Page -
Scroll down on the page until you see "macOS Upgrade Fileset" and select it. This will download a pre-made .fileset file that you can easily deploy to your devices without any modification.
-
Open your FileWave Central/Admin application and go to the Filesets tab.
-
Drag and drop the downloaded Fileset into the Filesets tab. This will automatically create a Fileset in FileWave. We highly recommend dragging it into the root level of the Filesets structure so that it is not accidentally associated without being tested.
-
Once it is in FileWave you should associate it to a handful of test devices as you would for any other Fileset in FileWave and Update the model.
-
After you’ve confirmed that the tested Clients upgraded successfully, associate to all macOS Clients and update the model. You can remove any old client upgrade Filesets after the new one is associated.
Each upgrade Fileset has Requirements for compatible versions of macOS. If a client is too old to support your version of FileWave, it will fail and remain on the original version.
7.2 Upgrading your Windows Clients
Upgrading your Windows Clients
Windows client upgrade fileset
-
On your workstation go to the Knowledge
BaseBase →DownloadsDownloads and select the most recent version ofFileWaveFileWave
FileWave Downloads Page -
Scroll down on the page until you see "Windows Upgrade Fileset" and select it. This will download a pre-made .fileset file that you can easily deploy to your devices without any modification.
-
Open your FileWave Central/Admin application and go to the Filesets tab.
-
Drag and drop the downloaded Fileset into the Filesets tab. This will automatically create a Fileset in FileWave. We highly recommend dragging it into the root level of the Filesets structure so that it is not accidentally associated without being tested.
-
Once it is in FileWave you should associate it to a handful of test devices as you would for any other Fileset in FileWave and Update the model.
-
After you’ve confirmed that the tested Clients upgraded successfully, associate to all Windows Clients and update the model. You can remove any old client upgrade Filesets after the new one is associated.
Each upgrade Fileset has Requirements for compatible versions of Windows. If a client is too old to support your version of FileWave, it will fail and remain on the original version.
8. Upgrading the iOS/iPadOS App Portal IPA
Upgrading the iOS/iPadOS App Portal IPA
If you are deploying the IPA version of the App Portal for TeamViewer or Location Tracking, please use the following KB to keep the App Portal up to date.
For FileWave 15.3.0+ please note that the IPA is automatically deployed. Once 15.3.0 is released please see: Automatic updating of iOS/iPadOS Kiosk (15.3+)
9. macOS DEP and Windows MDM: Upgrade Client Packages
macOS DEP and Windows MDM: Upgrade Client Packages
When a macOS device finishes DEP enrollment into FileWave, your server sends a single client installer package. When you update your server to a newer one, you may also update this package.
-
VisitVisit custom.filewave.com -
Once downloaded unzip the download
-
Then visit the admin preferences and upload the package into the appropriate tab
-
macOS DEP:
- Preferences > Mobile > macOS > "Upload macOS client package"
-
Windows MDM
- Preferences > Mobile > Windows
-
-
Browse for the downloaded and unzipped installer
-
Wait for the message that it is uploaded.
-
Press OK to save and finish
If you have upgraded every client, booster, and IVS above FileWave 13.1, you can disable Compatibility Mode: What is Compatibility Mode?