Configuration (PSImage)
PSImage is not supported by FileWave Support so please do not submit tickets with them about it. The information provided here is for educational purposes only. If you would like to purchase professional services hours for consulting assistance setting up PSImage or customizing it please contact professional.services@filewave.com with your request. If you have existing unused professional services hours you may be able to use them for this purpose. Any feedback on PSImage can also be sent to the same email address. Any work on this would be done on Discord or in working with Professional Services. For the official Windows Imaging solution please see Network Imaging / IVS.
Adding the FileWave Client
- Using File Explorer, navigate to the fwclient folder on the psimage share or the Imaging volume on your thumb stick.
- Right-click upload_client.ps1 and choose "Run with PowerShell".
- upload_client.ps1 will write a fw_client_version.txt file to the sysprep folder so you know the version of your customized FileWave client that is being installed on client devices during post-imaging. This allows you to update the FileWave client without having to recapture your master image.
- If you have files for kiosk customization create a subfolder named "custom" within the fwclient folder and add those files there. They will be deployed automatically immediately after the FileWave client is installed during post-imaging.
Adding drivers for computer models
- On the computer model you wish to capture drivers for, open a PowerShell session with admin privileges, connect to the psimages share, and navigate to the models folder. If imaging locally change directory to the models folder on the Imaging volume of the USB thumb stick.
- Run the upload_driver_pack.ps1 script to extract 3rd party non-Microsoft drivers. A folder named after the computer model will be created in models folder on the psimage share containing the extracted drivers.
Custom field setup
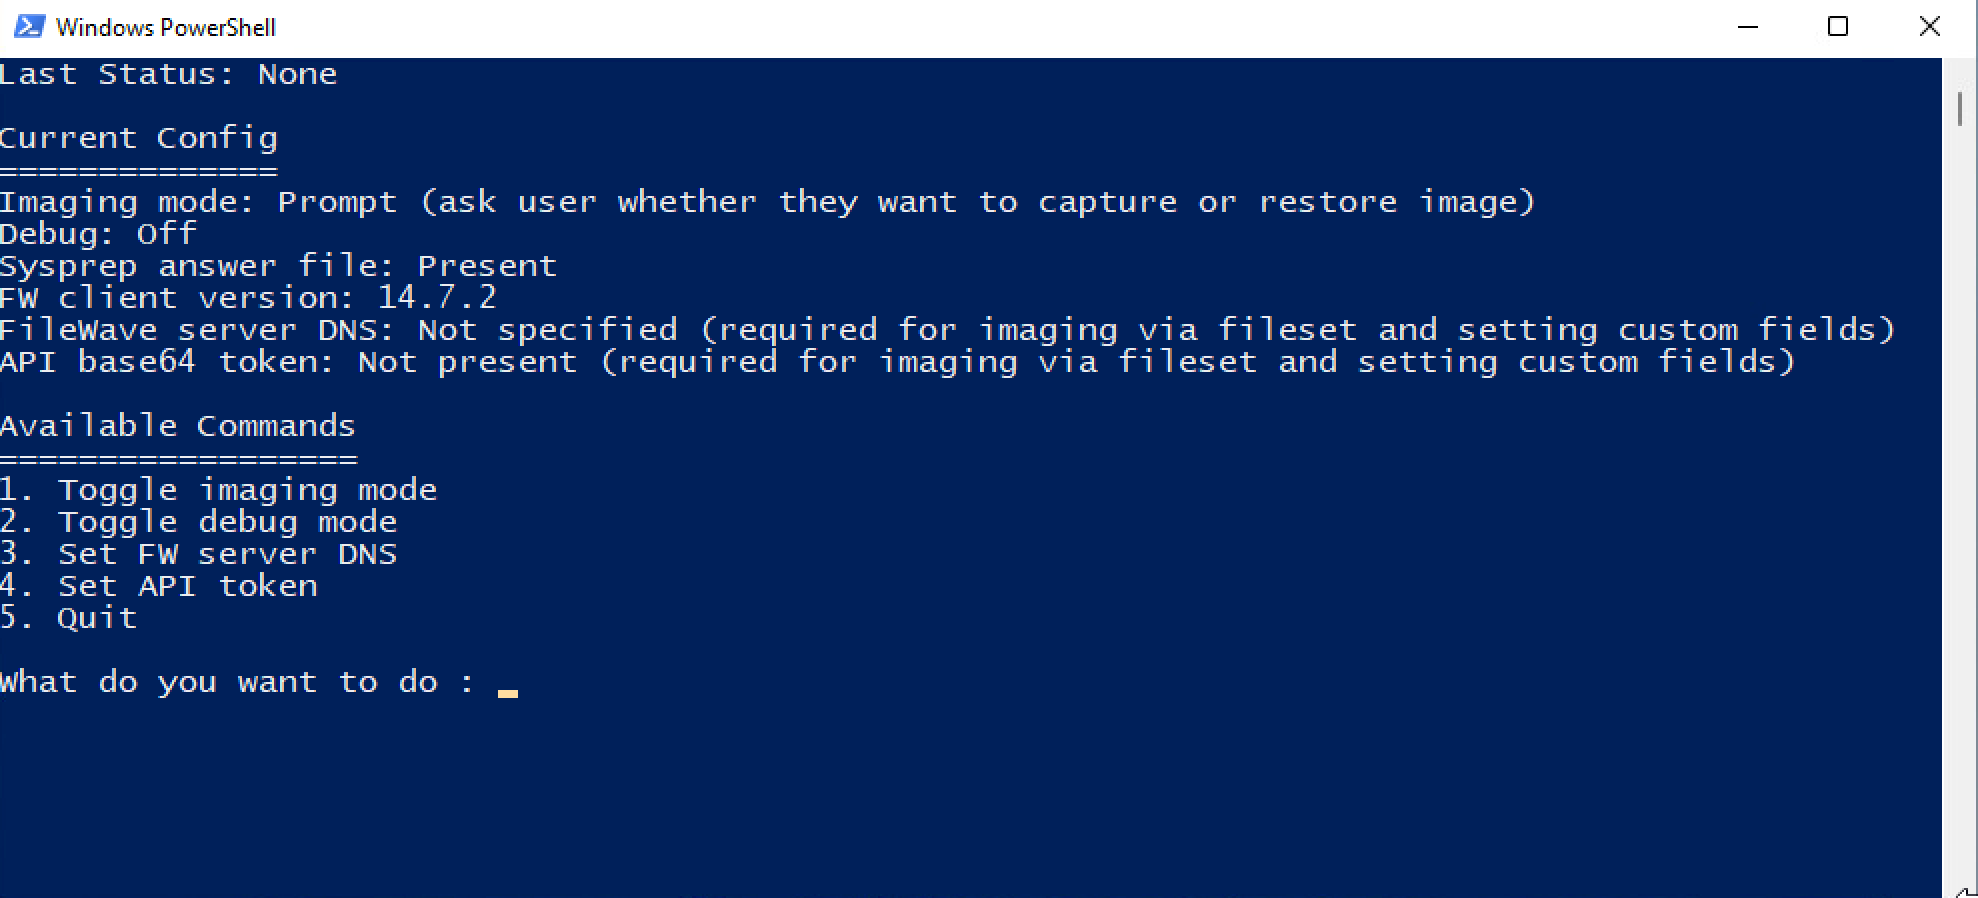
Set the FileWave server address and app token with the instructions below. You can also set them using the edit_config.ps1 script in the config folder on the psimage share.
- Within the config folder on the psimage share create a server.dns file that contain the DNS address for your FileWave server.
- Within the config folder on the psimage share create an app.token file that contain the base64 API token for a FileWave admin account that has at least permission to "Modify Custom Fields".
Pre-assigning computer names and disk images
- Browse to the config folder on the psimage share or Imaging volume of the USB thumb drive.
- Edit image_mappings.txt to pre-assign disk images and computernames to client devices by serial number. To avoid syntax issues from missing commas it is recommended you edit this file with a spreadsheet or CSV editing app. Entries should be in the format below. If no mapping is available or a client PC or the assigned disk image does not exist, you'll be prompted to enter a disk image name.
Serial Number,Computer Name,Image Name 1a2b3c4d,test-restore,image.wim - There should be no spaces in the serial number, computer name, and image name fields and they should be separated by commas. Computernames should meet Windows naming requirements and should be 15 characters or less. If testing with a VMware VM, remove all spaces from the VM serial number when adding an entry for it. There must be one blank line at the end of the line.
- If you would like to set custom fields by their internal name, add them at the end after the image name. Custom fields need to be referenced by their internal names, followed by a colon, and then the value to set. The value for the custom field can have spaces in it, as illustrated in the example below. Only custom fields of the string data type are supported.
1a2b3c4d,test-restore,image.wim,school:Washington Elementary,grade:5,classroom:218,user_type:student - If the assigned disk image is set to "capture" for a particular PC in image_mappings.txt while \config\mode.reimage is present, it will attempt to capture a disk image instead of restoring one.
Adding a Wi-Fi profile
For laptops that do not have a built-in ethernet port, you may prefer to switch to Wi-Fi as soon as possible for the post-imaging phase. This allows you to disconnect your USB ethernet dongle/dock so it can used to reimage additional PCs. Remember that post imaging requires network access so the FileWave client can send in an initial inventory to the FileWave server to trigger the creation of a client entry. This network access can be via wireless and does not have to be a wired connection.
- Configure a test PC to connect to your Wi-Fi.
- Run the following command to list available profiles.
netsh wlan show profiles - Use the command below to export the desired profile to the current folder. Change ProfileName to the name of the profile from the list displayed in the previous step. Note that this will store the password for the wireless connection in clear text. The Wi-Fi profile will be deleted from the client system after import during post-imaging.
netsh wlan export profile name="ProfileName" key=clear folder="%cd%" - Rename this profile to Wi-Fi.xml and copy it to the extra folder in the psimage share.
Changing configuration settings via edit_config.ps1
A text-based GUI is available for viewing and configuring many of the settings for PSImage. Navigate to the config folder on the psimages share, right-click edit_config.ps1, and choose "Run with PowerShell".

No comments to display
No comments to display