
Self Signed Certificate Error during iOS OTA Enrollment
This article shows how to resolve the certificate-trust error that can appear when you manually enroll iOS or iPadOS devices through OTA enrollment while the FileWave Server uses a self-signed certificate.
For production environments, use a publicly trusted server certificate when possible. If the server still uses a self-signed certificate, confirm its identity with your FileWave administrator before installing or trusting it. In current FileWave Central, review it under Preferences → General → SSL Certificate Management → Details; older versions showed certificate controls under Mobile. See SSL Certificate Management for the current controls.

Automated Device Enrollment can still work with this certificate state, but manual OTA enrollment may fail until the device trusts the installed root certificate.
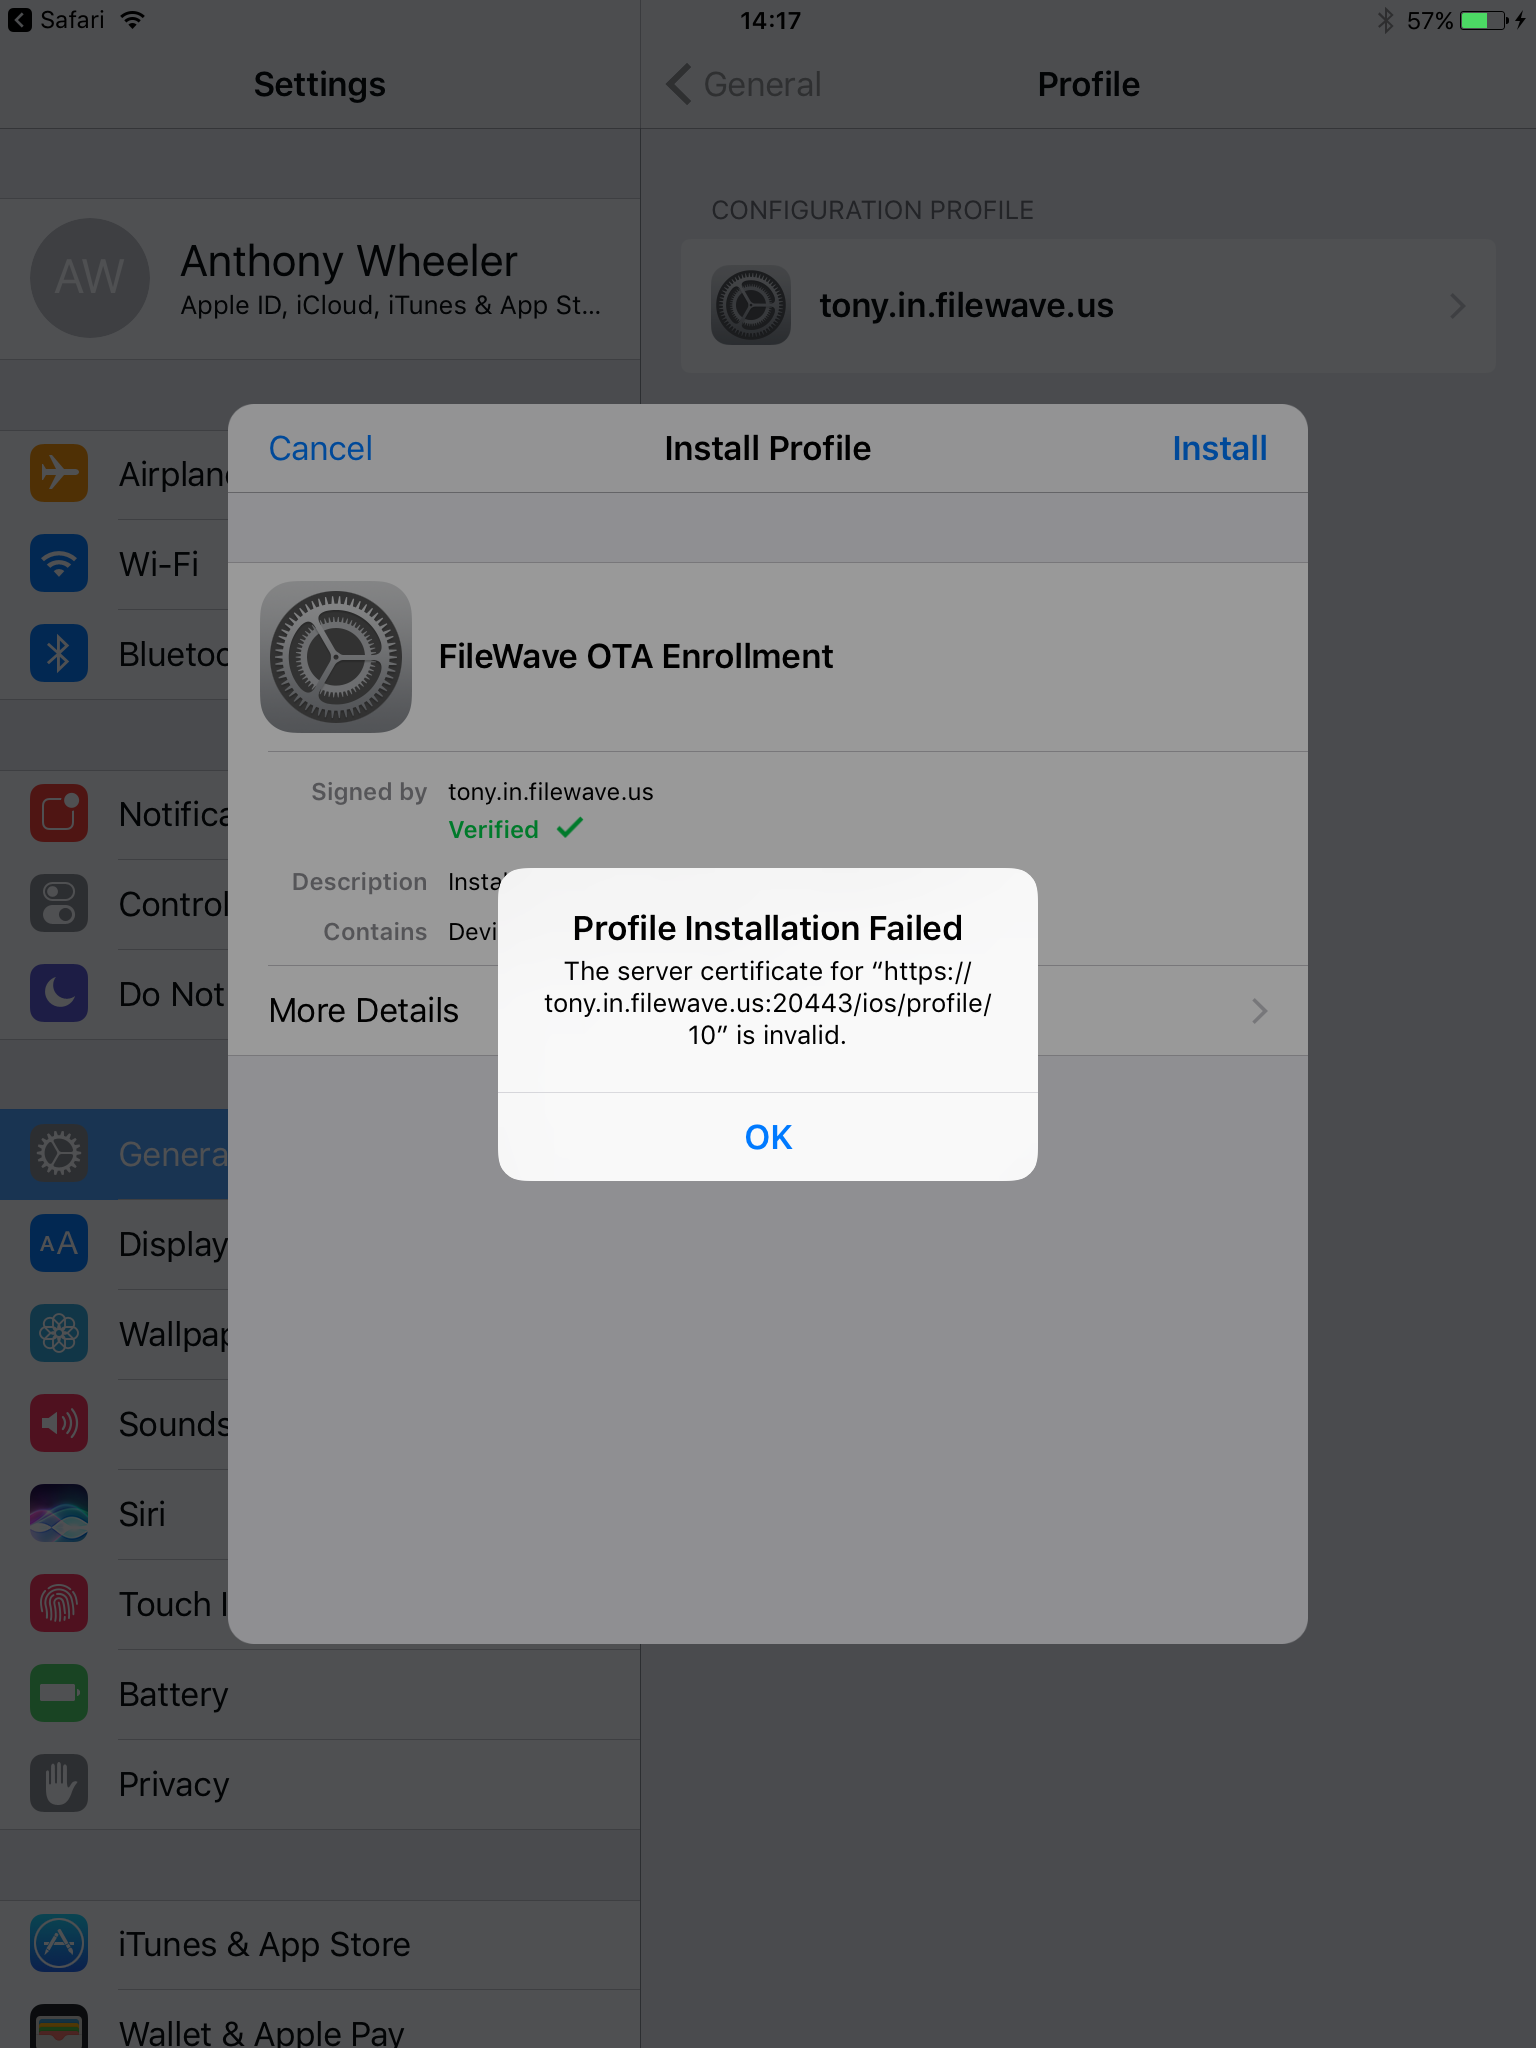
If you keep the self-signed certificate, use the steps below on the device before starting the enrollment step. Replacing the self-signed certificate with a publicly trusted certificate avoids this manual trust workflow.
Steps to resolve when keeping a self-signed certificate
- Open the manual enrollment address supplied by your FileWave administrator in Safari on the device. For example: https://your.fw.server.DNS.here:20443/ios. Replace the example hostname and port with those configured for your Server.
- Select Step 1 - Install Certificate.
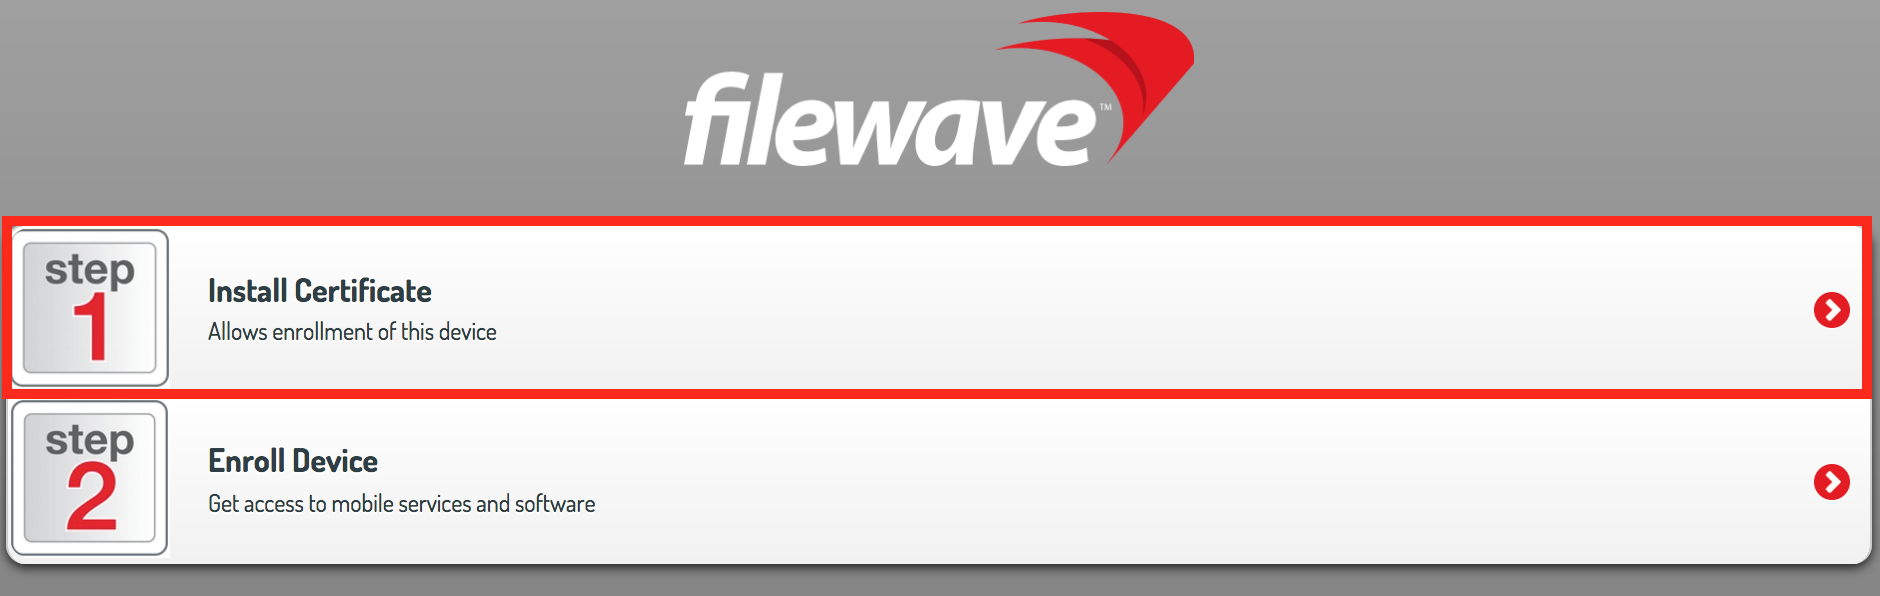
- Allow the certificate profile to download, then open Settings → Profile Downloaded. Review the profile and confirm that the certificate belongs to your organization's FileWave Server. Tap Install, follow the prompts, and finish the installation. Downloading the profile alone does not install it. If you leave it uninstalled for more than eight minutes, download it again. See Apple's profile-installation instructions if the profile is missing or installation is blocked.
- After the certificate is installed, open the Settings app. Do not start Step 2 - Enroll Device yet, because the device has not trusted the certificate.
- Go to General → About.
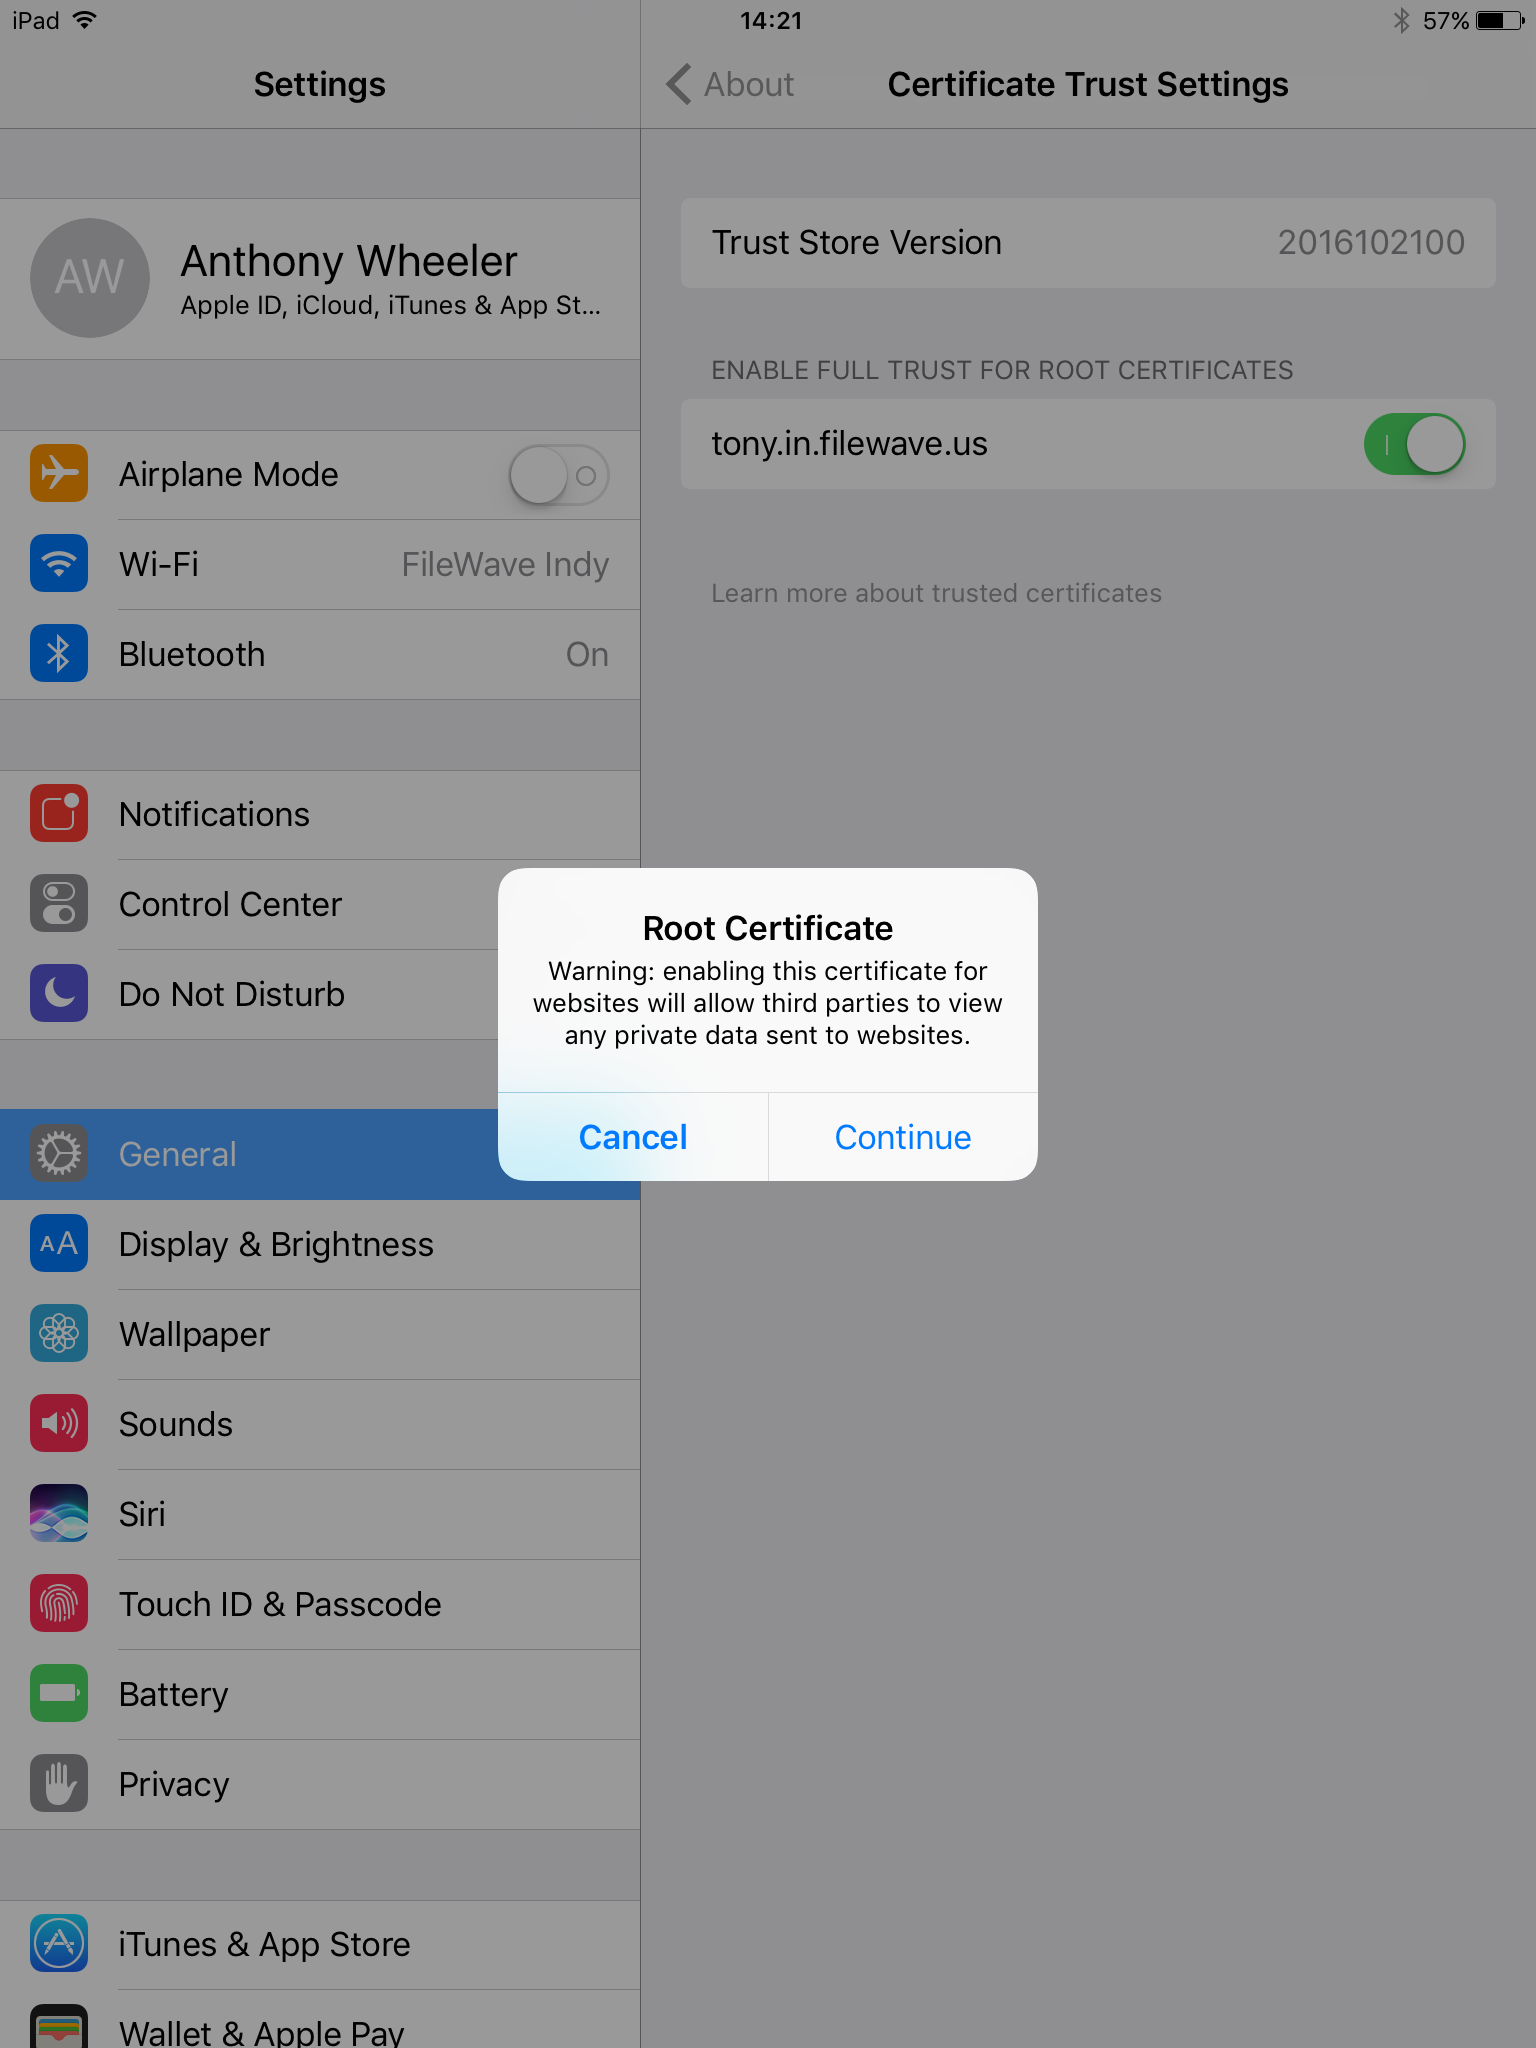
- At the bottom of About, tap Certificate Trust Settings.
- Under ENABLE FULL TRUST FOR ROOT CERTIFICATES, enable trust only for the certificate you verified with your administrator. Read and confirm the warning. If this section is absent, check that the certificate profile was actually installed; Apple explains that the section does not appear when no additional certificates are installed.
Return to the manual enrollment page and continue with Step 2 - Enroll Device. Install and approve the downloaded MDM enrollment profile, then confirm that the FileWave management profile appears in the device's management settings. The trusted certificate alone is not MDM enrollment. Follow Apple Manual Enrollment to complete the device and FileWave record checks.
No comments to display
No comments to display