
Create a Bootable USB Drive with Rufus
What
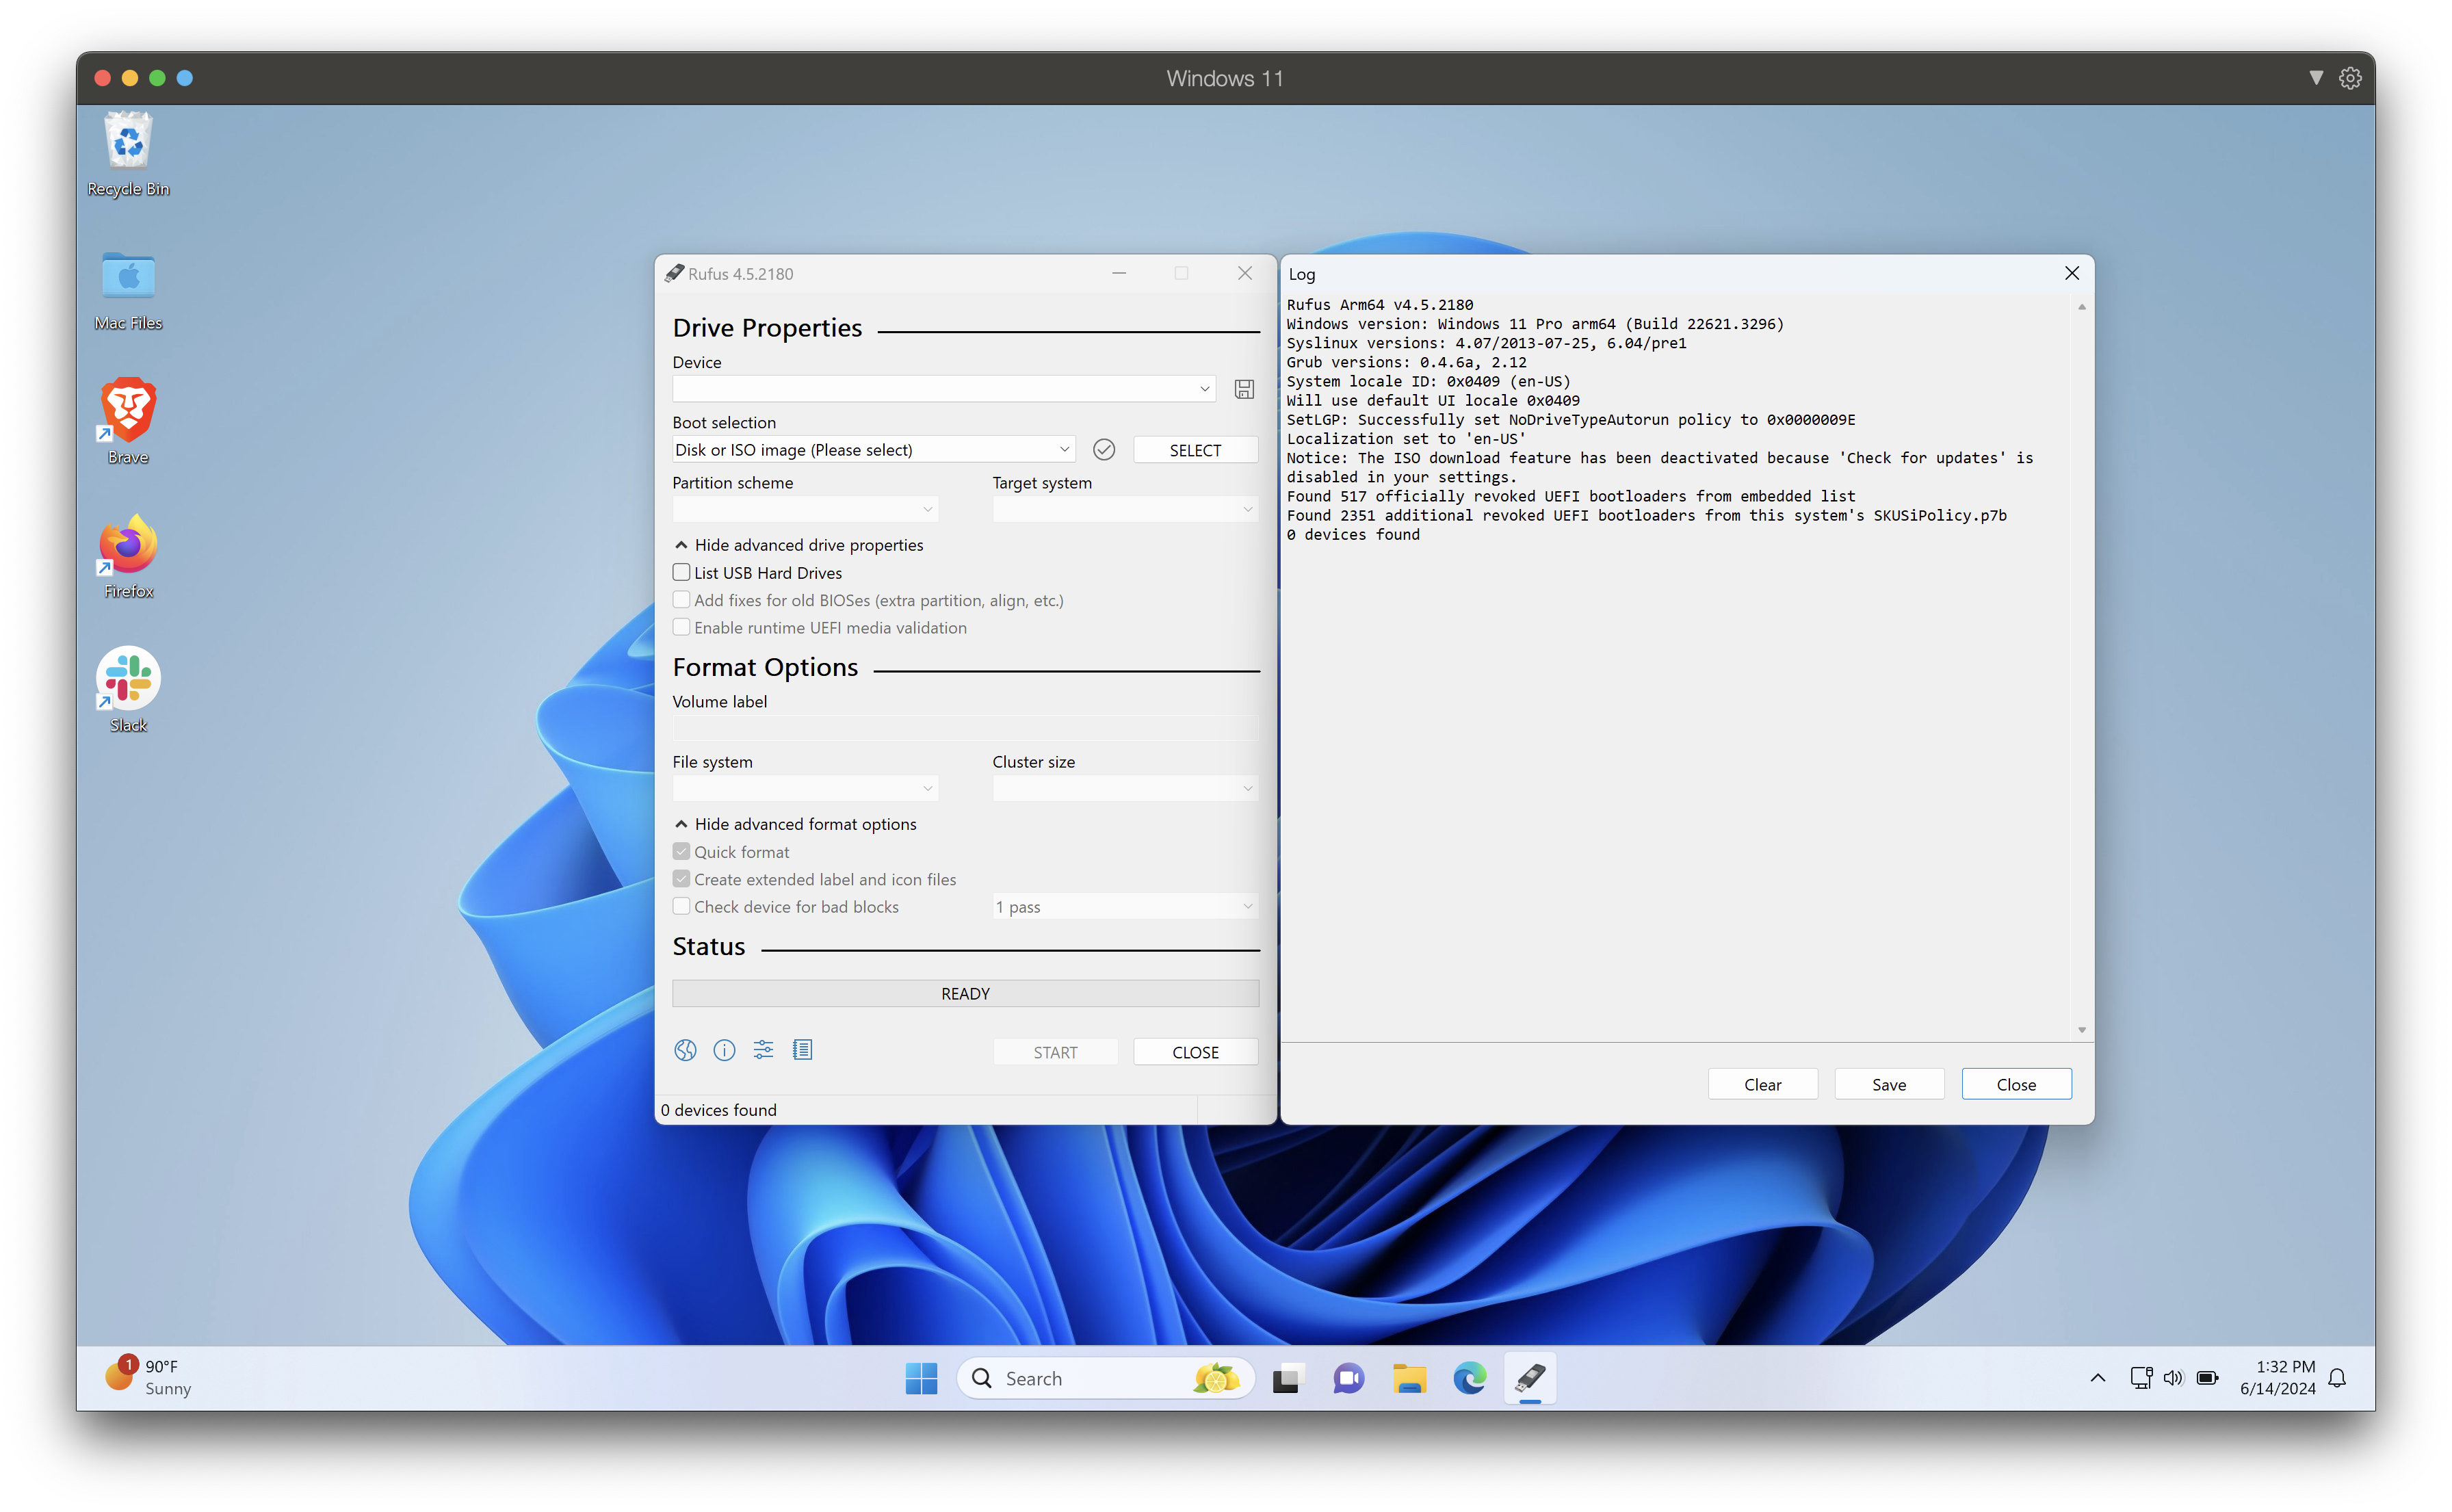
Rufus is a free, open-source Windows utility for writing bootable ISO images to USB drives. Use it to create operating-system installation, recovery, troubleshooting, or FileWave Imaging Virtual Server media from a trusted vendor-provided ISO.
When/Why
You would use Rufus in scenarios where you need to:
- Create a bootable USB drive to install or repair an operating system.
- Perform system recovery or troubleshooting on a computer that won’t boot normally.
- Install various versions of Windows or Linux from a USB drive instead of a CD/DVD.
- Run a live version of an operating system for testing or recovery purposes.
How
Step-by-Step Guide to Using Rufus
-
Download Rufus:
- On a computer running Windows 8 or later, visit the official Rufus download page and download the build for that computer's architecture.
- No installation is required. Run the downloaded executable and verify that its digital signature identifies the Rufus publisher before approving elevation.
-
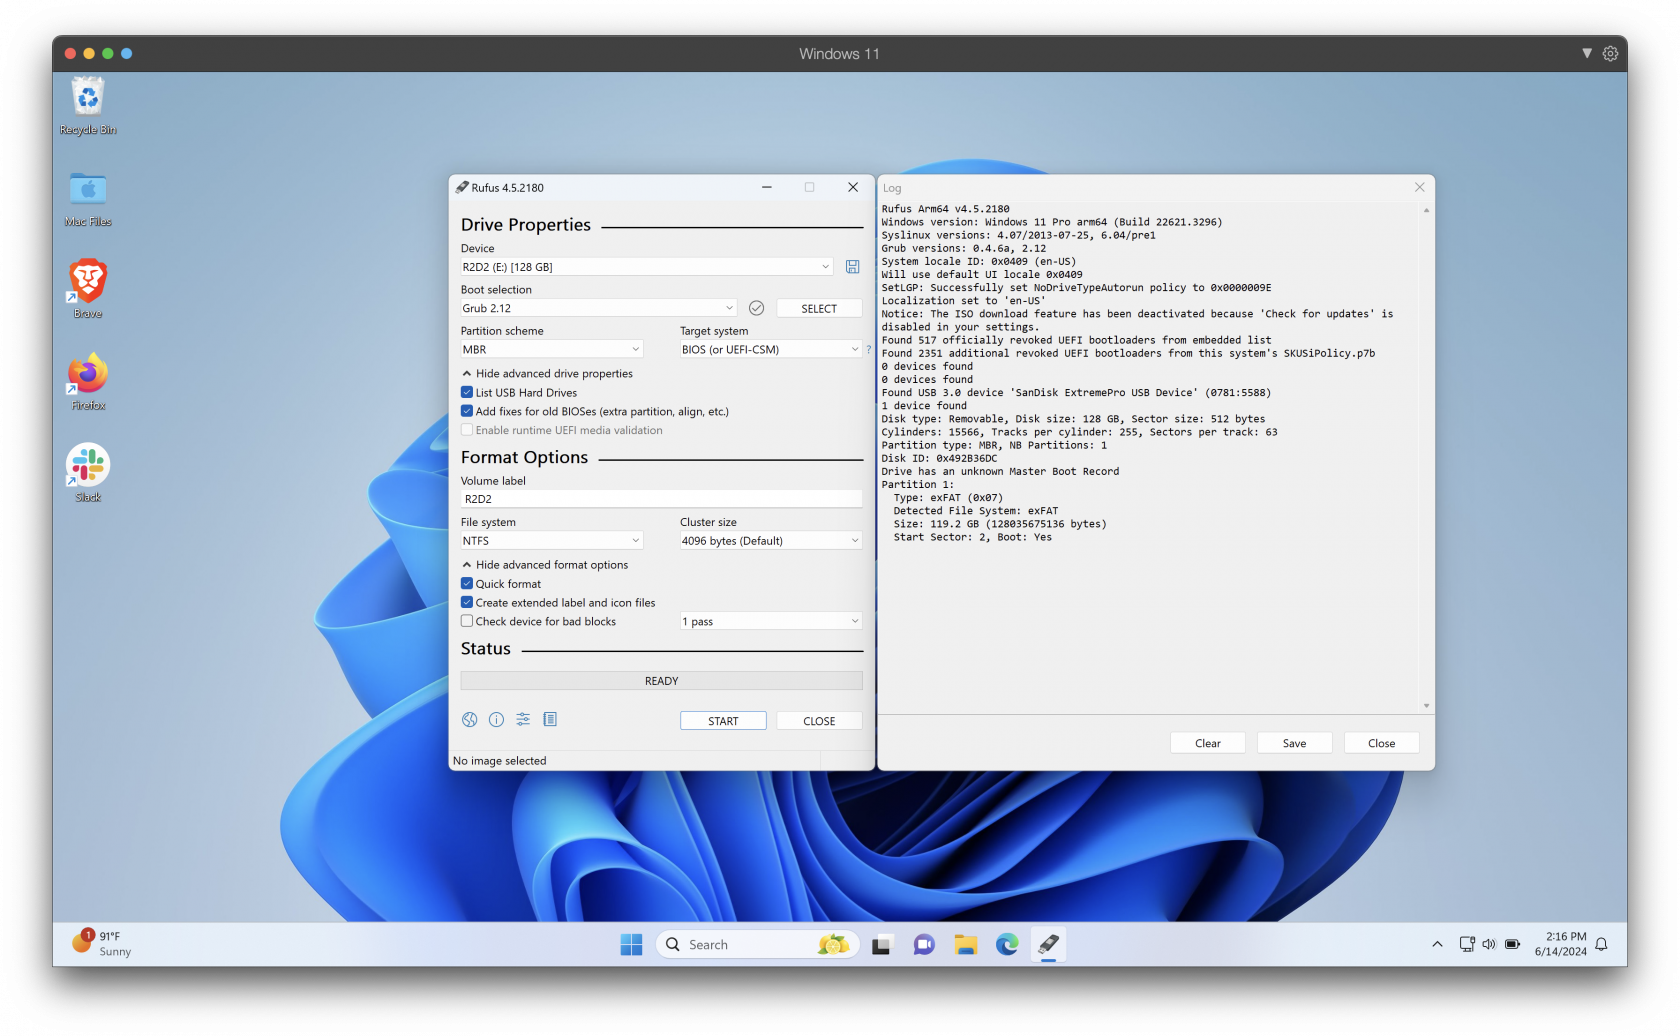
Prepare Your USB Drive:
- Insert your USB flash drive into a USB port on your computer.
- Back up the USB drive first. Rufus destroys the selected drive's partitions and data. Record its capacity and device name so you can distinguish it from other attached storage.
-
Launch Rufus:
- Open Rufus by double-clicking the executable file.
- Rufus will automatically detect your USB drive.
-
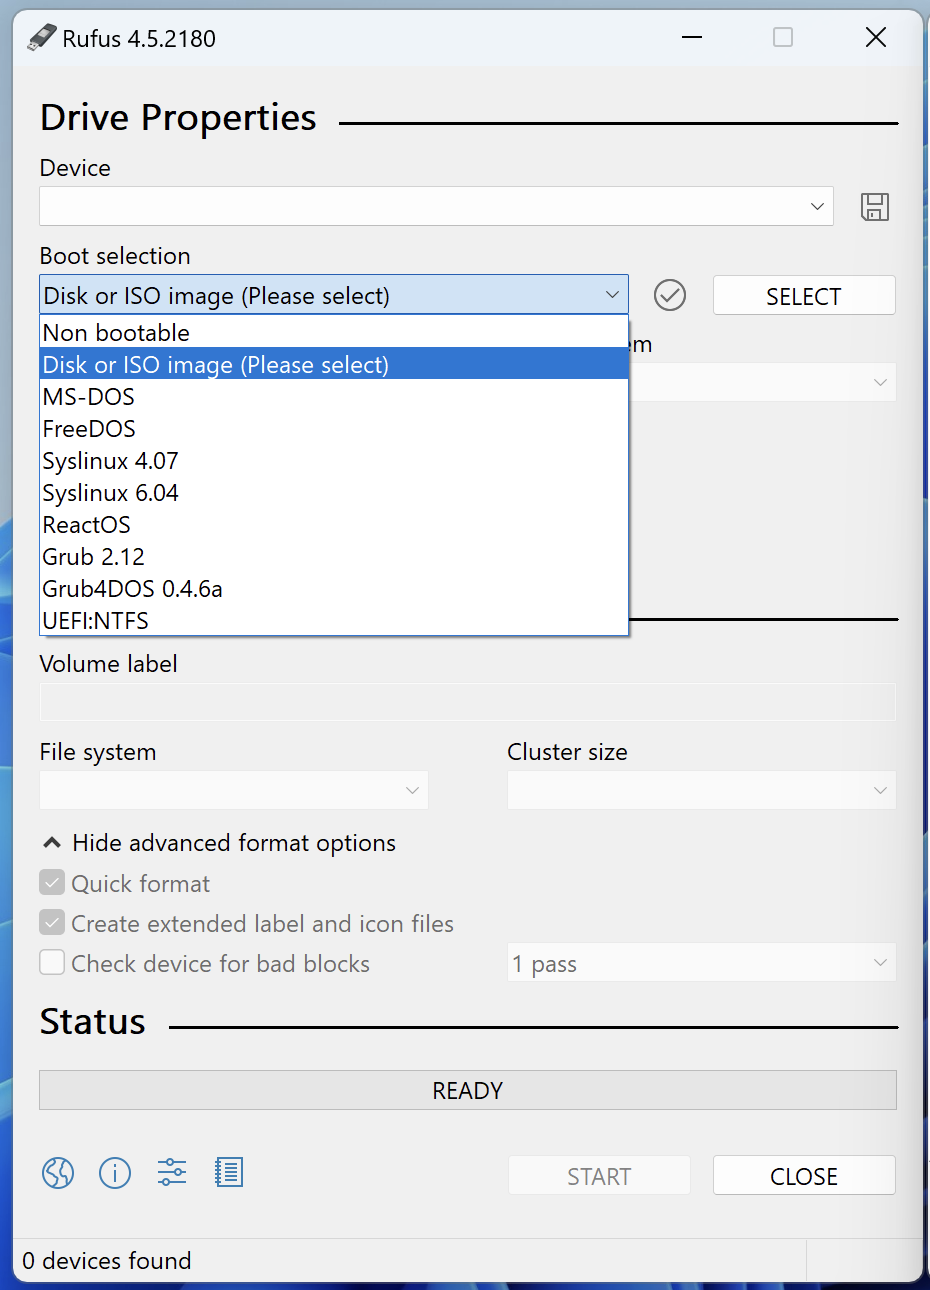
Select Bootable ISO:
- In the "Boot selection" section, click the "Select" button to choose the ISO file you want to use.
- Navigate to the location of your ISO file and select it.
-
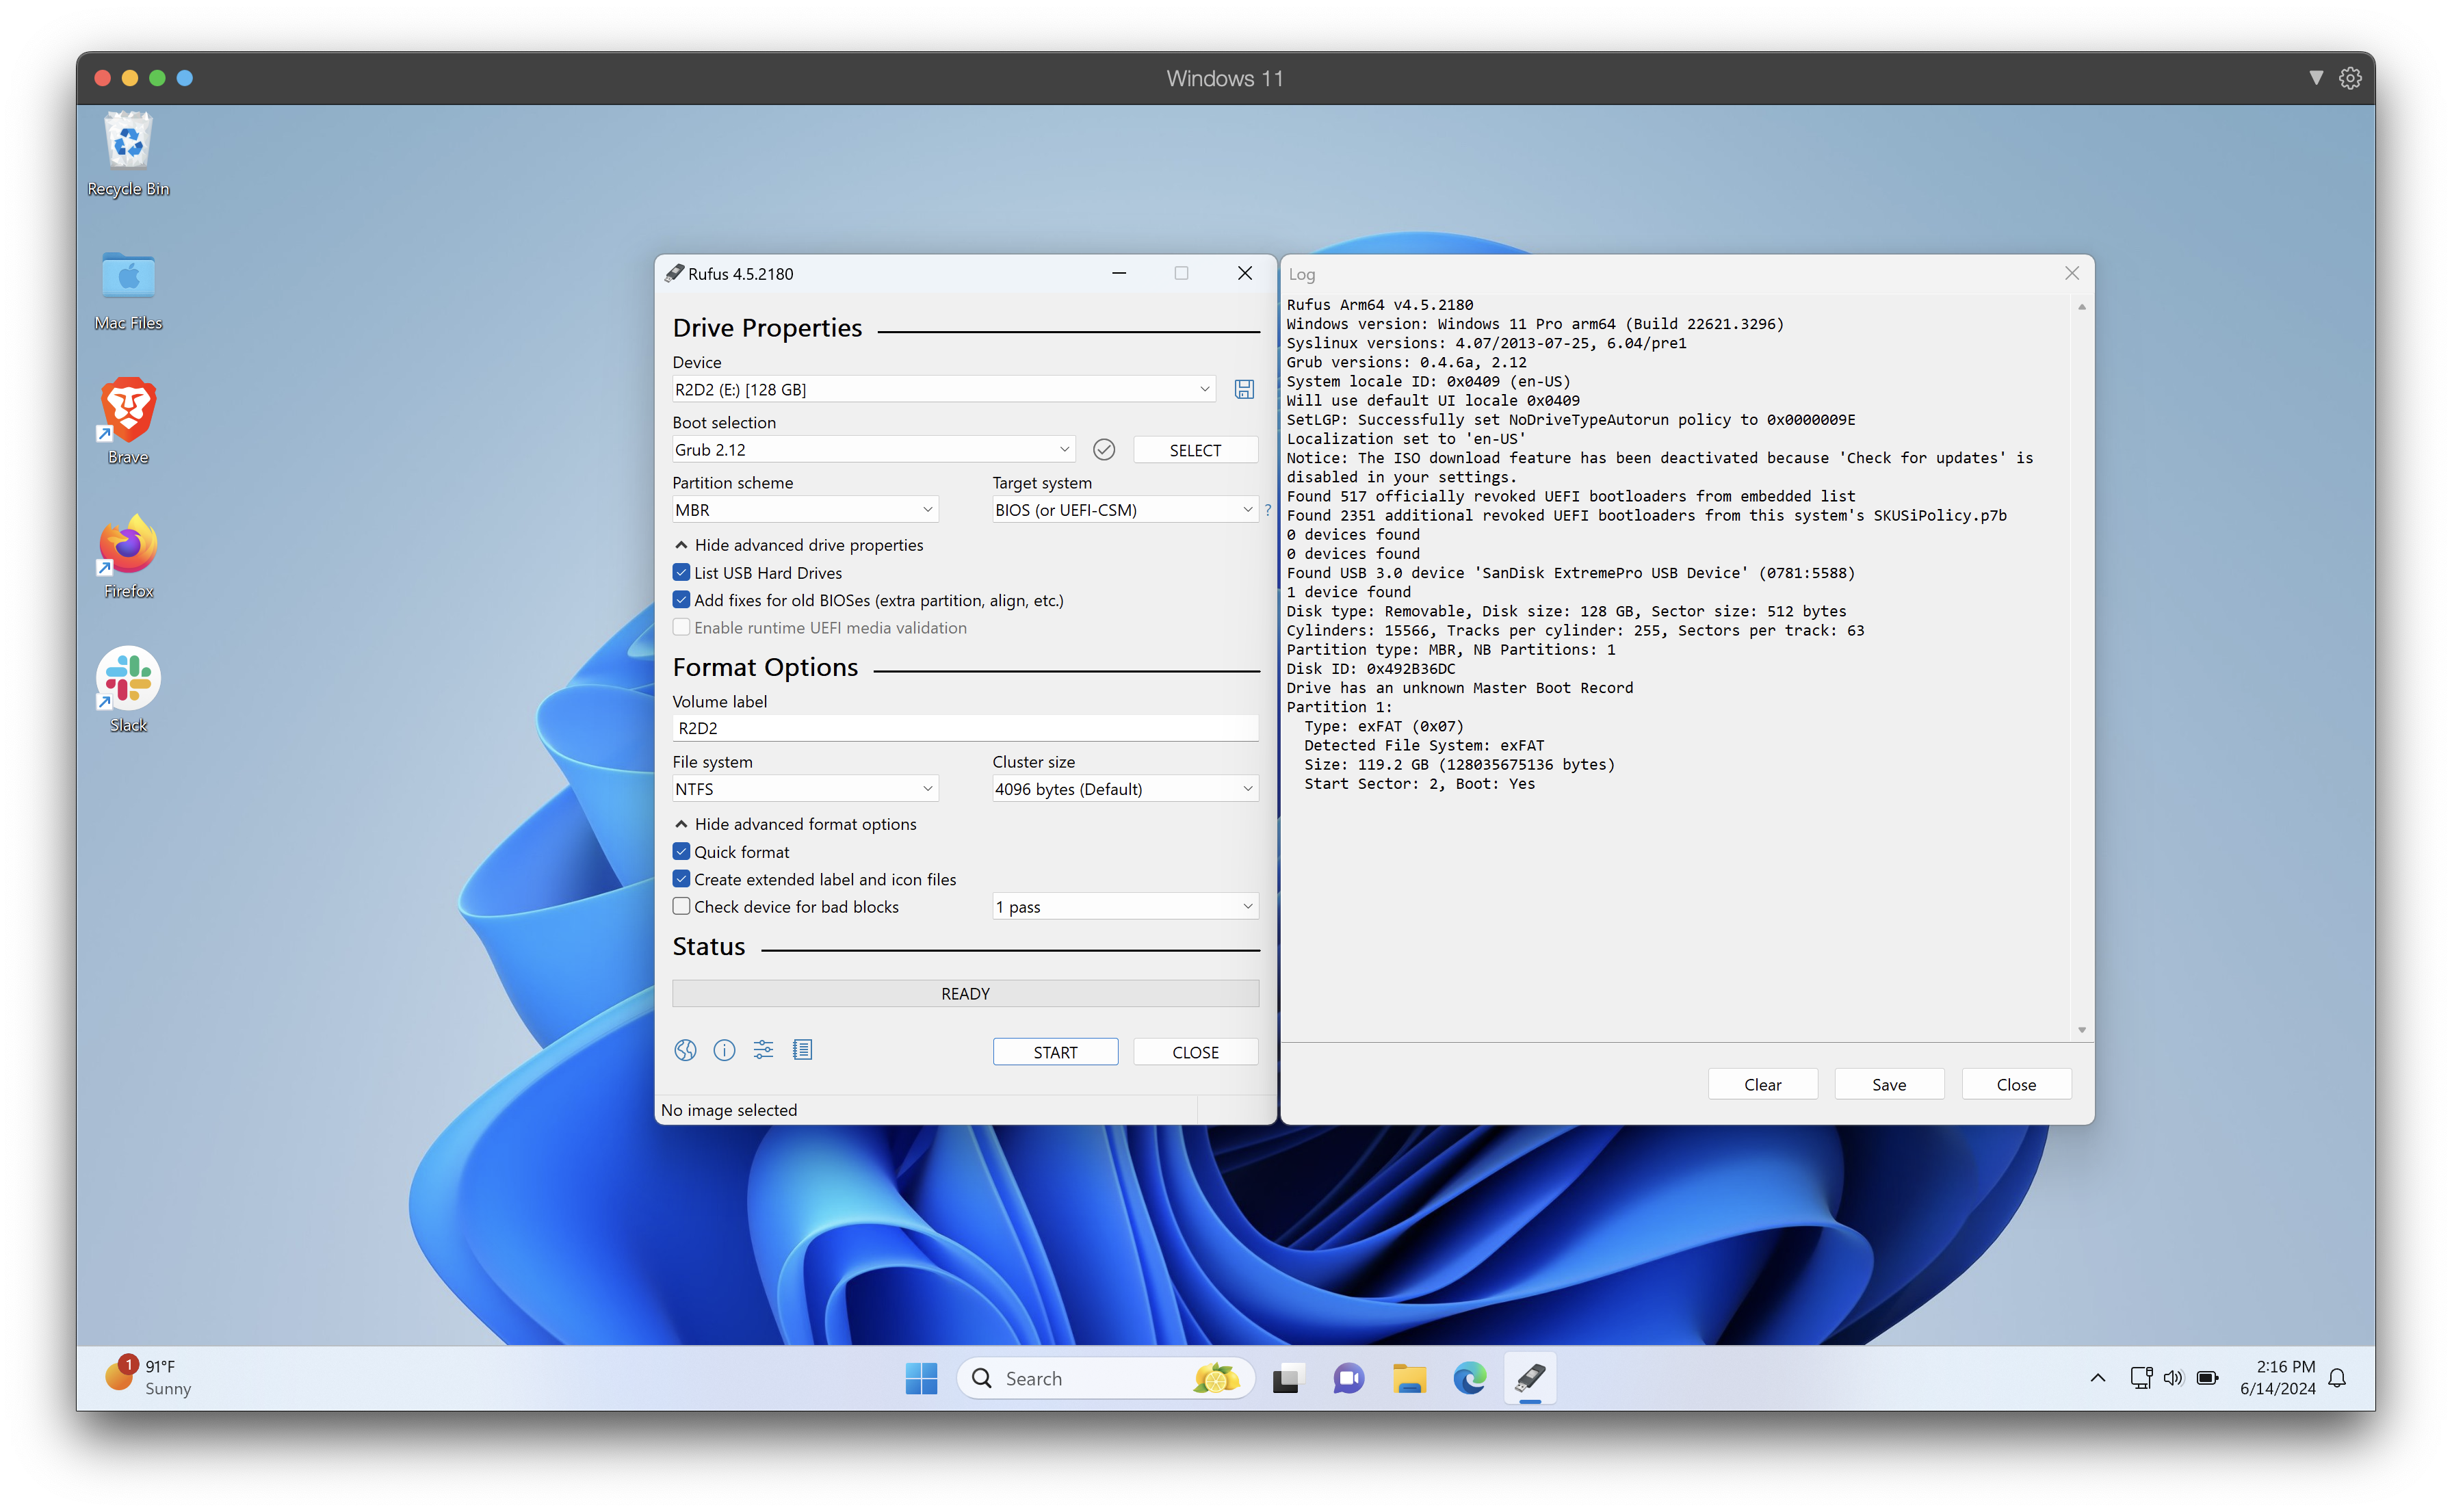
Configure Rufus Settings:
- After selecting the ISO, keep the settings Rufus derives from that image unless the operating-system vendor or FileWave procedure explicitly requires different values.
- Partition scheme and target system: Match the target computer's firmware and the source vendor's instructions. Do not use one MBR/GPT rule for every ISO.
- File system: Let Rufus choose from the selected image unless the source procedure specifies otherwise; NTFS versus FAT32 is not determined only by whether the ISO contains Windows or Linux.
-
Start the Process:
- Click the "Start" button to begin the creation of the bootable USB drive.
- When Rufus warns that data will be destroyed, stop and compare the selected device name and capacity with the physical USB drive. Confirm only when they match.
- Wait for Rufus to complete the process. This may take several minutes.
-
Completion:
- Wait for Rufus to show READY without an error, then close Rufus and safely eject the USB drive.
- Boot one representative target computer from the USB drive and confirm that it reaches the expected installer, recovery tool, or FileWave imaging prompt before relying on the media.

Your bootable USB drive is now ready to be used for installing or repairing your operating system.
Related Content
- Microsoft: Create installation media for Windows
- Ubuntu: Create a bootable USB stick with Rufus on Windows
- FileWave: Imaging Windows from a USB Drive
Digging Deeper
Rufus offers several advanced features that can be very useful:
- Persistent Storage: Rufus supports persistent storage for some Linux distributions, allowing you to save changes and data between sessions.
- Bad Block Check: Rufus can perform a bad block check on your USB drive to ensure its integrity before creating the bootable media.
- UEFI and BIOS Compatibility: Rufus can create bootable USB drives that are compatible with both UEFI and BIOS systems, ensuring broad compatibility.
For more detailed information, troubleshooting, and FAQs, you can visit the official Rufus Wiki.
No comments to display
No comments to display