Rufus - Creating bootable USB drives
What
In this article, we will explain how to use Rufus, a free and open-source utility that helps format and create bootable USB flash drives. Rufus is widely used for creating installation media from bootable ISOs, such as Windows, Linux, and other operating systems. It is an essential tool for anyone needing to install an OS from a USB drive. While this does not directly tie into FileWave UEM, we use it for making bootable USB flash drives and think you'll like it.

When/Why
You would use Rufus in scenarios where you need to:
- Create a bootable USB drive to install or repair an operating system.
- Perform system recovery or troubleshooting on a computer that won’t boot normally.
- Install various versions of Windows or Linux from a USB drive instead of a CD/DVD.
- Run a live version of an operating system for testing or recovery purposes.
How
Step-by-Step Guide to Using Rufus
-
Download Rufus:
- Visit the Rufus download page and download the latest version of the software.
- Rufus is a portable application, so no installation is required. Simply run the downloaded executable file.
-
Prepare Your USB Drive:
- Insert your USB flash drive into a USB port on your computer.
- Ensure that the drive has no important data, as it will be formatted during the process.
-
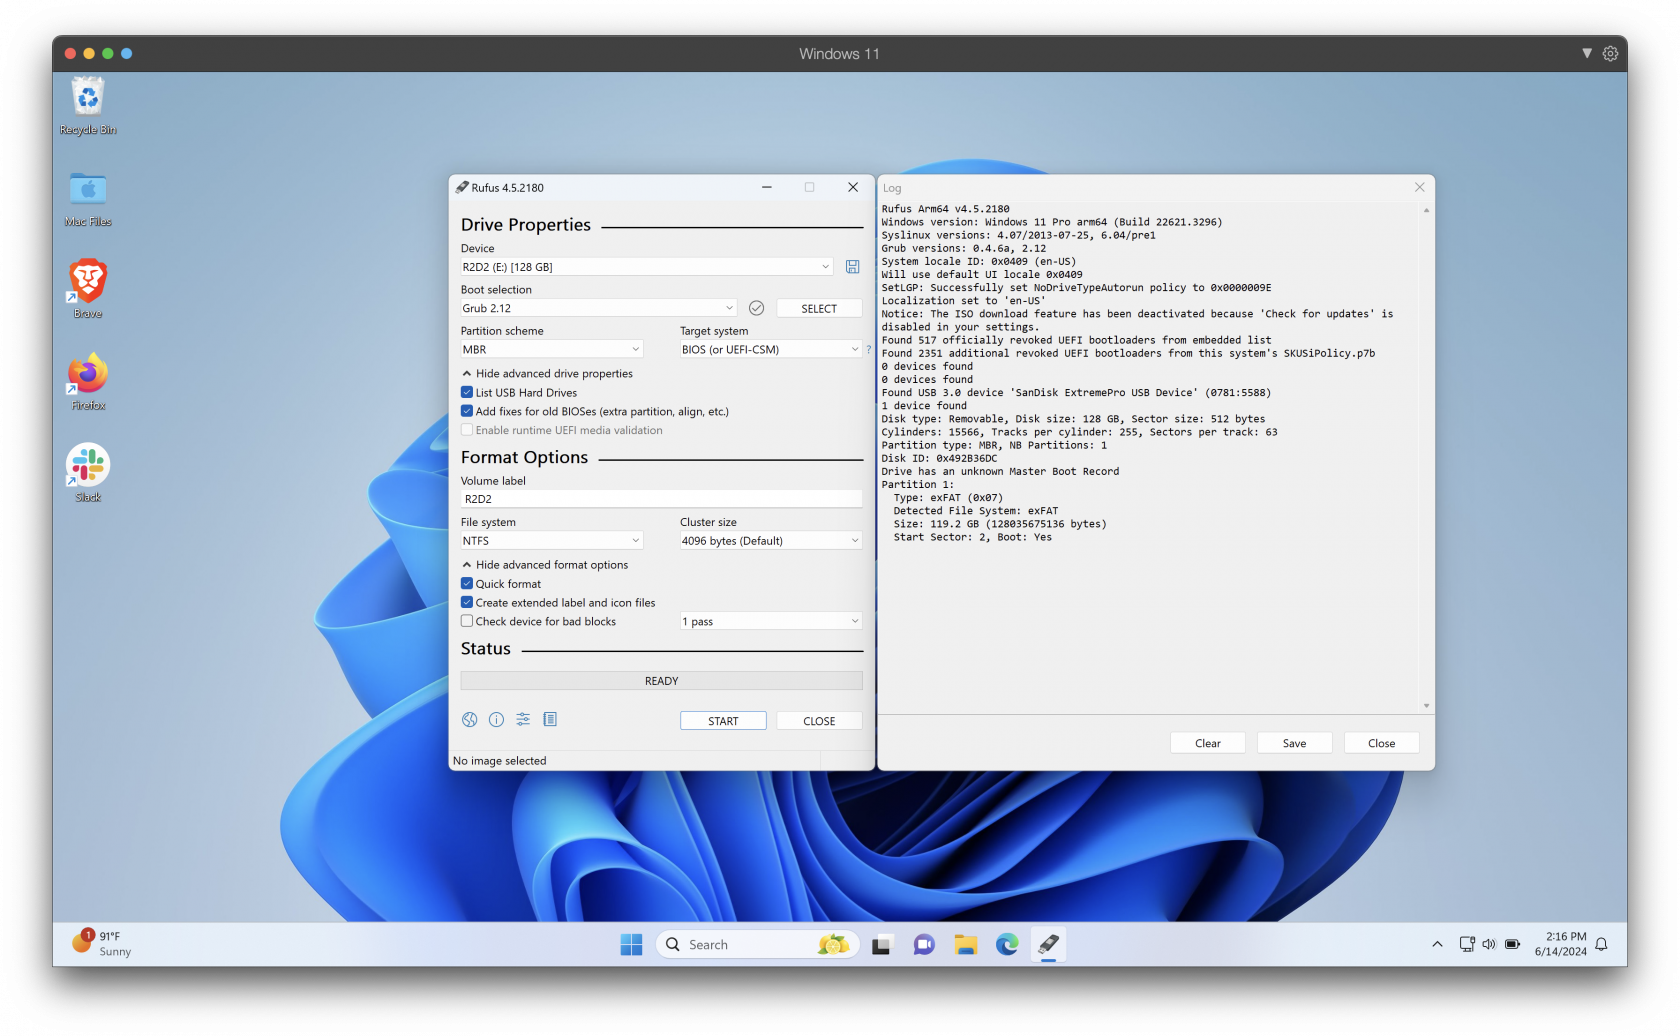
Launch Rufus:
- Open Rufus by double-clicking the executable file.
- Rufus will automatically detect your USB drive.
-
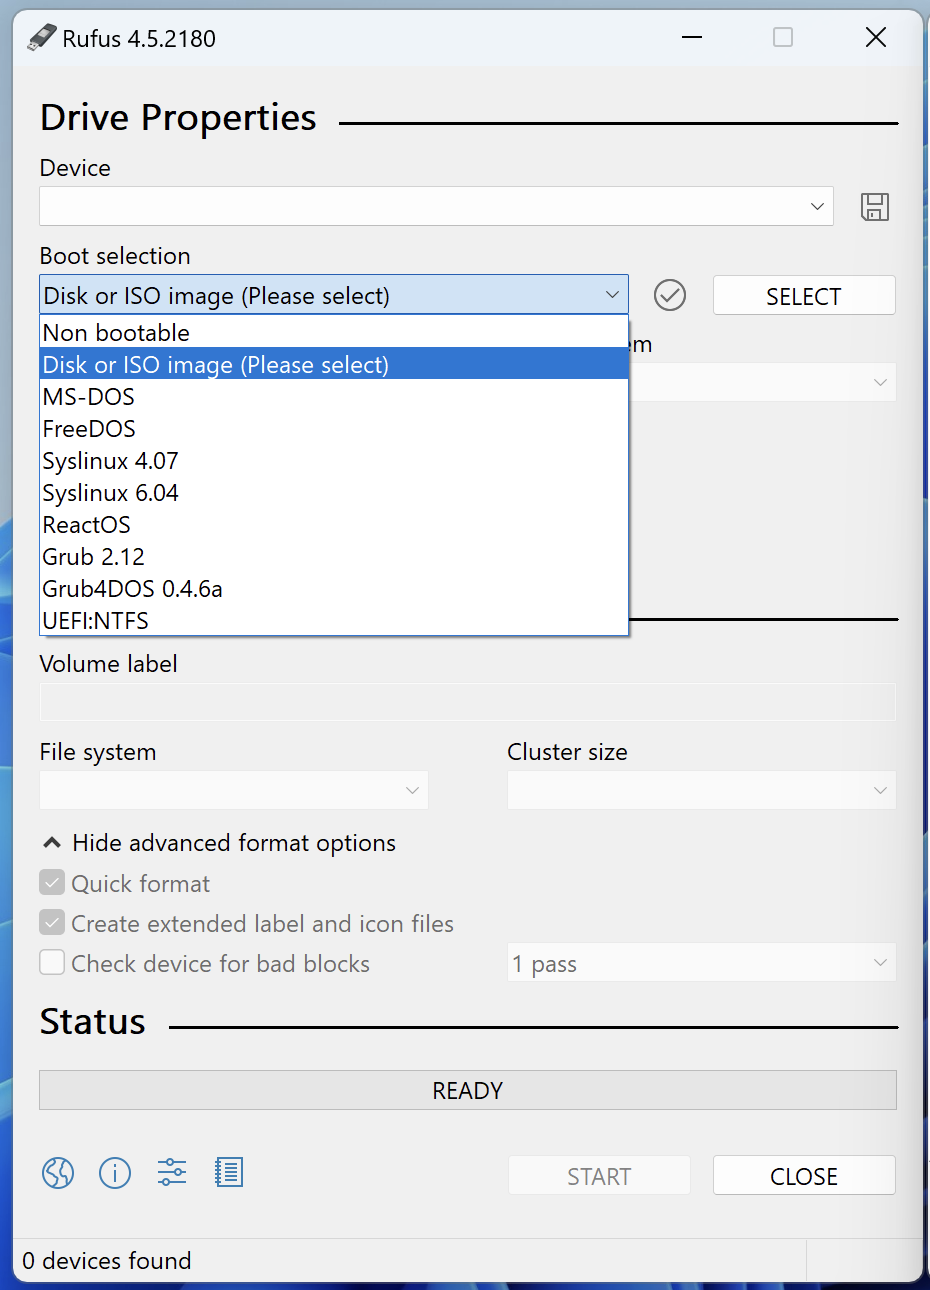
Select Bootable ISO:
- In the "Boot selection" section, click the "Select" button to choose the ISO file you want to use.
- Navigate to the location of your ISO file and select it.
-
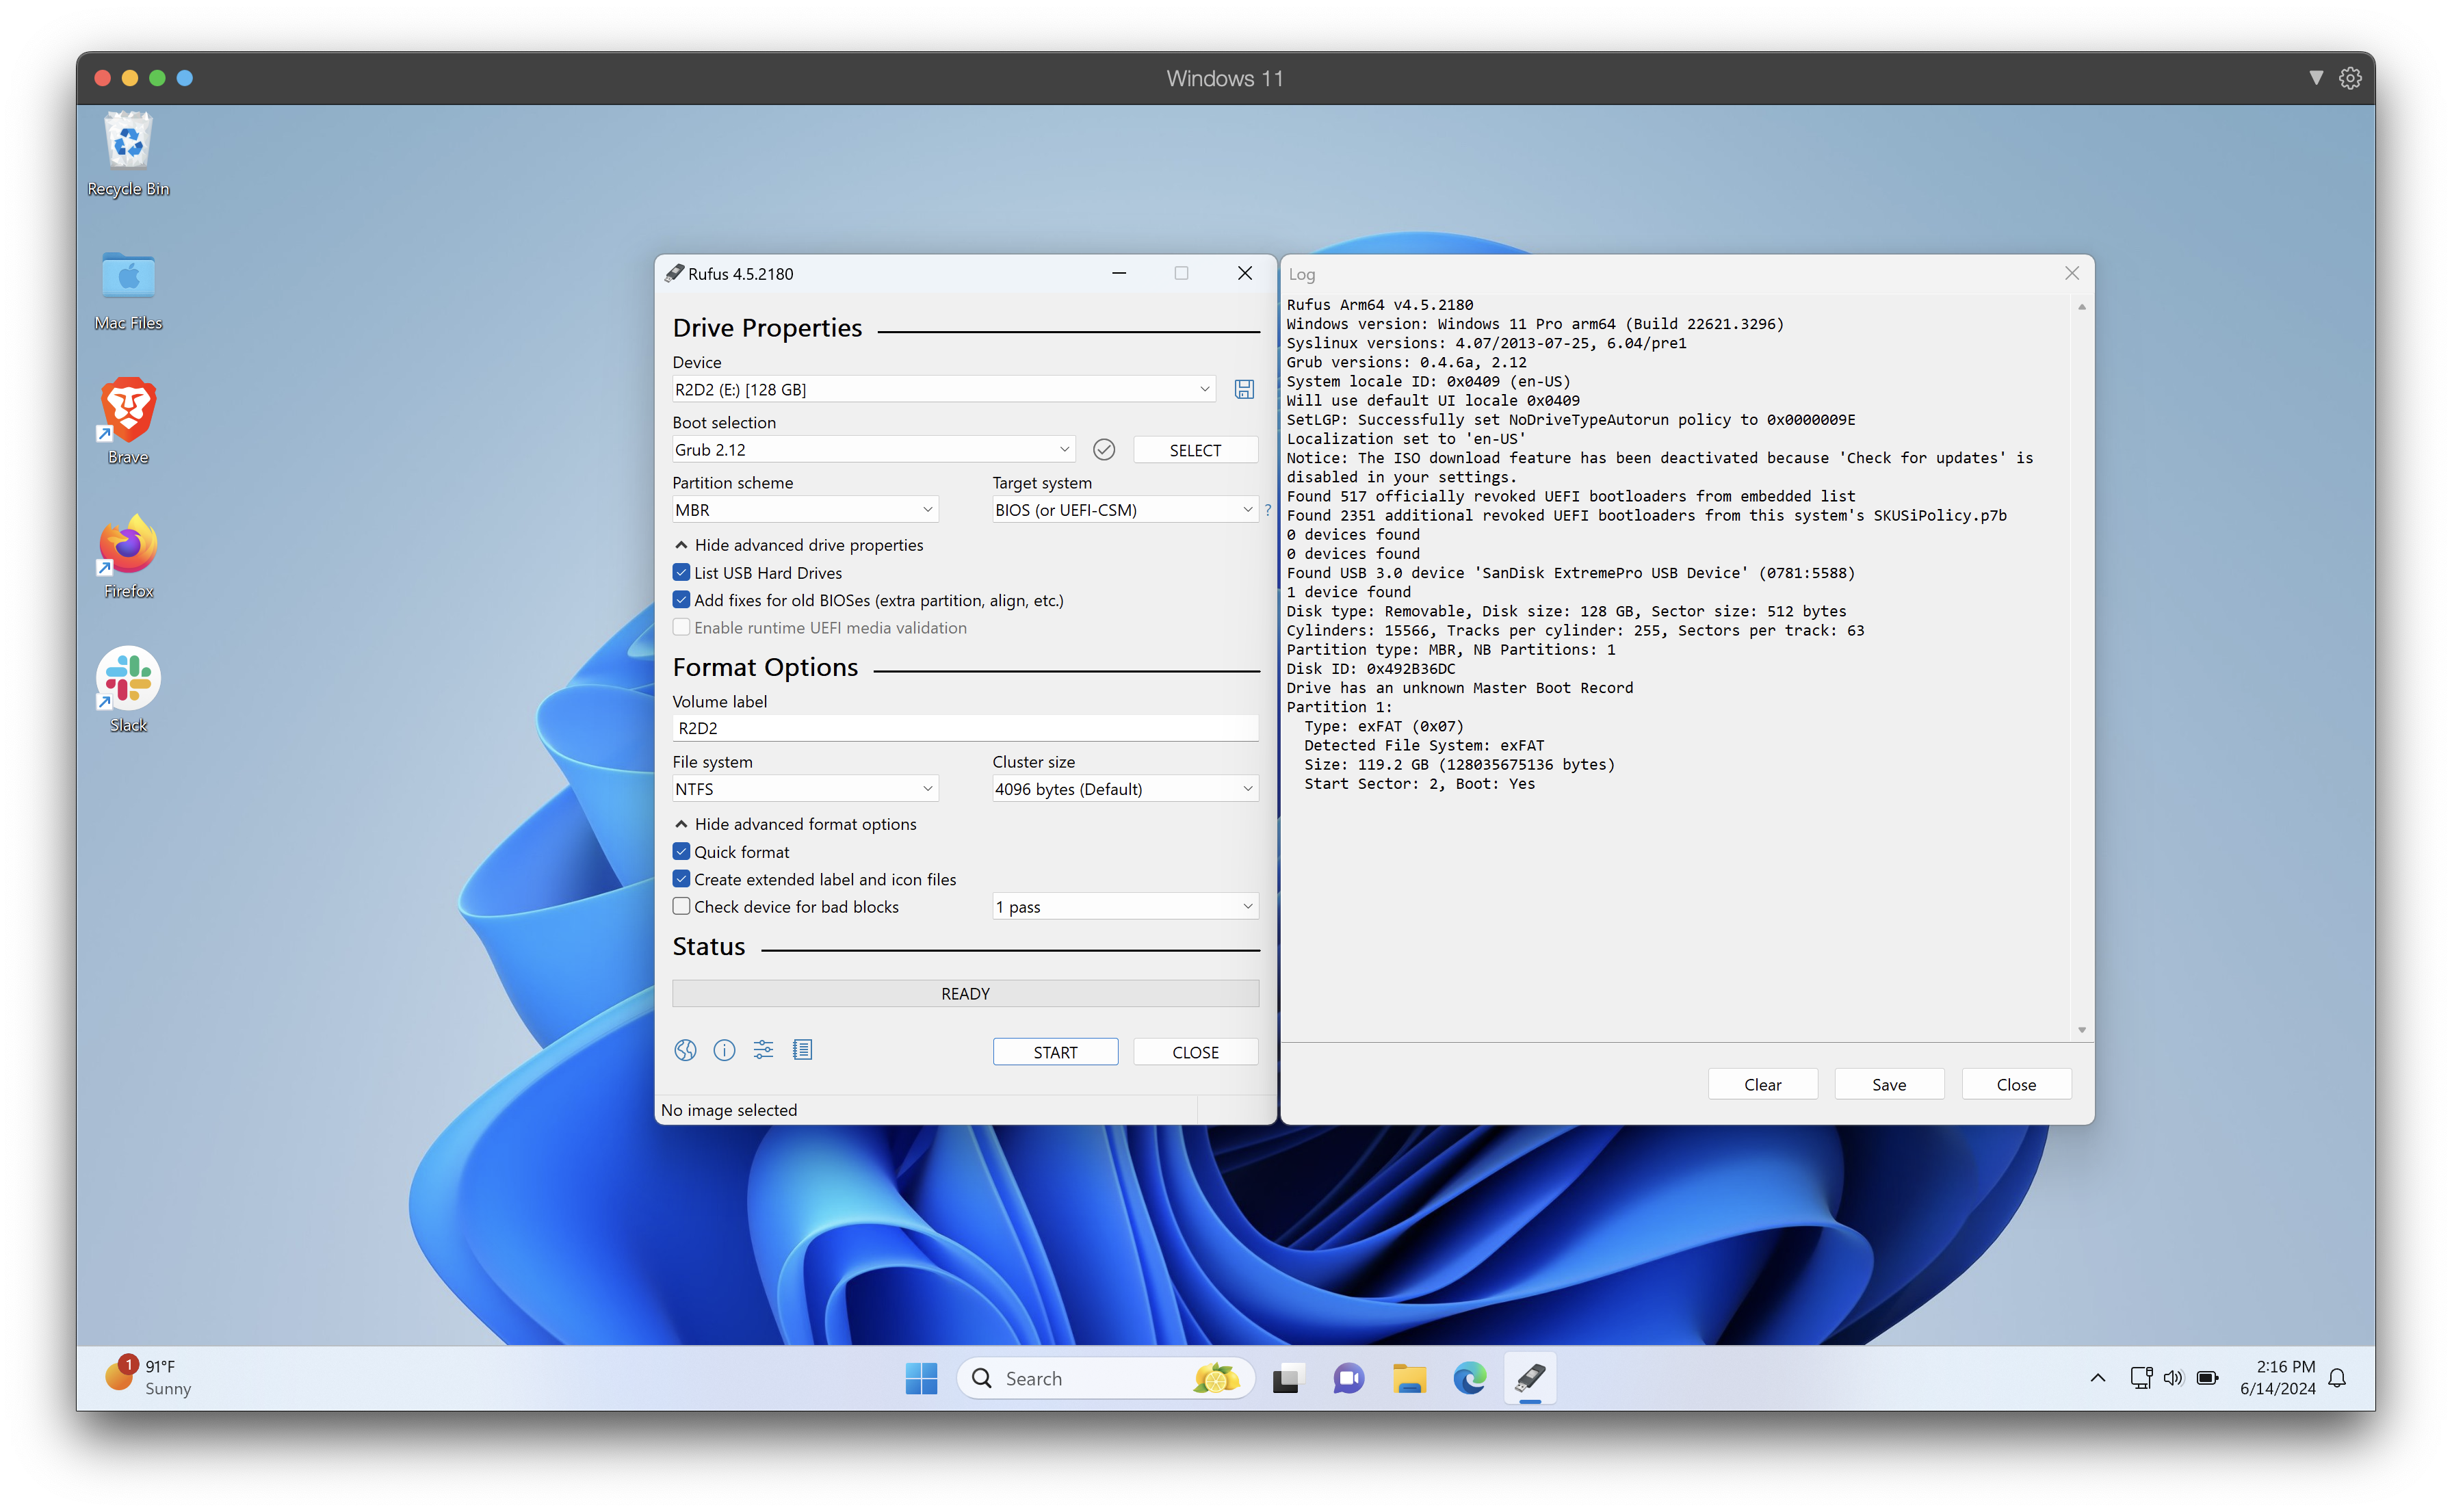
Configure Rufus Settings:
- Partition Scheme: Choose "MBR" for BIOS or UEFI or "GPT" for UEFI only.
- File System: Generally, NTFS is recommended for Windows installations, while FAT32 is used for other operating systems.
- Rufus will adjust the settings automatically based on the selected ISO file.
-
Start the Process:
- Click the "Start" button to begin the creation of the bootable USB drive.
- Rufus will warn you that all data on the USB drive will be destroyed. Confirm to proceed.
- Wait for Rufus to complete the process. This may take several minutes.
-
Completion:
- Once Rufus has finished, you will see a "Ready" status.
- Safely eject the USB drive from your computer.

Your bootable USB drive is now ready to be used for installing or repairing your operating system.
Related Content
Digging Deeper
Rufus offers several advanced features that can be very useful:
- Persistent Storage: Rufus supports persistent storage for some Linux distributions, allowing you to save changes and data between sessions.
- Bad Block Check: Rufus can perform a bad block check on your USB drive to ensure its integrity before creating the bootable media.
- UEFI and BIOS Compatibility: Rufus can create bootable USB drives that are compatible with both UEFI and BIOS systems, ensuring broad compatibility.
For more detailed information, troubleshooting, and FAQs, you can visit the official Rufus Wiki.
No comments to display
No comments to display