
Importing FileWave OVA (VirtualBox)
Use this procedure to import the FileWave Imaging Virtual Server (IVS) OVA or OVF into Oracle VirtualBox, attach its virtual disk to the expected storage controller, and confirm that the appliance starts.
Import the IVS appliance
1. Download the IVS virtual appliance from FileWave Downloads, then unzip it.

2. Open Oracle VirtualBox, then select File > Import Appliance.
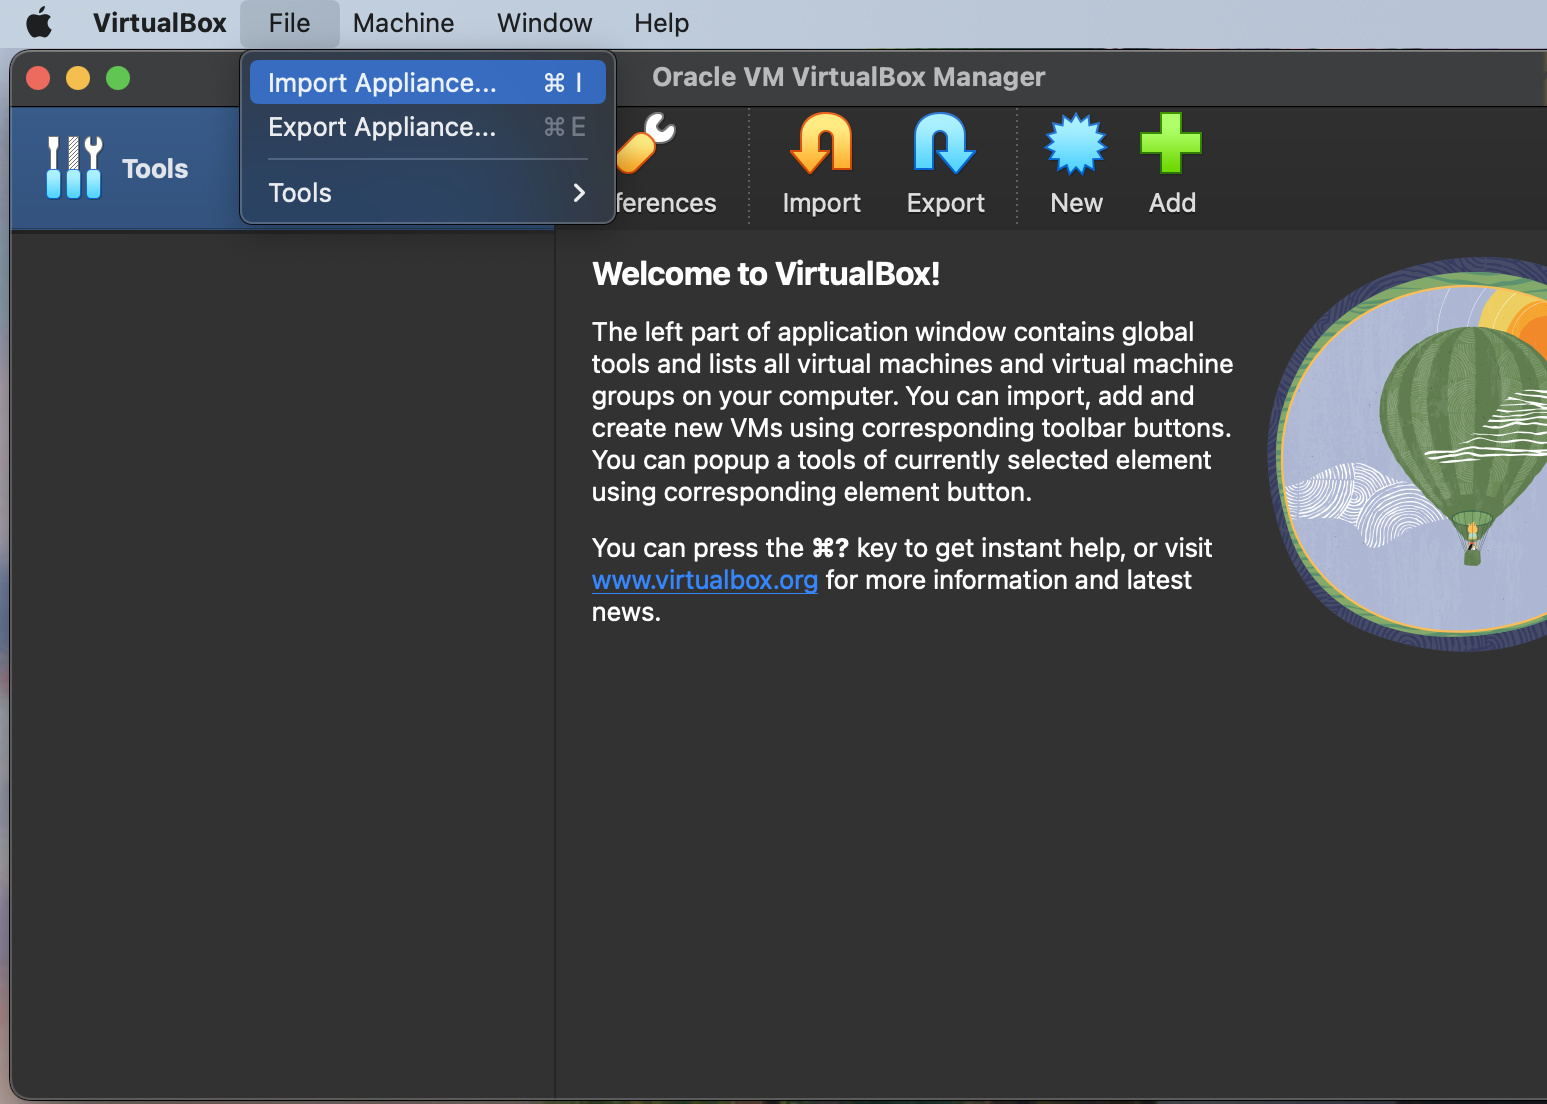
3. Browse to the unzipped FileWave OVA or OVF, select it, and click Open.
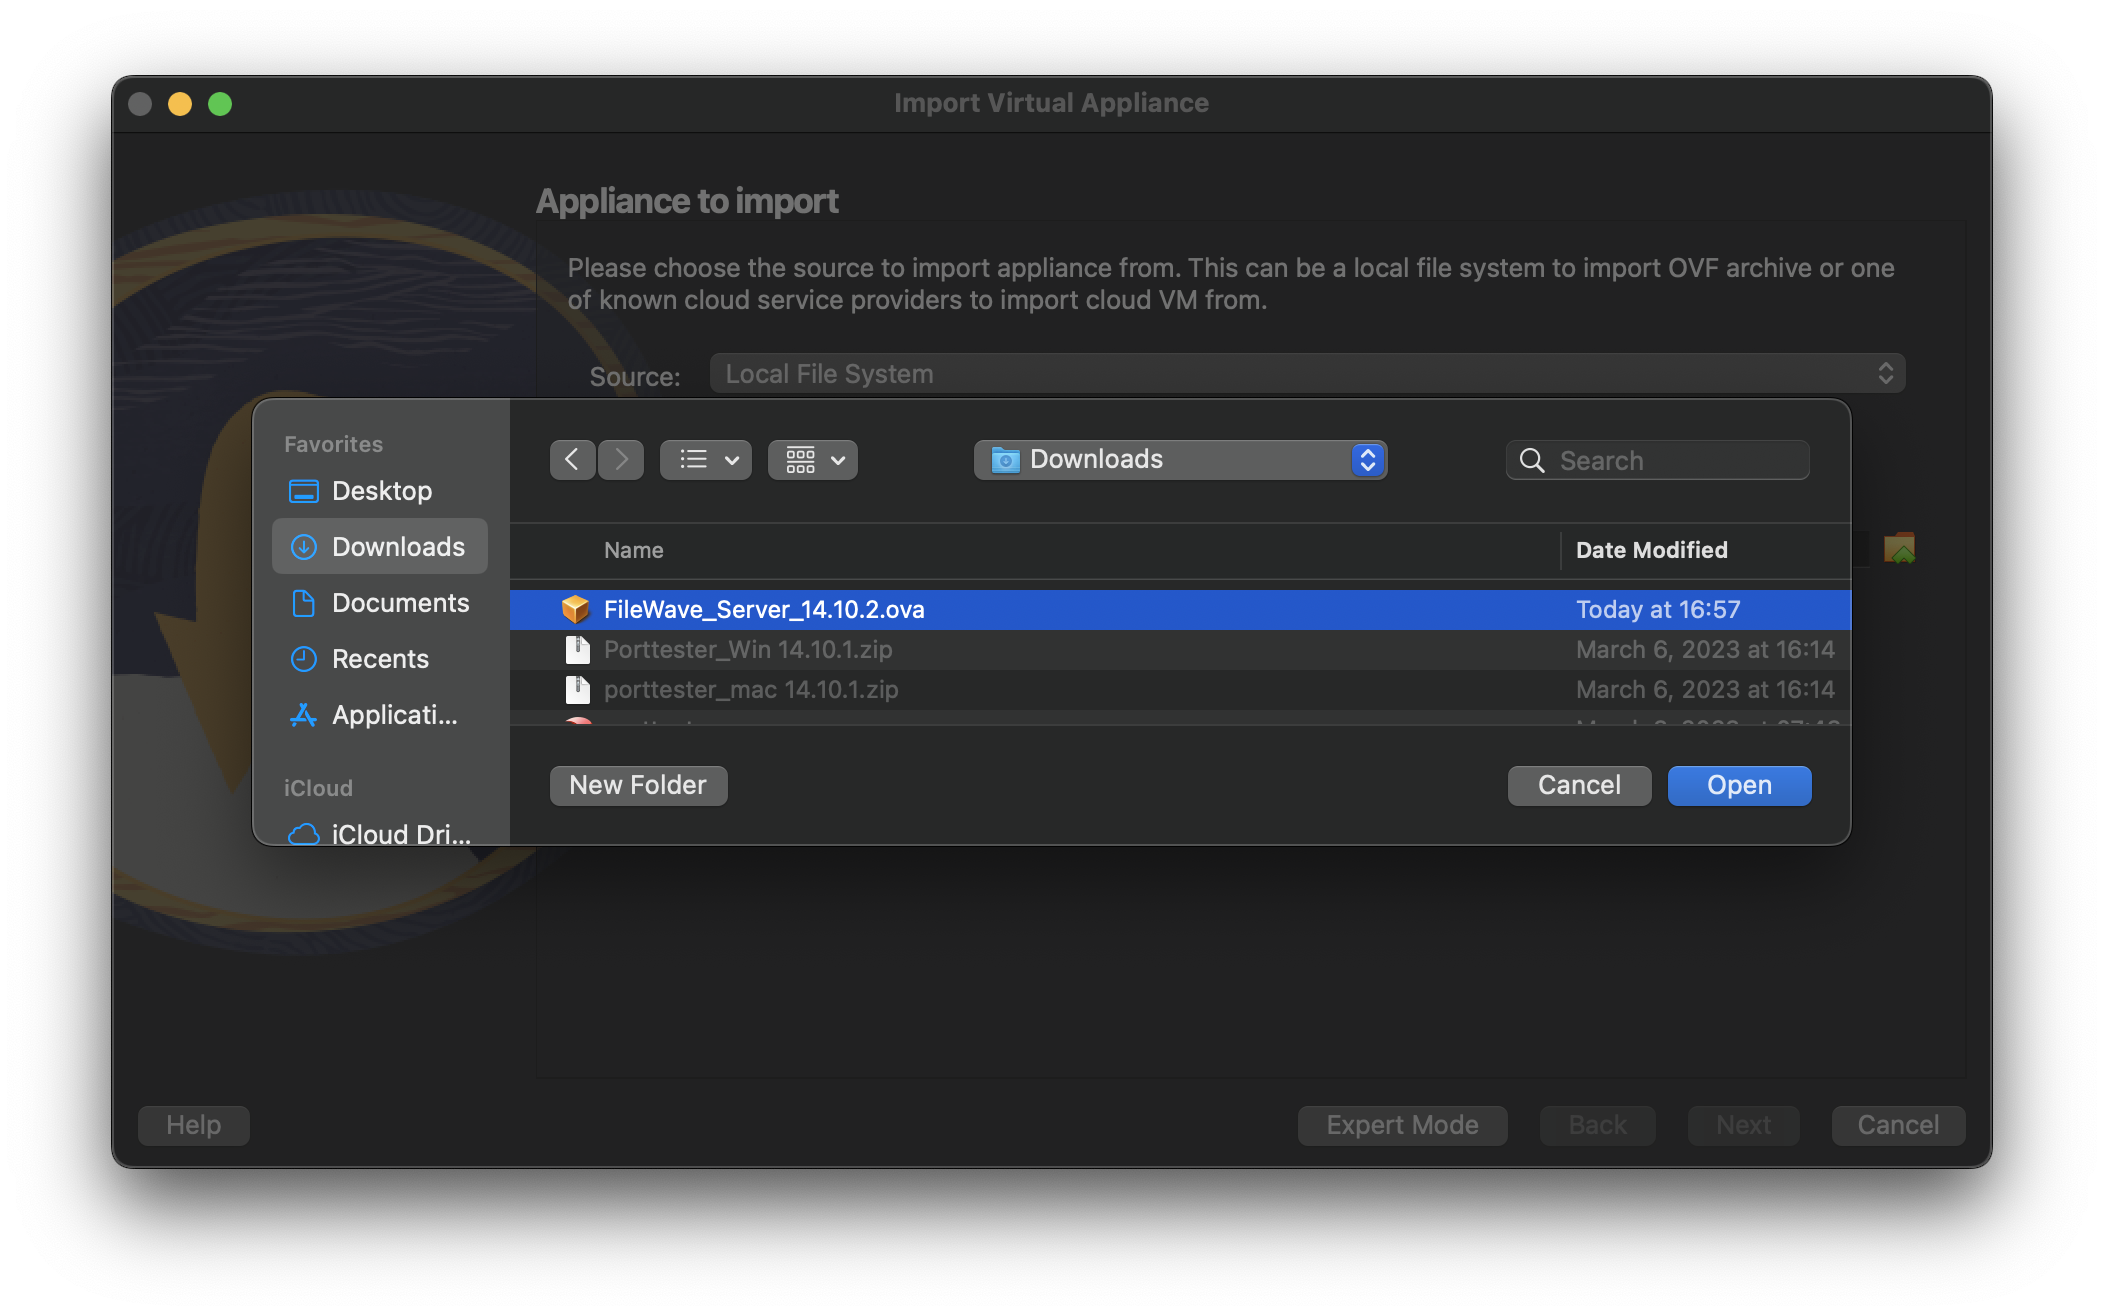
4. Click Continue or Next, depending on the VirtualBox version.
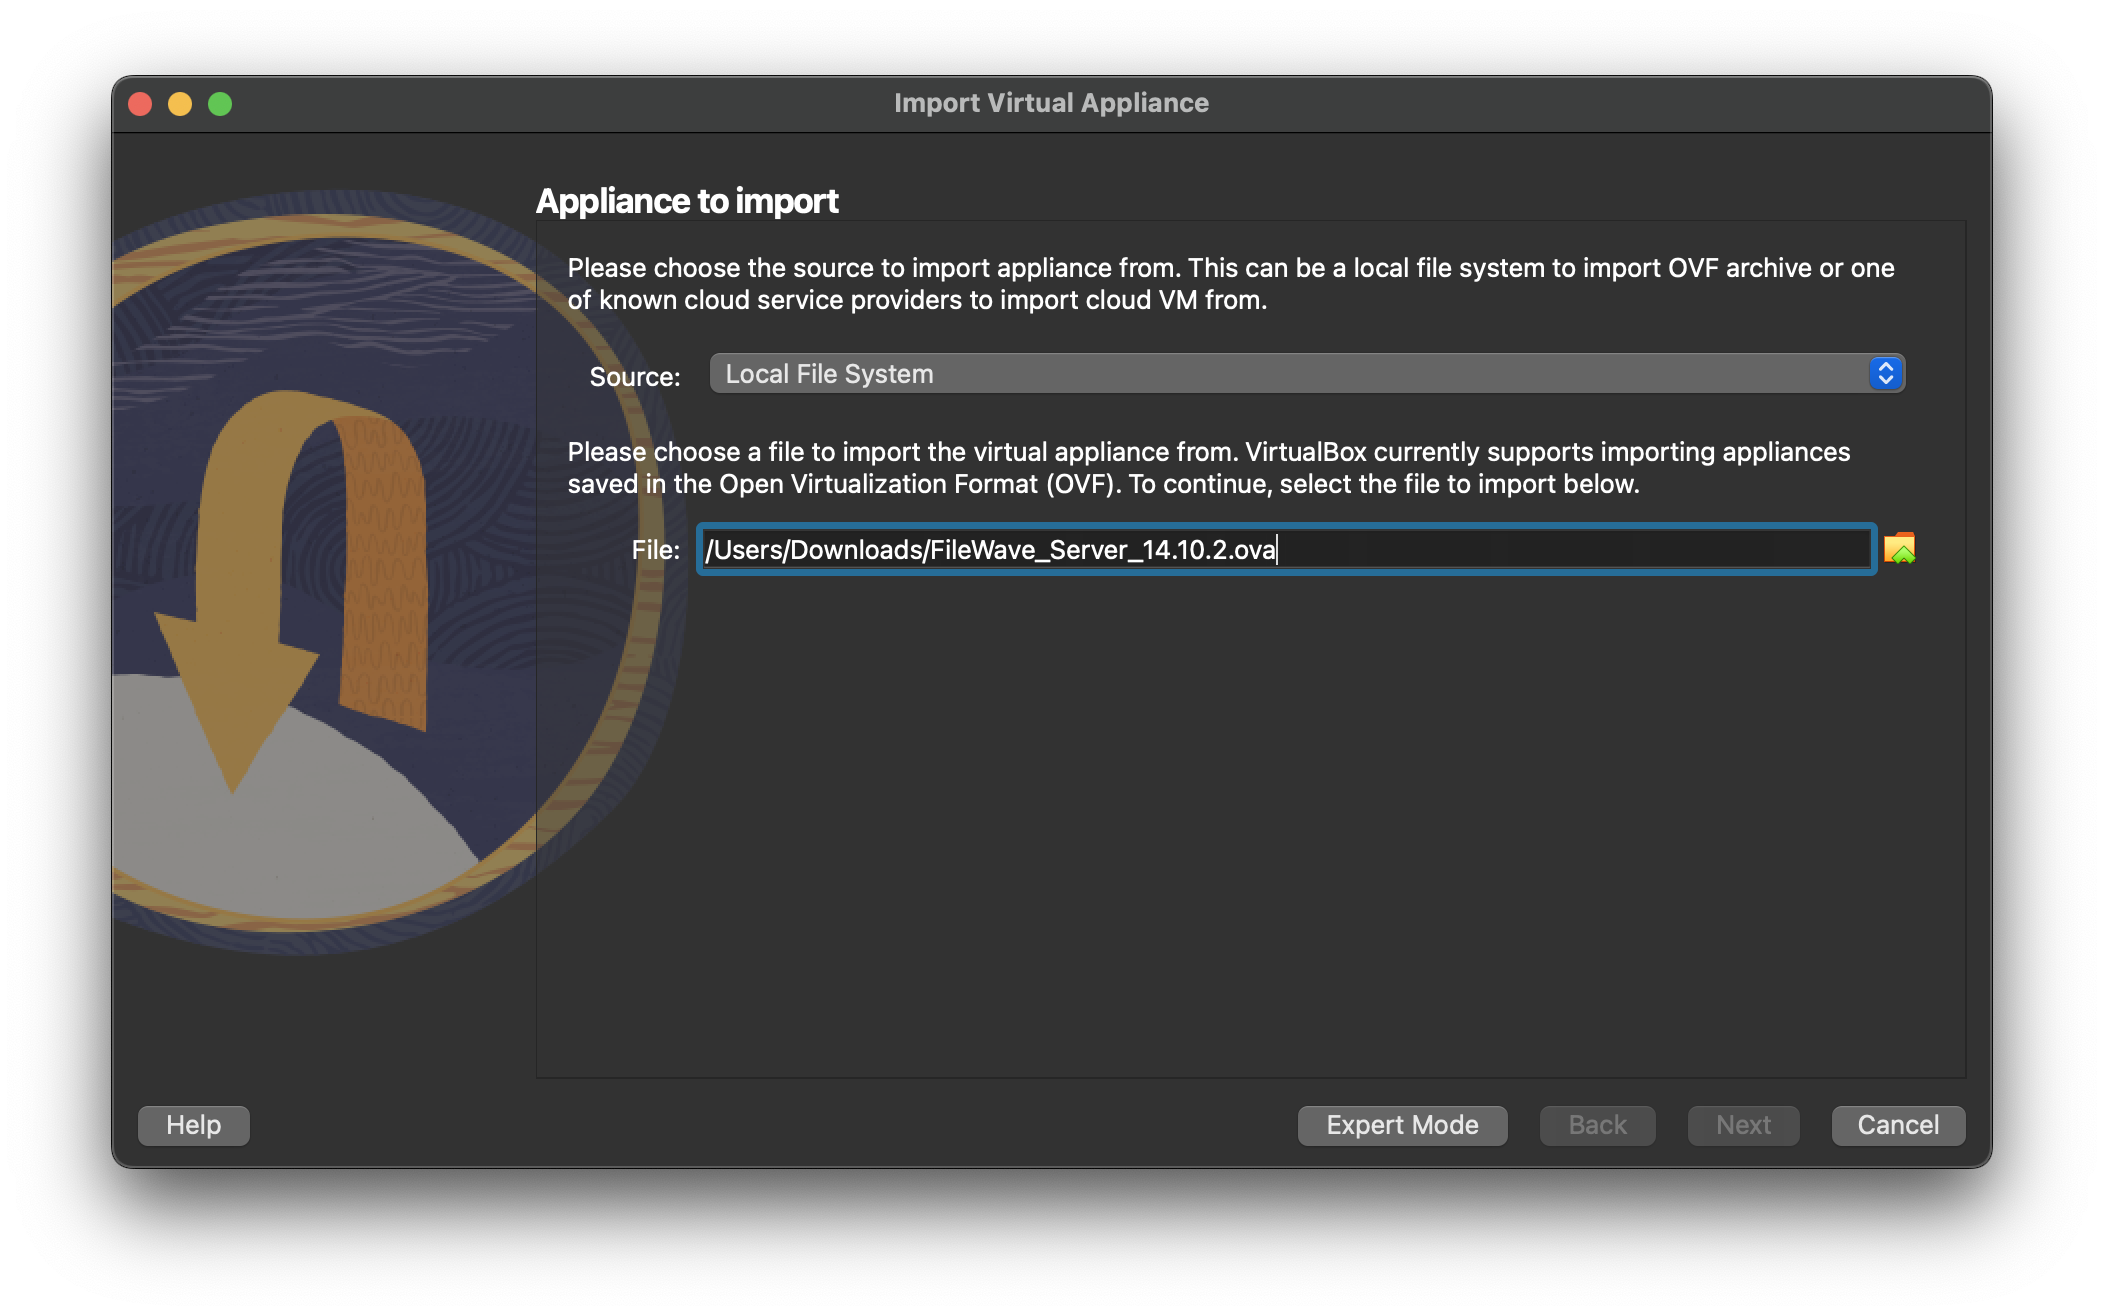
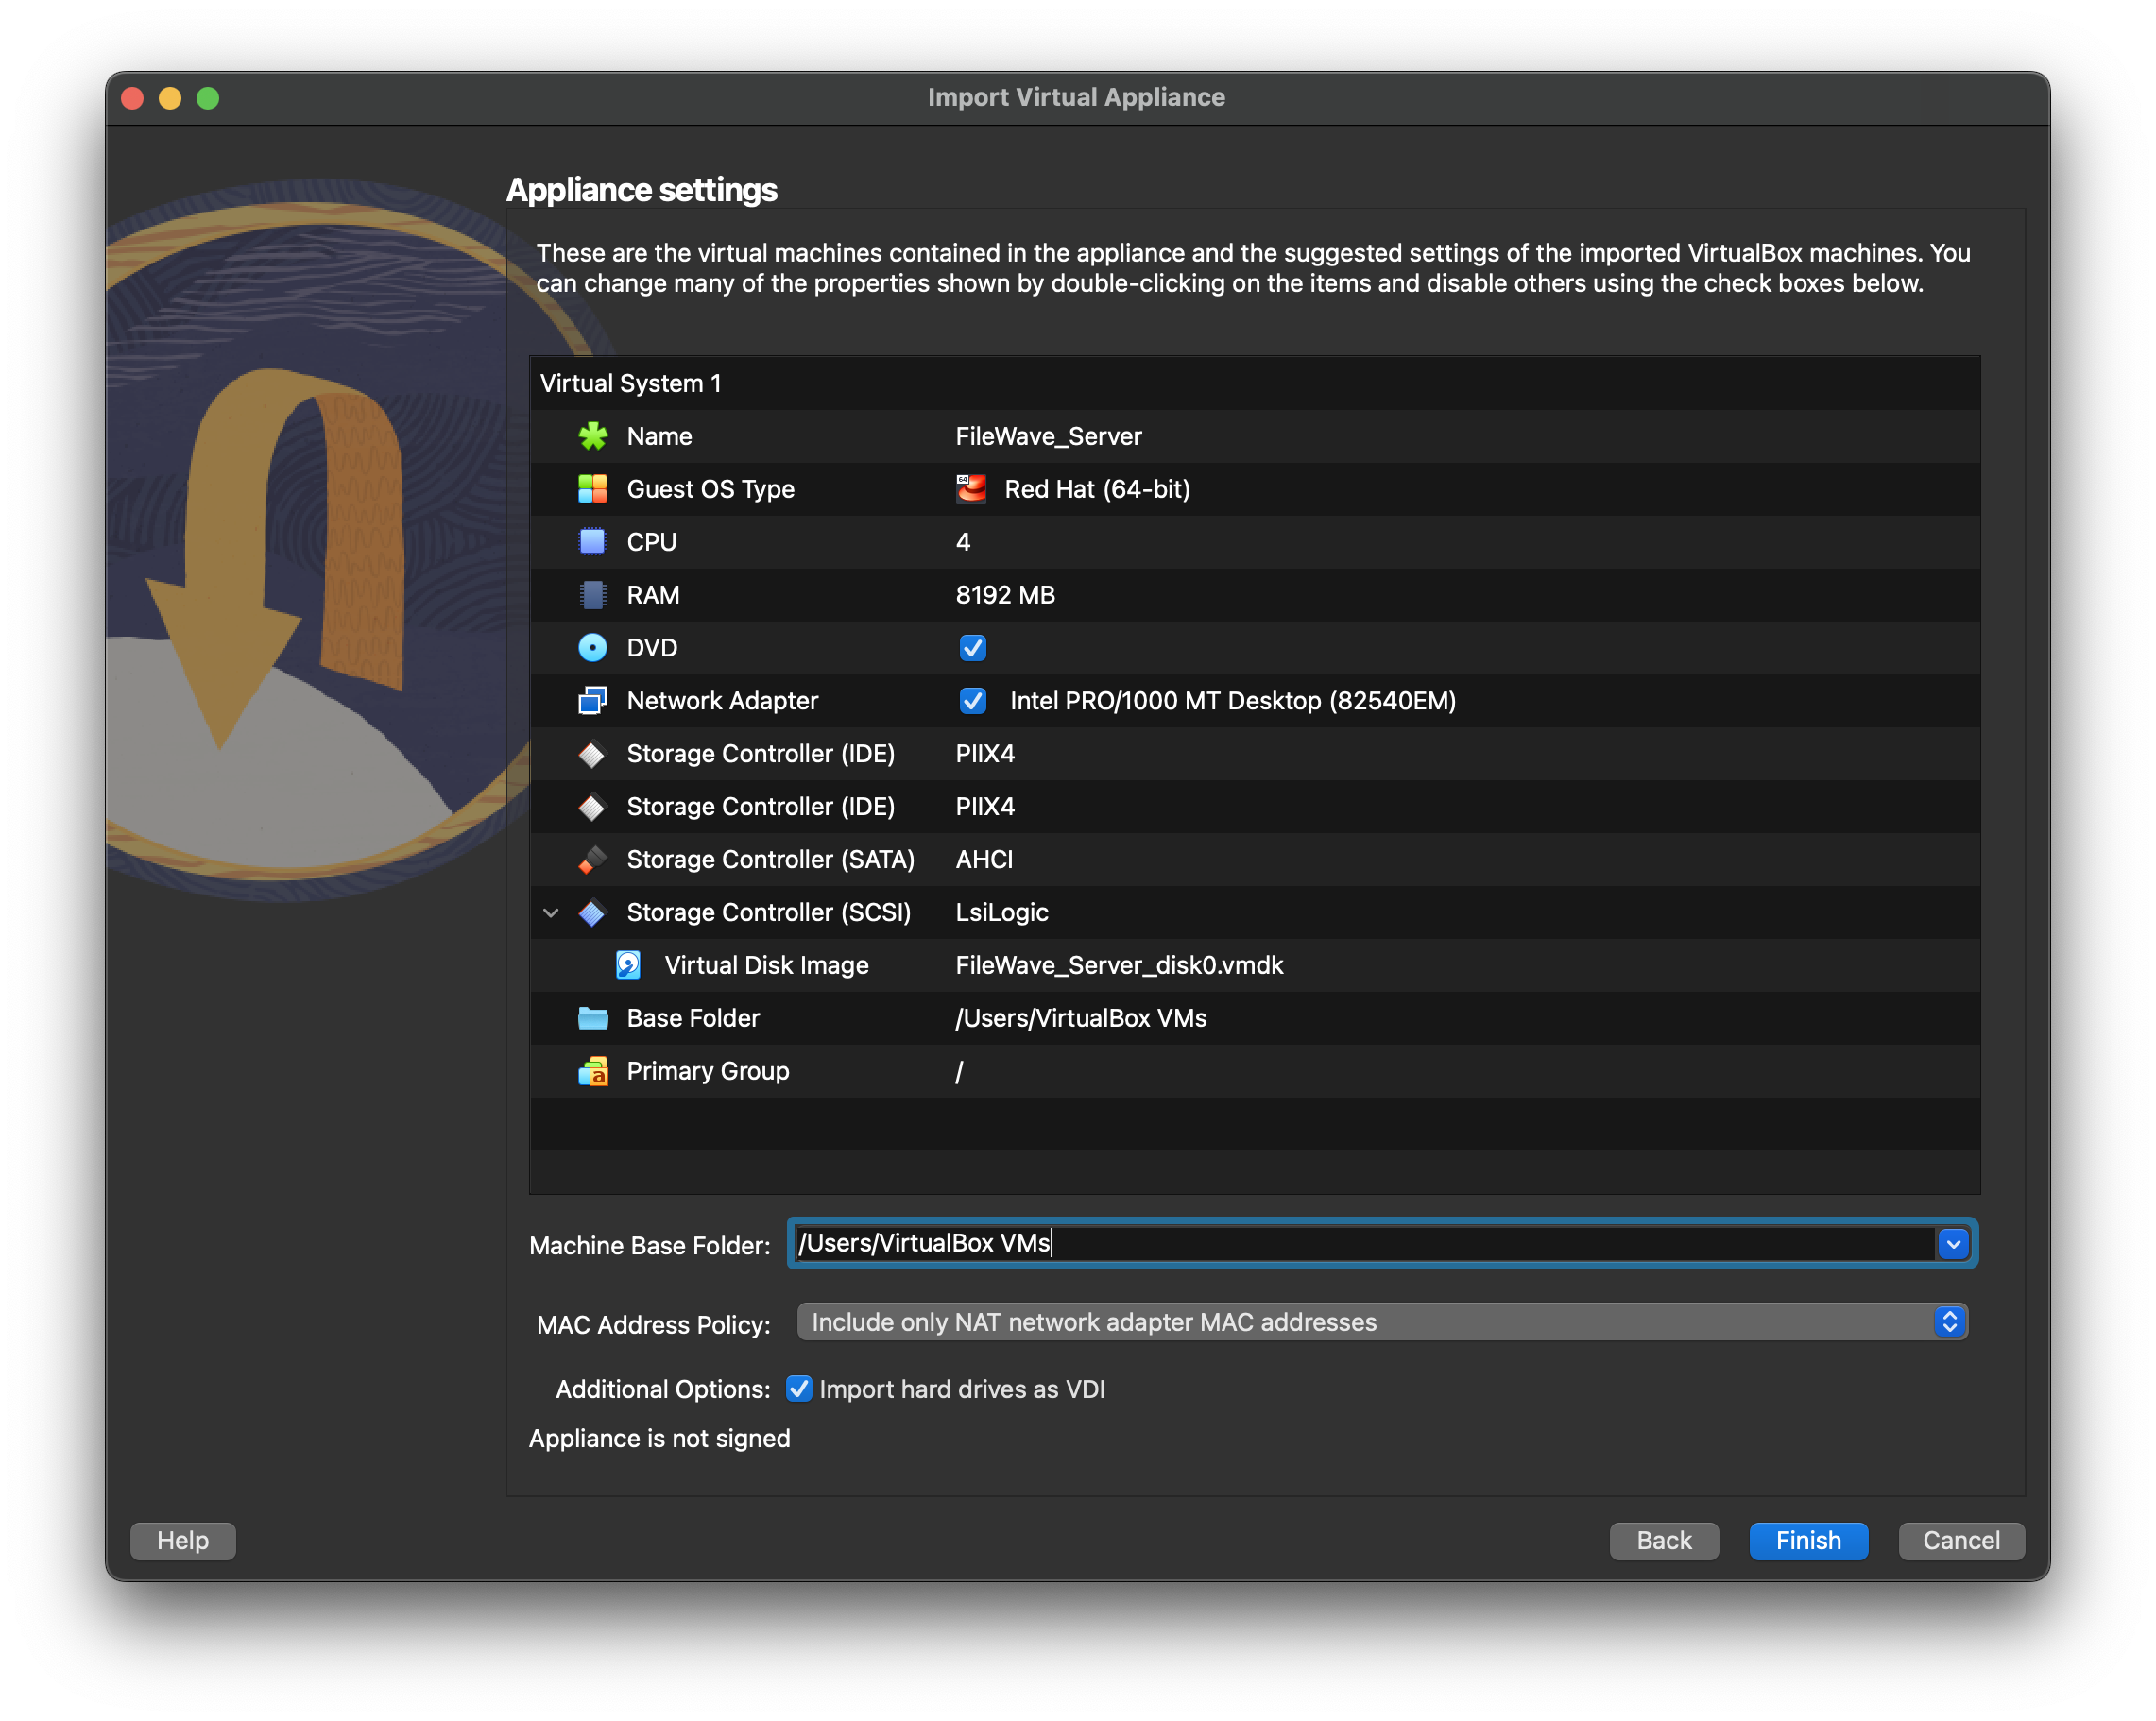
5. Select Import or Finish to begin the import.
6. After the import completes, select the appliance and open Settings > Storage.
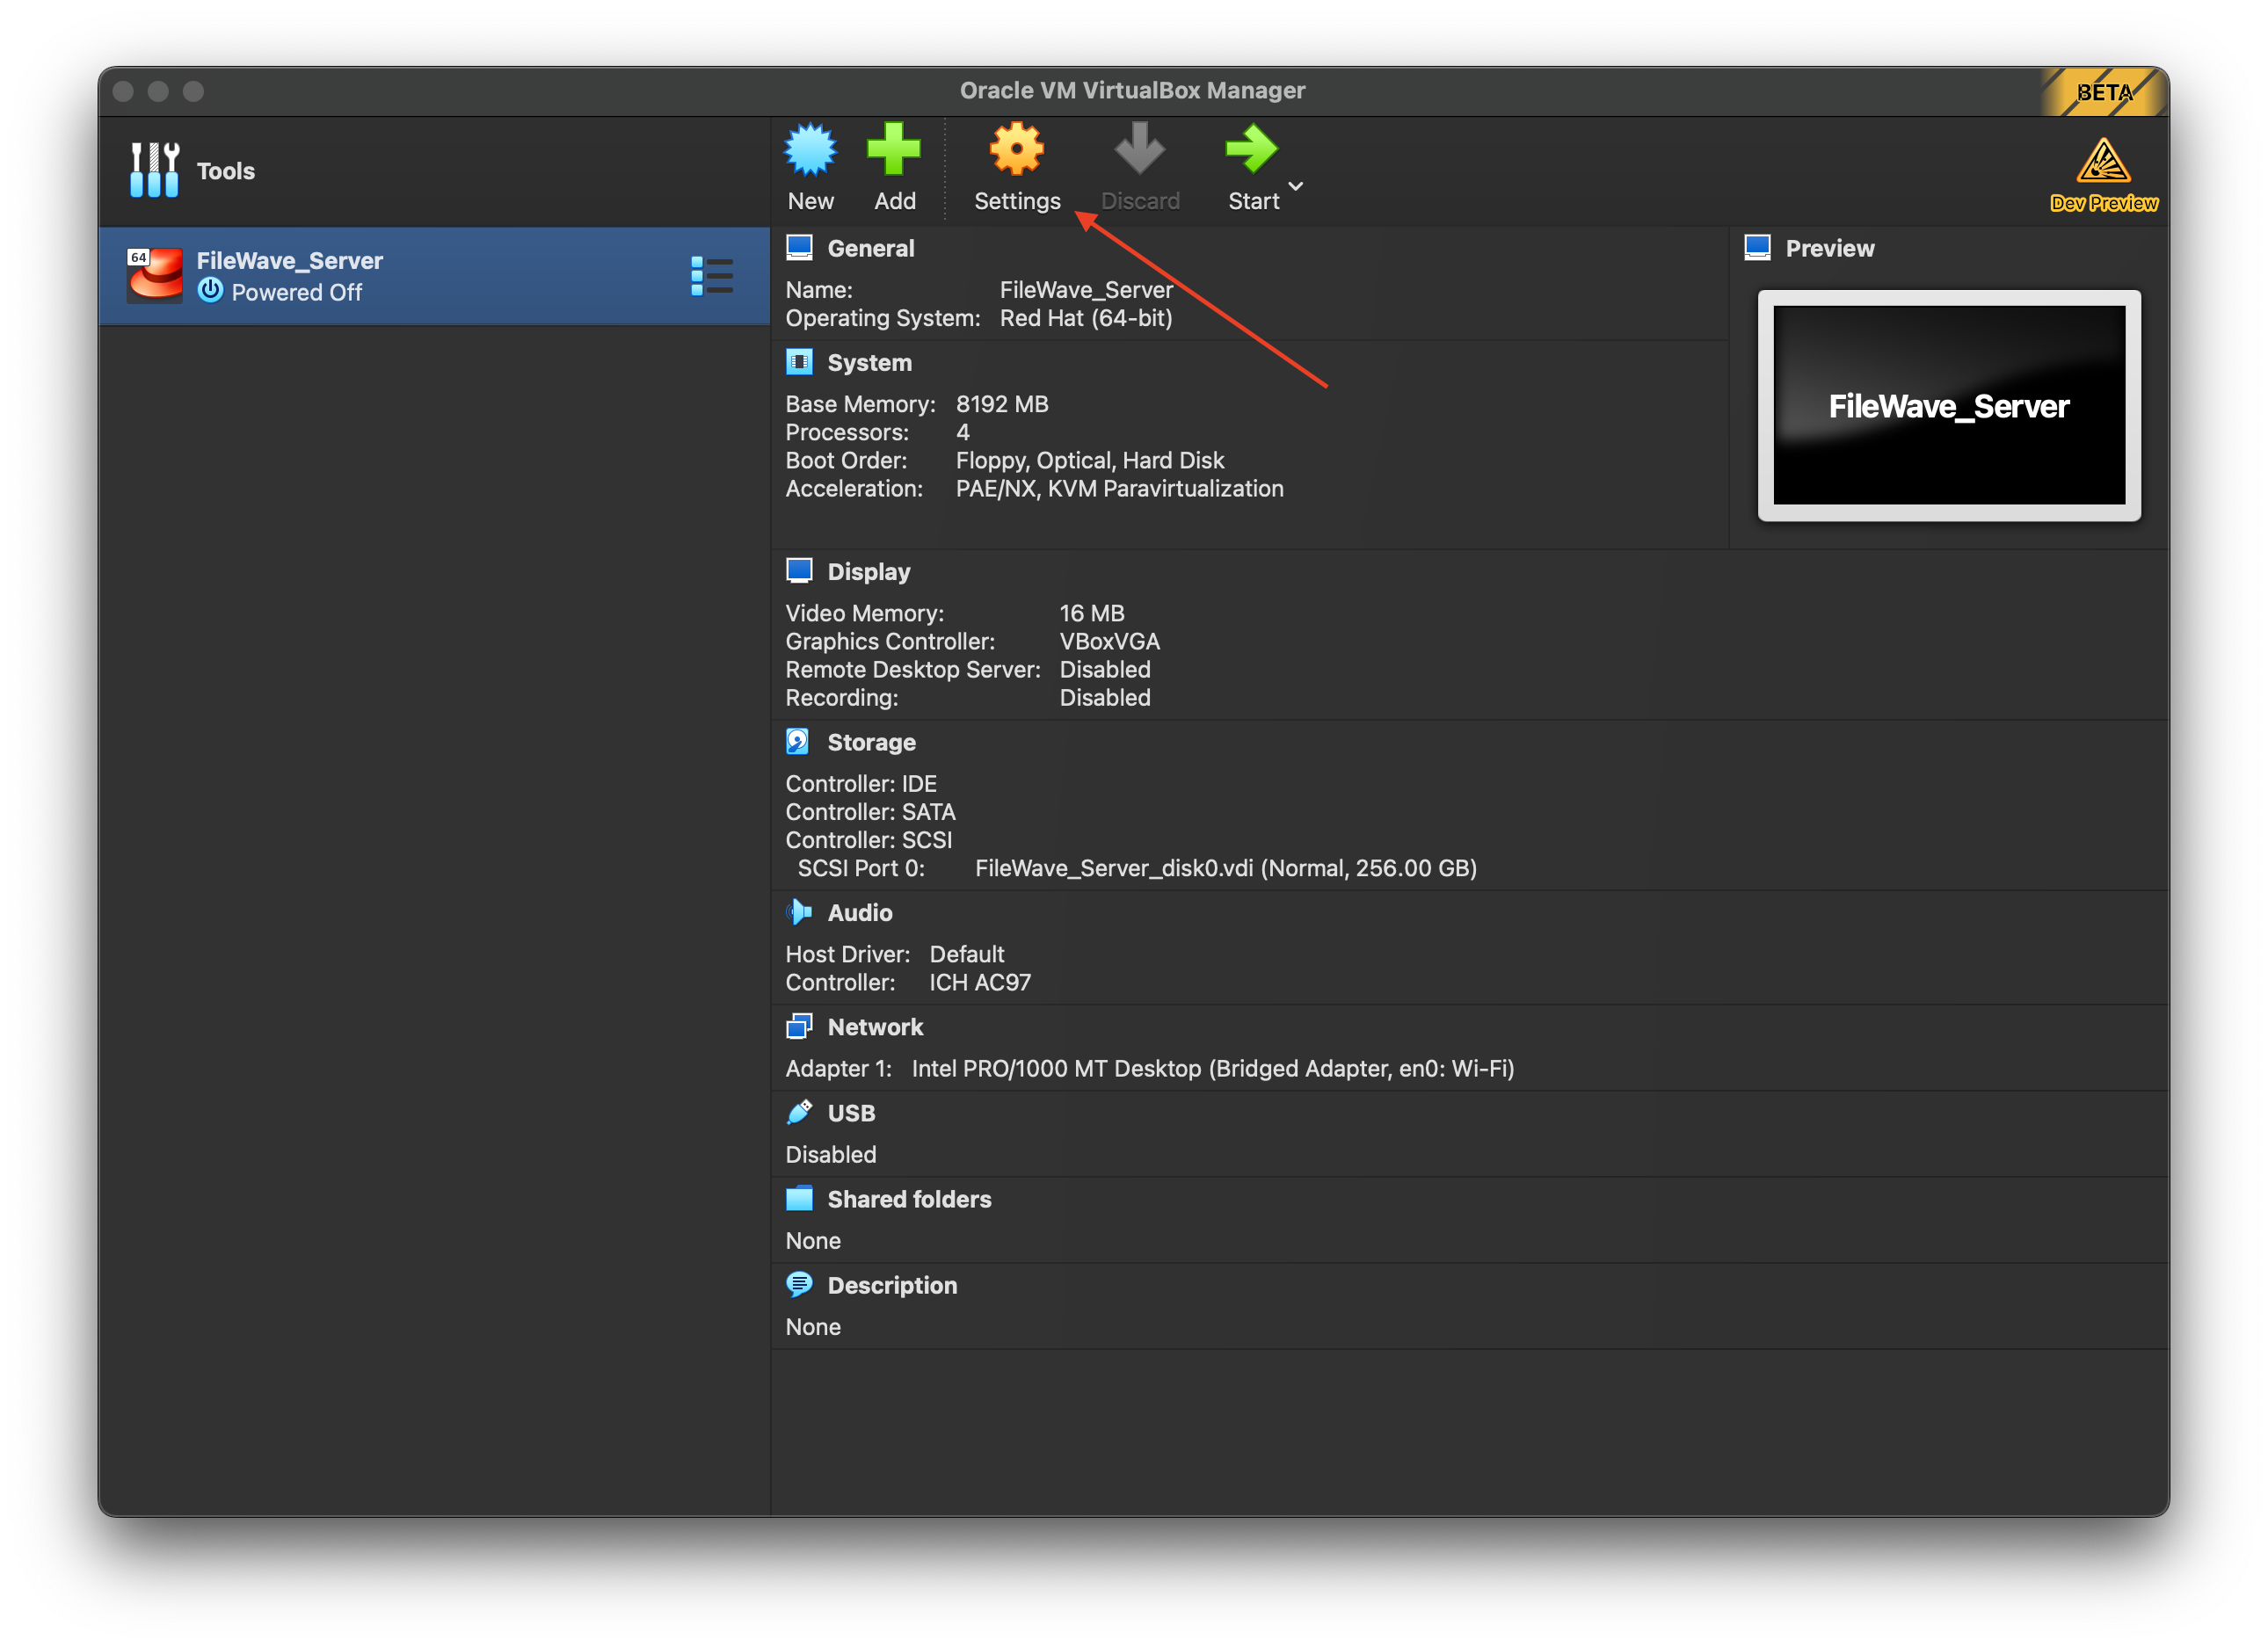
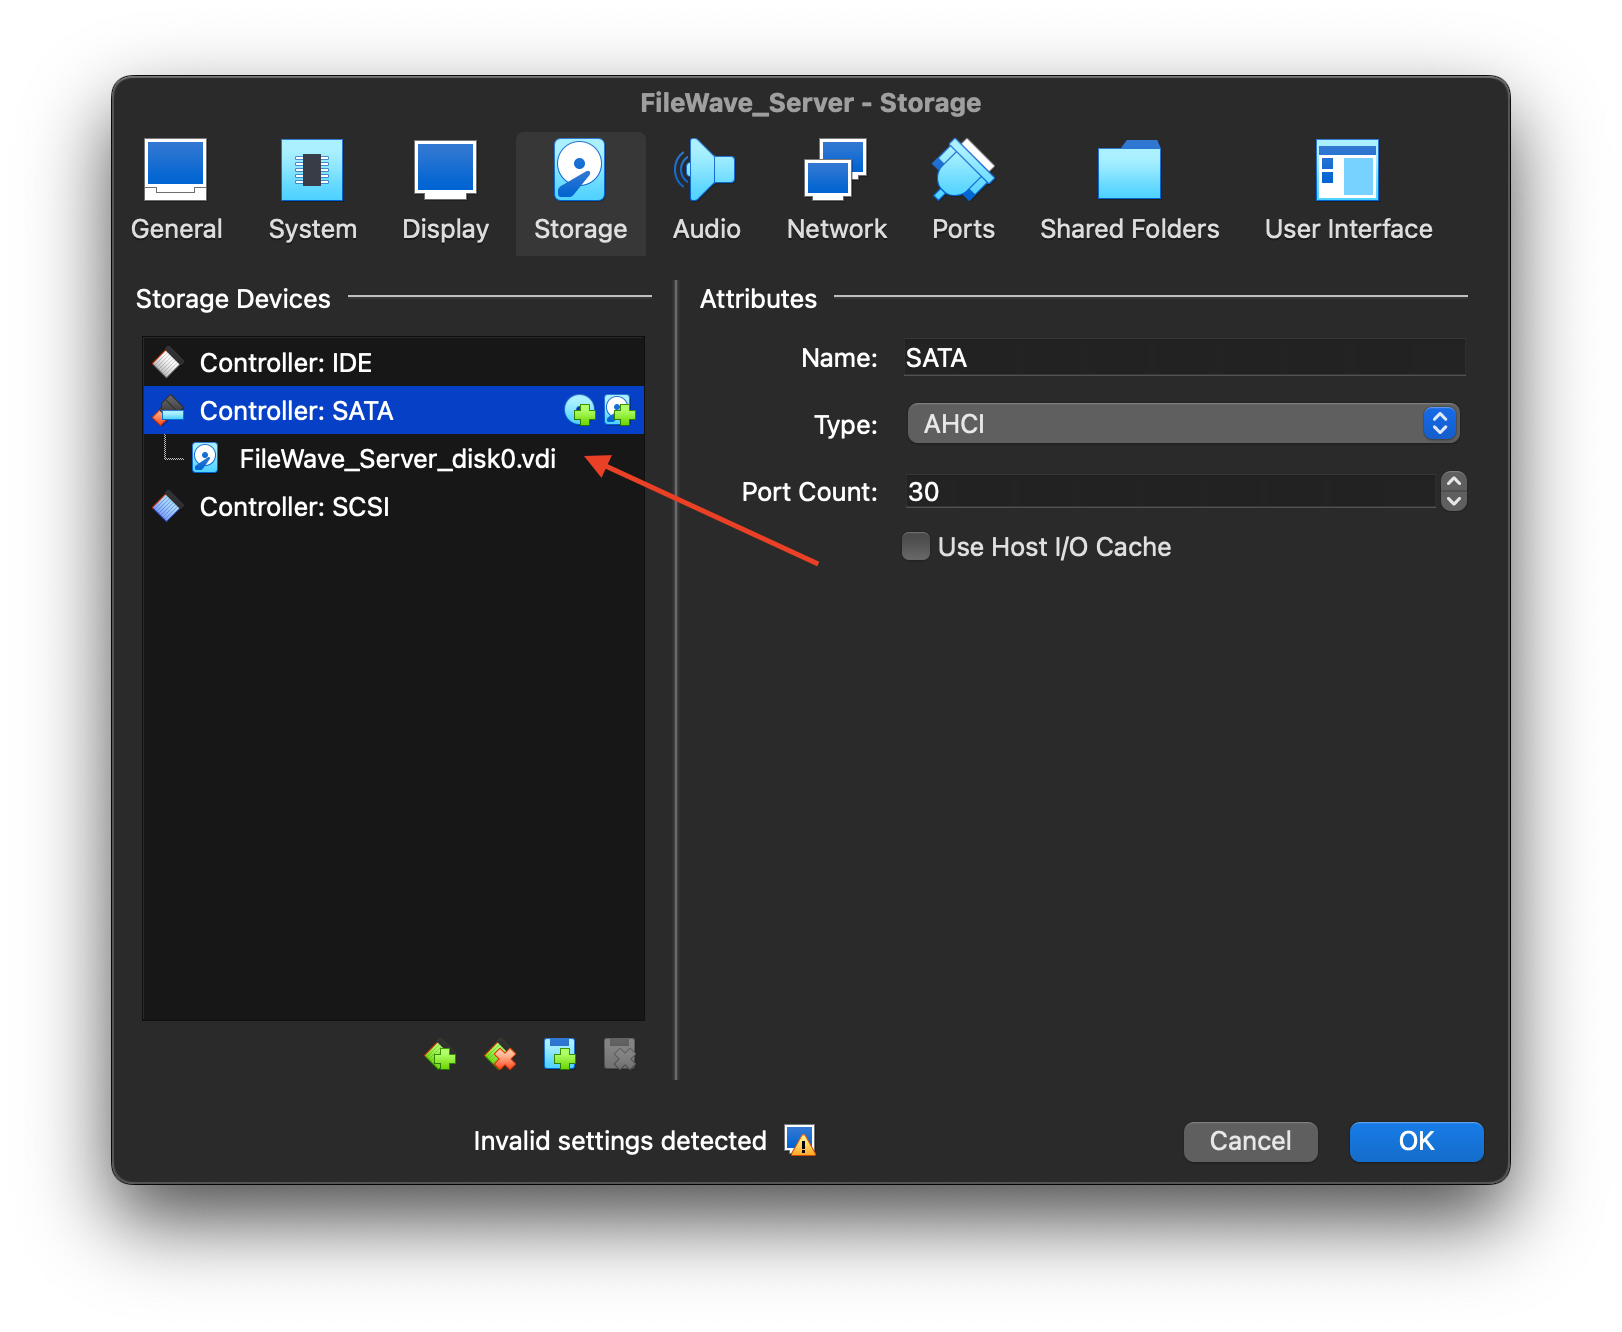
7. Move the .vdi virtual disk from the SCSI controller to the SATA controller.
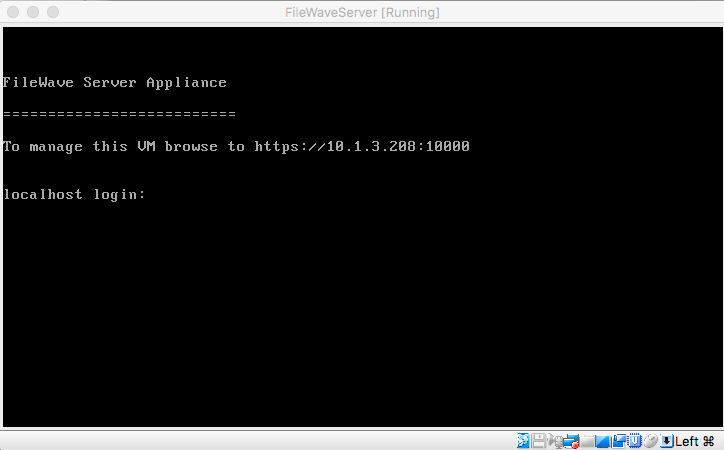
8. Click Start and confirm that the appliance boots successfully.
Next steps
After the IVS starts, configure its network settings with Changing the IP Address of your IVS (Static). For a new FileWave 15.5.0 or later appliance, also complete Setting the Password on First Login to FileWave Appliances (15.5+).
No comments to display
No comments to display