
Using Self-Signed Certificates with FileWave
Use a certificate issued by a publicly trusted certificate authority (CA) for production FileWave environments whenever possible. It reduces manual trust work, avoids certificate warnings, and gives FileWave components and managed devices a consistent chain of trust.
A publicly trusted certificate is required for Chromebook management. Self-signed certificates can still be used in some iOS enrollment and desktop-client workflows, but administrators must distribute or explicitly trust the certificate where the platform requires it. That trust requirement applies independently to FileWave Clients, FileWave Central, browsers opening the Web Console, and existing Imaging Virtual Servers.
Self-signed certificates remain useful for isolated test or evaluation servers where administrators control every device and trust store. The sections below explain the additional package configuration, manual trust prompts, certificate export, and IVS update steps.
FileWave Clients
When using a self-signed certificate your client devices will need this certificate to trust for proper and secure communication with FileWave.
Initial Install
If the FileWave Client has never been installed on your macOS or Windows devices then you will need to create a custom PKG/MSI. This custom package will need to be filled out with your server address, booster info, and other important data to make sure your clients connect successfully to the FileWave Server. One of those options is Server Certificate, you will need to upload your self-signed certificate into this option so that your new client devices will be trusted by the FileWave server.

How do you get the self-signed certificate to upload?
To get the self-signed certificate that needs to be uploaded just follow the steps below:
- Open FileWave Central.
- Go to FileWave Central → Preferences.
- On the General tab, find SSL Certificate Management.
- Click Get Current Certificate to download the certificate currently used by the FileWave Server.

iOS devices will enroll normally during DEP but, during OTA enrollment the FileWave certificate will need to be trusted manually. Please refer to the KB article linked here for more information.
Historical FileWave 13 upgrade behavior
Historical note. For migrations from FileWave 12.9.1 or earlier to FileWave 13, the version 13 upgrade Fileset automatically delivered the self-signed certificate to macOS and Windows clients. Current upgrades should follow the instructions for the target release.
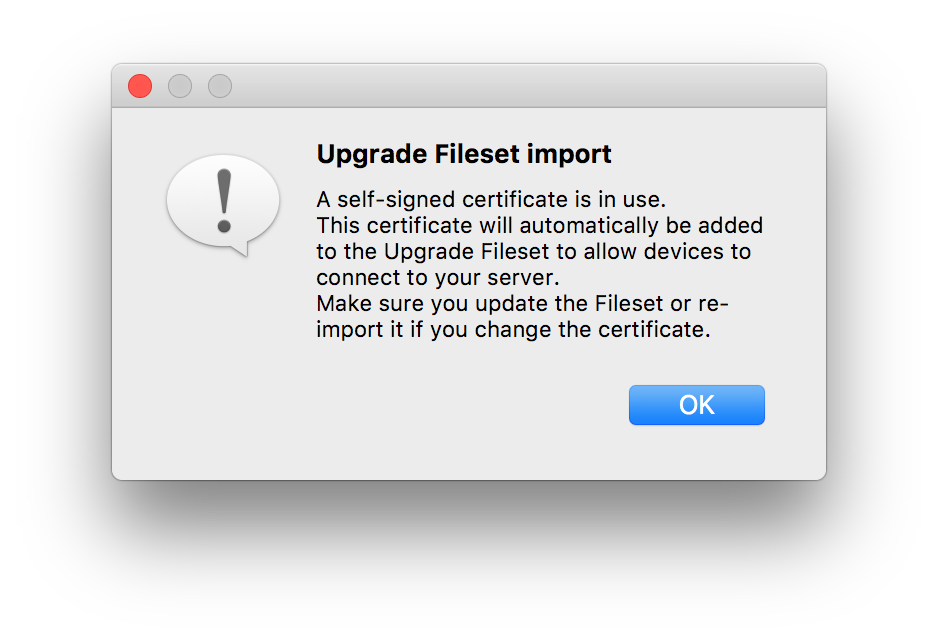
iOS devices will not need anything pushed out, when the FileWave server is updated. But keep in mind during OTA enrollment the FileWave certificate will need to be trusted manually. Please refer to the KB article linked here for more information.
If you need to renew your self-signed certificate please refer the KB article linked here for those steps.
FileWave Central and the Web Console
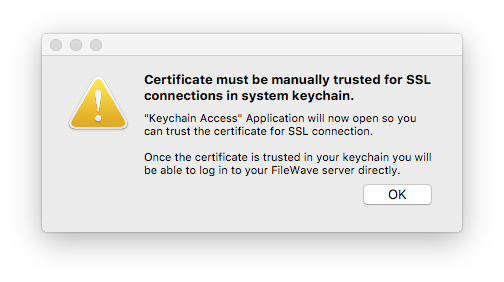
With a self-signed certificate, FileWave Central cannot verify the server identity until the certificate is trusted locally. Central may offer either an untrusted connection or an option to add the certificate to the trust store. A browser opening the Web Console will also display a certificate warning until the certificate is trusted.

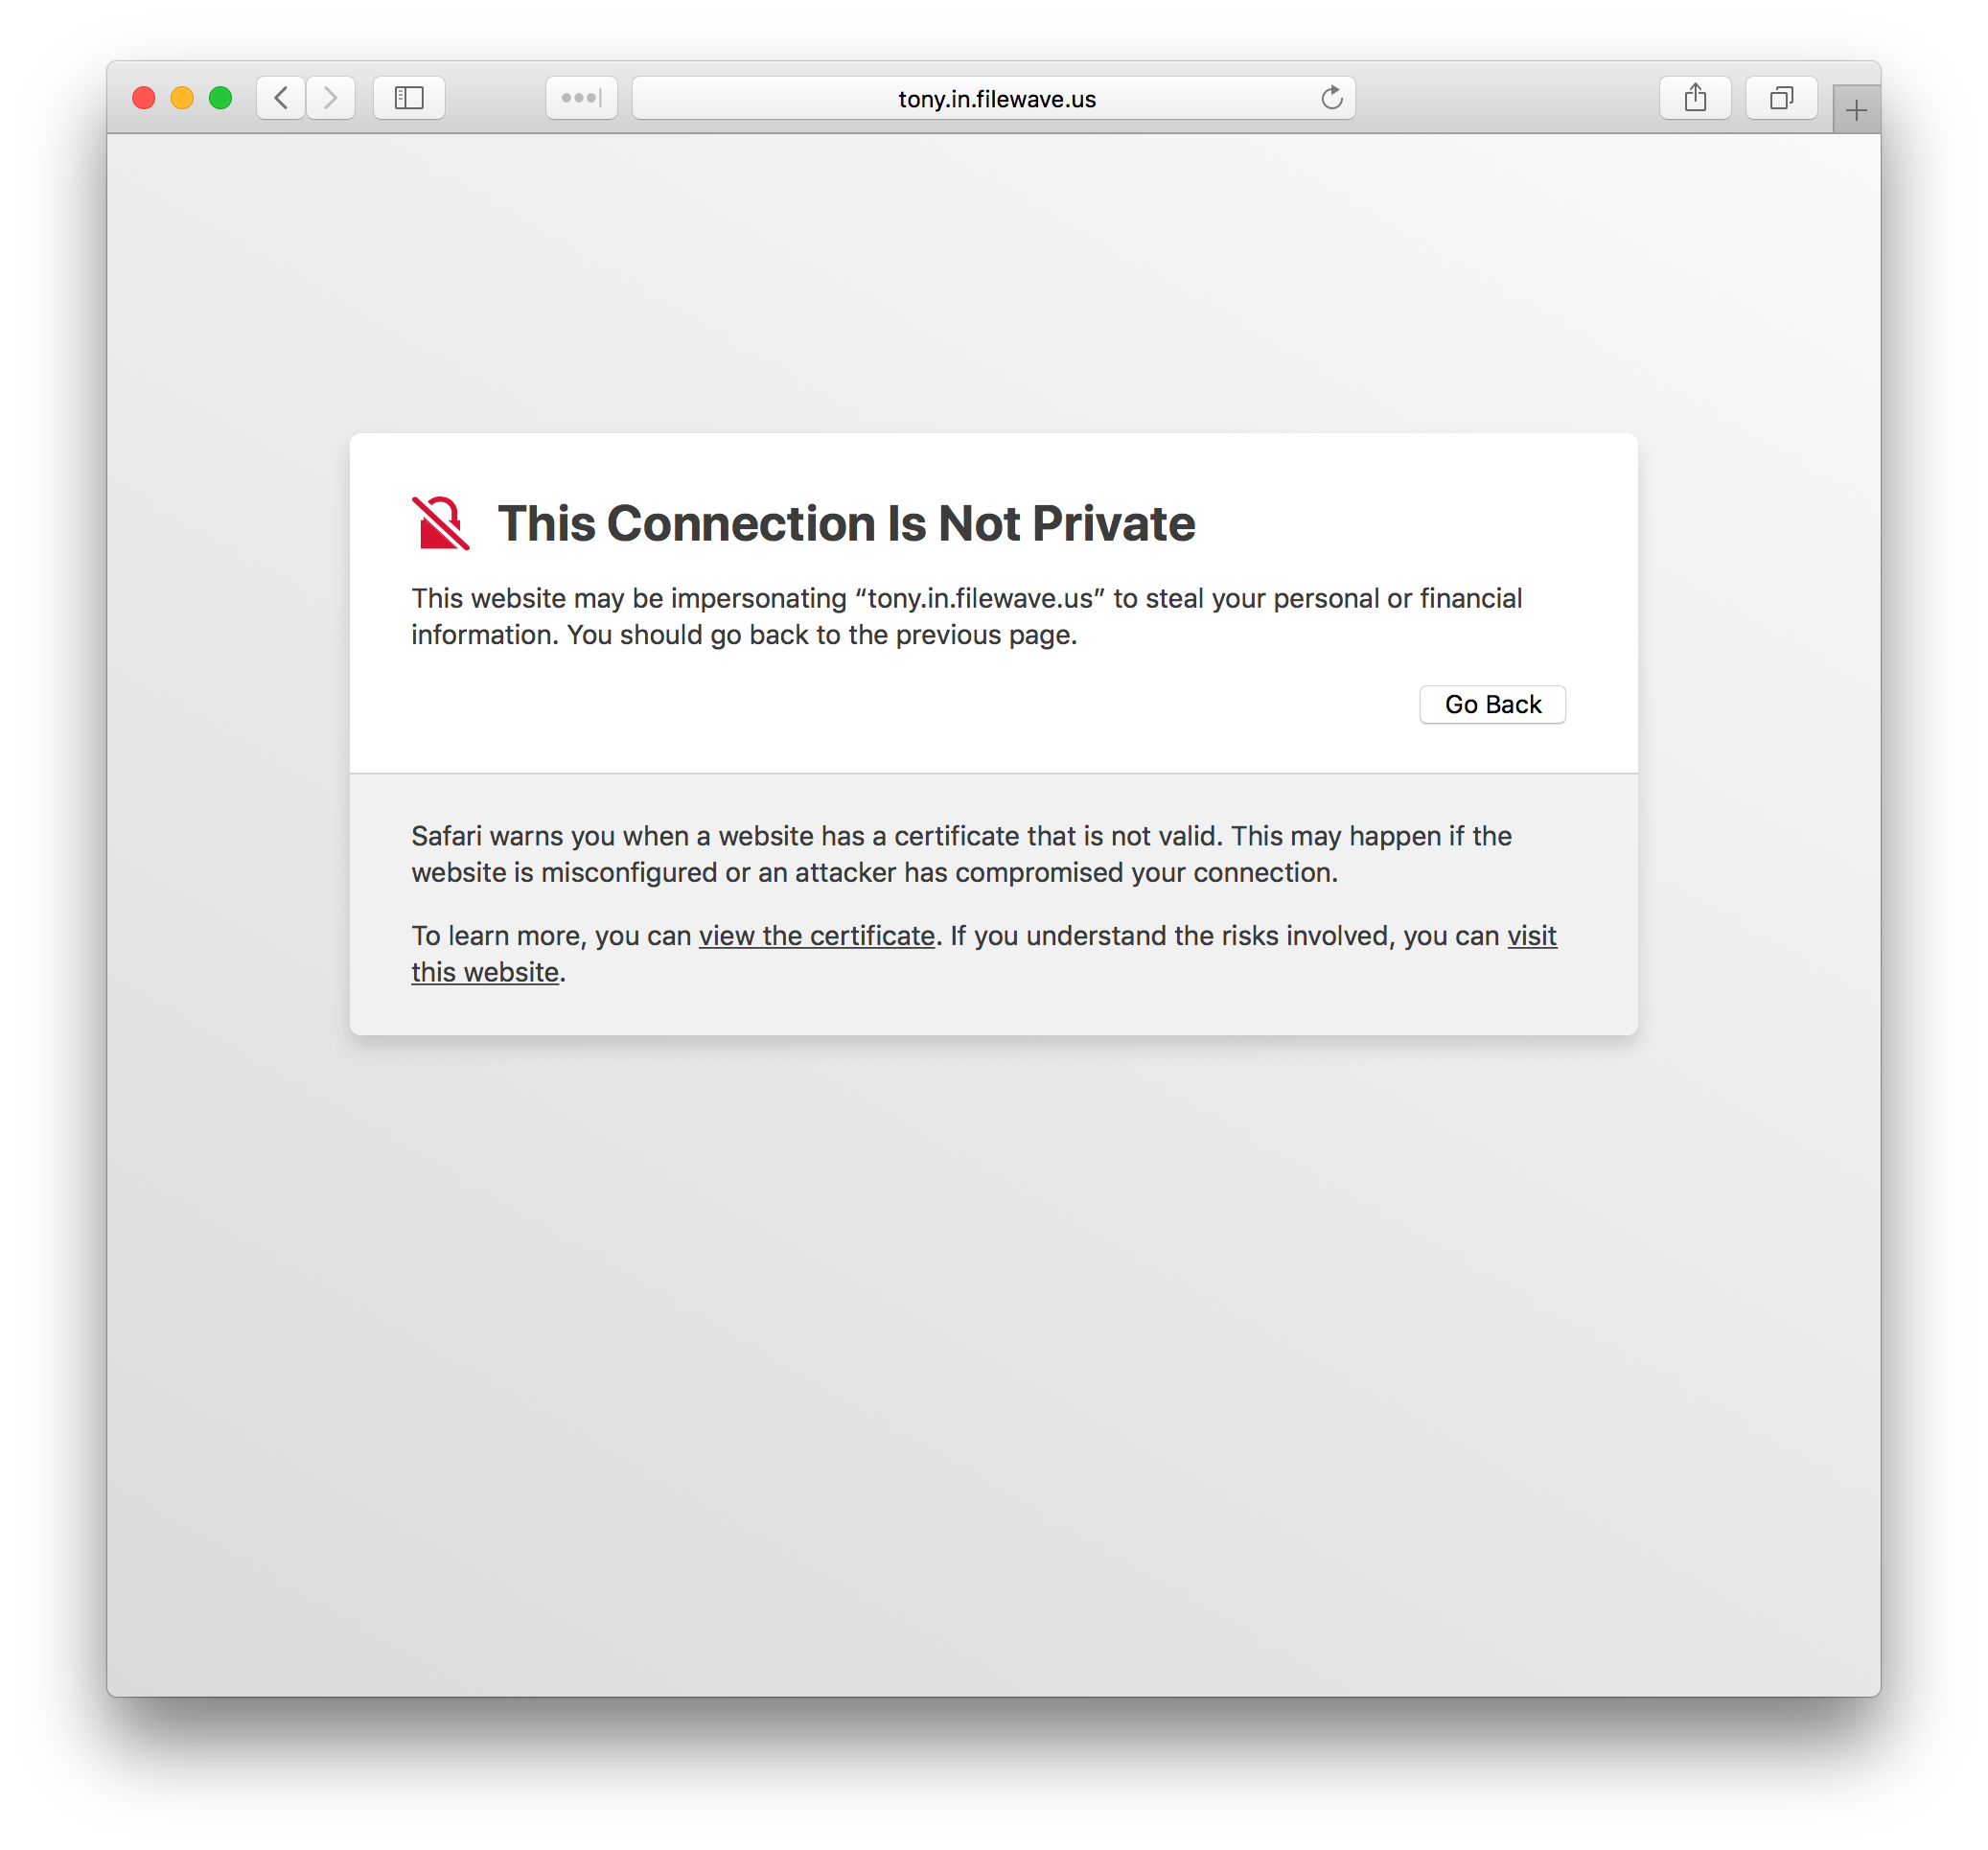
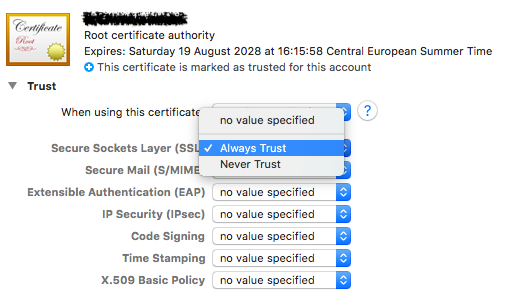
On macOS, certificates manually added to trust store require explicit "Trust for SSL" permission.
Imaging Virtual Server
When using self-signed certificates the FileWave server will automatically transfer the certificate to a newly created IVS, but existing imaging servers will need to be pushed the certificate.
- Open FileWave Central.
- Go to FileWave Central → Preferences → Imaging.
- Select an imaging server, then click Upload Certificate at the bottom right of the pane.

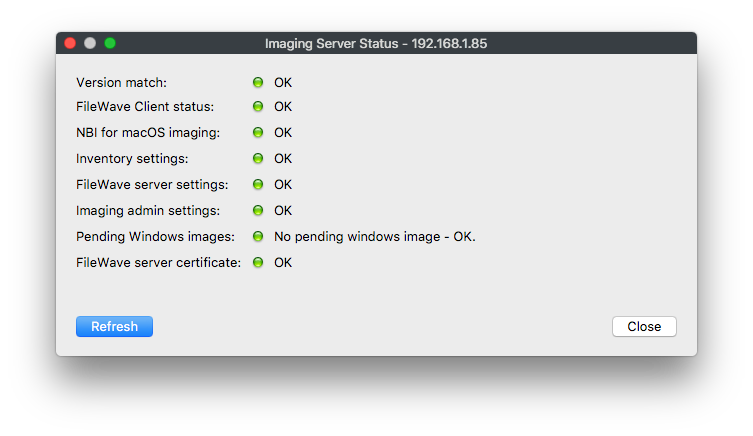
Repeat this for every existing IVS attached to the FileWave Server. To verify the certificate state, select the IVS and click Status….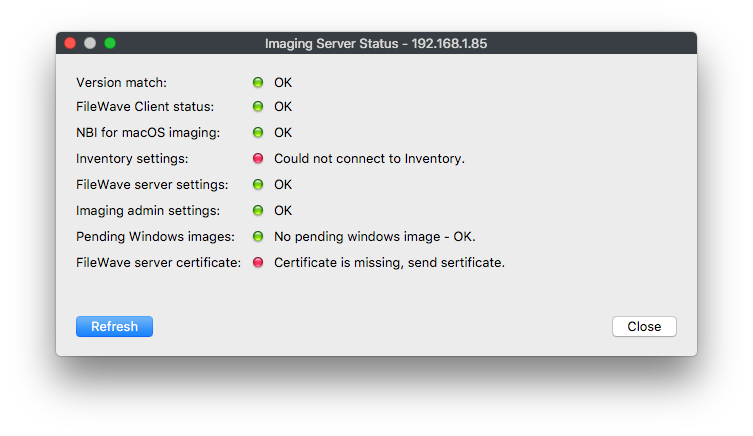
No comments to display
No comments to display