Use LDAP Groups for FileWave Central Administrator Access
FileWave Central can grant administrator access to users through an LDAP group account. Use this to map an Active Directory, Open Directory, or eDirectory group to a defined set of FileWave permissions. Only Active Directory supports recursive group membership in this workflow; nested groups are not resolved for Open Directory or eDirectory.
Before starting, configure and test the LDAP connection in FileWave Server preferences. The steps below assume the directory connection is already working.
Steps for setup:
-
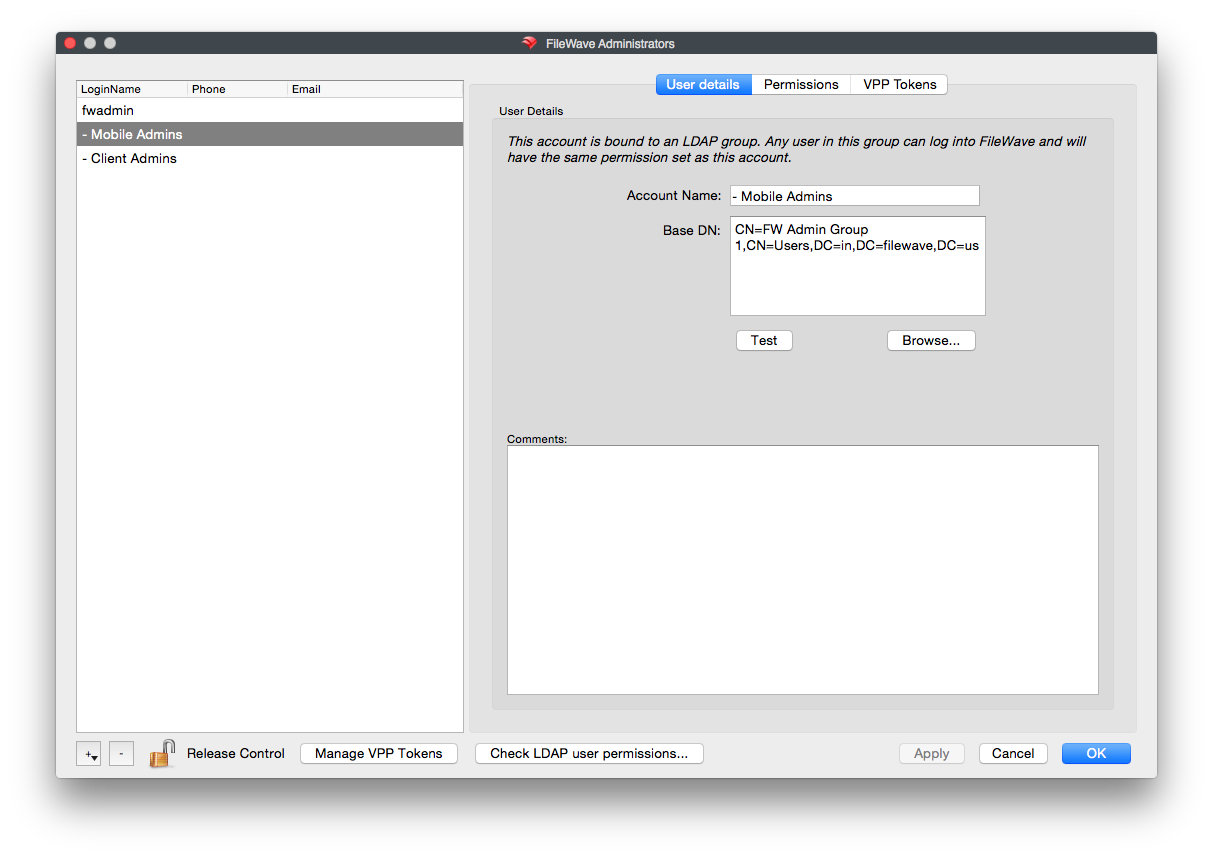
In FileWave Central, open Assistants > Manage Administrators. In the FileWave Administrators window, select the + button at the bottom-left.
-
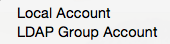
Select LDAP Group Account
-
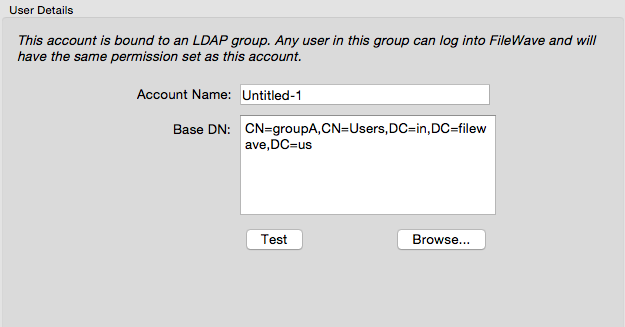
FileWave creates an account named Untitled-1. Rename it so administrators can identify the mapped LDAP group.
-
After naming the account, select Browse... beside the Base DN field.
-
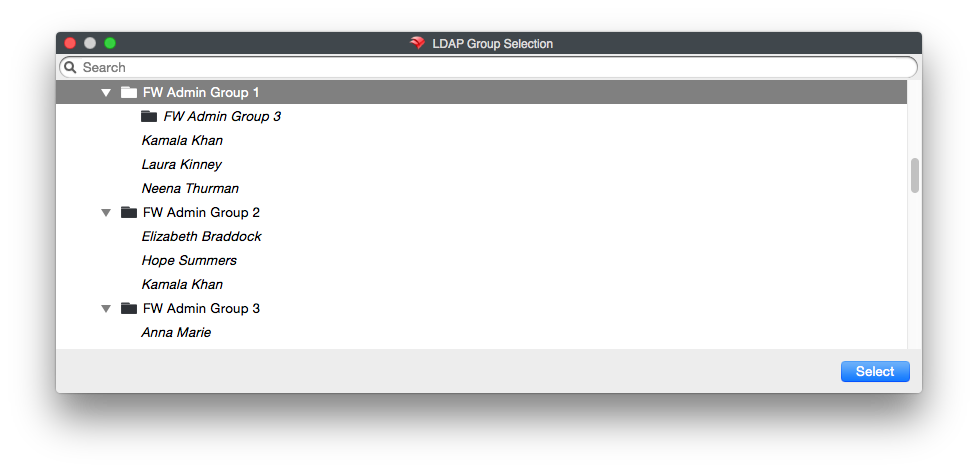
In the LDAP browser, find the administrator group and select Select. FileWave associates users from that group with this LDAP Group Account. In Active Directory, recursive membership can also include users from nested groups.
-
Confirm that Base DN now contains the distinguished name of the selected group.
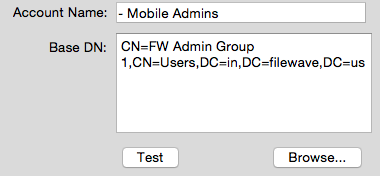
-
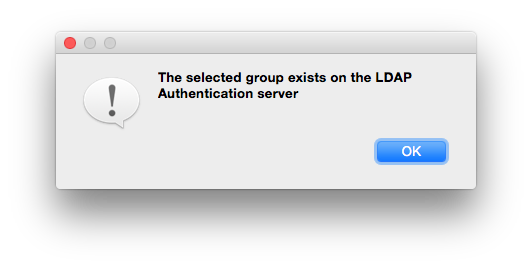
Select Test to confirm that FileWave can find the group on the LDAP server.
-
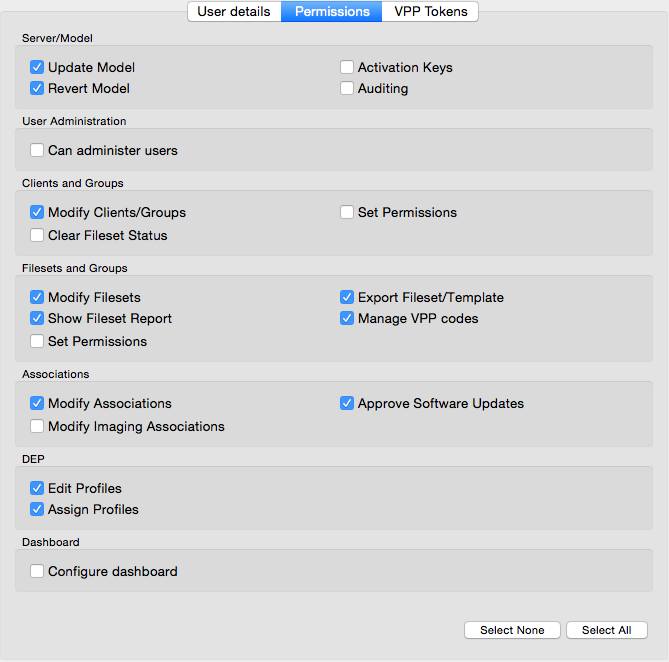
Assign the FileWave permissions that every user resolved through this LDAP Group Account should receive.
-
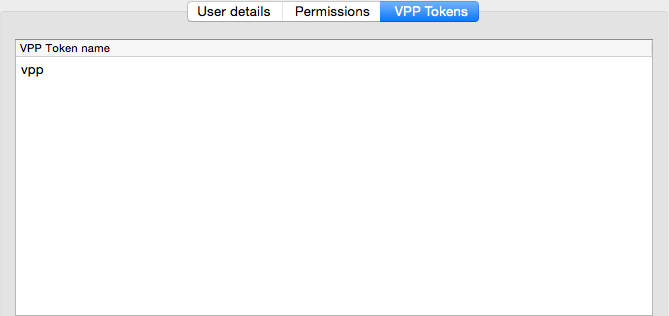
The final tab is called VPP Tokens. These will be the VPP Tokens that this group of users can manage in FileWave. To add or remove VPP token access for users and groups, click Manage VPP Tokens, and hit the check box for each token you want each user to manage.
-
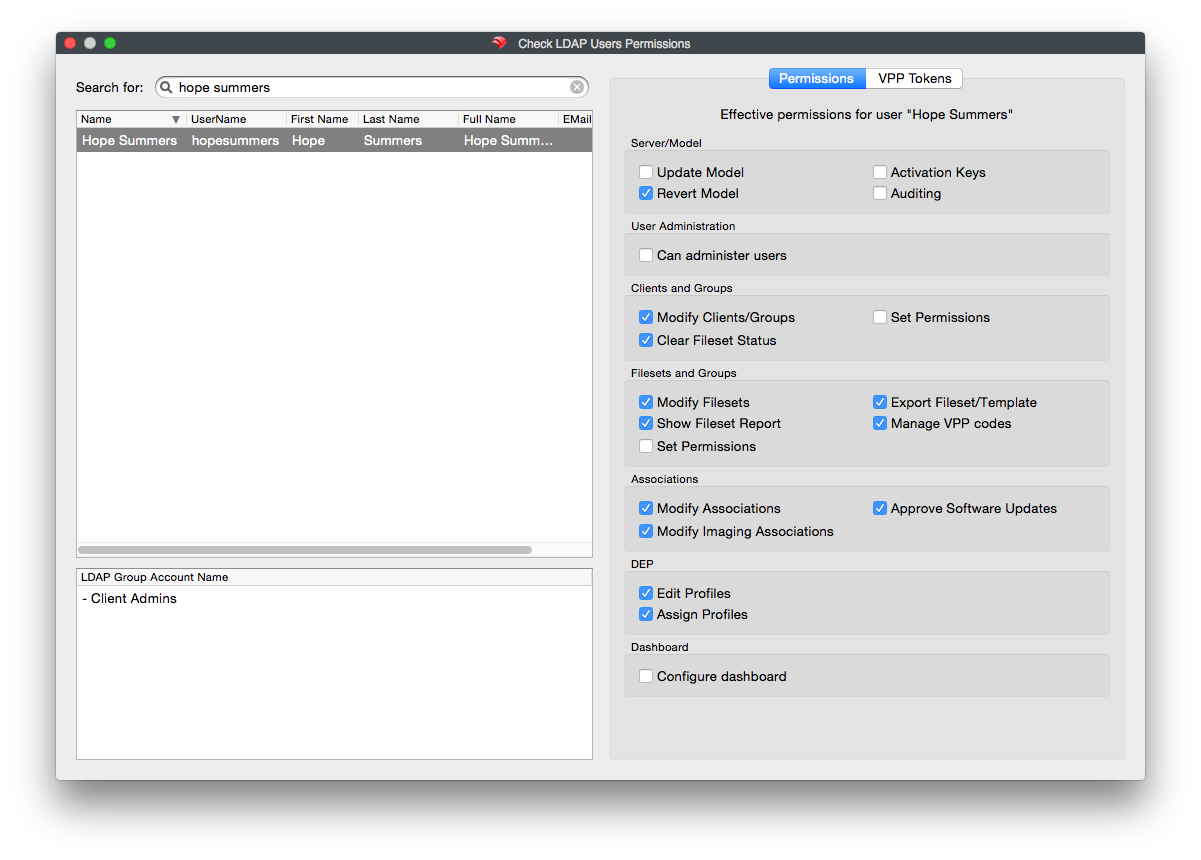
Select Check LDAP Permissions... to look up a directory user and confirm which LDAP Group Account grants their access.
-
In the "Check LDAP User Permissions..." window, simply type the account you would like to find into the search bar in the top left of the window. Once you hit enter, locate the account you want, and select it. You will see the LDAP Group Account name in the bottom left hand pane, and the permissions the account has in FileWave on the right.
Please Note: If you have one account in multiple groups and it gets into more than one LDAP Group account in FileWave, they will receive the cumulative permissions of those groups.
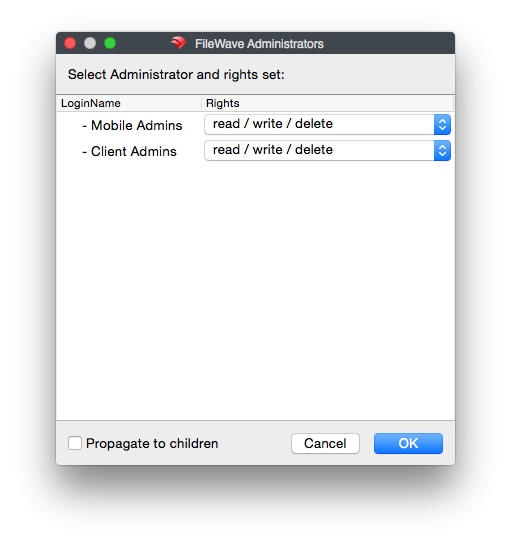
- Now that you have completed the setup of these groups and accounts, you can now assign permissions throughout FileWave for what the accounts can manage regarding Filesets and Client, group and objects. Simply find your object or group (both standard or smart groups), right click then select Select Permissions.

Test with a member of the LDAP group and confirm that the account receives only the intended administrator permissions and VPP token access.
No comments to display
No comments to display