Configure the FileWave Client Package for Windows MDM
What
FileWave Windows MDM uses both Microsoft's MDM protocol and the native FileWave Client. MDM handles enrollment and policy commands, while the FileWave Client provides Filesets, inventory, and other client-based management.
When/Why
Configure the Windows Client enrollment package before enrolling Windows devices so the native FileWave Client can be installed automatically. FileWave Server 16.4.0 and later builds and stores the package directly in FileWave Central. FileWave Server 16.3.x and earlier requires a separately built custom MSI to be uploaded.
Enrollment package: This package is for new Client installations and Windows MDM enrollment. It is not the workflow for upgrading an already enrolled FileWave Client.
How
Before you begin: Confirm that the FileWave Server is healthy and backed up, uses a valid trusted certificate, has saved Preferences at least once, and has completed at least one Model Update. Saving Preferences creates required shared settings; Model Update creates the internal URLs used by this workflow.
| FileWave Server version | Windows Client package workflow |
|---|---|
| 16.4.0 and later | Build the package on the Mobile > Windows settings page in FileWave Central. No separate upload is required. |
| 16.3.x and earlier | Build the MSI with the Customer Installer Builder, then upload it on the Mobile > Windows settings page. |
FileWave Server 16.4.0 and later: Build the package in Central
Open FileWave Central, then open Preferences.
Open Mobile > Windows.
Select Show settings and review the enrollment-package configuration.
Select Build Windows client package.
Wait for the page to show Ready for Enrollment. The package is now stored for Windows MDM enrollment; there is no separate upload step.
Use Download Windows client package only when you need a standalone copy of the generated installer.
Enable Keep the package up to date if FileWave should automatically regenerate the Windows Client package after a Server upgrade.
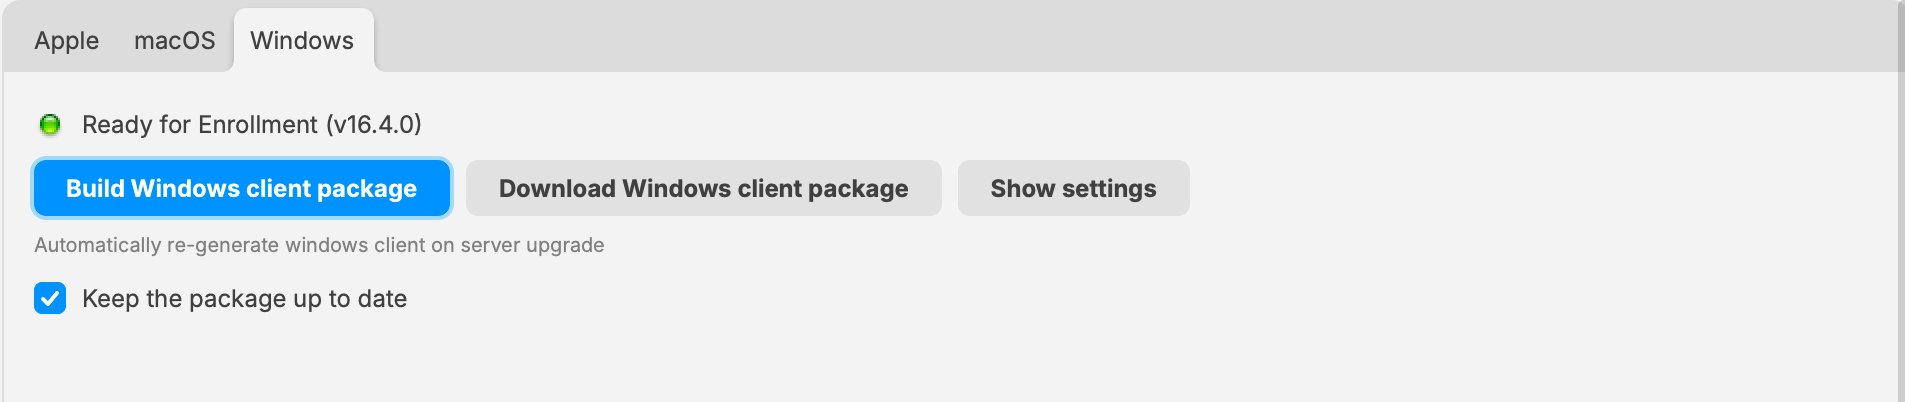
FileWave 16.4.0 and later builds and stores the Windows Client package directly on Mobile > Windows.
FileWave Server 16.3.x and earlier: Upload the custom MSI
Build the custom Windows Client MSI with the Customer Installer Builder.
Open FileWave Central, then open Preferences.
Open Mobile > Windows.
Upload the custom Client MSI as shown below.
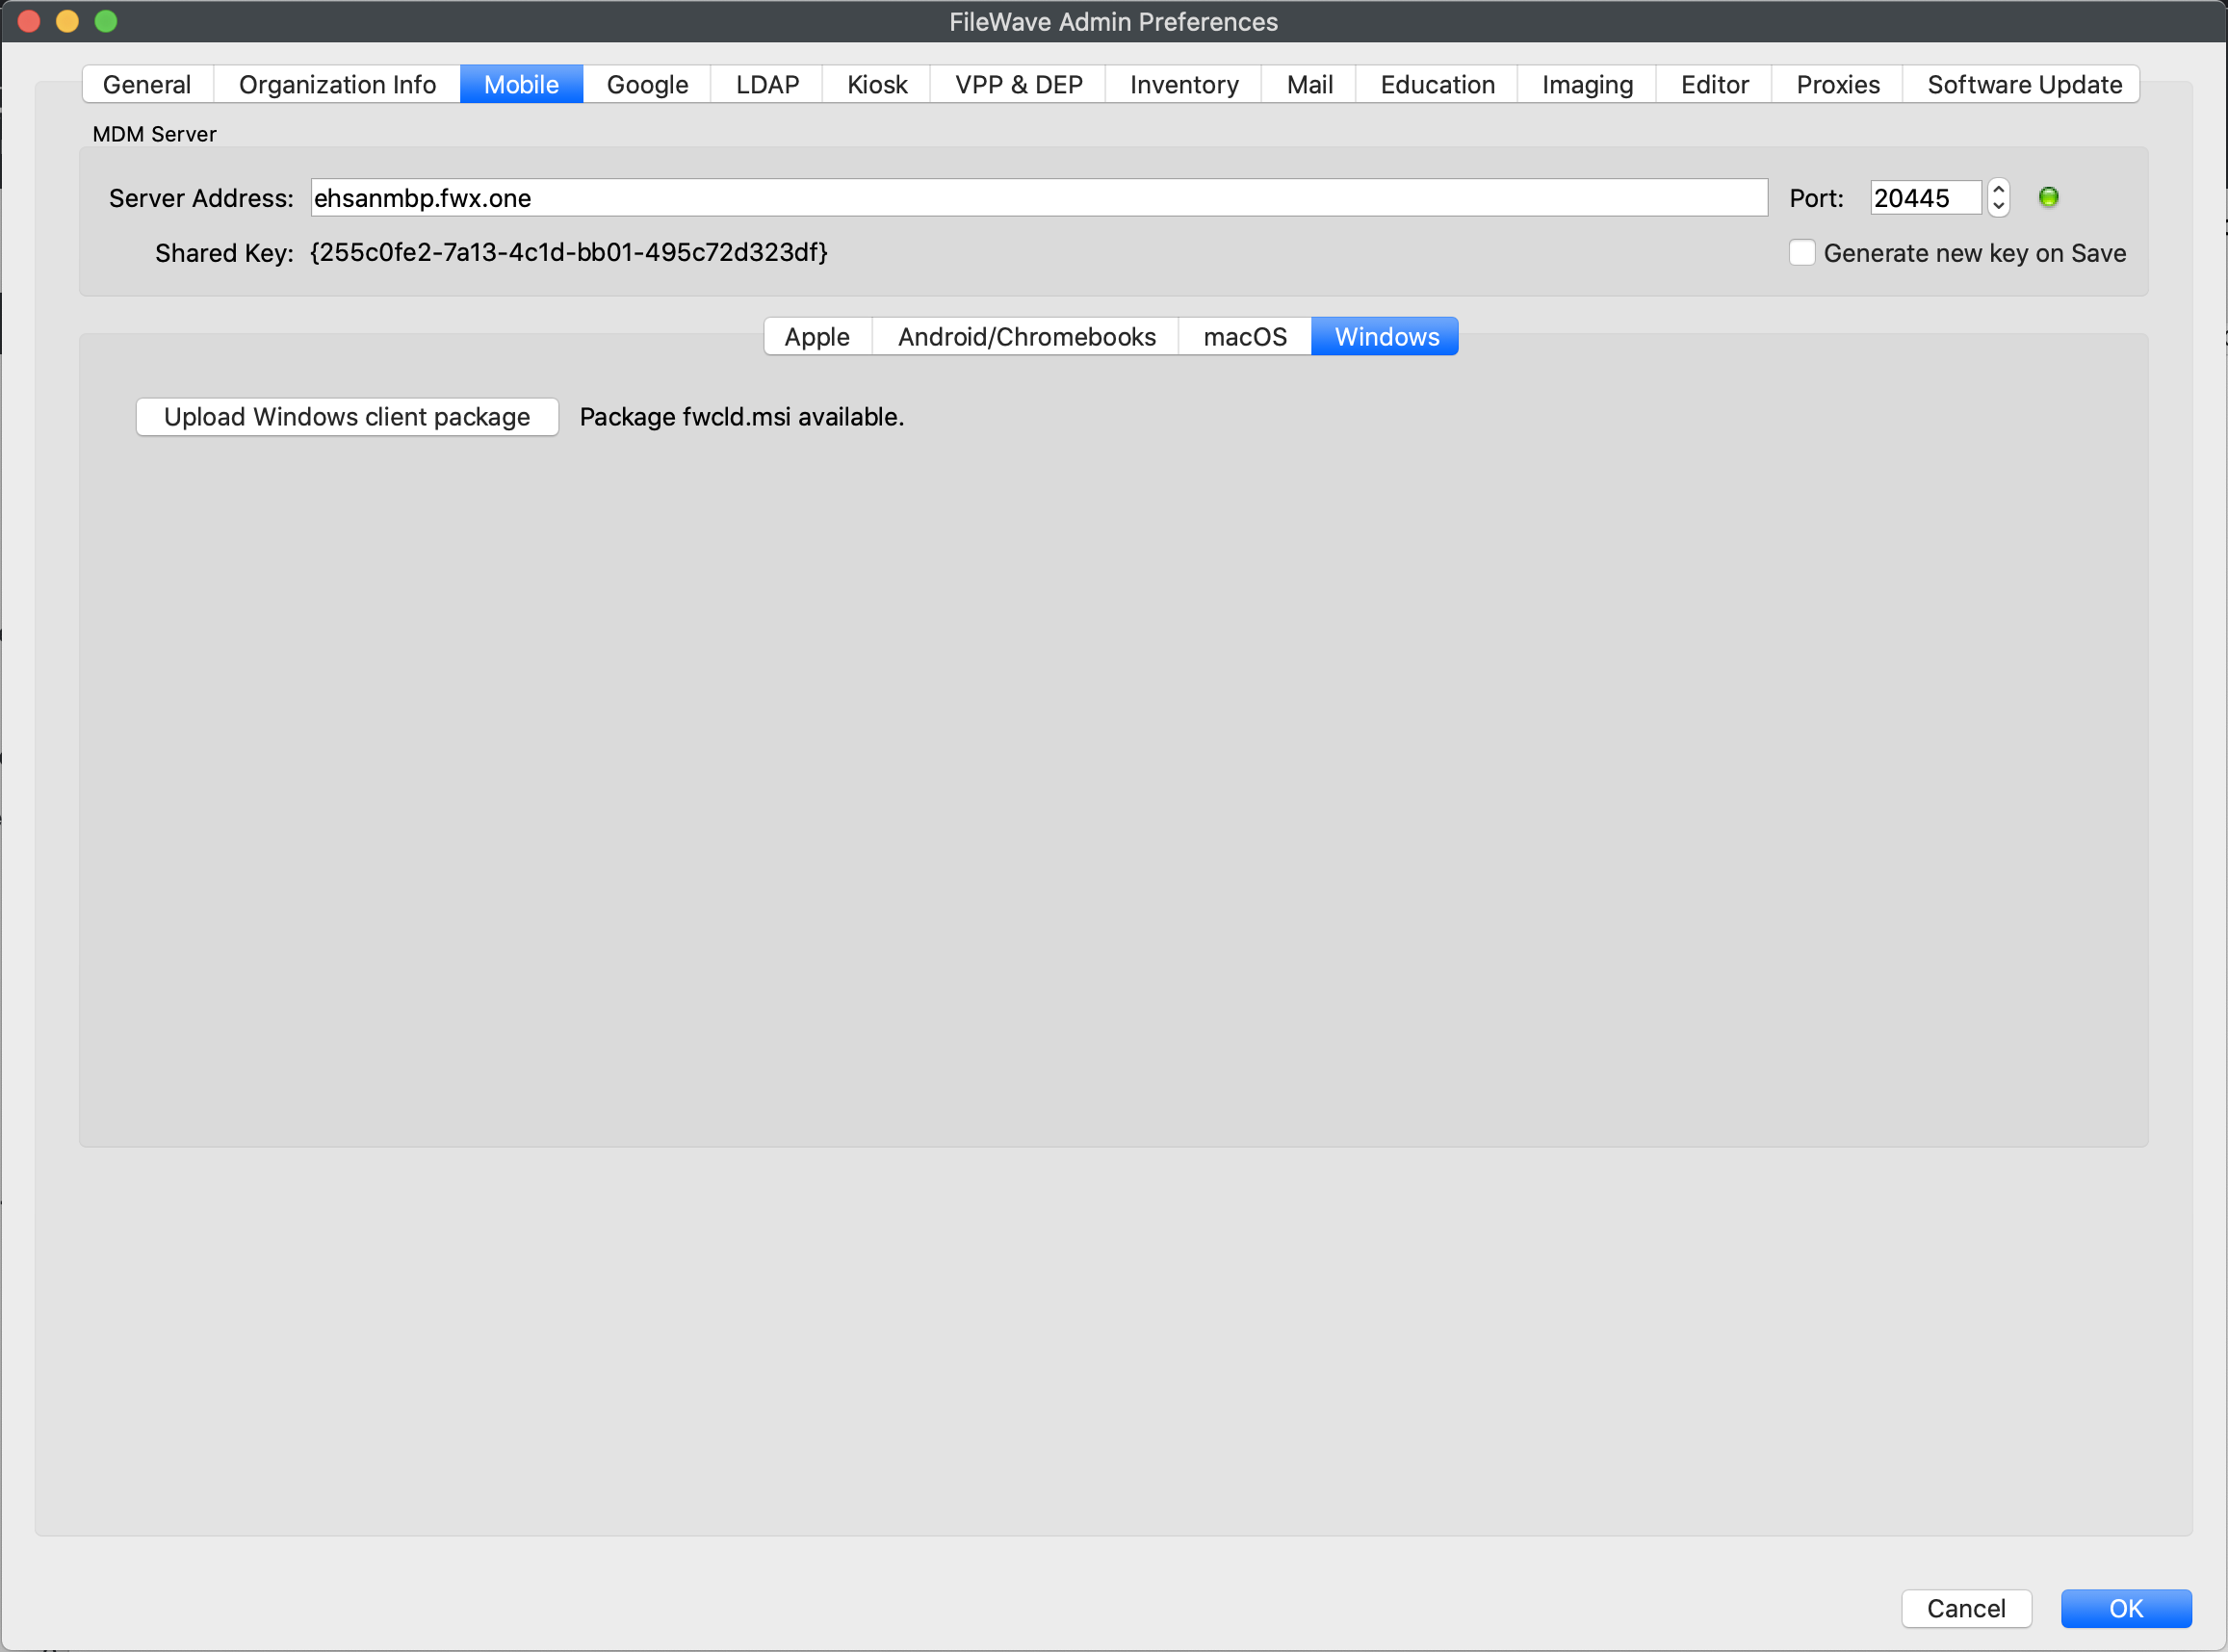
FileWave 16.3.x and earlier uses the upload workflow shown in this older interface.
No comments to display
No comments to display