
Deploy 7-Zip with Custom MSI Parameters
What this recipe does
Use FileWave Central to deploy the 7-Zip MSI with a custom installation directory. The custom MSI options shown here remain available in current FileWave versions.
Ingredients
-
FileWave Central
-
7-Zip MSI installer
FileWave runs MSI Filesets silently. Check the 7-Zip FAQ before changing installer properties, because the vendor defines the supported INSTALLDIR syntax.
Deploy the MSI
Download the current MSI from the official 7-Zip download page.
- In FileWave Central, choose New Fileset and create an MSI Fileset from the installer.
- Open the new Fileset and select Properties.
- Under Custom MSI install options, enter
INSTALLDIR="C:\Program Files\7-Zip"to use the path shown in this example. 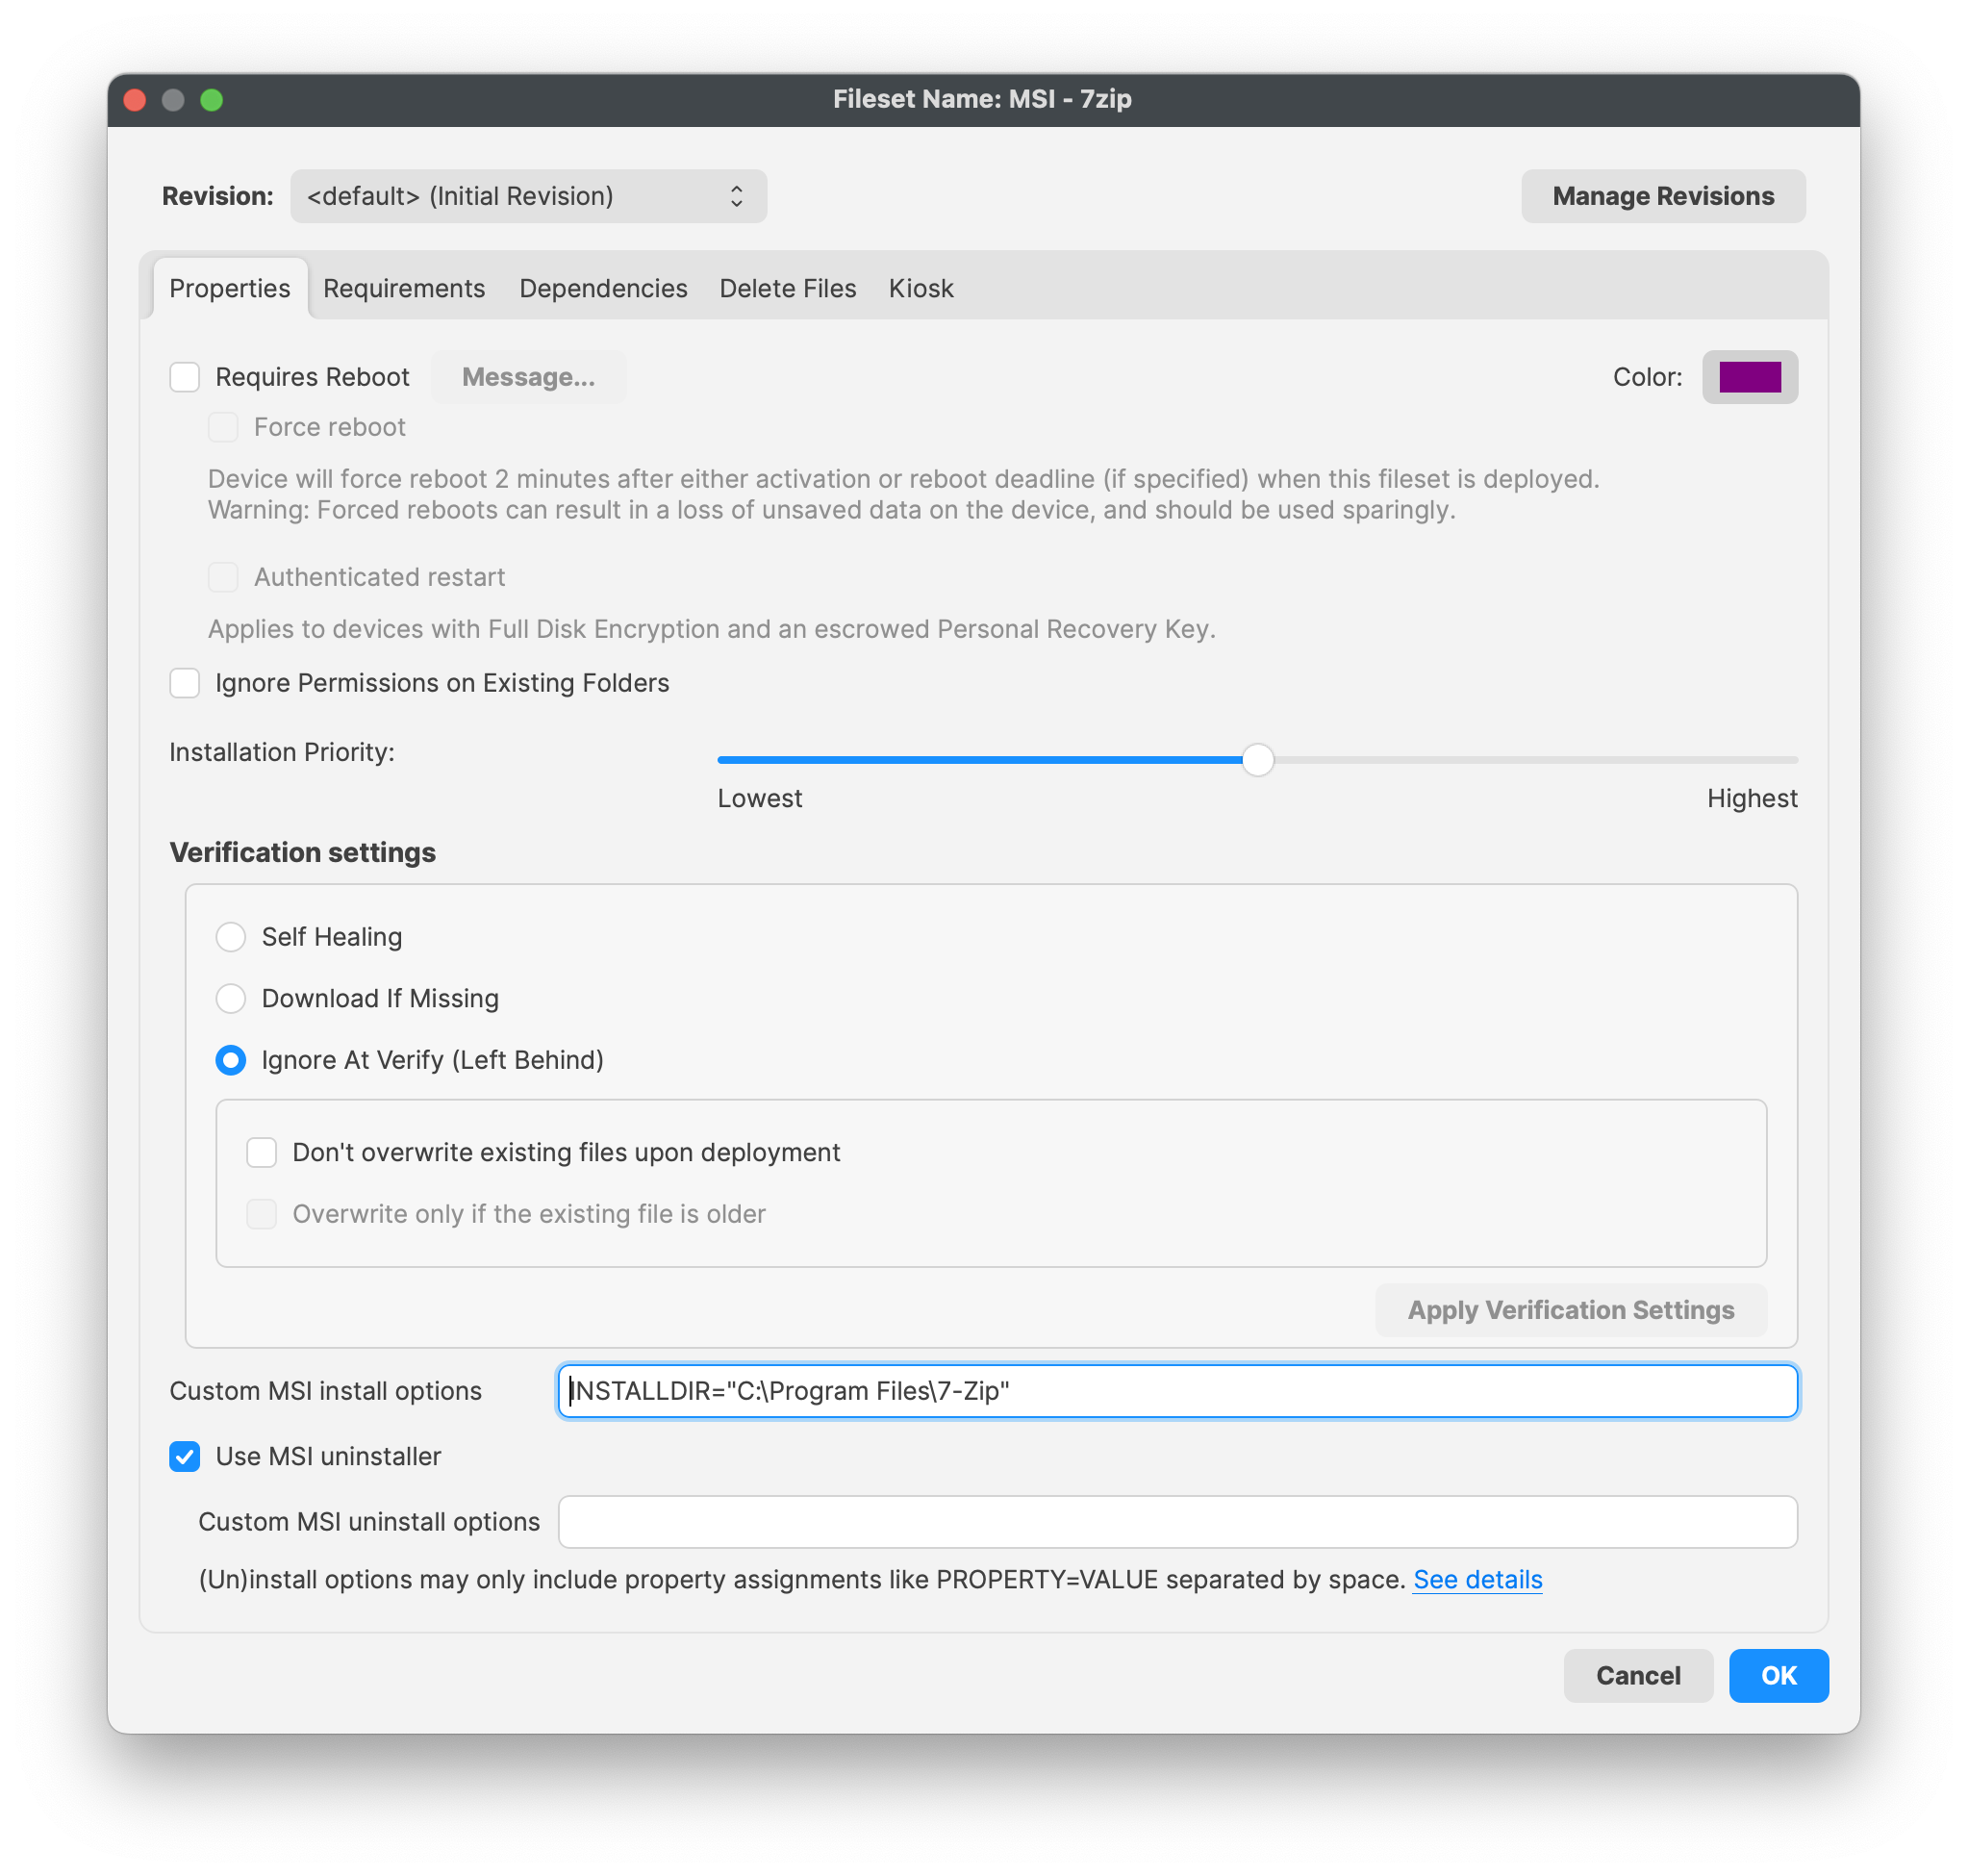
- Leave Use MSI uninstaller enabled if your uninstall test confirms the package removes cleanly.
- Select OK to save the Fileset.
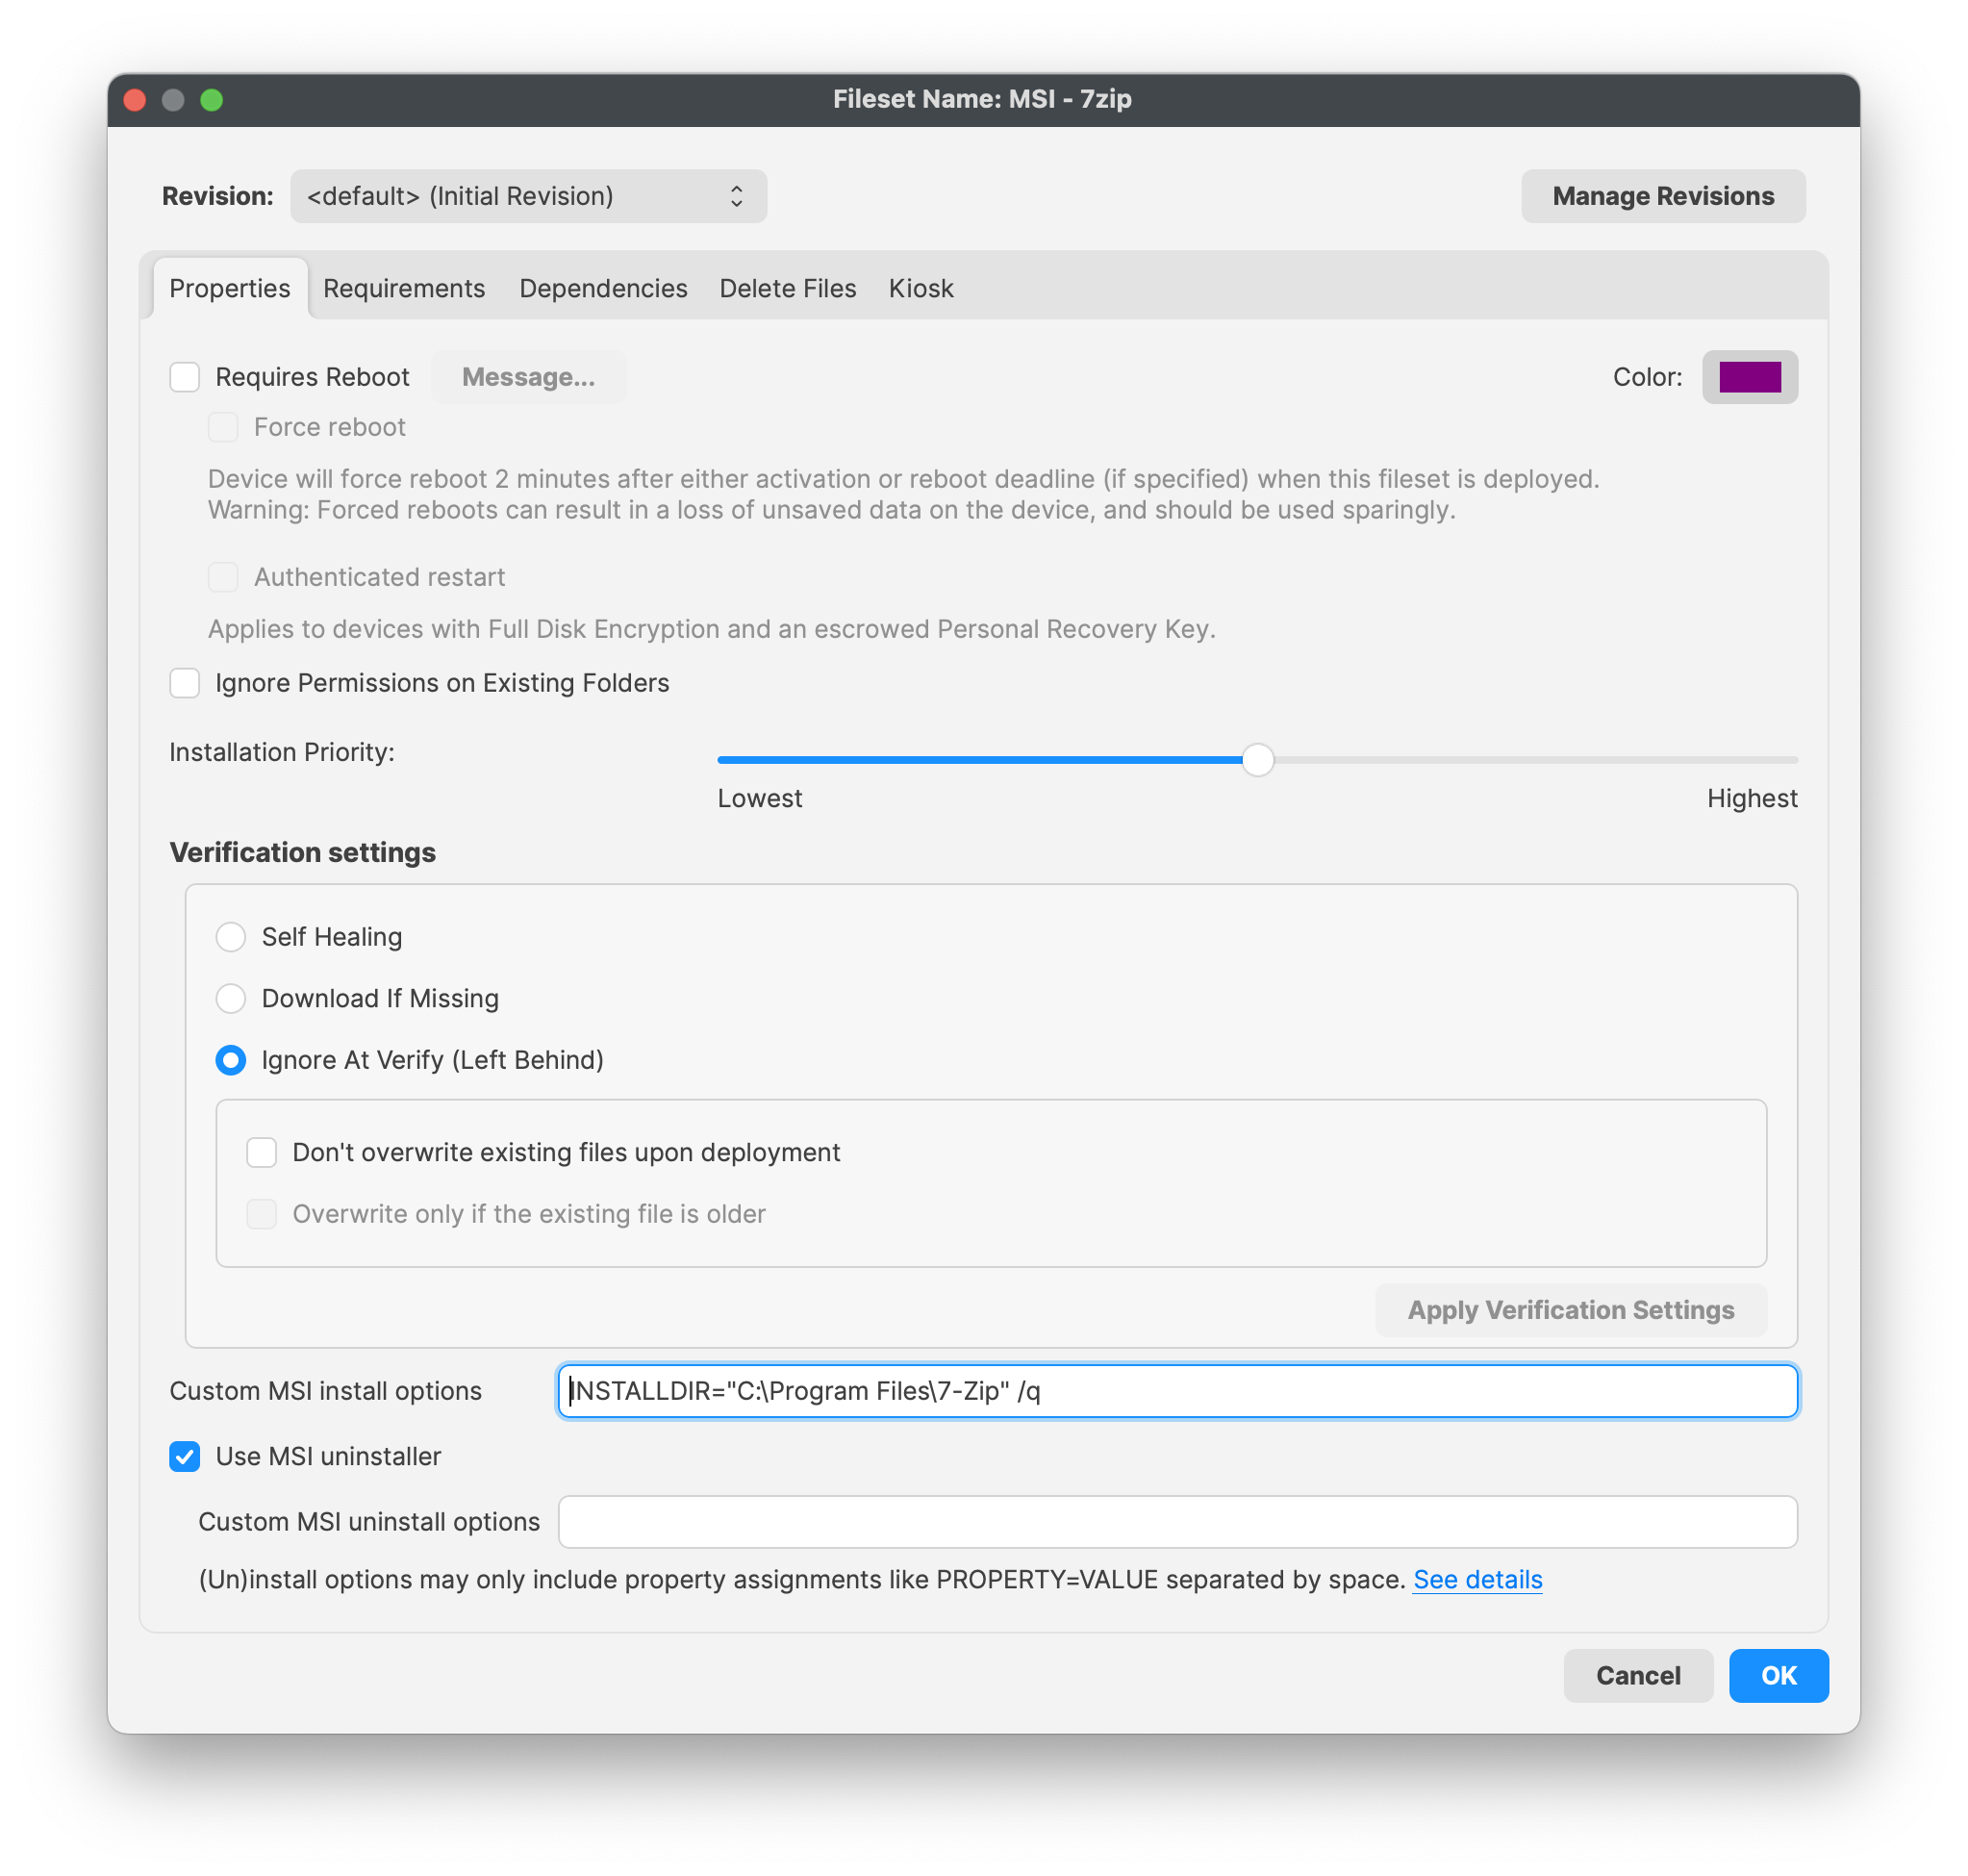
Test installation and removal on a representative Windows device before wider deployment. This is especially important when users can install or remove 7-Zip through FileWave Kiosk.
Assign the Fileset
After the pilot succeeds, add the Fileset to a Deployment or Association for the intended Windows devices. Verify both the installed path and the Fileset status after activation.
No comments to display
No comments to display