
Login Window Banner (Agreement Policy) for macOS
Description
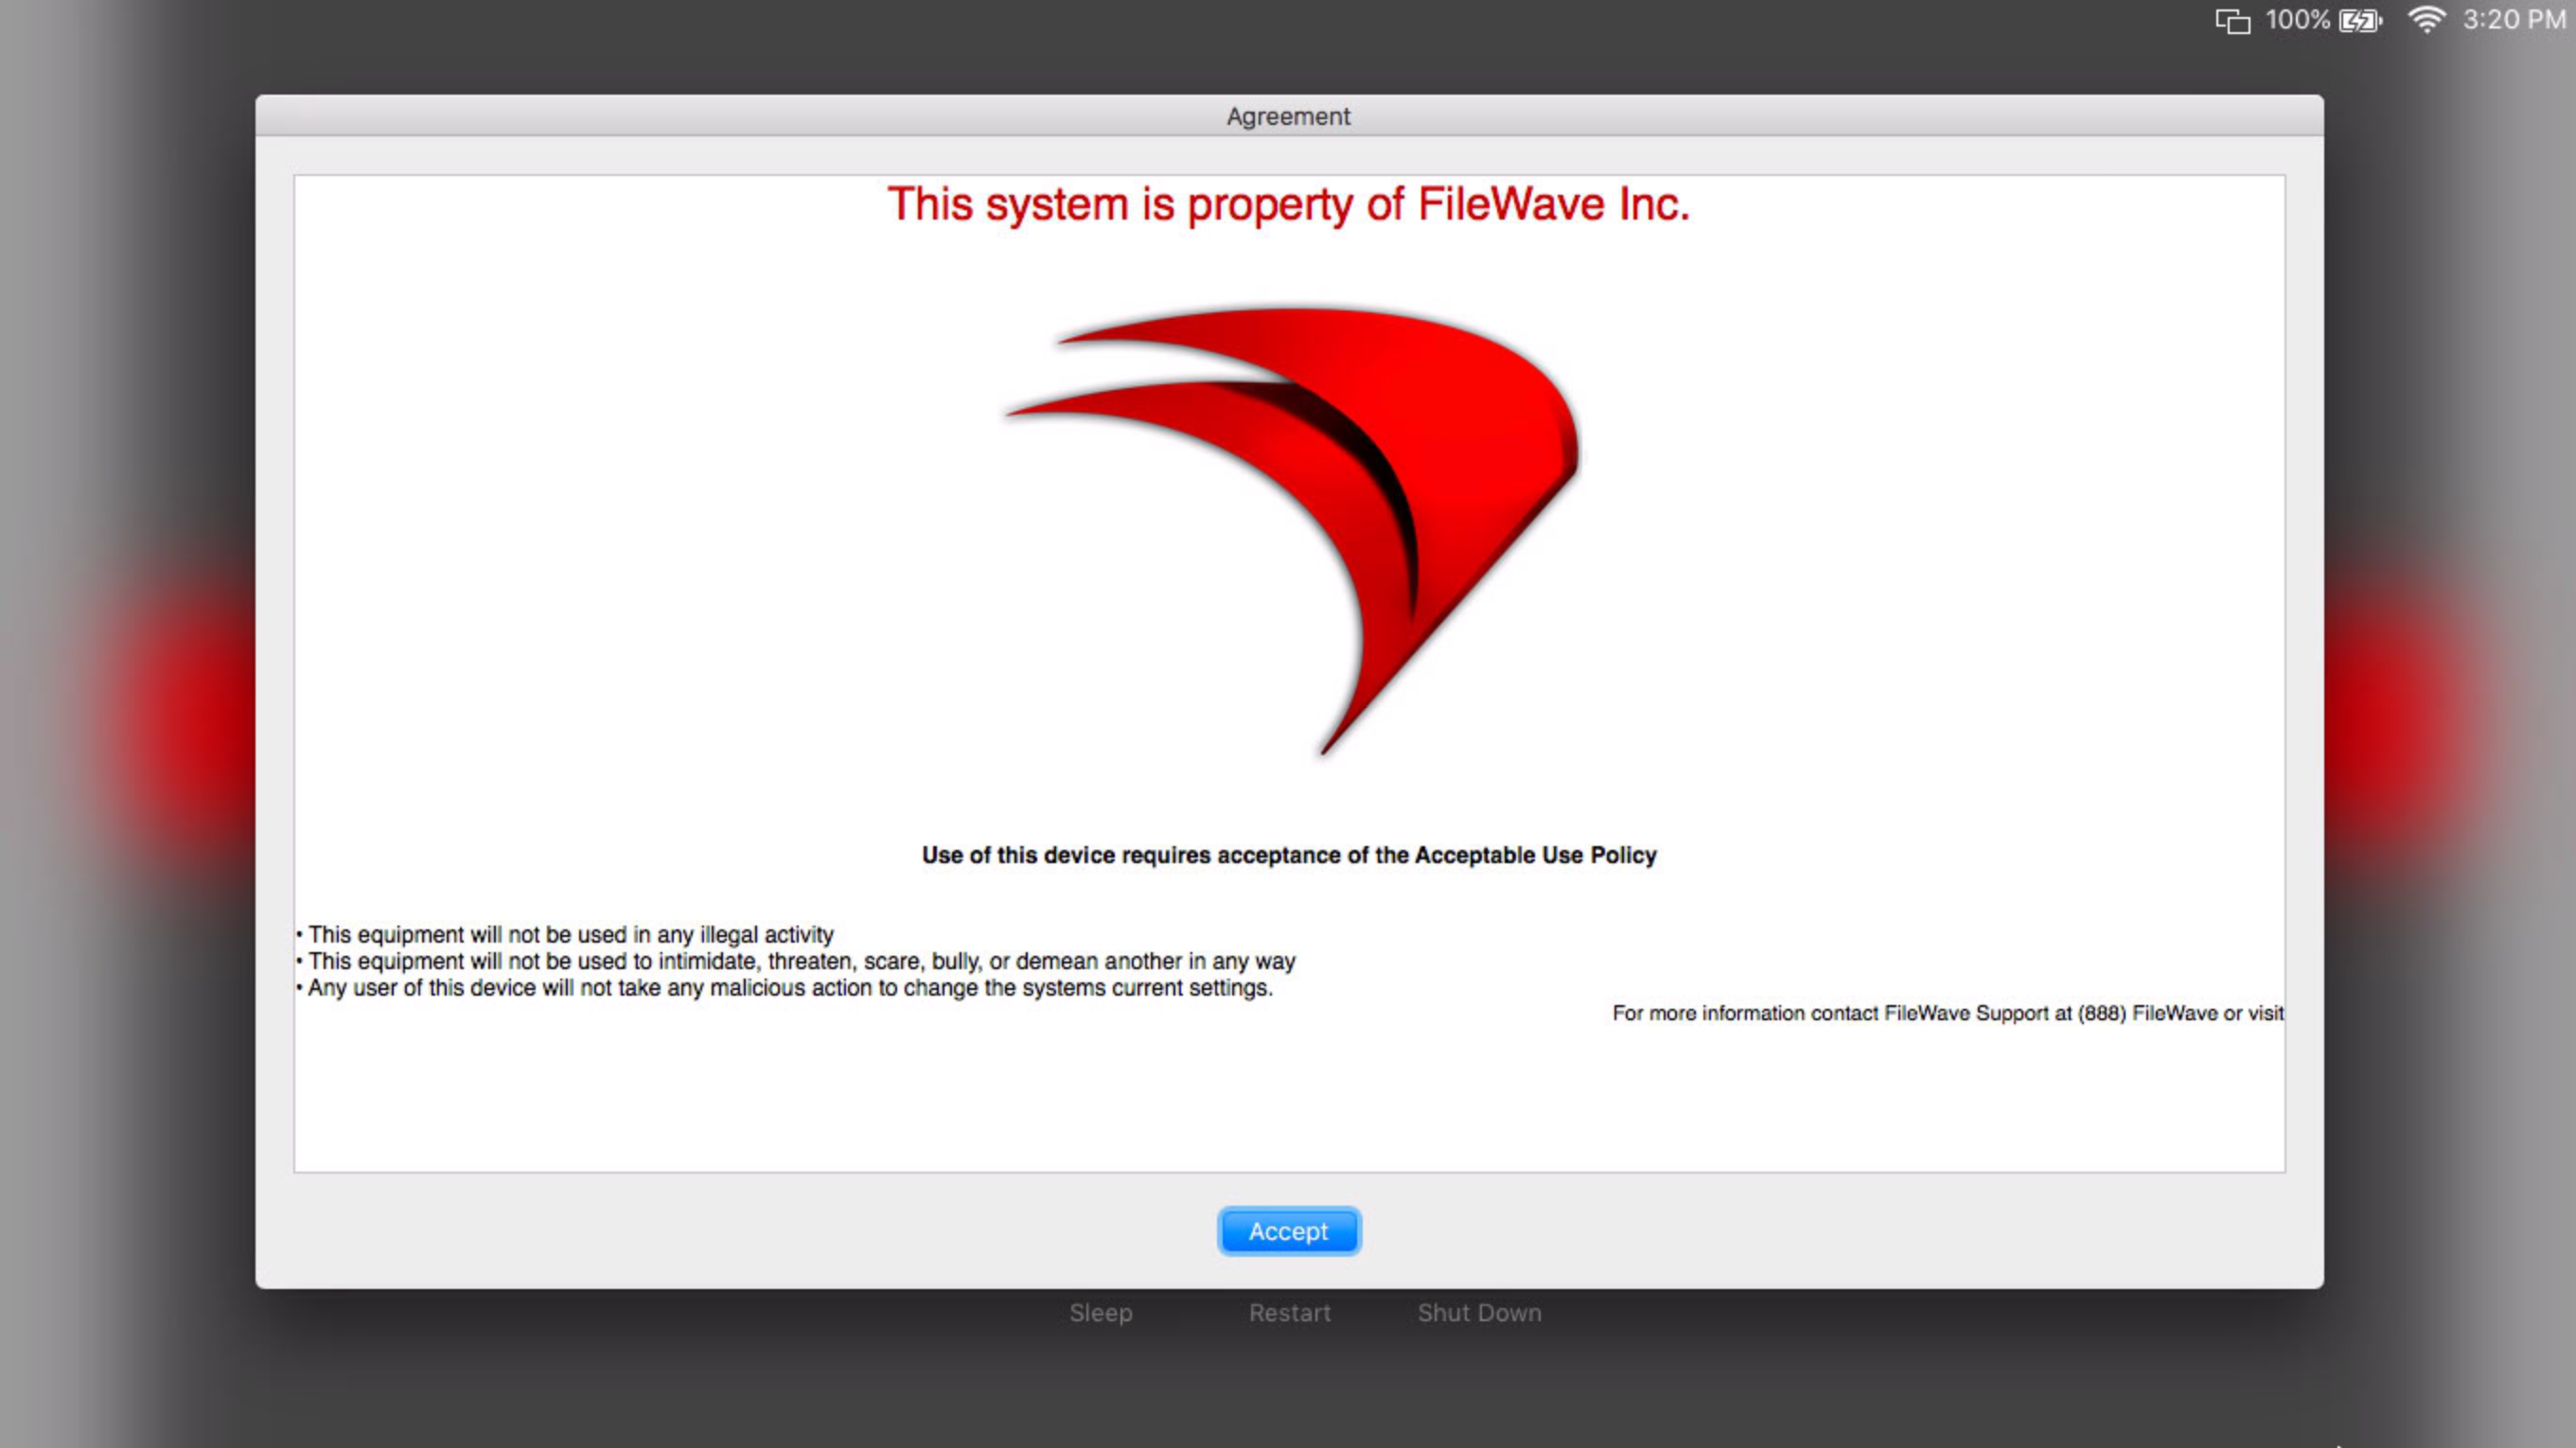
Use a macOS PolicyBanner file when users must accept an agreement or notice before they log in.
Ingredients
- FileWave Central
- A managed macOS computer
- A text editor application
Directions
Creating the text file
- Open a text editor.
Apple TextEdit works for this. On a default macOS installation, it is located at Macintosh HD → Applications → TextEdit.app.
- Add the agreement or notice text you want shown at the login window, then save the file with this base name:
|
|
Use one of these supported file extensions:
.txt- plain text only.rtf- rich text with formatting such as color and font choices.rtfd- rich text directory with formatting and images
A sample RTFD file is attached: PolicyBanner.rtfd_.zip.
Placing the text file into the Fileset
- Download the sample Fileset: Custom-LoginWindow-Agreement.fileset.zip.
- Import the Fileset into FileWave Central.
- Open the Fileset and go to the
/Library/Security/folder.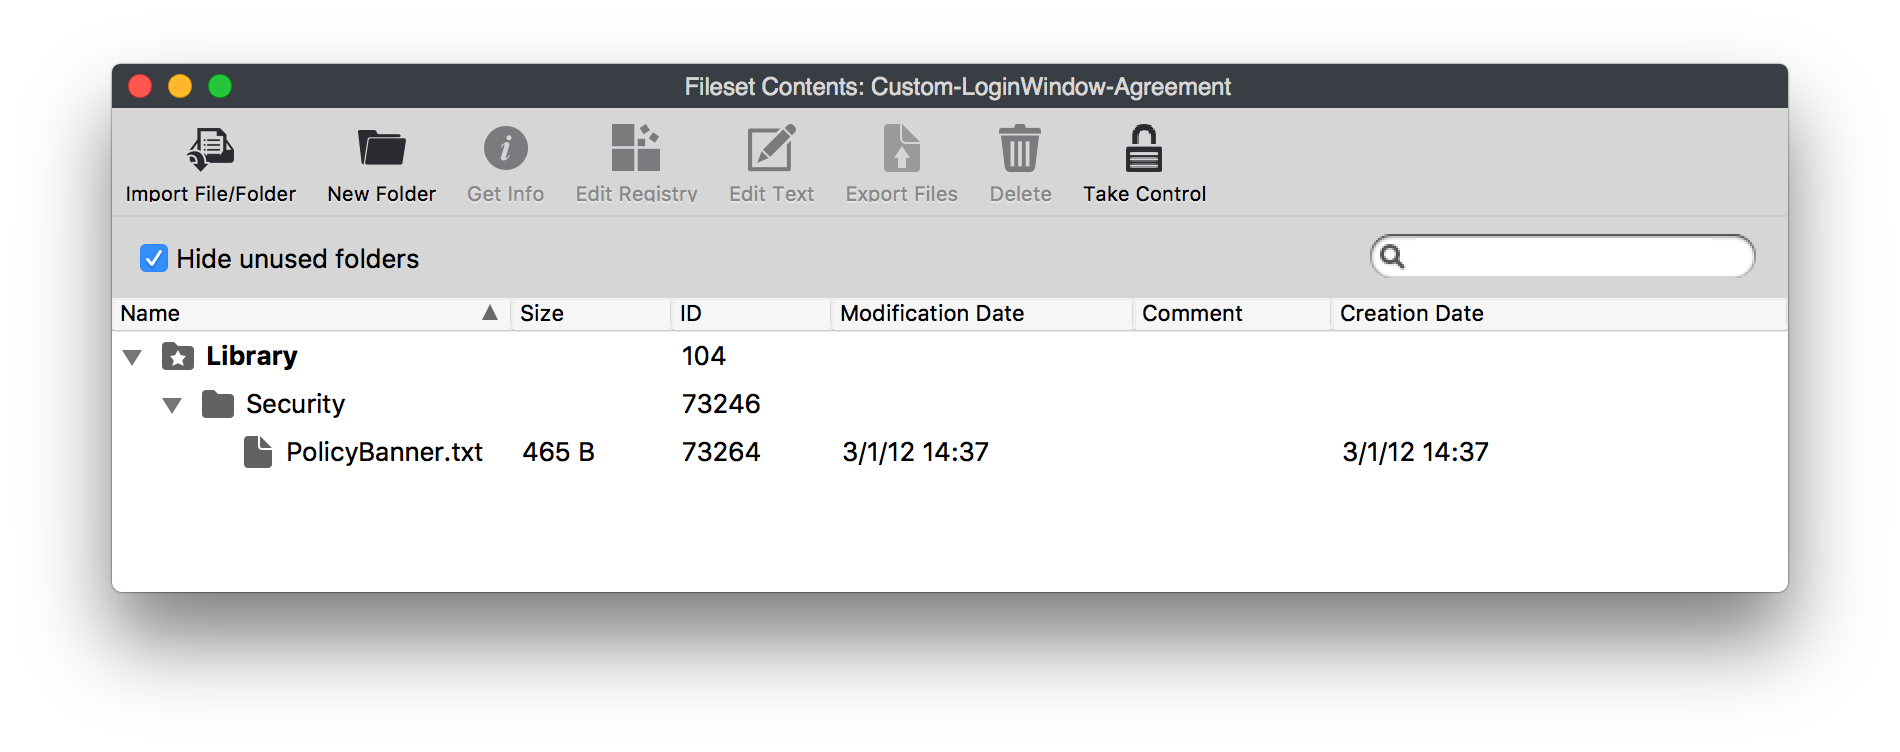
- Replace
PolicyBanner.txtwith yourPolicyBanner.txt,PolicyBanner.rtf, orPolicyBanner.rtfdfile. - Set the permissions and owner so standard users cannot edit the file. Also allow Everyone (Other) to read a
.txtor.rtfbanner. For an.rtfdpackage, Everyone (Other) needs read and execute permissions throughout the package so macOS can access its contents.
If you use the .rtfd format:
1. The file appears as a folder because it contains separate text and image files.
2. URLs and other hyperlinks do not work when macOS displays the banner at the login window.
3. You will not be able to export the RTFD later because of its folder format.
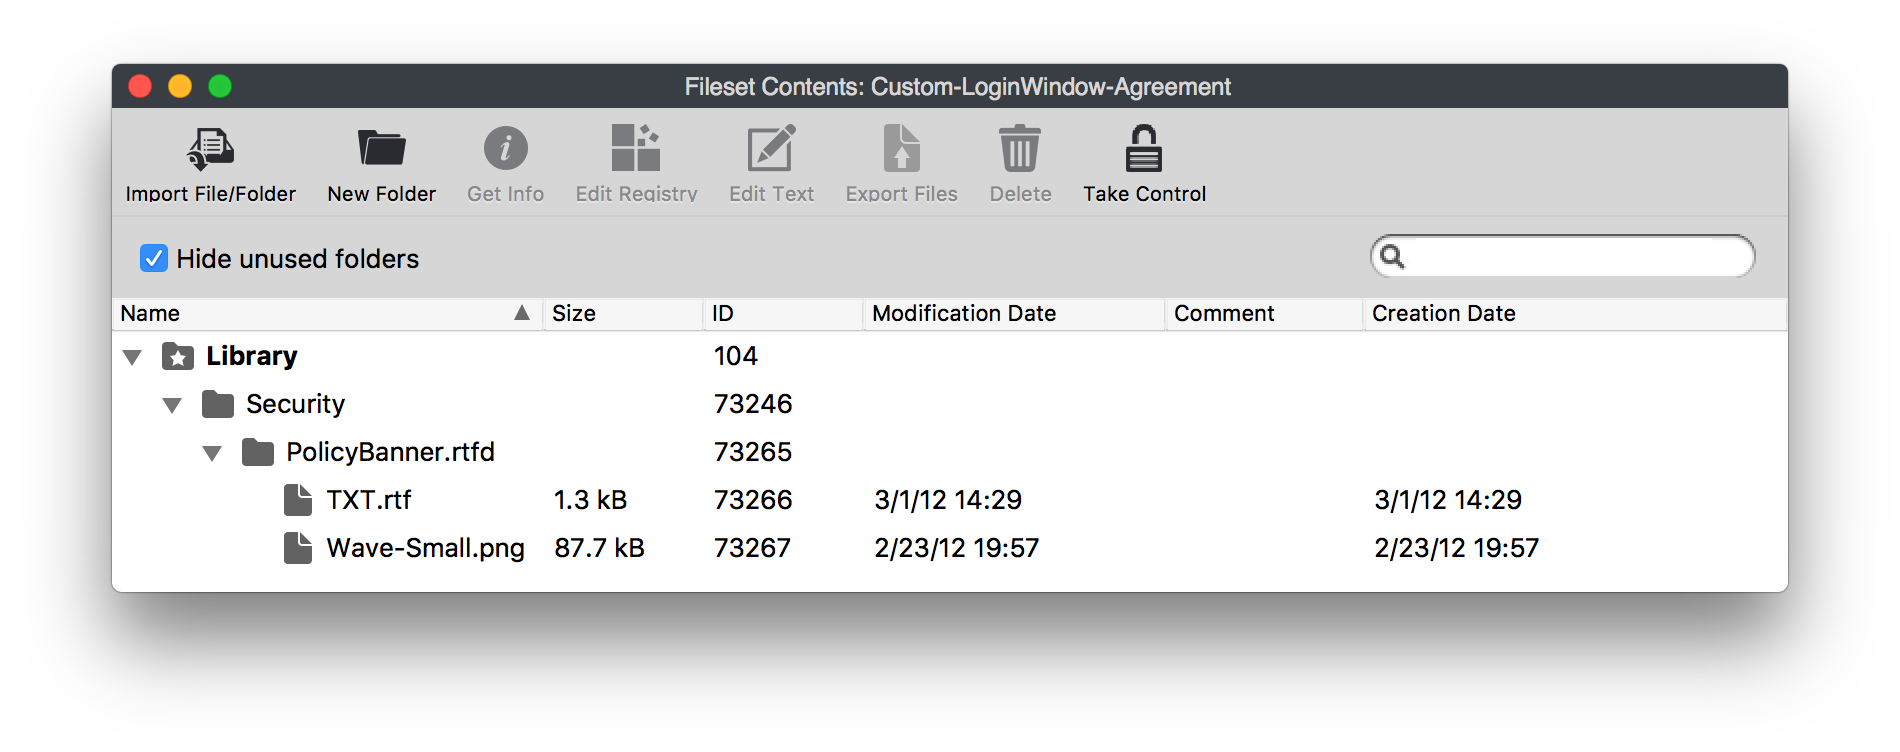
Deploy and verify the banner
- Save the Fileset and assign it to a test Mac using the general Fileset workflow. Review pending changes, then update the model.
- Wait for the Fileset to install and confirm that your PolicyBanner file is present in
/Library/Security/. - Save open work and restart the test Mac. Confirm that the banner displays your intended text and requires acknowledgement before the desktop becomes available.
FileVault timing: On a FileVault-encrypted Mac, the first login unlocks the startup disk. The policy banner appears after that login and before the desktop, not at the initial disk-unlock screen.
Notes
Apple's current policy banner guidance is available at How to set up policy banners in macOS.
No comments to display
No comments to display