
TeamViewer: iOS/iPadOS Session Overview
What
This article shows what an iPhone or iPad user sees after a FileWave administrator requests a TeamViewer remote support session. Complete the FileWave and TeamViewer prerequisites before starting.
When to use it
Use these steps to guide the user through accepting an attended support session and starting the screen broadcast that TeamViewer needs. The user must remain available because iOS and iPadOS require confirmation on the device; the administrator cannot accept these prompts remotely.
Join the session
After the device receives the session request, iOS or iPadOS plays a notification sound and displays a TeamViewer notification. The user must open that notification to view the session prompt:
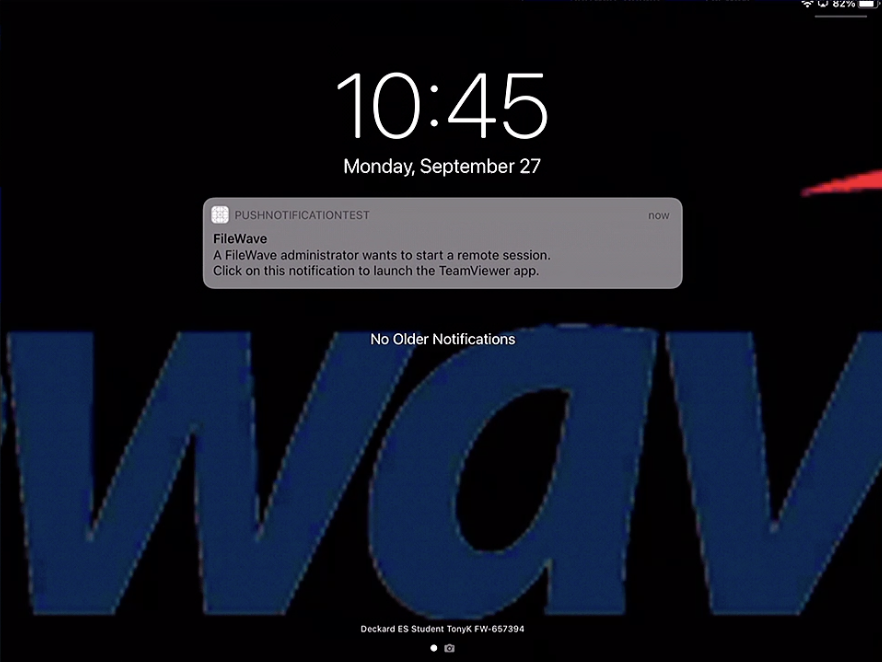
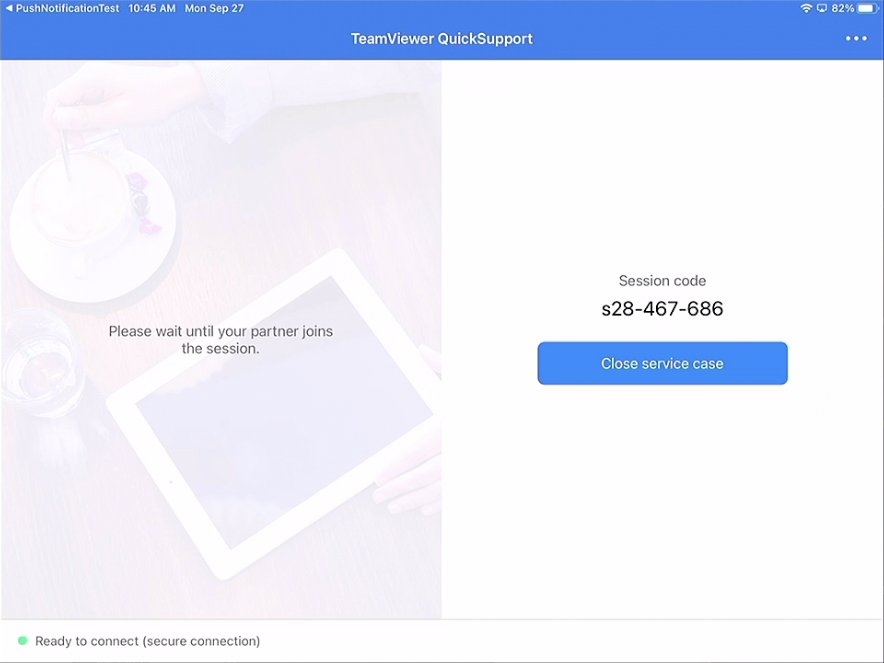
Opening the notification launches the TeamViewer QuickSupport app.
QuickSupport displays the session code while it waits for the administrator to join.
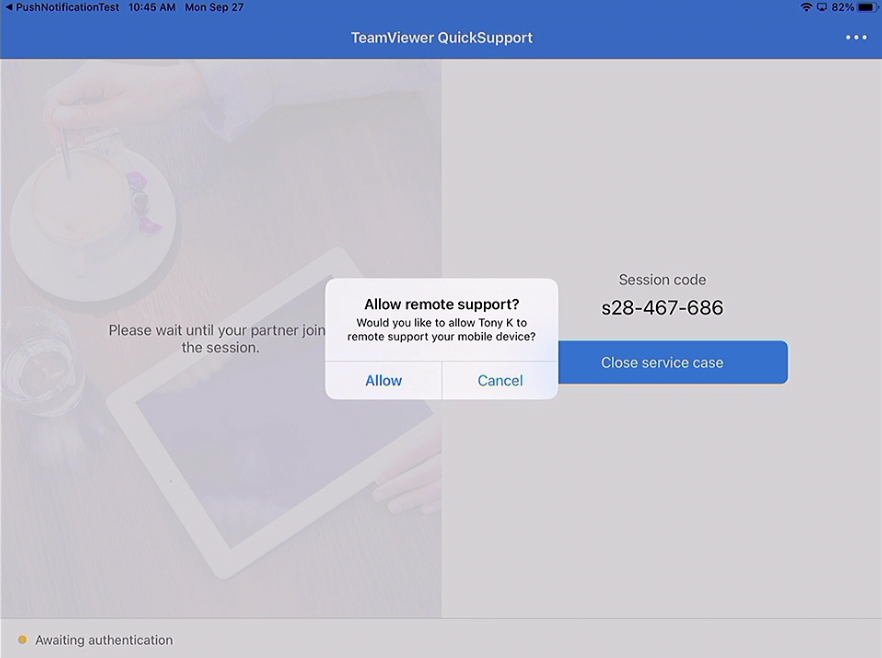
When the administrator's TeamViewer session is ready, the user is prompted to allow the attended session:
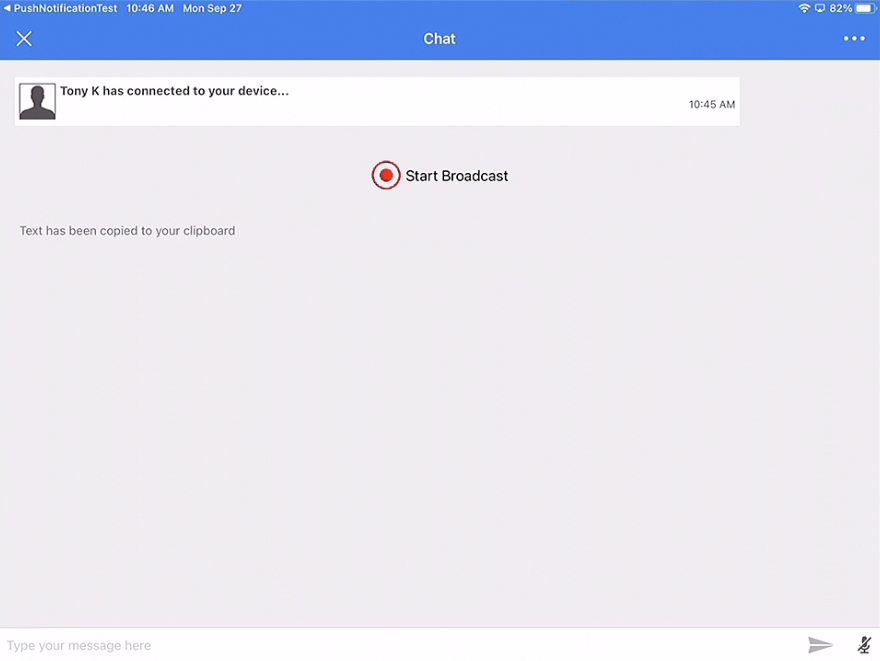
After the user allows the attended session, QuickSupport displays Start Broadcast. Select it to continue:
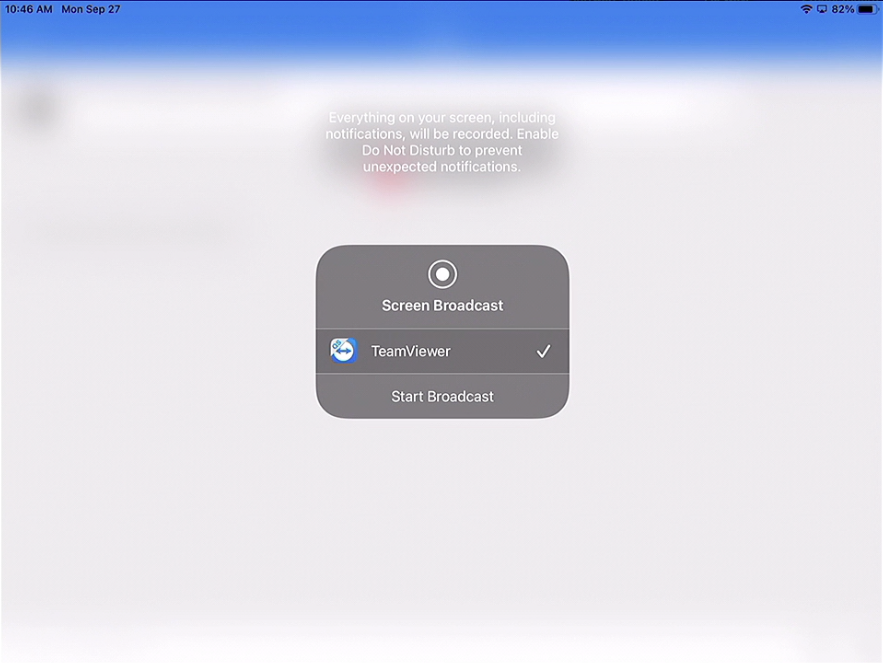
iOS or iPadOS then opens the Screen Broadcast control. Select TeamViewer and choose Start Broadcast:
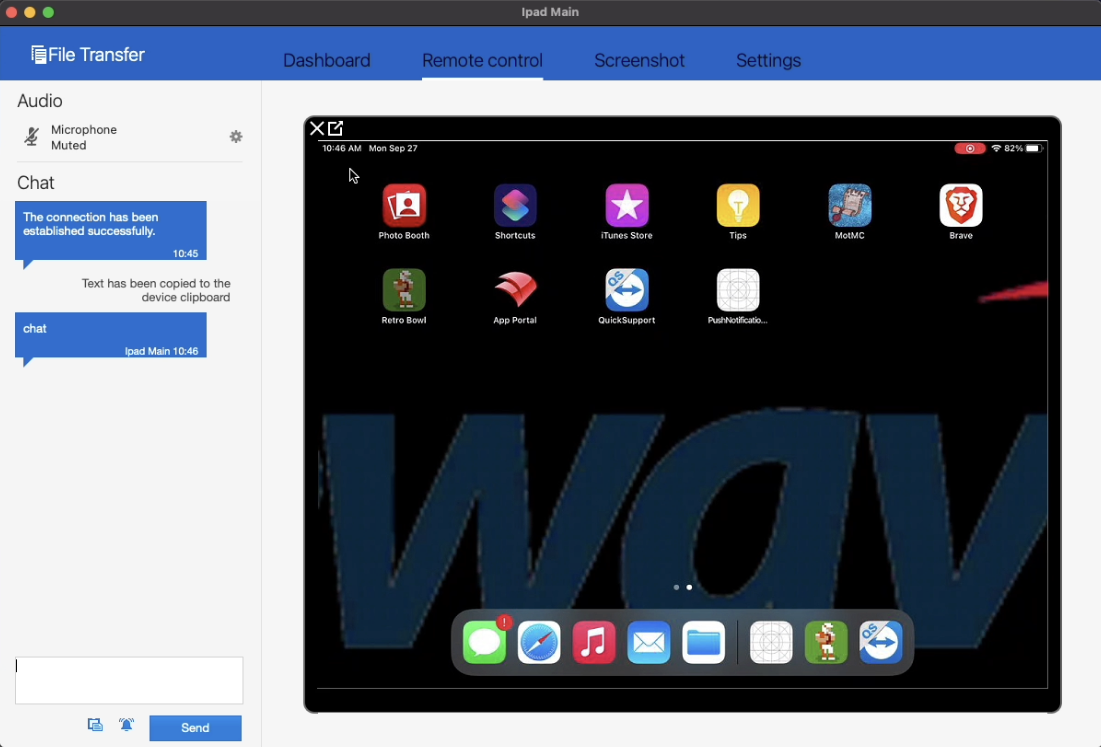
Once the user approves the session and starts the broadcast, the administrator can view the screen. iPhone and iPad sessions are screen-view only, so the administrator guides the user rather than controlling the device:
No comments to display
No comments to display