
Re-enroll an Imaging Virtual Server (IVS)
What this procedure does
Re-enrolling an Imaging Virtual Server (IVS) requires more than deleting its FileWave Central record. Remove the IVS Client configuration and IVS Admin preferences first, then remove the IVS from FileWave Central, restart it, and enroll it again.
When to use it
Use this reset when an IVS no longer connects or images after routine connectivity and service checks. The procedure deletes local IVS configuration, so record the current server address and enrollment details before starting.
Reset and re-enroll the IVS
- Remove the IVS Client configuration
- Connect to the IVS over SSH and run the following commands:
$ sudo killall fwcld
$ rm -rf /etc/xdg/FileWave/Client.conf
- Connect to the IVS over SSH and run the following commands:
- Remove the IVS Admin preferences
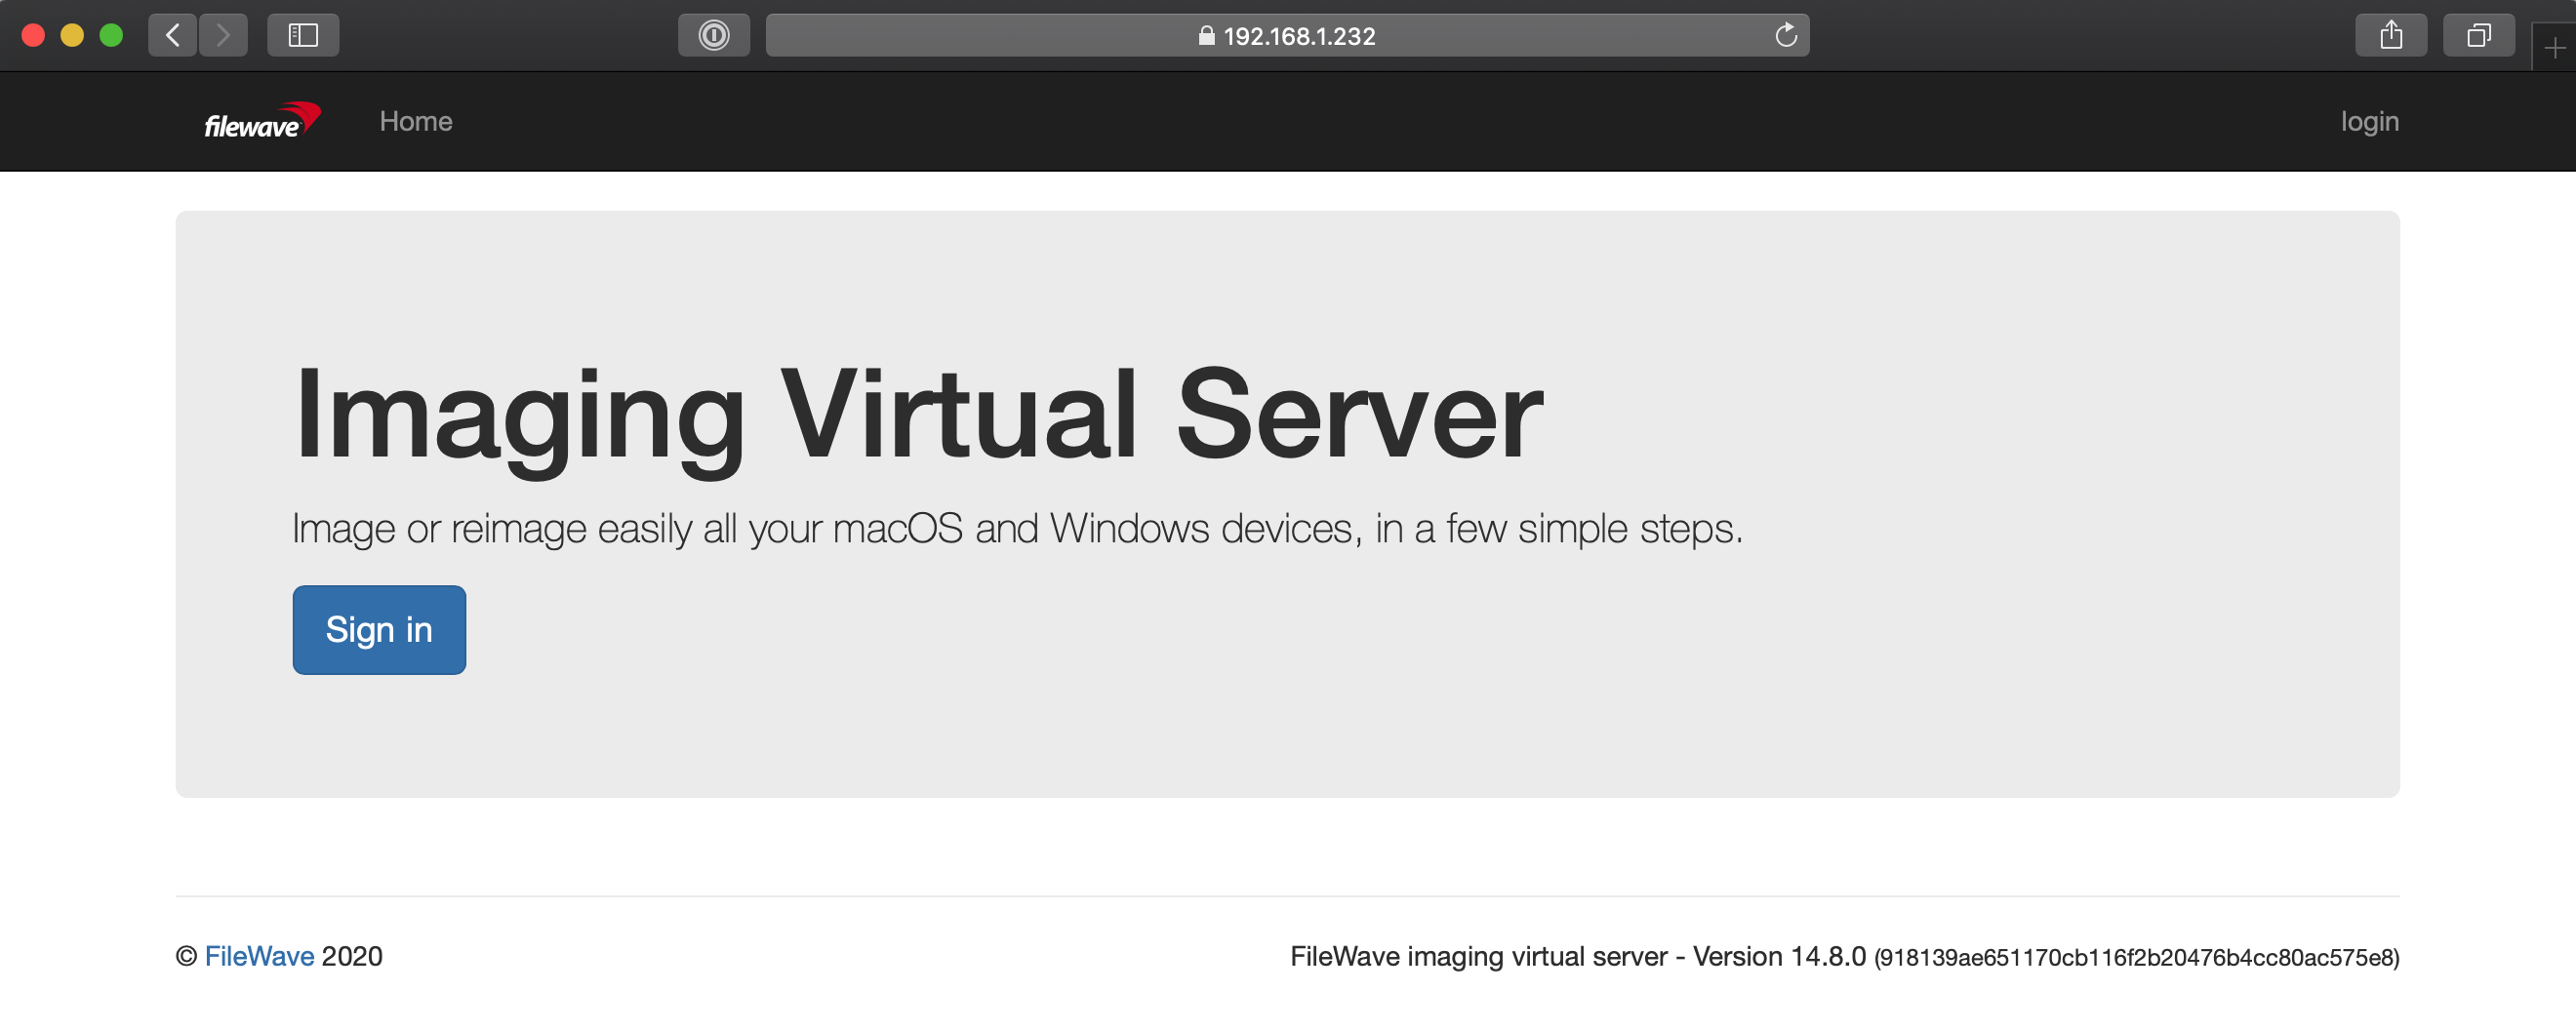
- In a browser, open the IVS Admin address at
https://<IVS-IP-address>:20444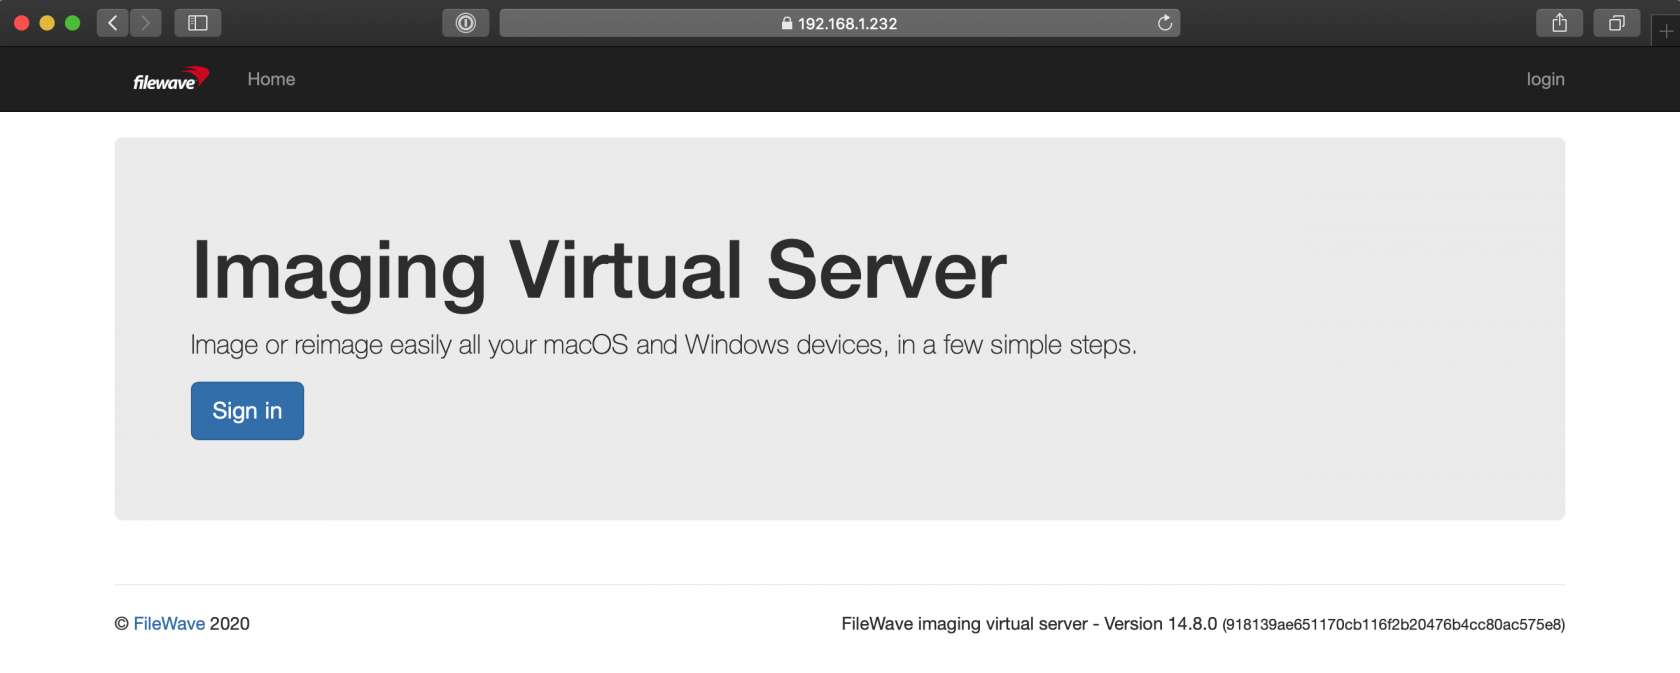
- Select Sign in and enter the IVS administrator credentials. An appliance that still has its initial credentials uses:
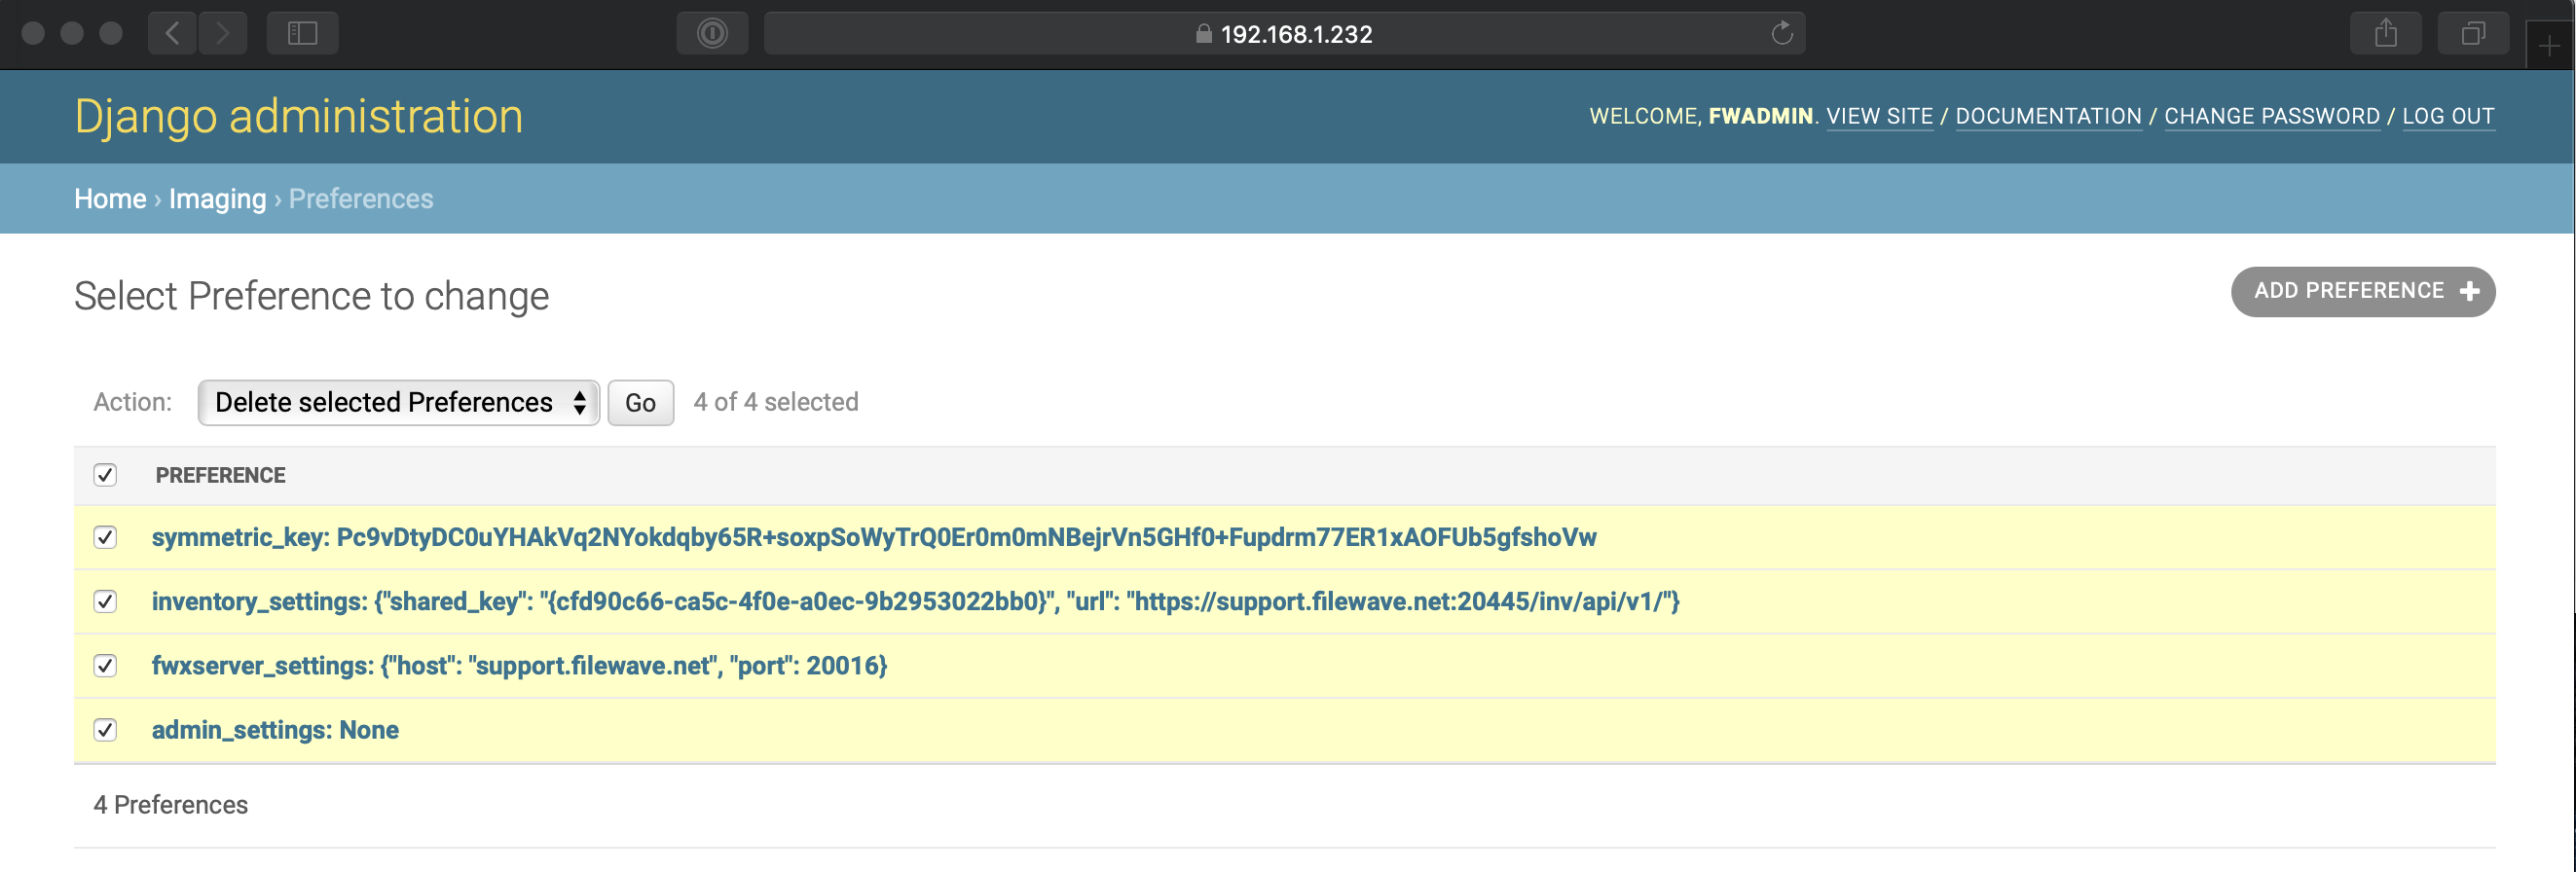
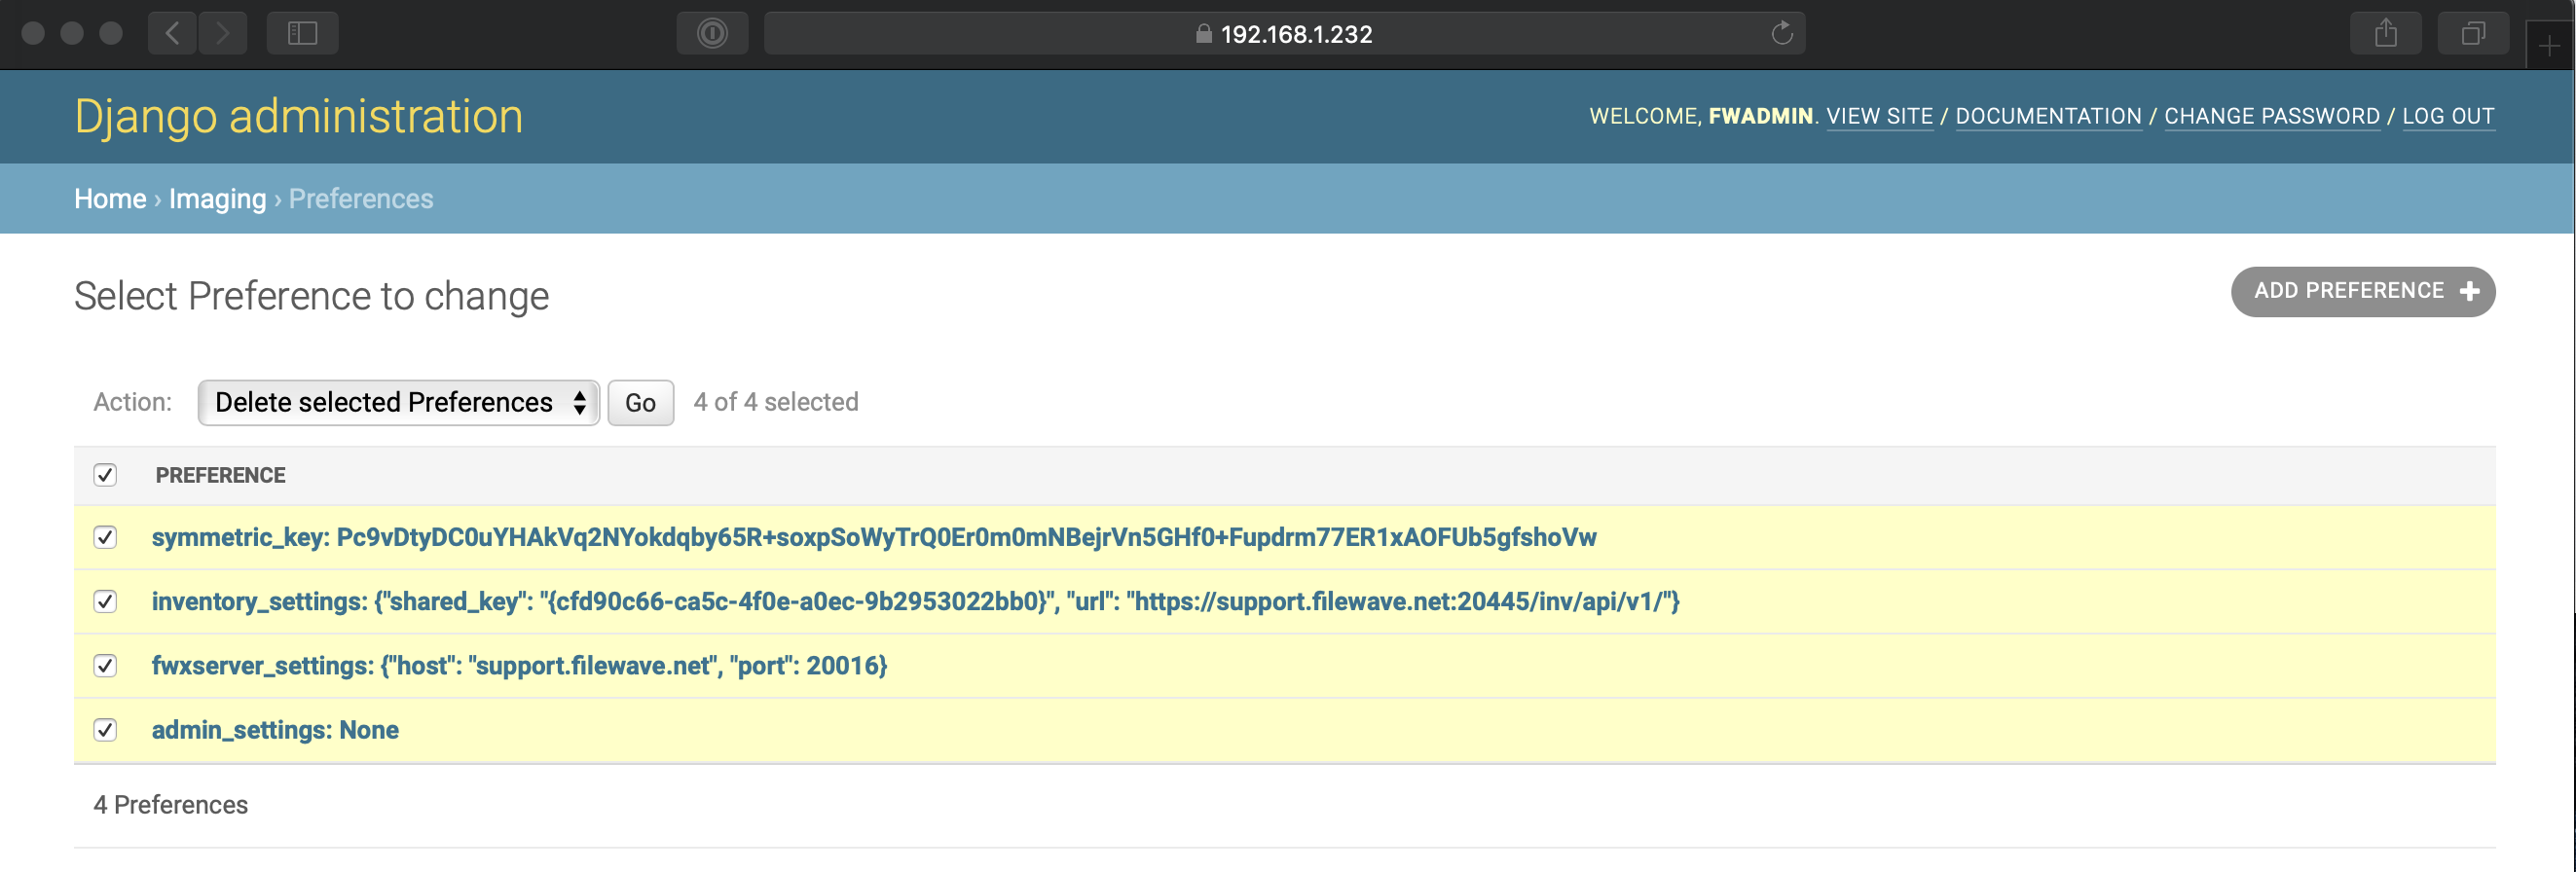
username: fwadmin password: filewave - Open Admin > Preferences. Select the checkbox beside Preference to select every row, then choose Delete selected Preferences from the Action menu.
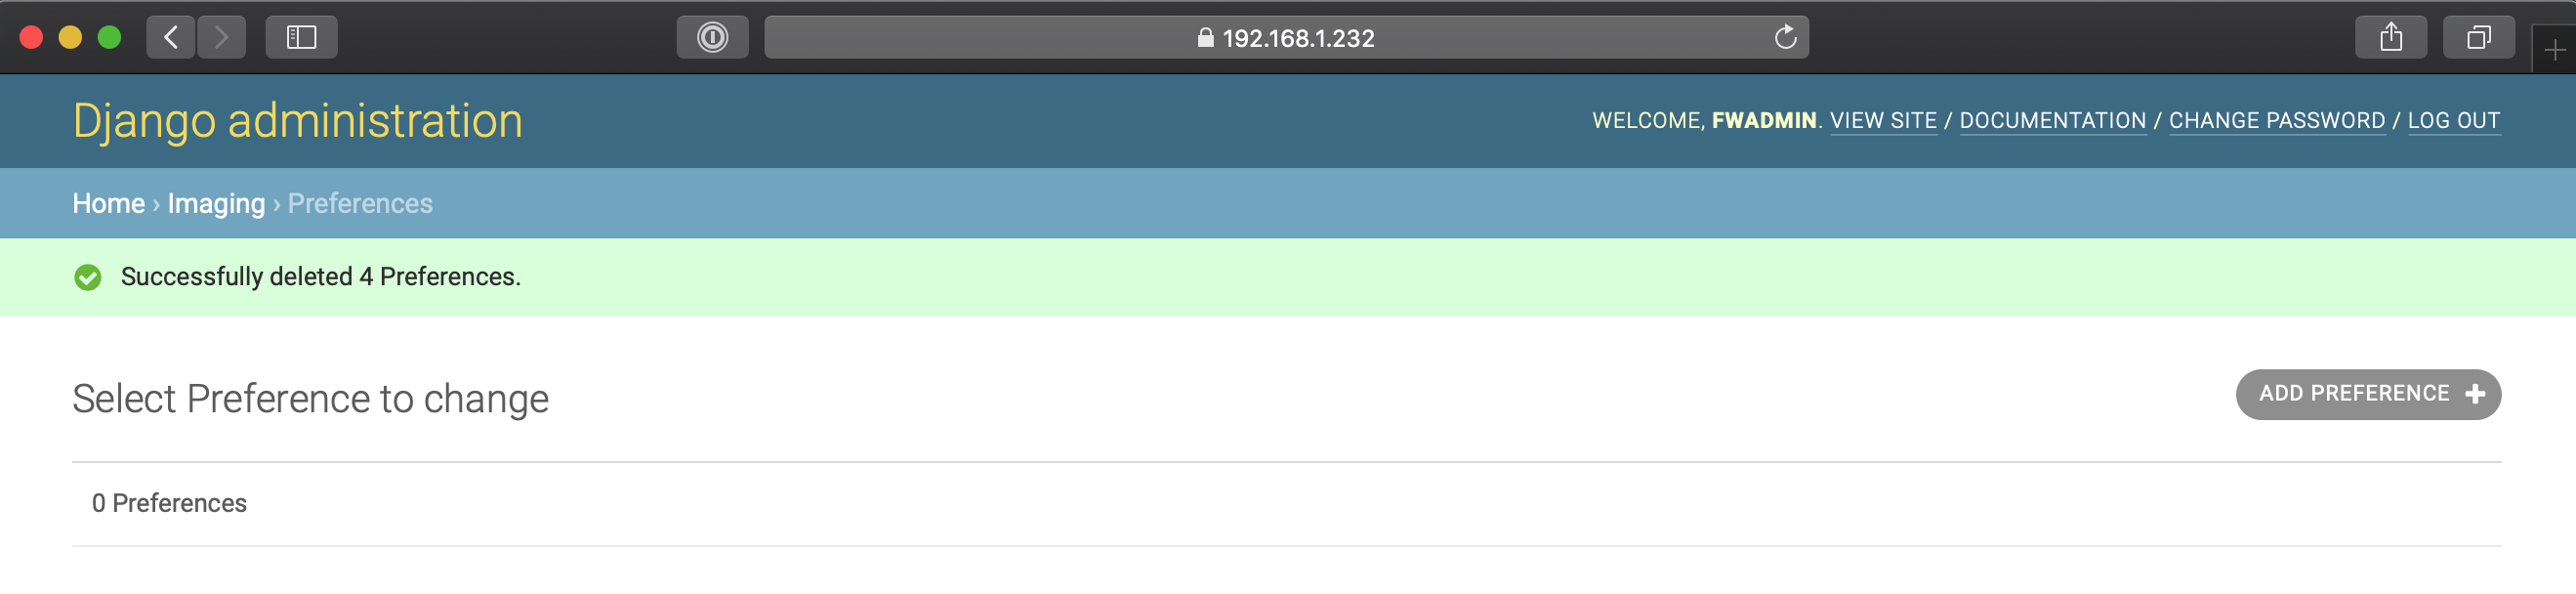
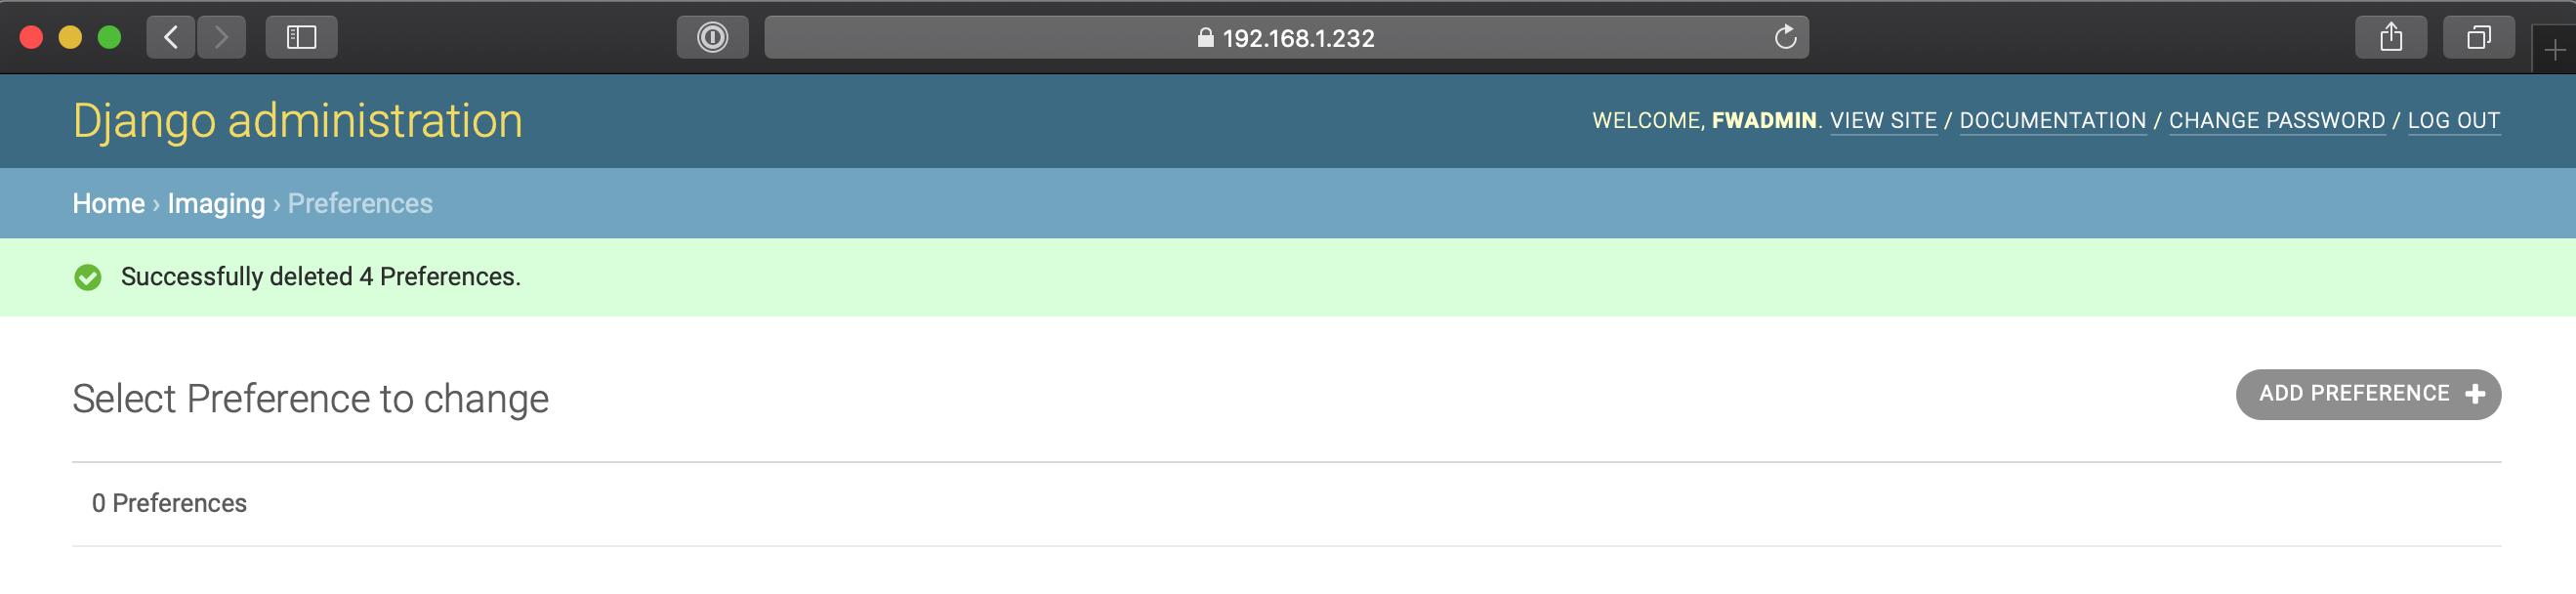
- Select Go, then confirm with Yes. Verify that the page reports 0 Preferences.
- In a browser, open the IVS Admin address at
- Remove the IVS from FileWave Central
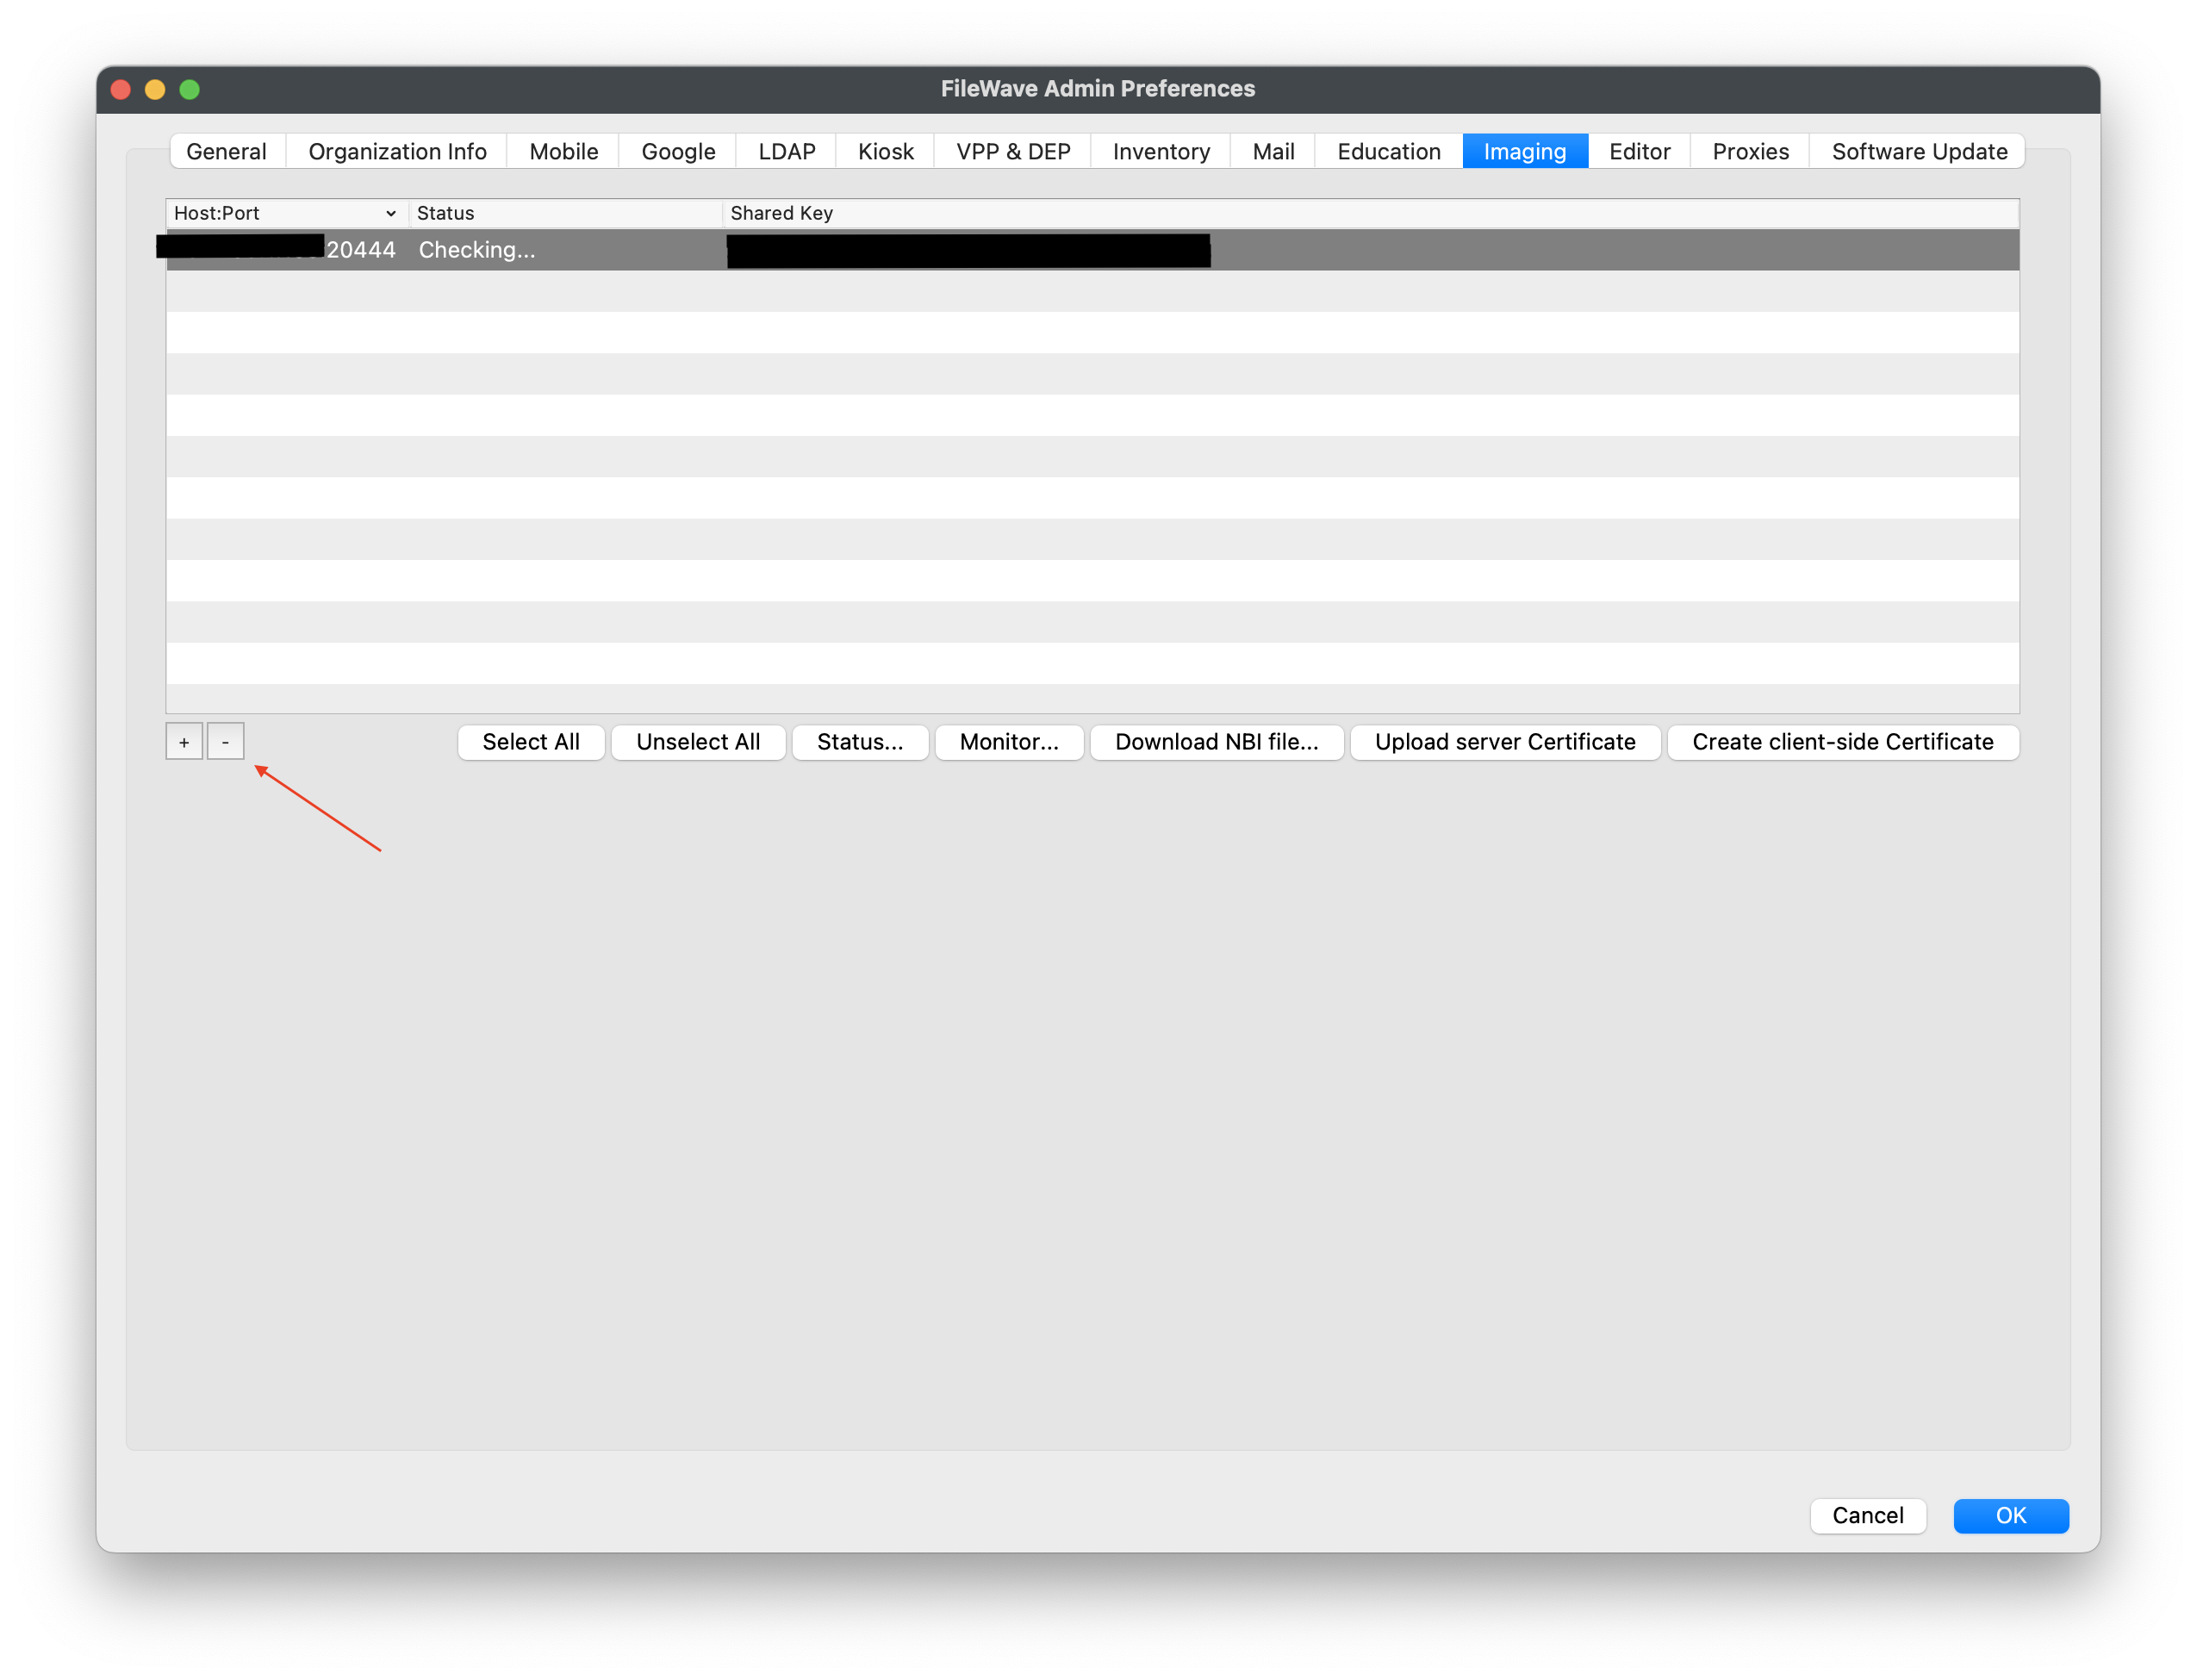
- In FileWave Central, open Preferences > Imaging. Select the IVS, select the minus button, and choose OK. Reopen Preferences > Imaging and confirm that the IVS does not reappear.
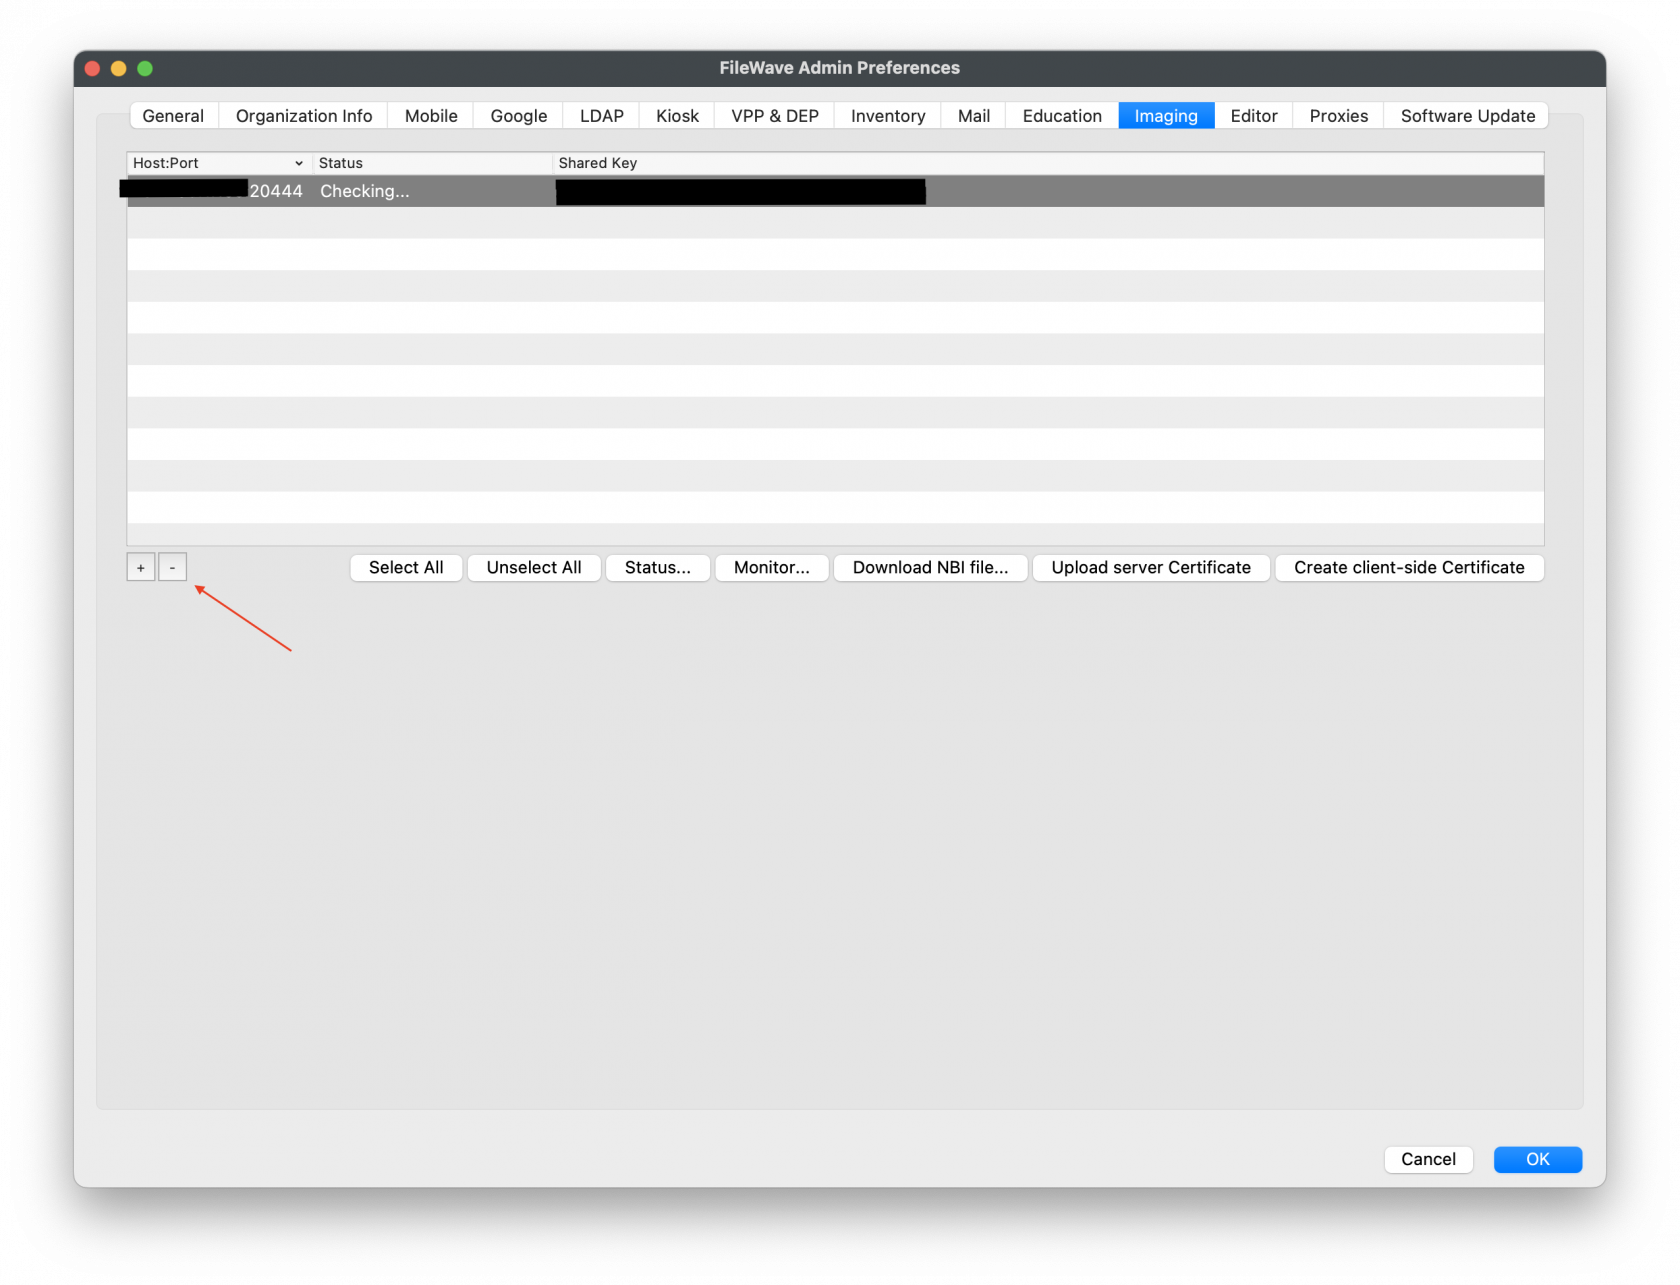
- In FileWave Central, open Preferences > Imaging. Select the IVS, select the minus button, and choose OK. Reopen Preferences > Imaging and confirm that the IVS does not reappear.
- Restart the IVS. In the SSH session, run:
$ sudo shutdown -r now - Enroll the IVS again. After it restarts, follow Setting up the IVS (Imaging Virtual Server).
No comments to display
No comments to display