Desktop / Laptop Client Install and Configure
Use this article to install the FileWave Client on macOS or Windows, or to build a custom installer for larger deployments.
Operating Systems Supported
- macOS
- Windows 10 & 11
For exact supported versions, check Downloads for the release you are deploying.
Downloading the FileWave client installer
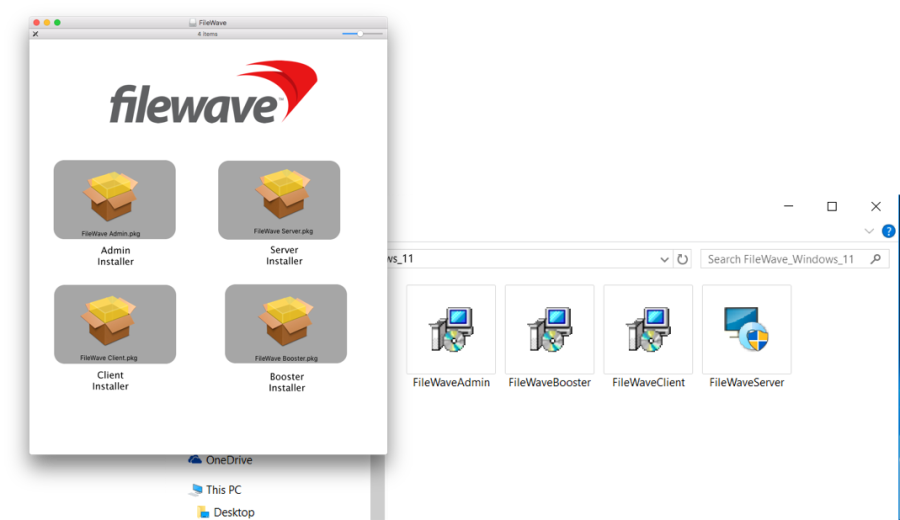
The FileWave Client installer is available as part of the FileWave bundle for the specific operating system. The most current version, as well as selected older versions, of the installer are located on the FileWave KB in Downloads. For the computers mentioned under Legacy Support, you will need to install the most recent client supported on your OS.
You should download all installers you will need for your deployment at the same time. They can be stored on a file server, or on a flash drive in Windows format for cross-platform compatibility (macOS systems can read Windows-formatted drives without additional drivers).
Note: The installer instructions for the Linux server and Booster are also located on the same page of the web site. Server installation instructions are covered in FileWave Server Installation. There is no Linux client.
Installing the FileWave client
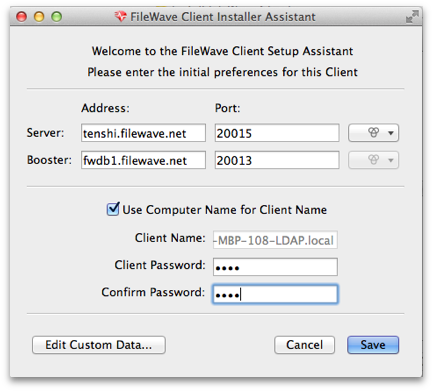
Client installers for both macOS and Windows use the same general dialogs. You will need to read and accept the license agreement, and you will be presented with a dialog window asking you for specific information to connect your client. Note: on some Windows computers, the FileWave Client Installer Assistant window is positioned directly behind the installer window, which you need to move to get to the Installer Assistant to complete the installation.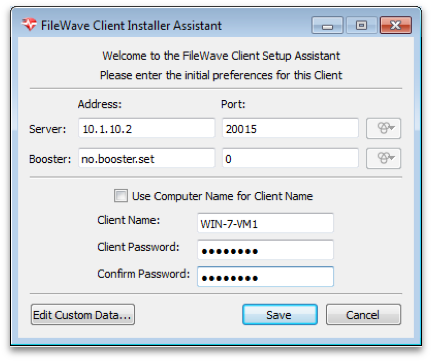
Installation Settings
- Server address / port - Enter the IP address or FQDN of your FileWave server. Enter the TCP port number for the client to communicate with the server (default is 20015)
- Booster address / port - If your client is going to get its Filesets from a Booster, enter the IP address or FQDN of the FileWave Booster. Enter the TCP port number for the client to communicate with the Booster (20013)
Note: More on working with FileWave Boosters in Boosters.
- Use Computer Name for Client Name - this box allows you to use the device's computer name as its FileWave client name.
- Client Name - enter a valid name based on any criteria you have for your deployment. It is recommended that you do not use special characters in the client name. Dashes, underscores, and slashes are ok.
- Client Password / Confirm… - enter a password used by FileWave administrative connections to the client. This does not need to be a local administrator password for that device. Note: You must provide a password in order for the Remote Control/VNC relay to function.
Edit Custom Data…
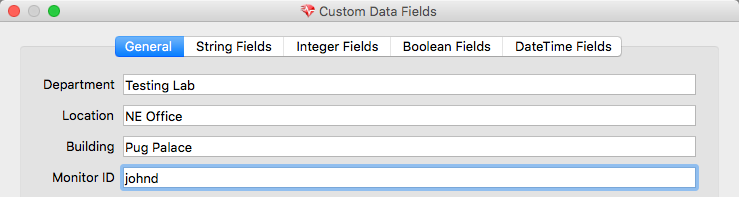
The custom fields consist of a series of optional Inventory data fields that can be used to provide more detailed information on any Client. This information cannot be set in the automated installer, and must be applied manually. The information provided will be displayed as part of Client Info in the Clients pane of FileWave Central by right-clicking any client and selecting Client Info…, and it can also appear in Inventory Reports (formerly Queries).

Automating installation with a custom client installer
Manual installation works for small deployments. For larger rollouts, build a customized client installer with the connection settings already filled in:
For macOS: https://custom.filewave.com/py/custom_client_mac.py
For Windows: https://custom.filewave.com/py/custom_client_win.py
The customized macOS client is required for MDM/ADE support and must be uploaded in FileWave Central under Mobile preferences.
The form is shown on the next page.
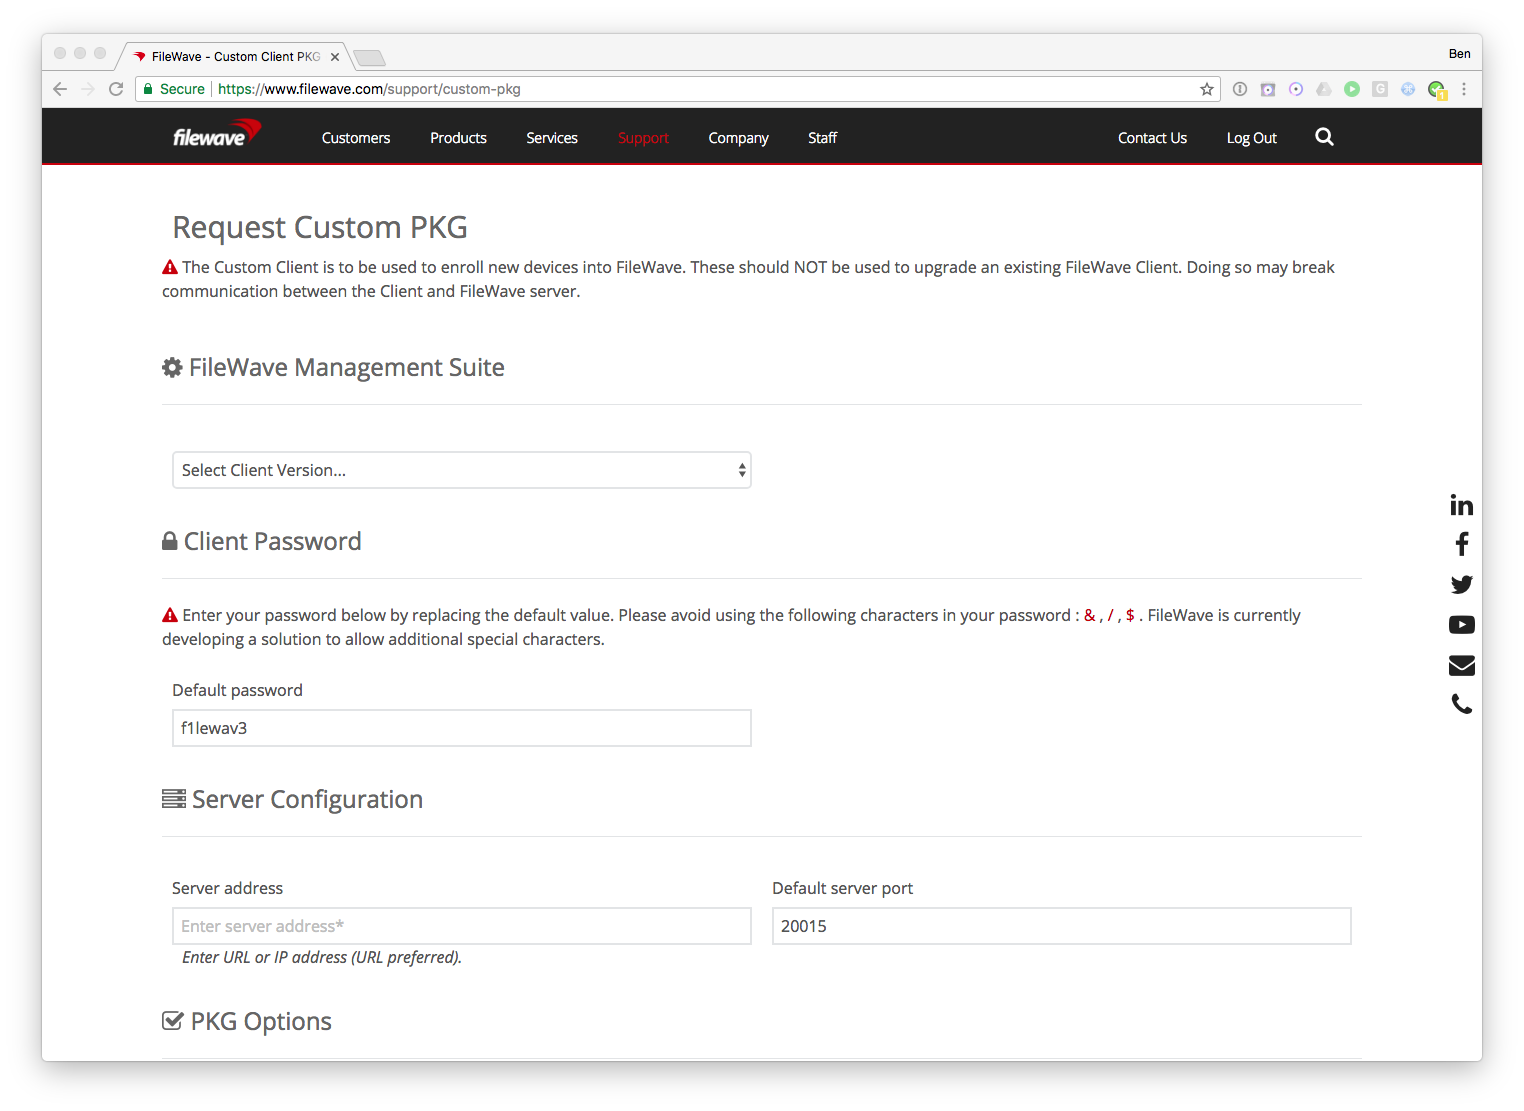
Many fields are required.
Note: The default port setting is 20015. However, SSL is now required, and the system will automatically use port 20017 instead when 20015 is entered. Do not manually set the port to 20017. Always enter 20015, and the system will handle the SSL port change for you.
Advanced Options
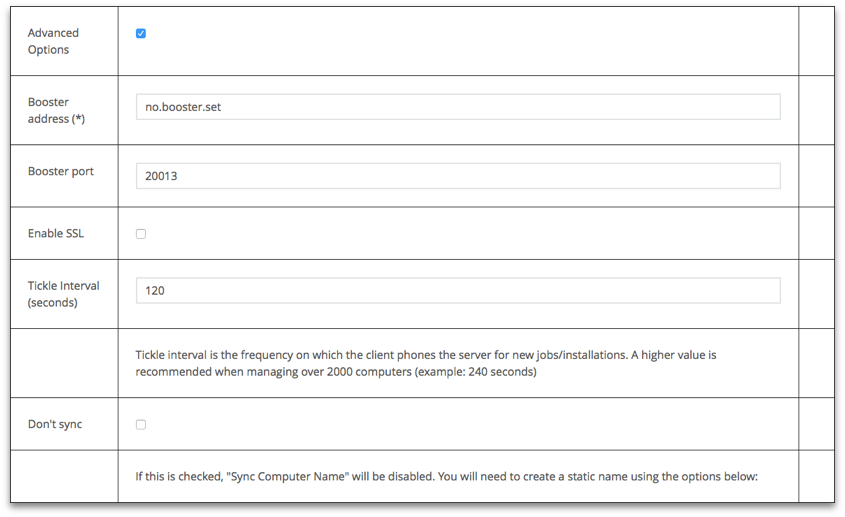
The custom installer does not ask the user for any device specific information, and can be distributed through several means:
- Apple's Automated Device Enrollment (ADE) uses the custom installer to enroll institutionally purchased devices automatically with your FileWave Server.
- Add the custom installer to an image set when doing direct or network mass imaging.
- Use a remote installation tool, such as Apple Remote Desktop, to distribute the custom installer to large numbers of existing devices.
- Use a 3rd party imaging tool, such as DeployStudio, to build a custom client set.
Note: FileWave provides "recipes" of possible deployment workflows for the custom installer in the KB.
No comments to display
No comments to display