
Using Placeholders to Pre-Assign Device Names and Custom Fields
Placeholders
 A placeholder represents a computer or mobile device before FileWave has seen it. Create placeholders when you need to pre-assign names, Custom Field values, or content so the intended configuration is ready when each device enrolls.
- Import new Windows computers and assign the image they should receive. See Windows Network Imaging - PXE.
- Import new macOS, Windows, iOS, iPadOS, or tvOS devices and assign custom names.
- Import iOS, iPadOS, or macOS devices and assign Custom Field values that Automated Device Enrollment (ADE, formerly DEP) can use as naming variables. See ADE Naming.
- Assign Custom Field values before enrollment so Smart Groups can target the intended content as soon as the device enrolls.
This workflow imports devices and assigns administrator-provided Custom Field values before enrollment. Common examples include:
- Barcode / Asset tag
- Location
- Use
- Warranty information like expiration date
Preparing the Files
Start with one CSV or spreadsheet containing the device identifier, intended name, and values you want to assign:
| Serial or MAC address | Name | Barcode | Location | Use |
| AS5D64AS65D4 | Lab-A-comp1 | 321654987 | North Campus | Student |
| Q32WE1WQ3E21 | Lab-A-comp2 | 321654988 | North Campus | Student |
| X9C87ZX9C87ZC | Front-Desk-1 | 321654989 | Main Office | Admin |
| DF9H51DF95H1 | BreakRoom-A | 321654990 | Break Room | Faculty |
Prepare to import the source data twice:
- Create the device placeholders.
- Assign Custom Field values to those placeholders.
Creating the Placeholders
In New Client, import a tab-delimited file containing only the device identifier and name columns.
More detailed instructions:
Windows / macOS : Importing Computer Clients from a File
iOS / tvOS : Enrolling Mobile Devices into FileWave
Create the Custom Fields and import
Either import the provided Custom Field definitions or create equivalent fields manually.
Import Custom Fields
- Download the custom field file: FileWave Custom Fields.customfields
- Open Assistants → Custom Fields → Edit Custom Fields.
- Press "import" Browse for file
For more see: Importing and Exporting Custom Field Files
Create Custom Fields
Create any needed custom fields and assign them to all devices, or specific devices.
-
Open the custom field UI
-
Create Custom fields for Use, Location, barcode;
-
Use: Provided: Admin, Type: string, Restricted: True, Values: None (DEFAULT), Faculty, Student, Administration
-
Location: Provided: Admin, Type: string, Restricted: True, Values: None (Default), Site A, Site B
-
Barcode: Provided: Admin, Type: string, Restricted: False, Use Default Values: True (Default: None)
-
Take note of the "Internal Name" from the custom fields (I.E: barcode, location, use)
-
More detailed instructions:
Custom Fields
Import Custom Field Values
Once the fields are created and assigned to the proper devices we need to import your file again in the custom fields UI. This time with the serial, barcode, location, use column.
You can actually have FileWave to create a sample CSV file with the proper headings by going to
- Open Assistants → Custom Fields → Import Custom Fields.
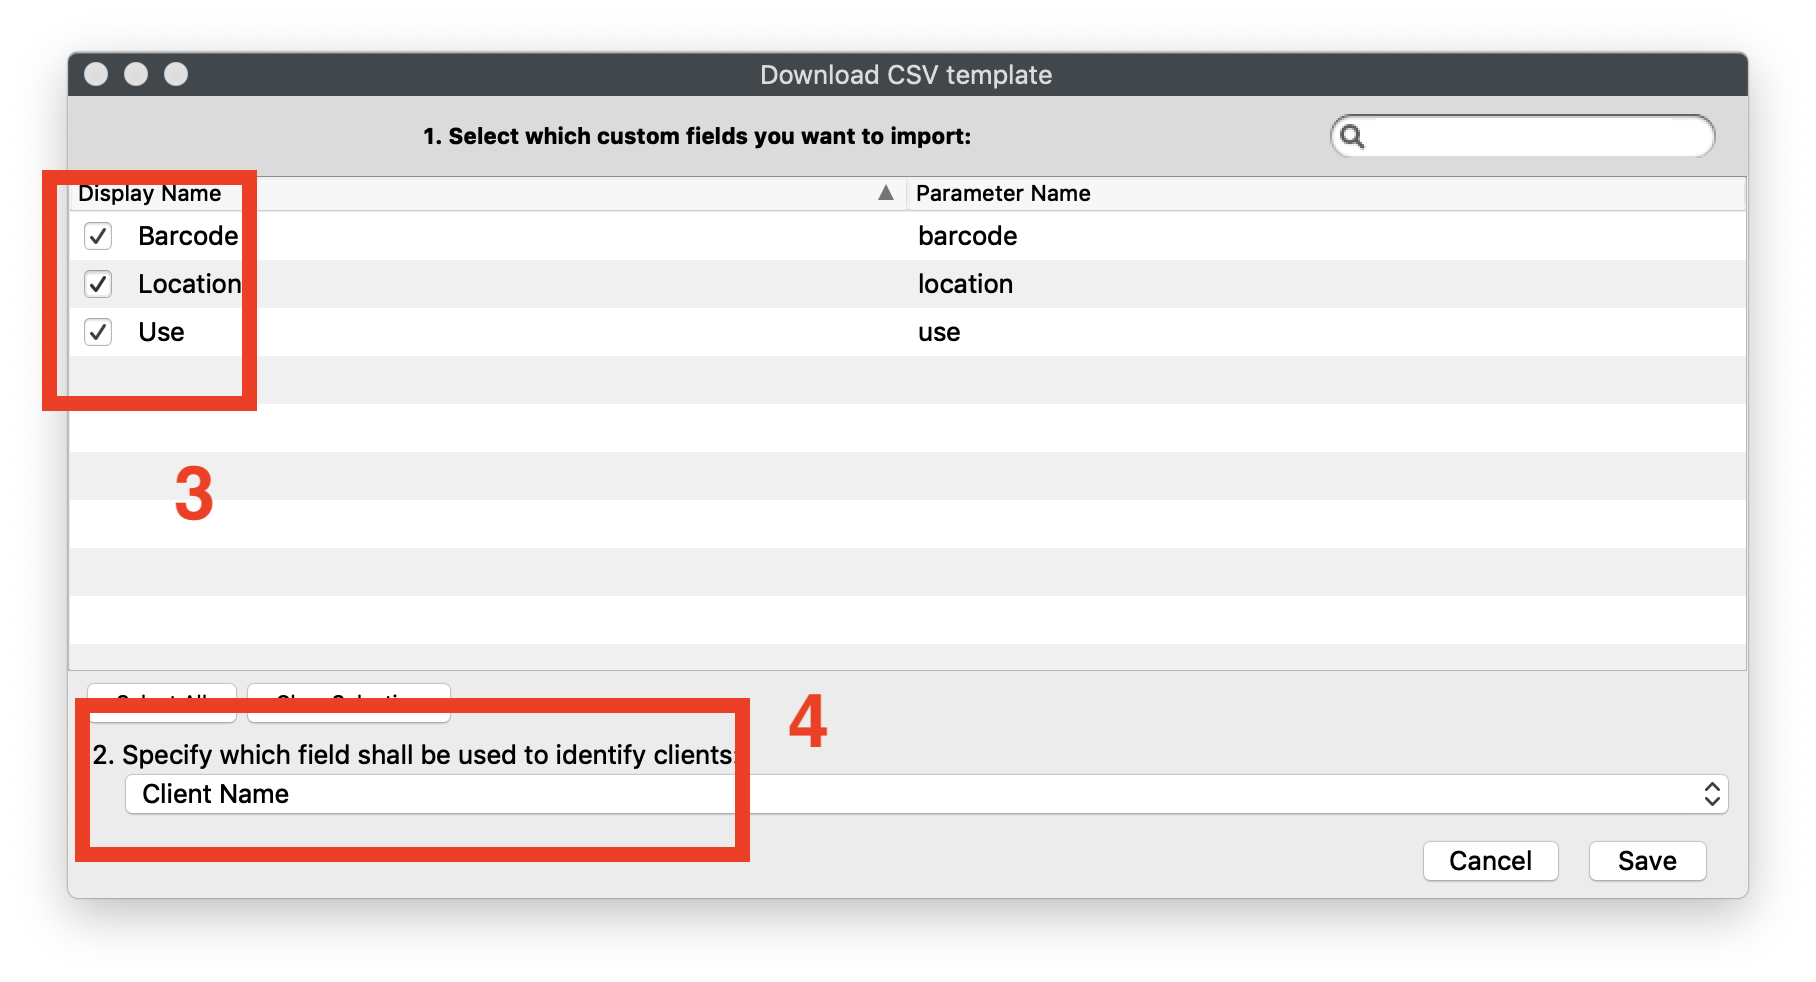
- Press "Download Template"
- Select the values you want to import (barcode, location and use in our case)
- Specify the field to identify clients (for example Serial Number or Client Name)
- Save
Open the template in a spreadsheet app such as Microsoft Excel or Apple Numbers, add the required values, save it as CSV, and import it into FileWave.
Note that you can also set custom field values for placeholders manually by right-clicking if you have only a few to update
No comments to display
No comments to display