Importing FileWave OVF (Vmware ESXI)
Step-by-Step Guide
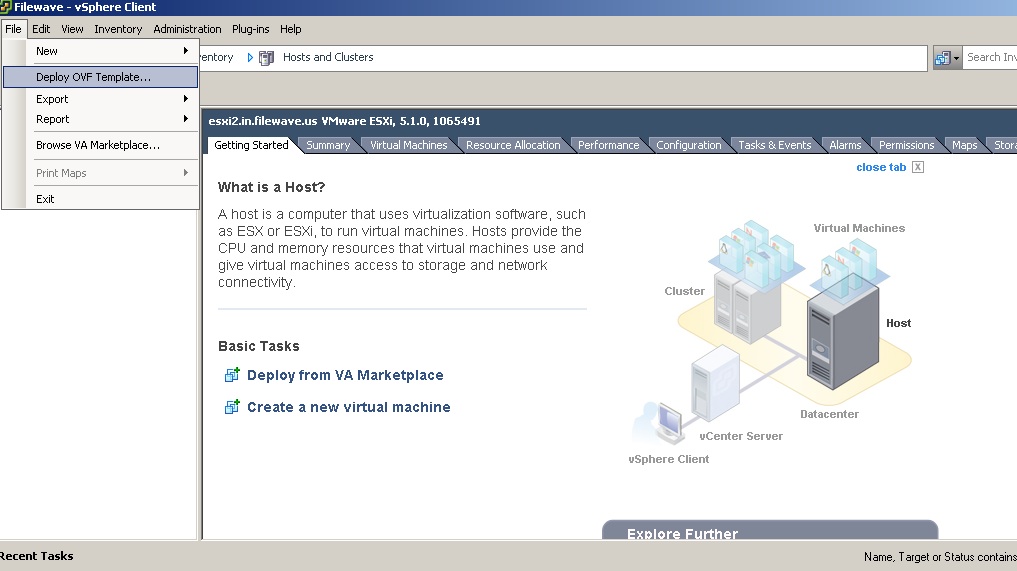
1. Open your vSphere Client software and connect to ESXI. Click “File” and “Deploy OVF Template".
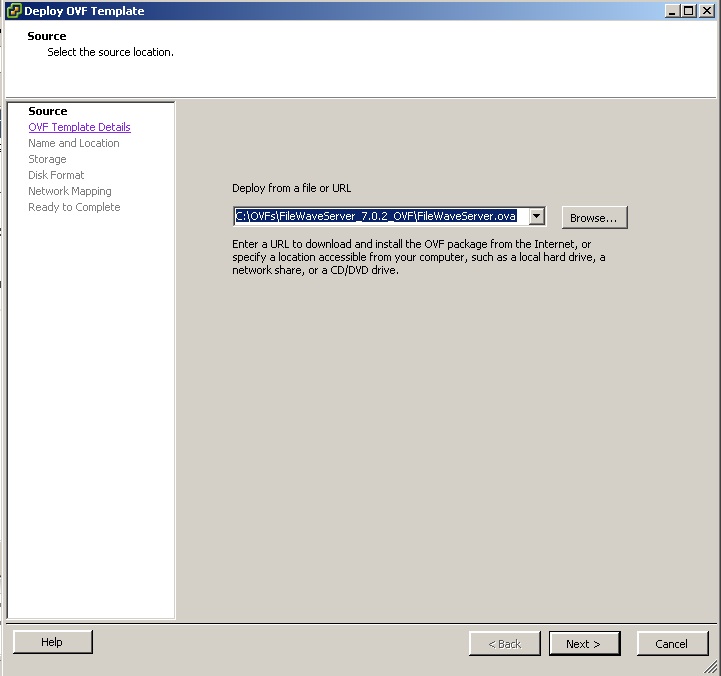
2. Browse your machine for the unzipped OVA/OVF from FileWave and click “Next”.
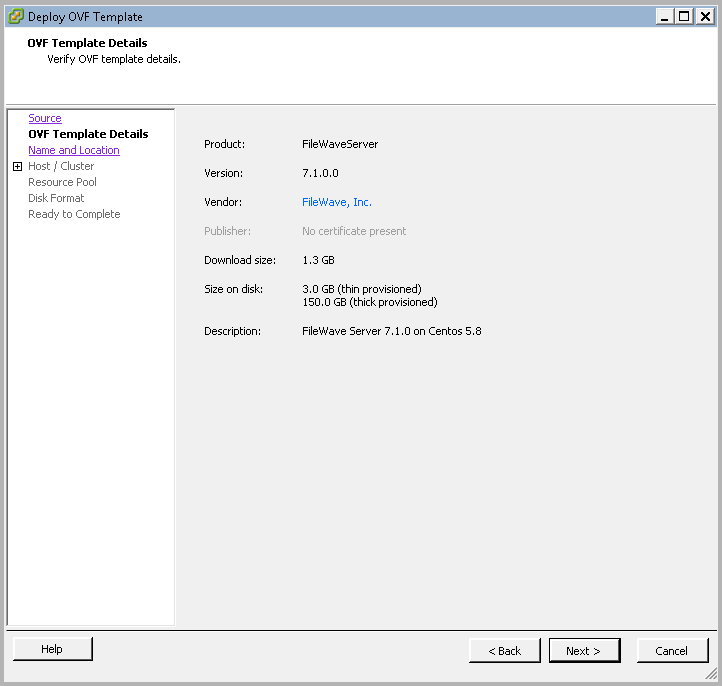
3. The OVF Details will be presented to you. Click “Next”.
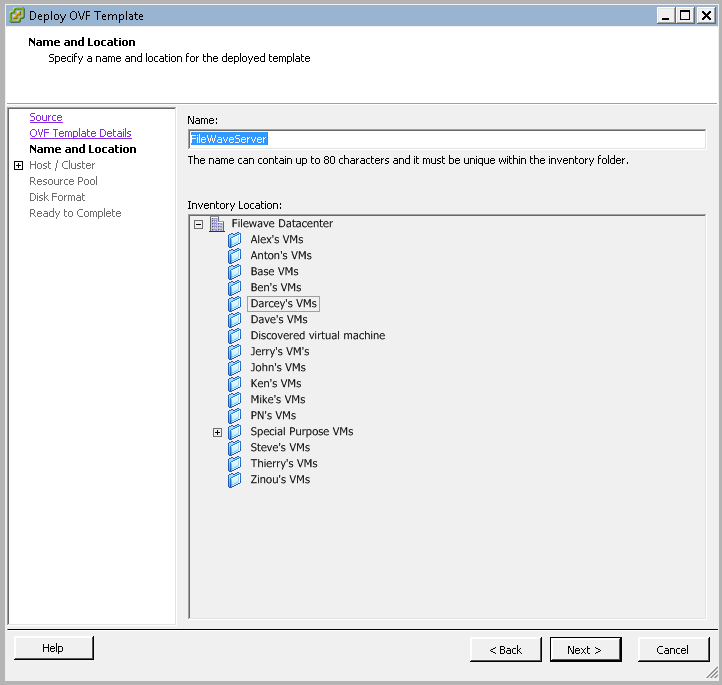
4. Give your Server a Name and select the Datacenter and Location where you would like to store it.
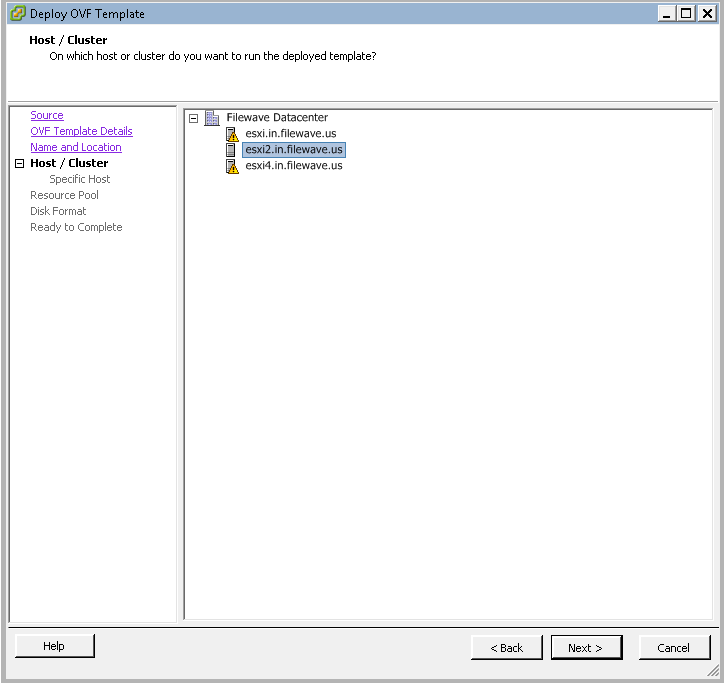
5. Select which ESXI server will host the OVF.
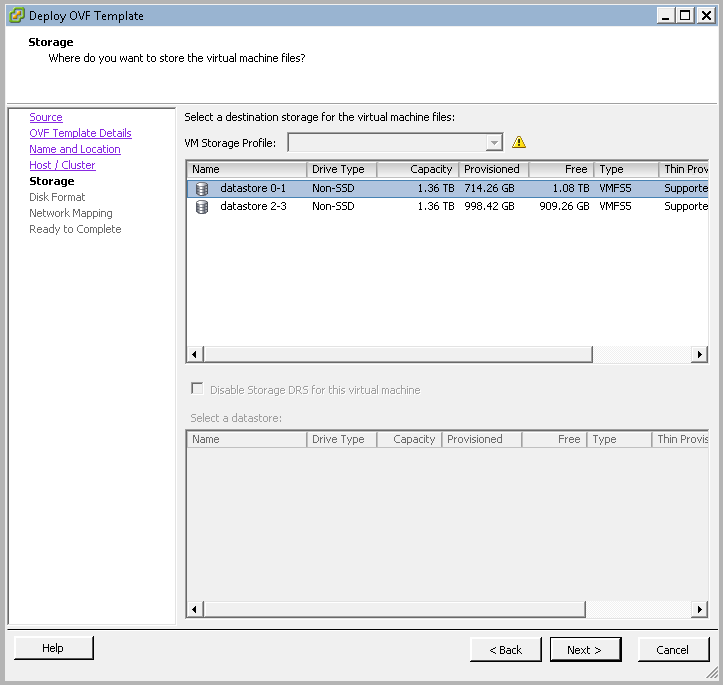
6. Select the datastore where you would like to store your OVF.
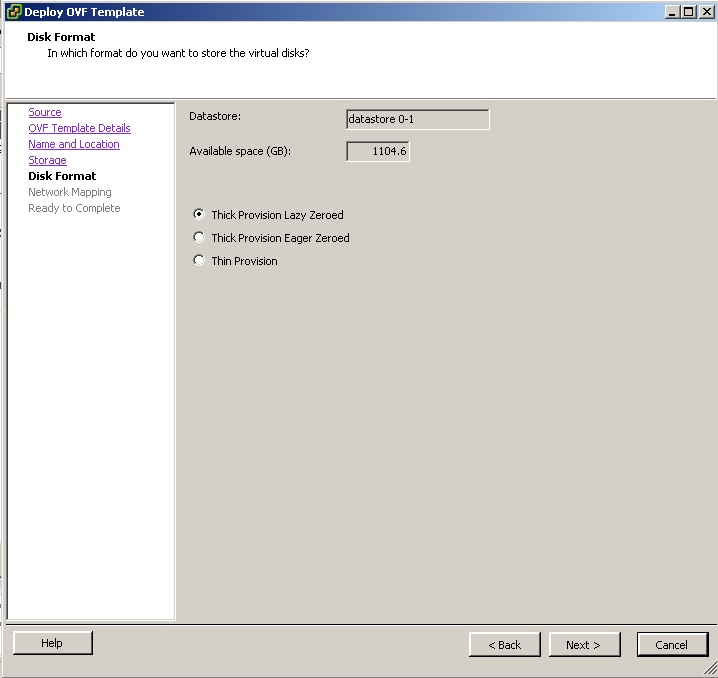
7. Choose the desired format for the virtual disks.
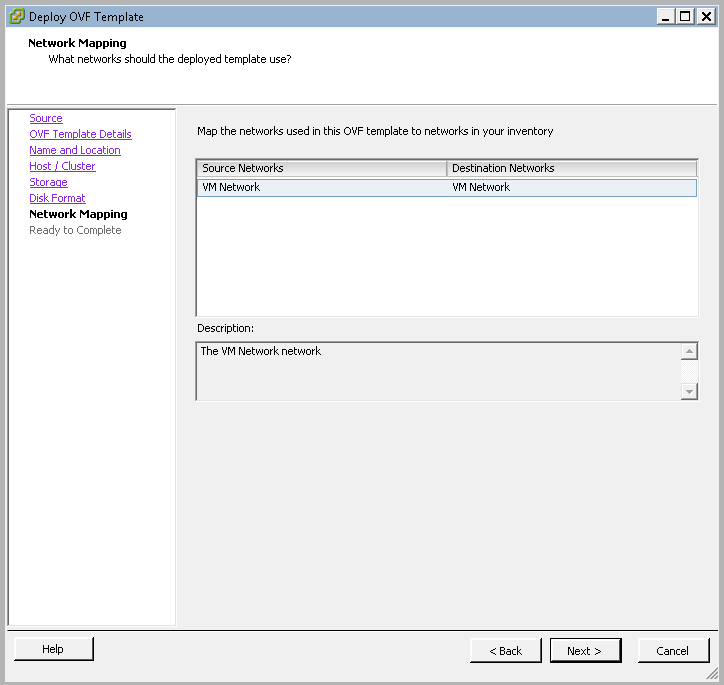
8. Map the OVF/Server to the desired VM Network.
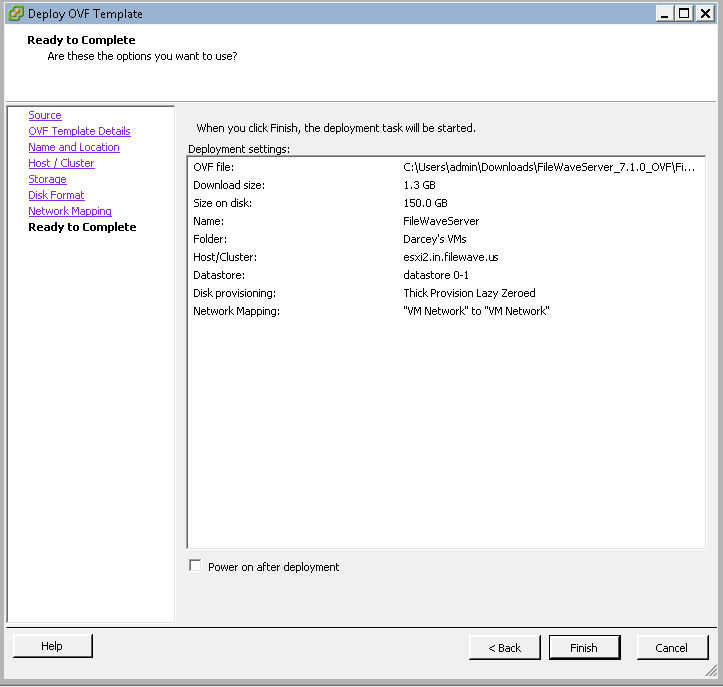
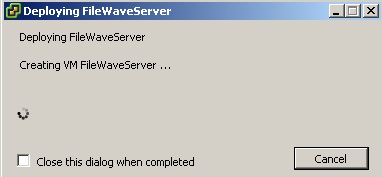
9. Click "Finish" to begin importing the OVF.
Note: You may receive a message that the import failed because OVF specification conformance. Clicking "Retry" will resolve that and continue the import.
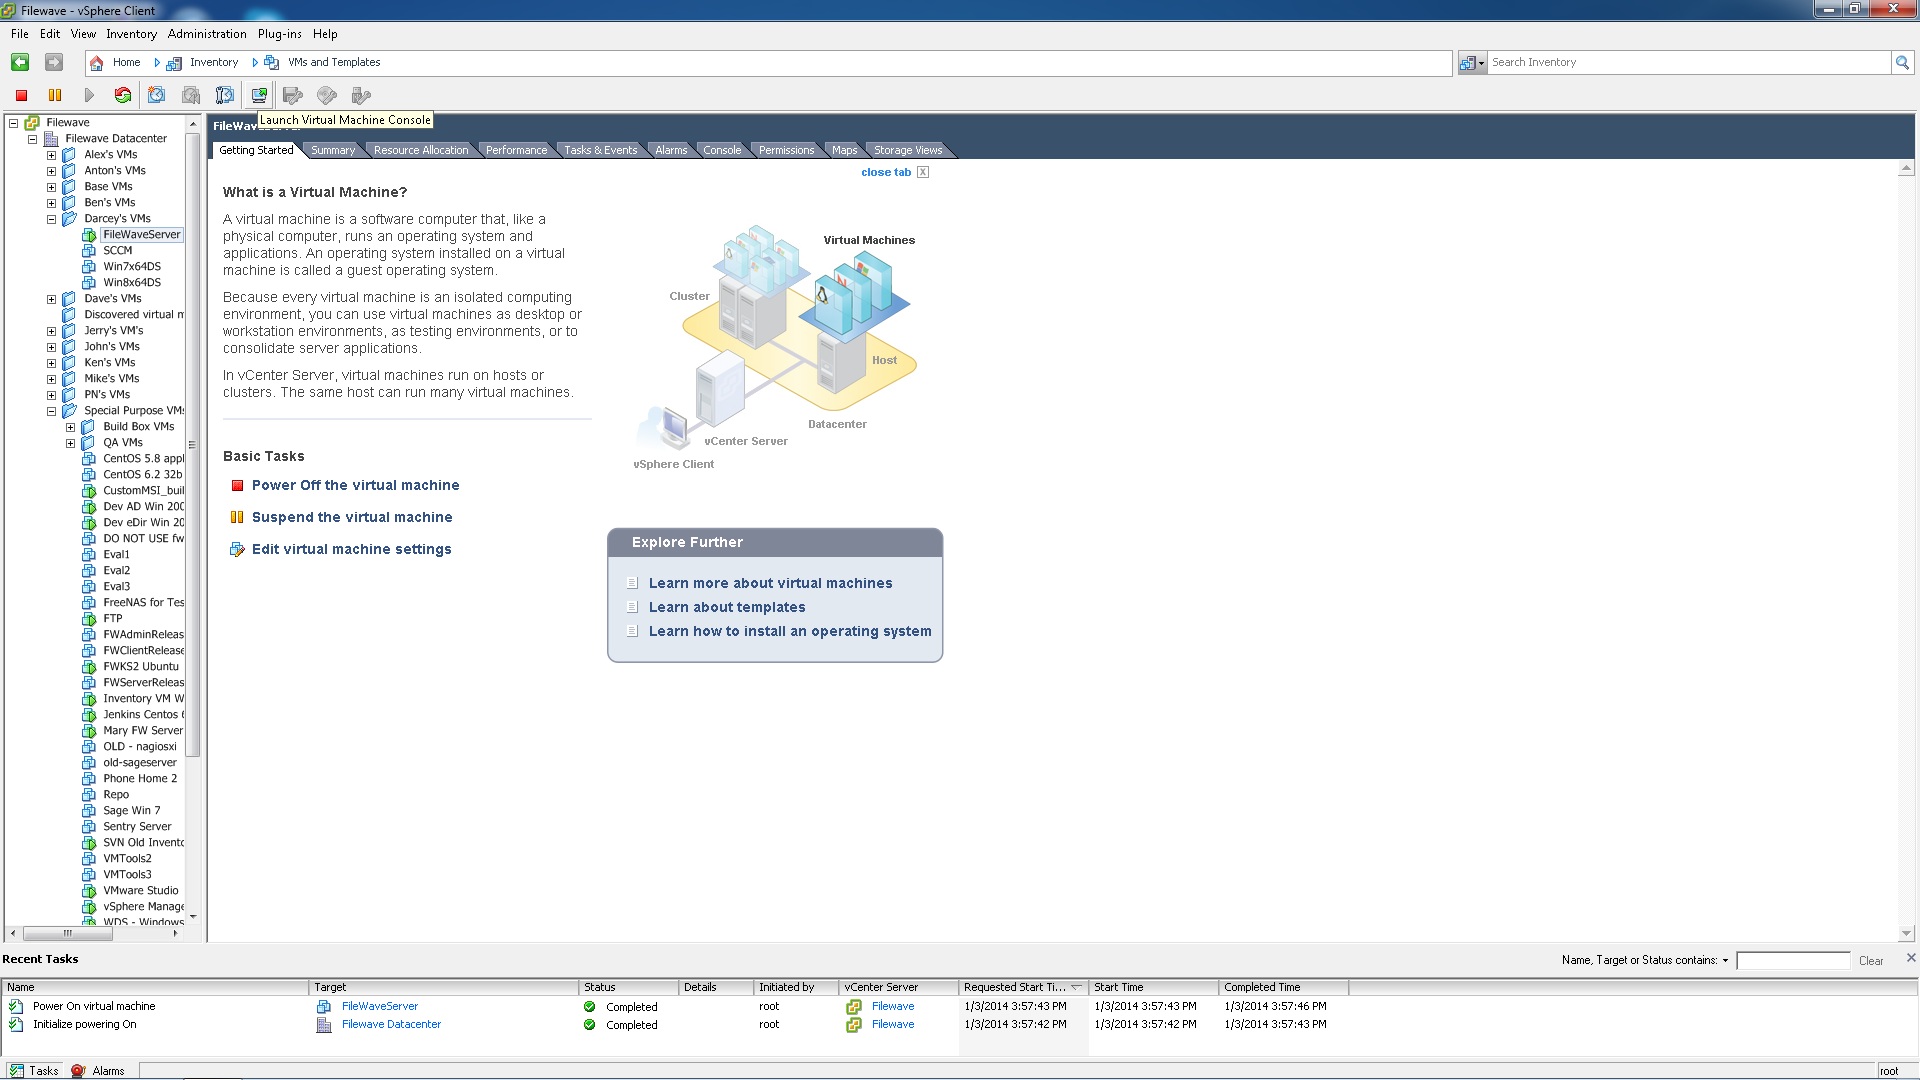
10. Once the OVF has imported successfully, turn it on and open a console window to ensure that it starts successfully.
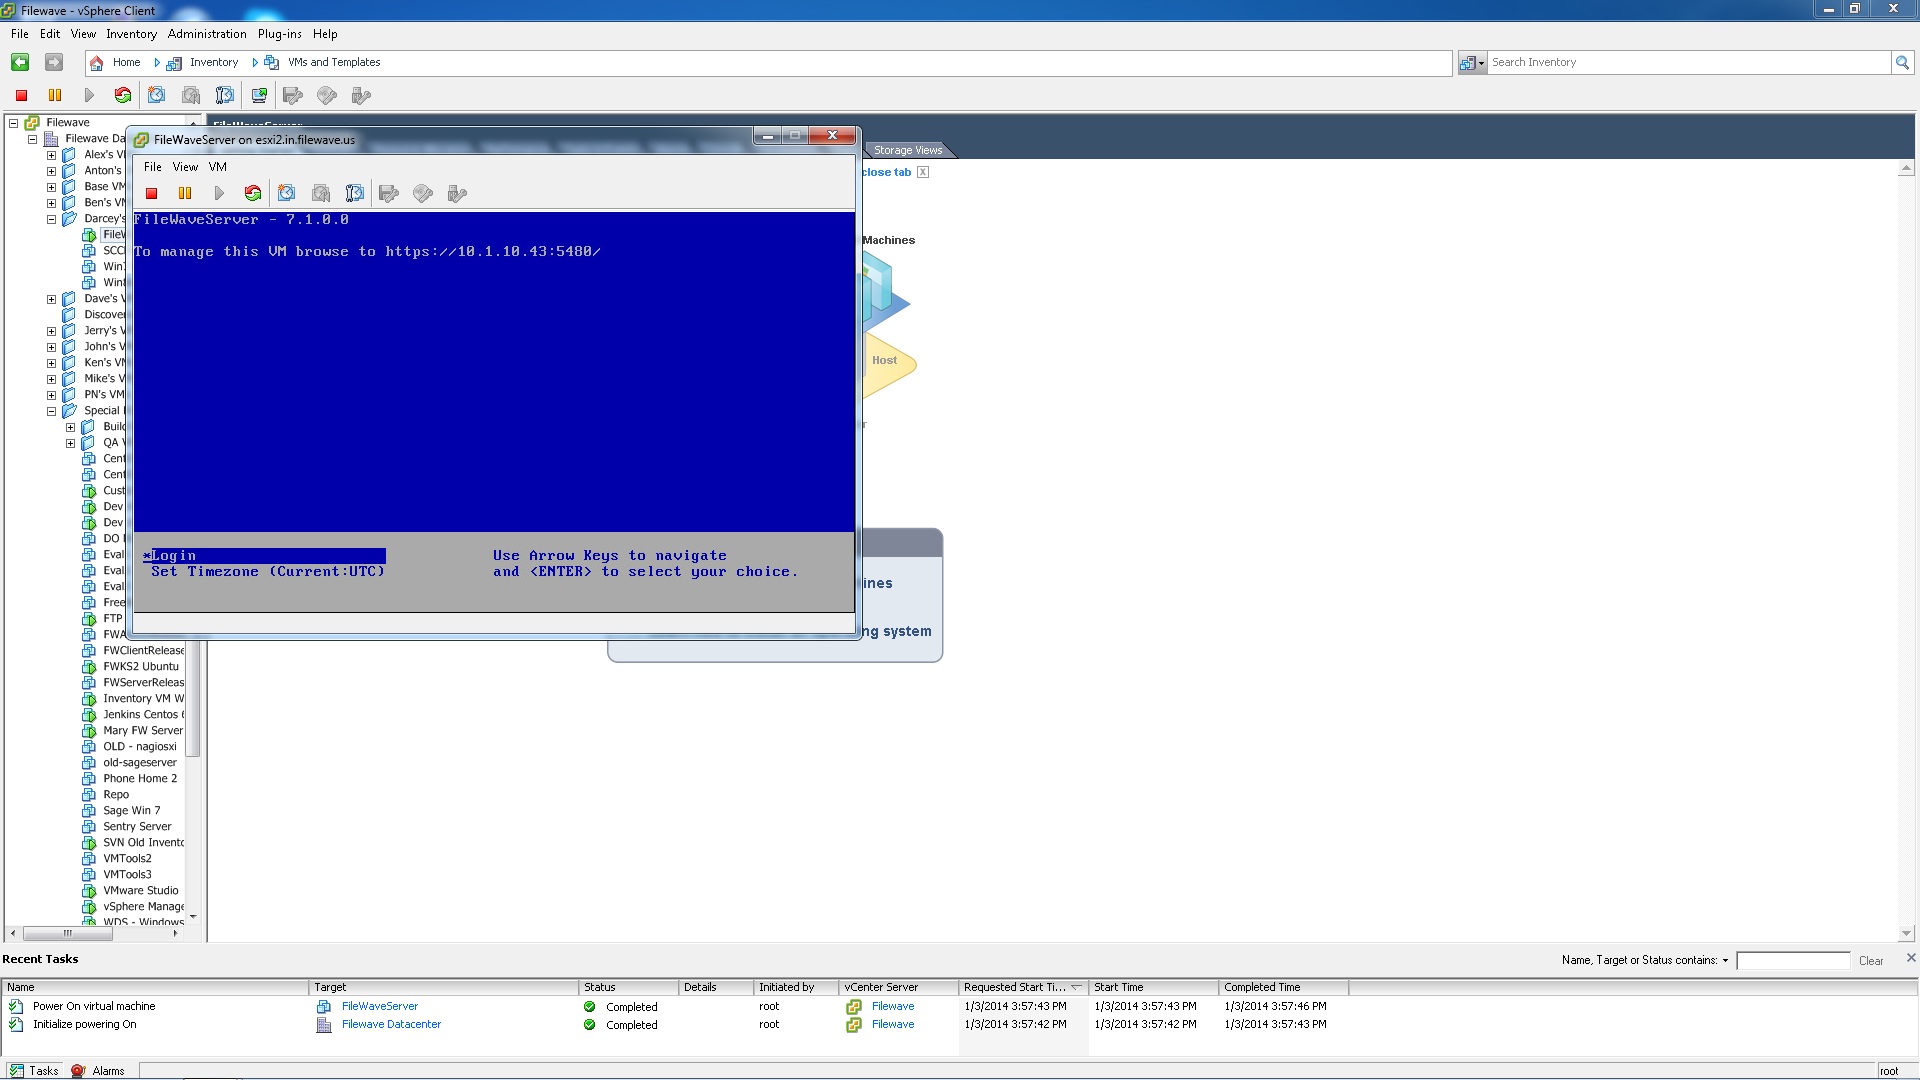
You've successfully imported the IVS Appliance! For next steps, please be sure to complete Changing the IP Address of your IVS (Static) and, if importing version 15.5+, please see: Setting the Password on First Login to FileWave Appliances (15.5+)
No comments to display
No comments to display