Including the FileWave client on an image
What
The generated Windows base image should be left as clean as possible, with any chosen installations handled afterwards to prevent having to recreate the image more often than absolutely required. However, the base image should include the FileWave Client, to ensure imaged devices check-in immediately after the imaging process. The purpose of this guide is to avoid creating duplicate enrollments (namely, the Device ID can easily be cloned if not careful) for Windows devices when imaged.
Installing the FileWave Client should take place just before Sysprep is commenced.
When/Why
The FileWave Client should be installed, prior to generating the image, using the personalized Custom MSI. The Custom MSI installer can be found here: Custom FileWave Client for Windows.
However, this source device should not be allowed to check into the FileWave Server, to ensure that the client does not have any unique configuration passed onto each imaged device or that any database entries are created for this device.
Consider using a VM and taking a snapshot before making any prior configuration changes to the base image. If a mistake is made, it will then be easy to rollback and redo that stage.
If after the FileWave Client is installed the source device is allowed to check-in, then the client service will still need to be stopped. Afterwards, the generated client record should be removed (run a Model Update after removal) and either the FileWave client should be uninstalled and re-installed, generated FileWave Client files should be removed/edited or roll the VM back, if created, to redo this step.
Files required for removal/edited may be found on the following KB: FileWave File Locations
How
-
Prepare the device as per the prior instructions
-
Disable the network for this device
-
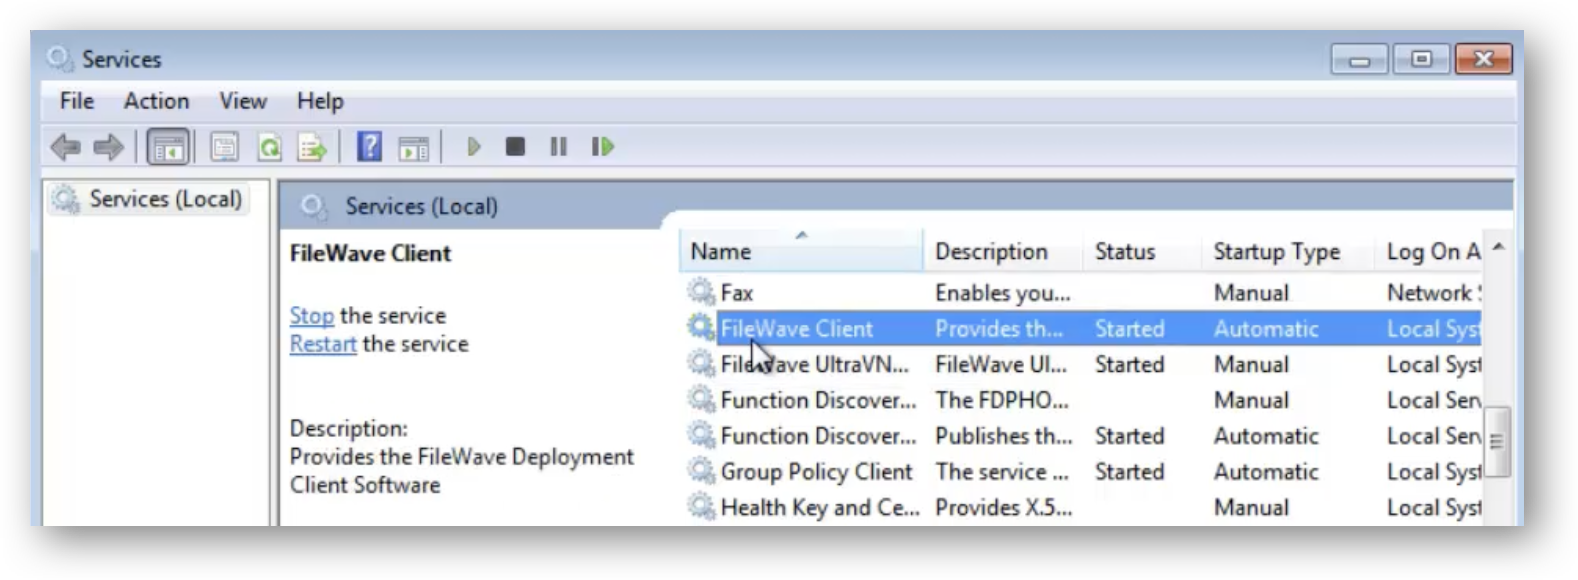
Open the Windows Services (in preparation to stop the FileWave Client)
-
Instal the Custom MSI
-
Stop the FileWave Client service
-
Re-enable the network
The device is now ready to generate the base image with ‘Sysprep’. Next is to capture the image, be sure follow the Windows Network Imaging.
No comments to display
No comments to display