Client Group Structure
You get a group and you get a group, everybody gets a group!
Staying organized in life is important and it's no different within FileWave. This section will outline some workflows and best practices when it comes to grouping and organizing your Client devices. Leveraging FileWave Smart Groups, LDAP-based Smart Groups, and Clones, FileWave allows you to organize you devices no matter how advanced your Org structure is.
Creating a basic structure for automatic device enrollment
The first two groups we will create are to enable automatic device enrollment for both Client (Windows, macOS) and Mobile (iOS, tvOS, Android) devices. This "-Enrollment" group will contain all of the original device records within FileWave, therefore it is recommended to treat this group as a "safe zone". We will create other group structures to associate software and settings to your devices based on more granular criteria.
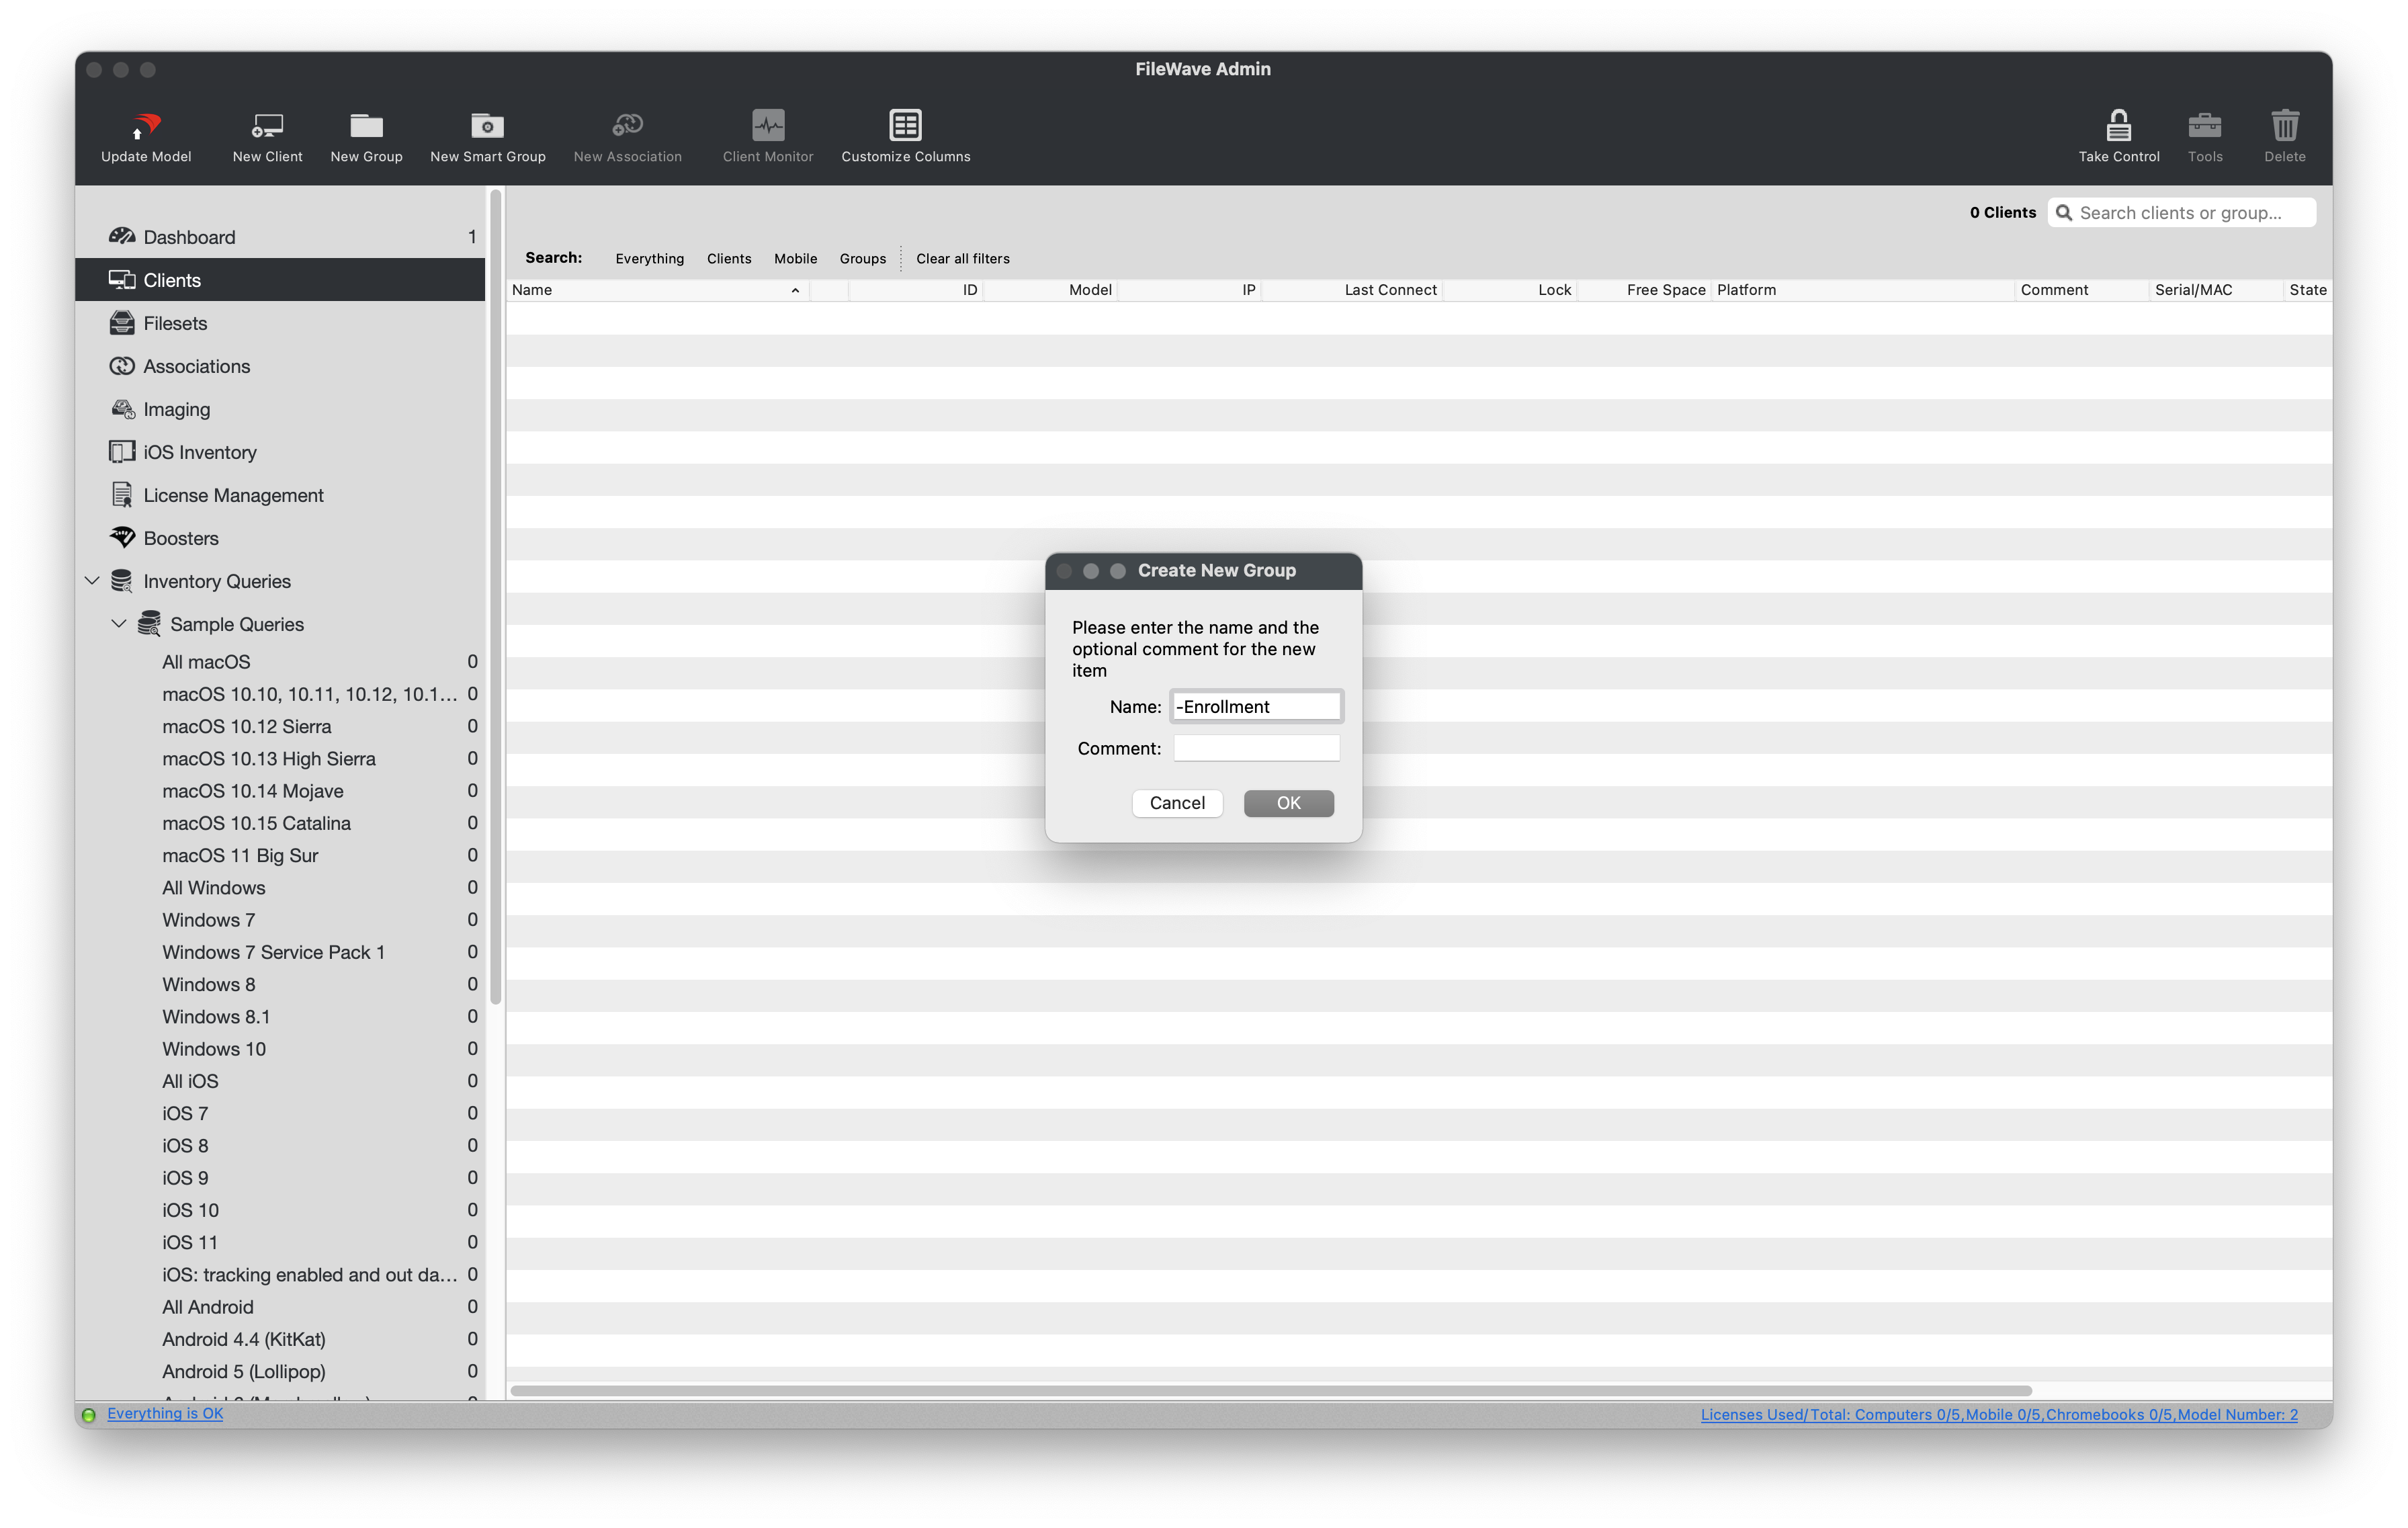
Create a New Group
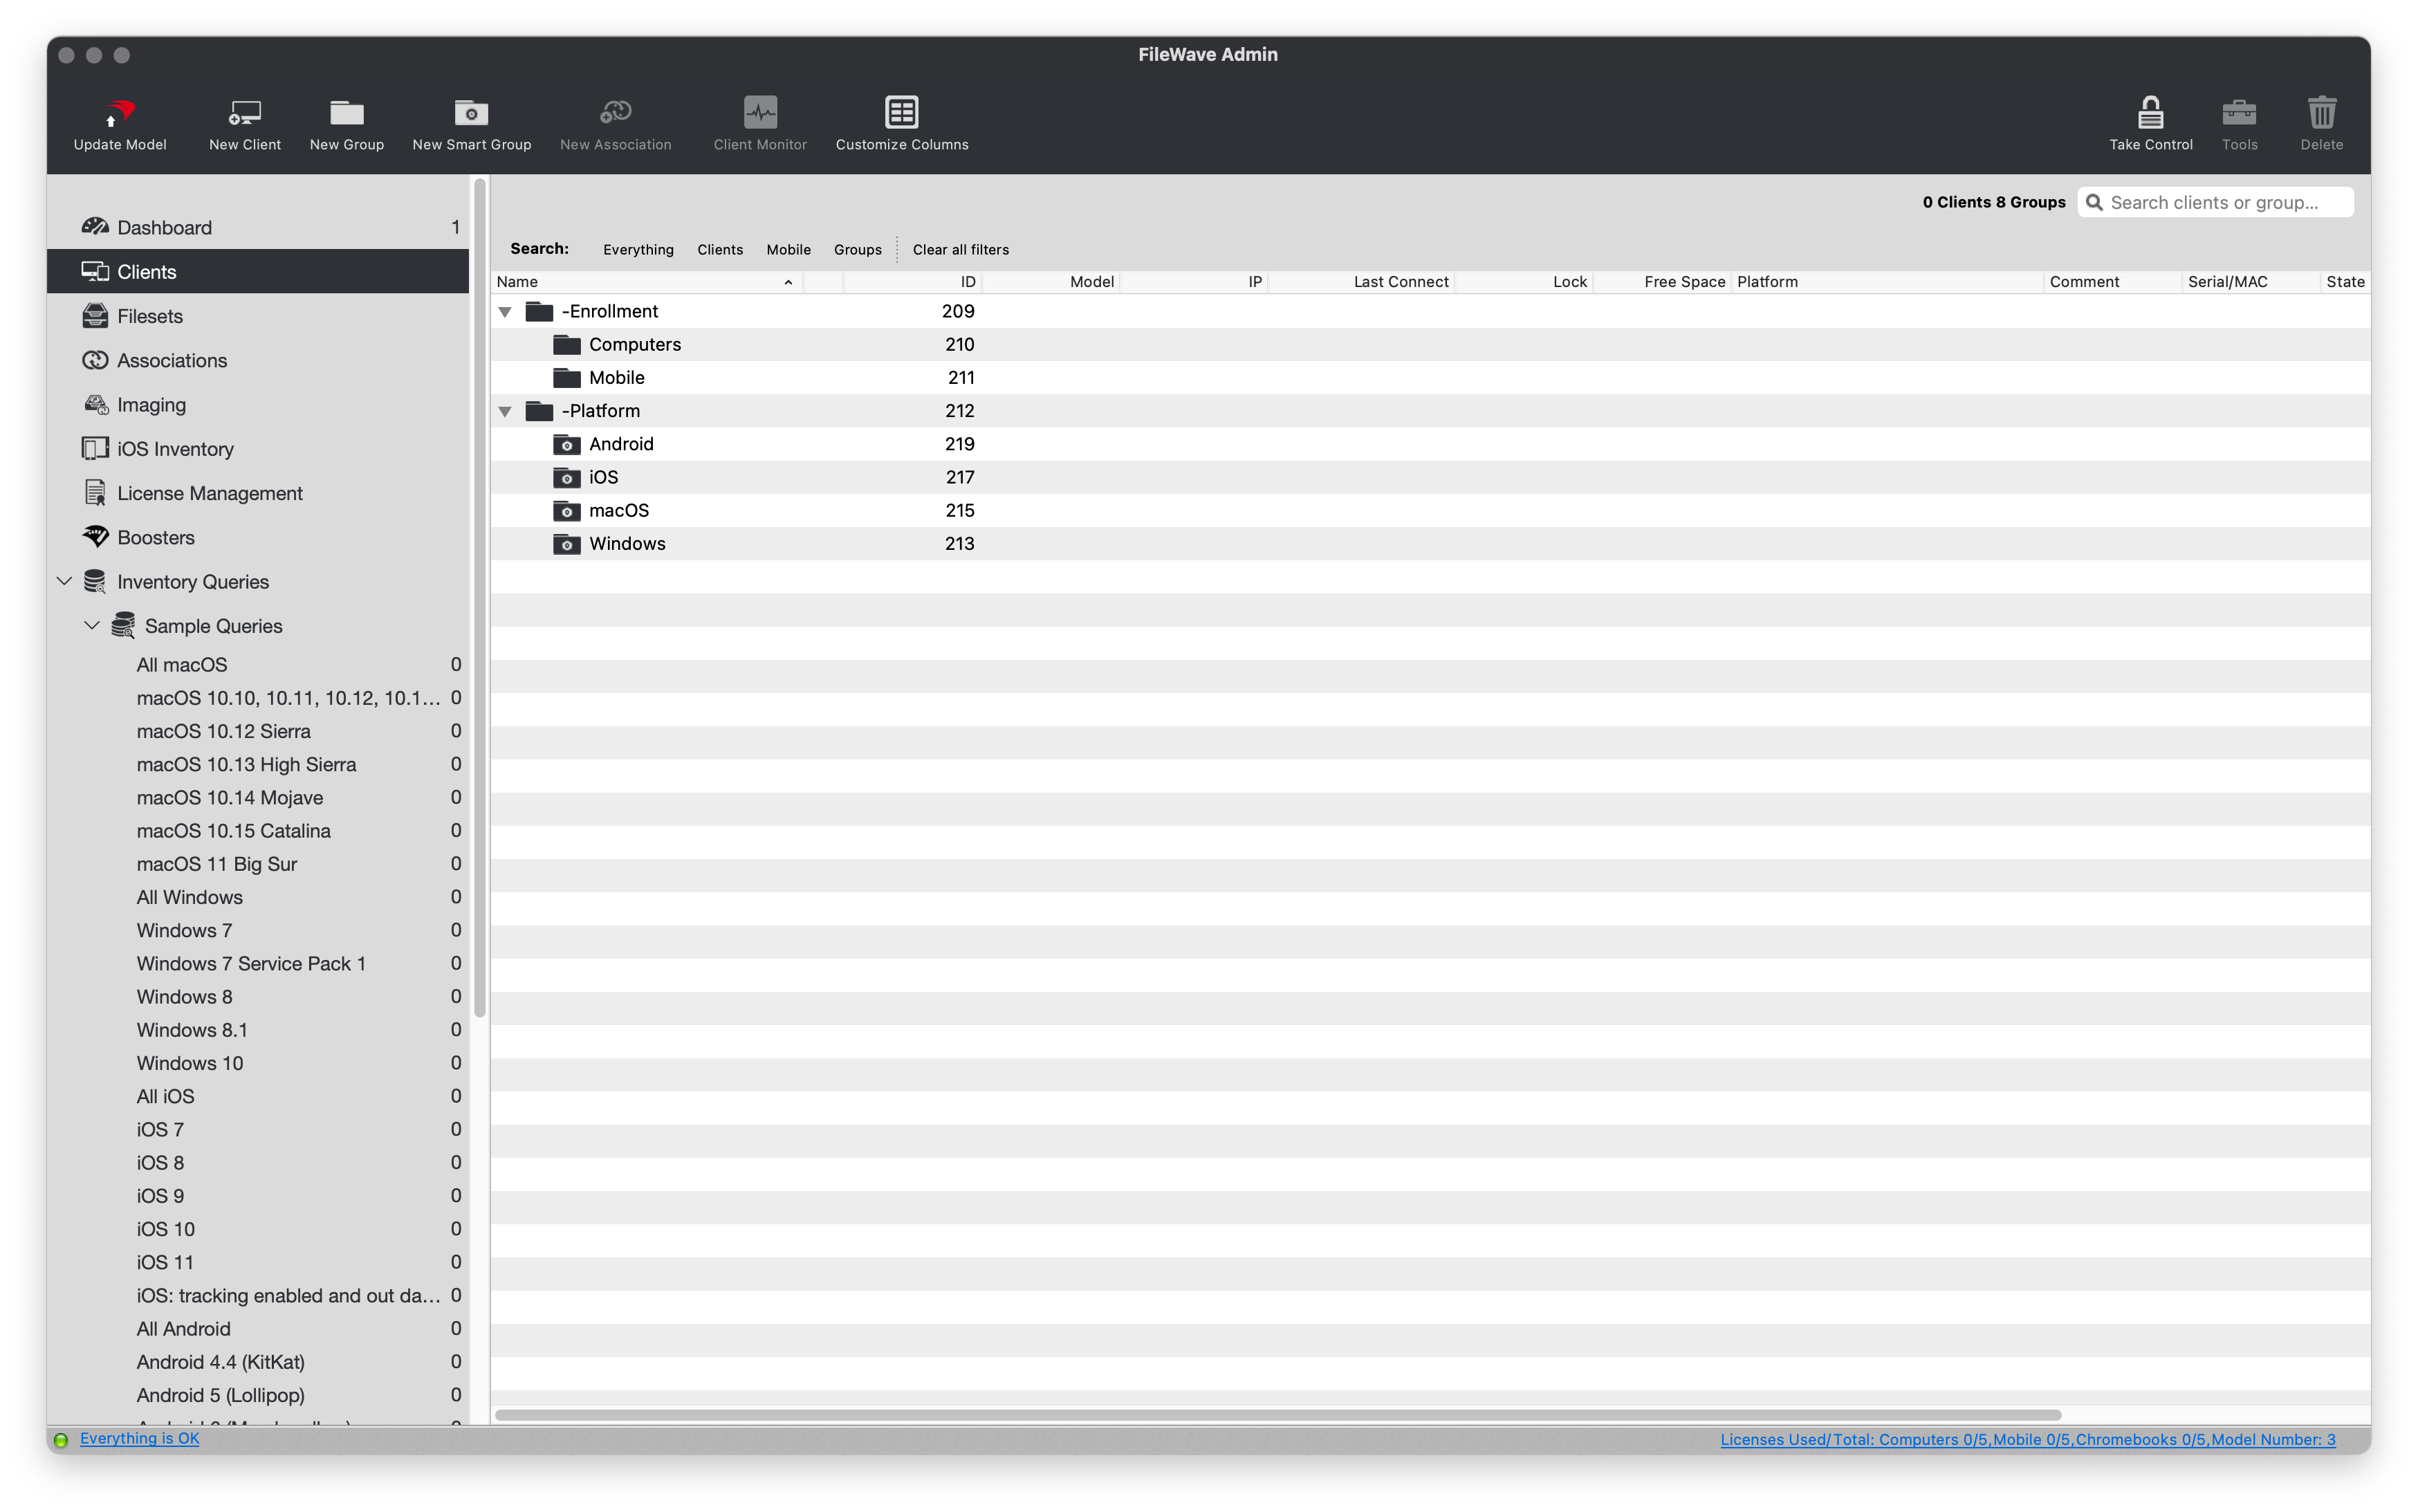
- Open FileWave Admin and navigate to "Clients" from the left pane.
- Click "New Group" from the black menubar.
- Name the first group as "-Enrollment".
- We use a "-" so that the group floats to the top when sorted alphabetically.
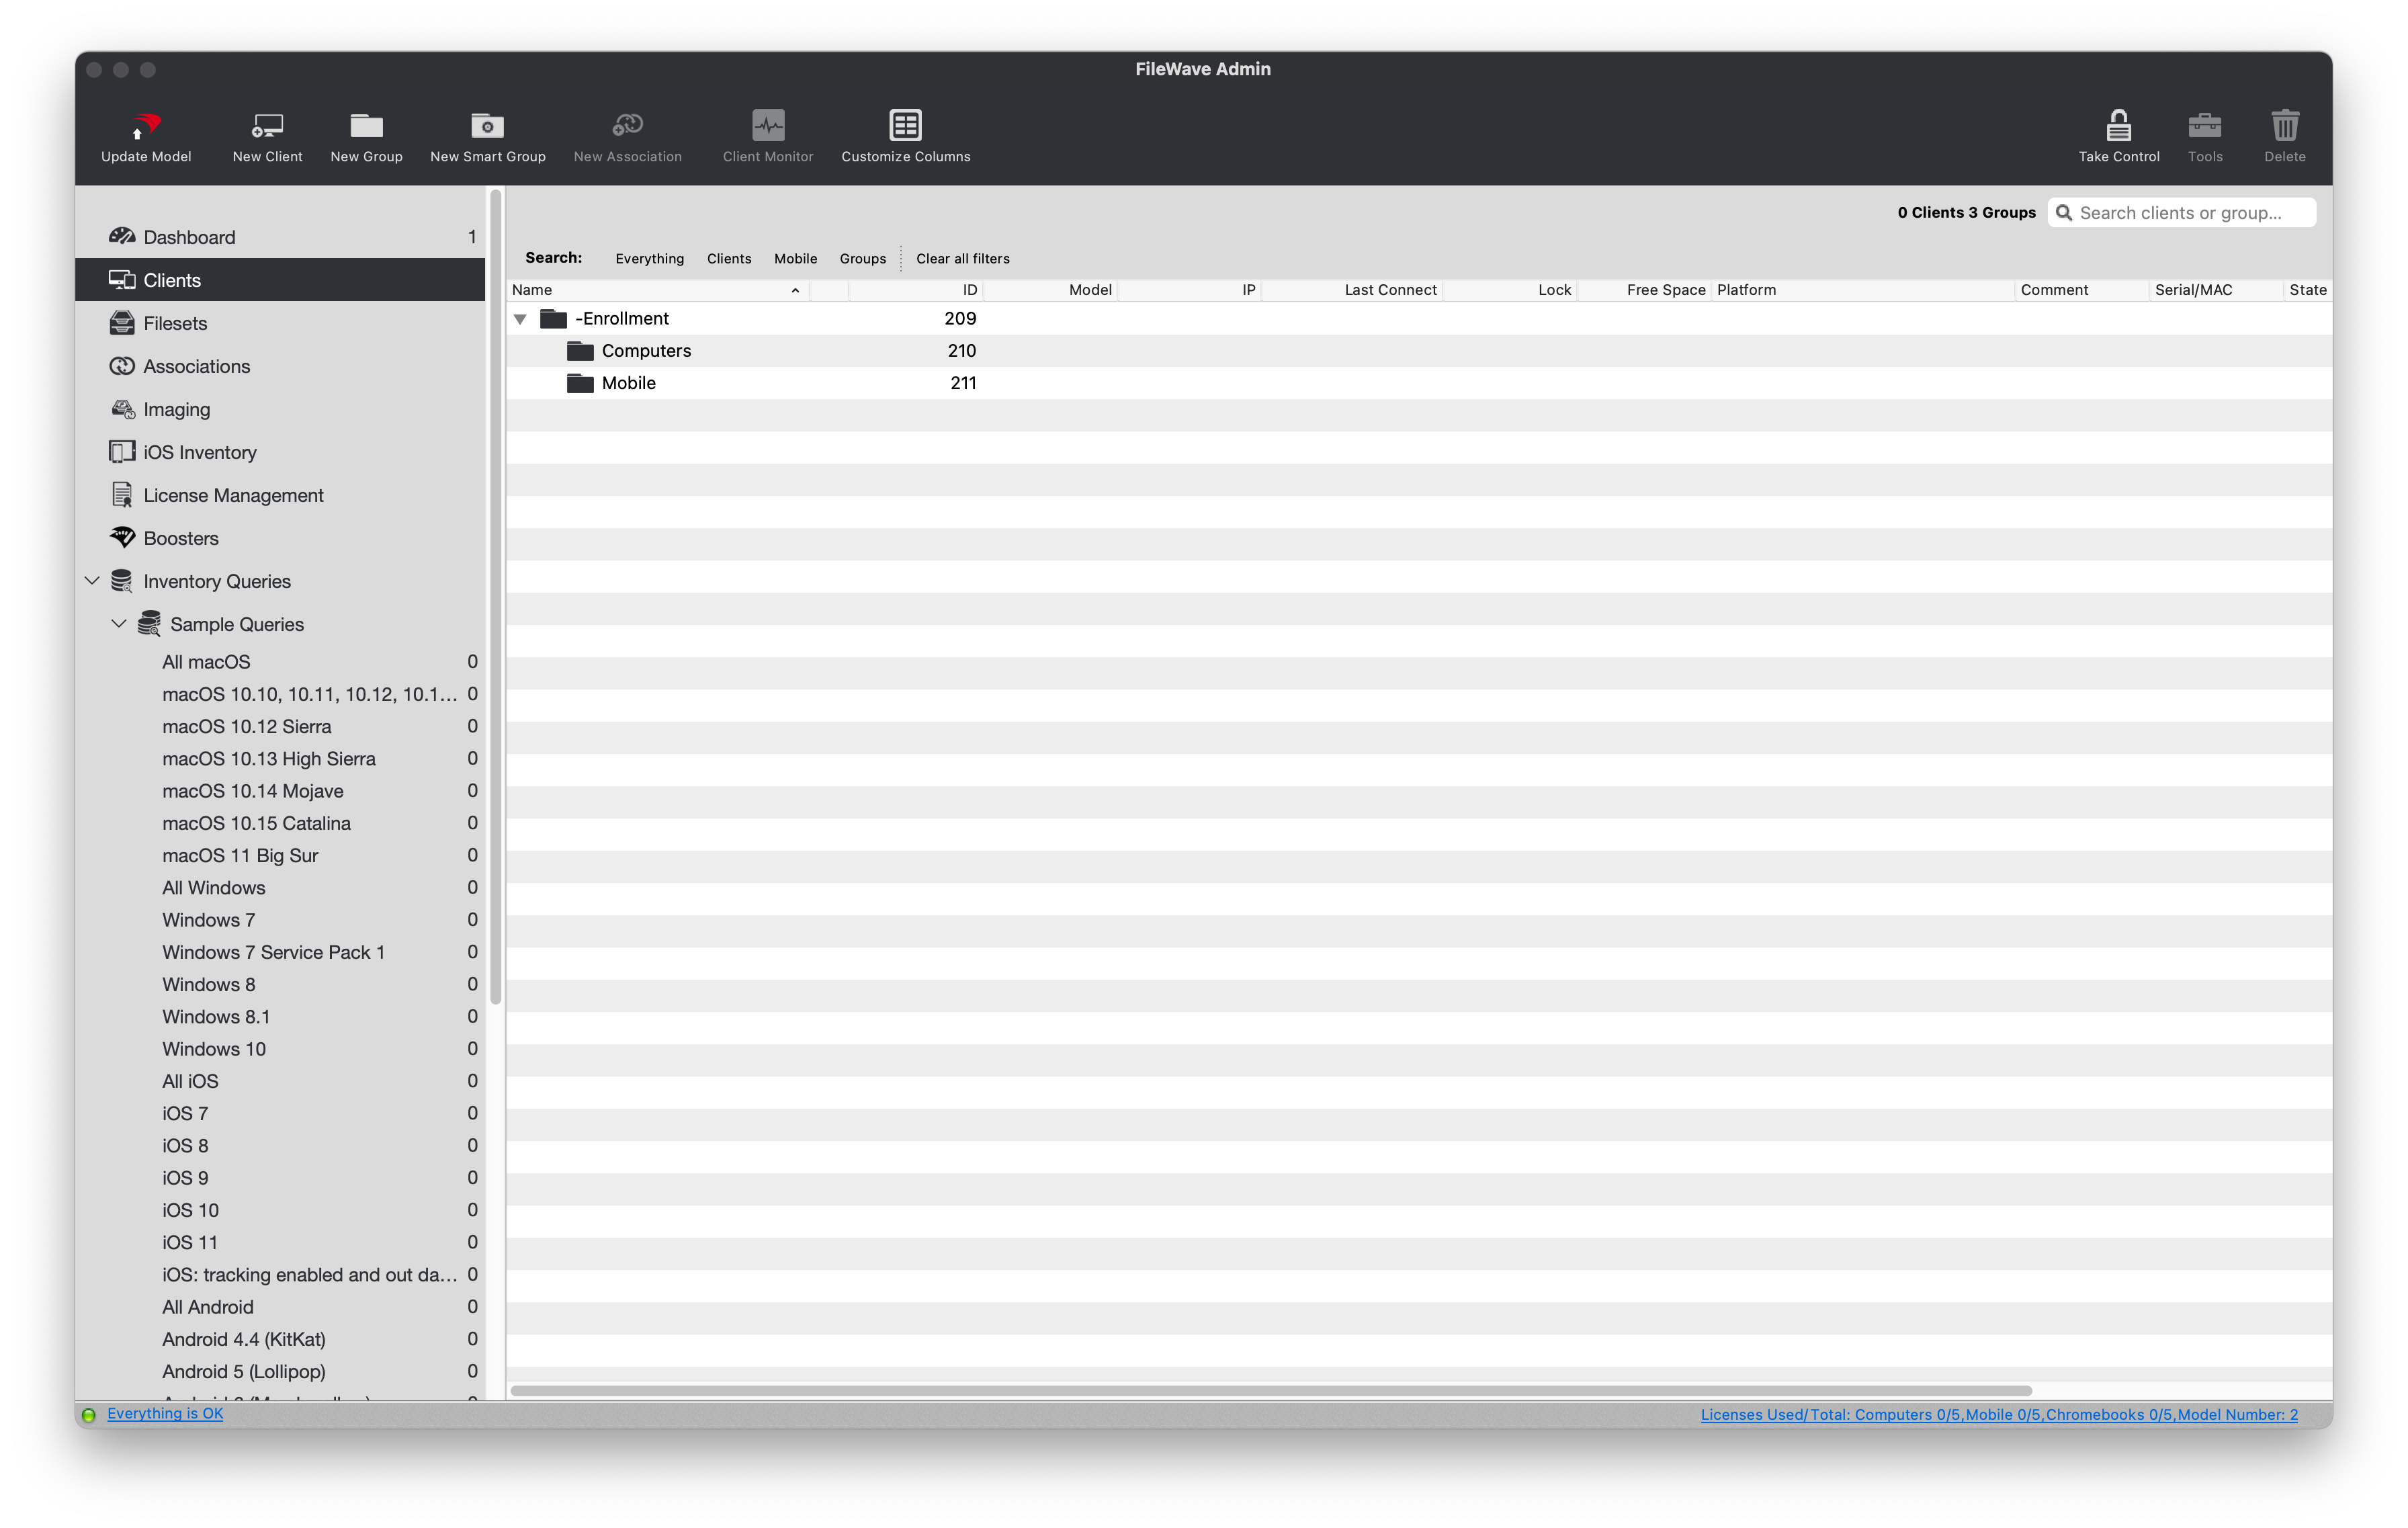
We will now repeat this process to create a "Computers" group a "Mobile" group within the "-Enrollment" group. If you accidentally create a New Group outside of its intended group structure, simply drag-n-drop the group to its desired location.
Enable automatic device enrollment
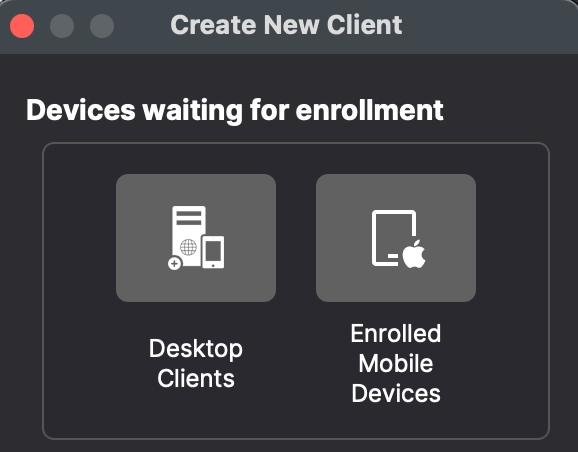
By default, new devices will come into a "waiting area" so that you can manually add them to FileWave. We are going to make this process more efficient by enabling automatic device enrollment.
- Select the "Computers" group from the previous section.
- Click "New Client" from the black menubar.
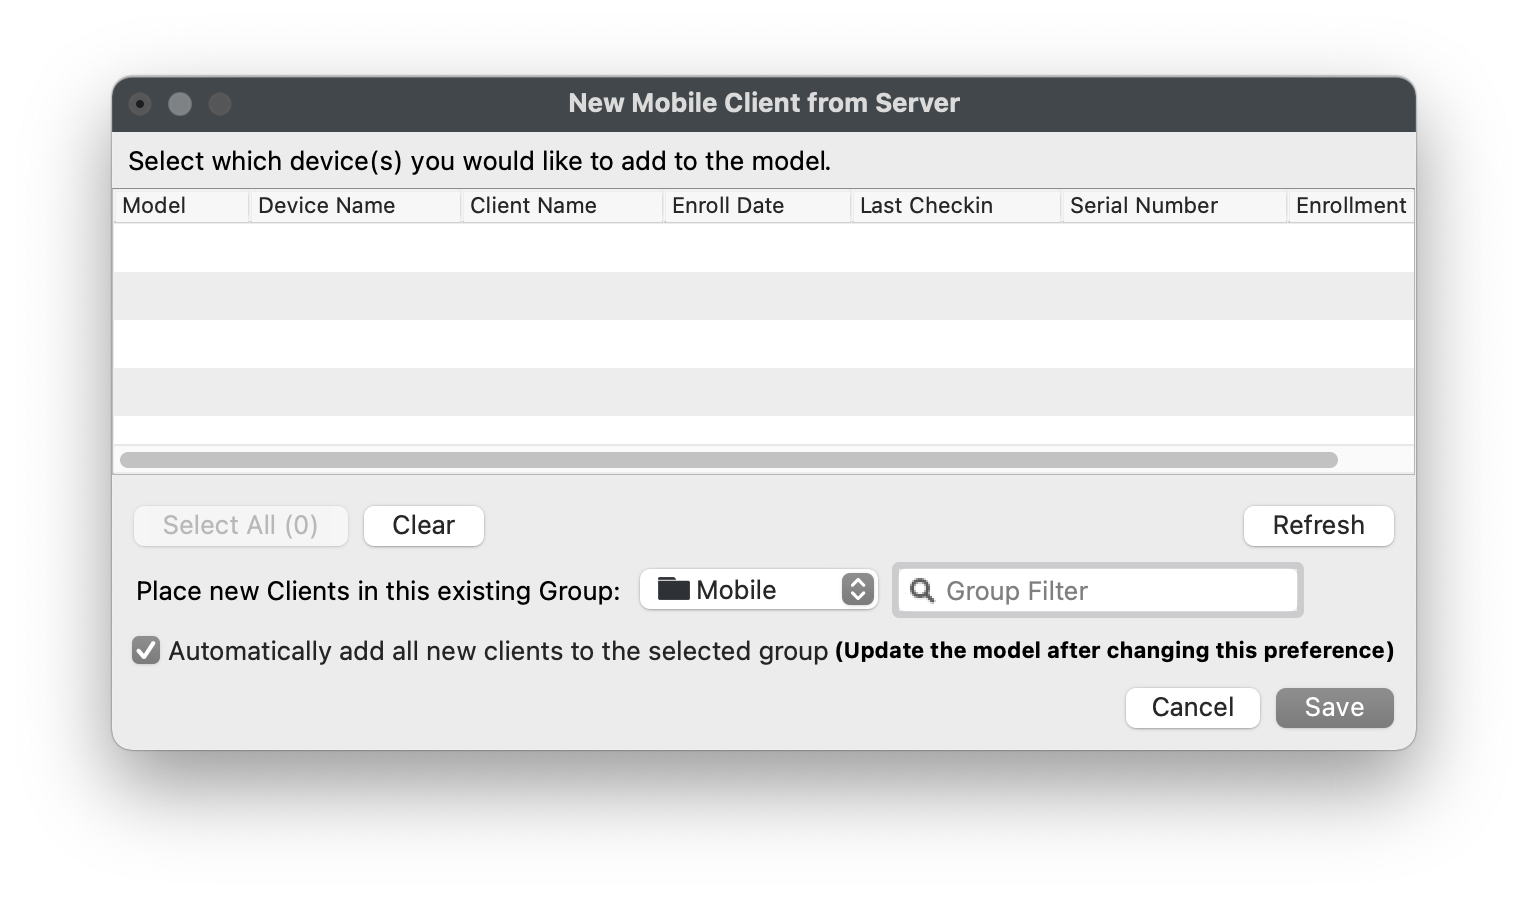
- Select "Desktop Clients" from the "Devices waiting for enrollment" section.
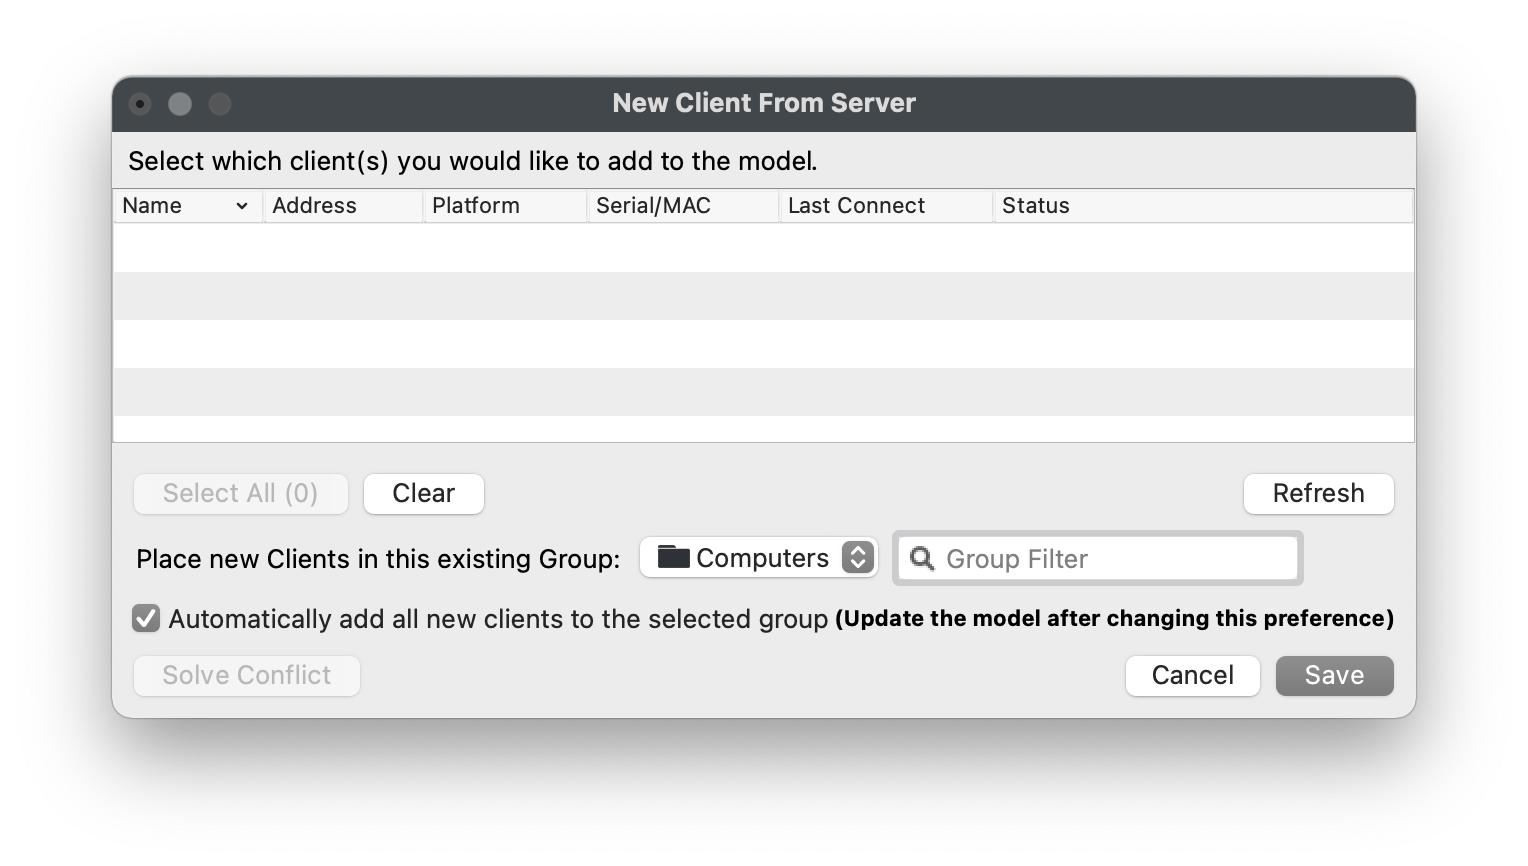
- Check the box for "Automatically add all new clients to select group" unless you always want to approve new clients. This is discussed in more detail in Conflict Resolution.
- Click "Save".
We will now repeat this process for the "Mobile" group by selecting "Enrolled Mobile Devices" from the "Devices waiting for enrollment" section.
And finally, as stated in the New Client window, we must "Update Model" to save our changes and finalized automatic device enrollment.
Creating Smart Groups
A Smart Group is a group that automatically "clones" devices based on a set of Inventory data points. These data points include hardware information, software information, LDAP information, and unique Custom Fields. If a device meets the specified criteria, it will be automatically "cloned" or duplicated into the Smart Group, and if it no longer meets the criteria it will be removed from the Smart Group. This allows for very dynamic associations to software and settings. For example, deploy Adobe Creative Suite to all macOS devices that have a custom "Department" field set to "Media".
For demonstration purposes we will create several Smart Groups based on the device's Operating System Platform. These Smart Groups can be used in production when establishing a baseline software group for each specific OS type.
Create "Platform" Smart Groups
 Open FileWave Admin and navigate to "Clients" from the left pane.
- Create a standard Group named "-Platform" following the steps above.
- Select the "-Platform" group and click "New Smart Group" from the black menubar.
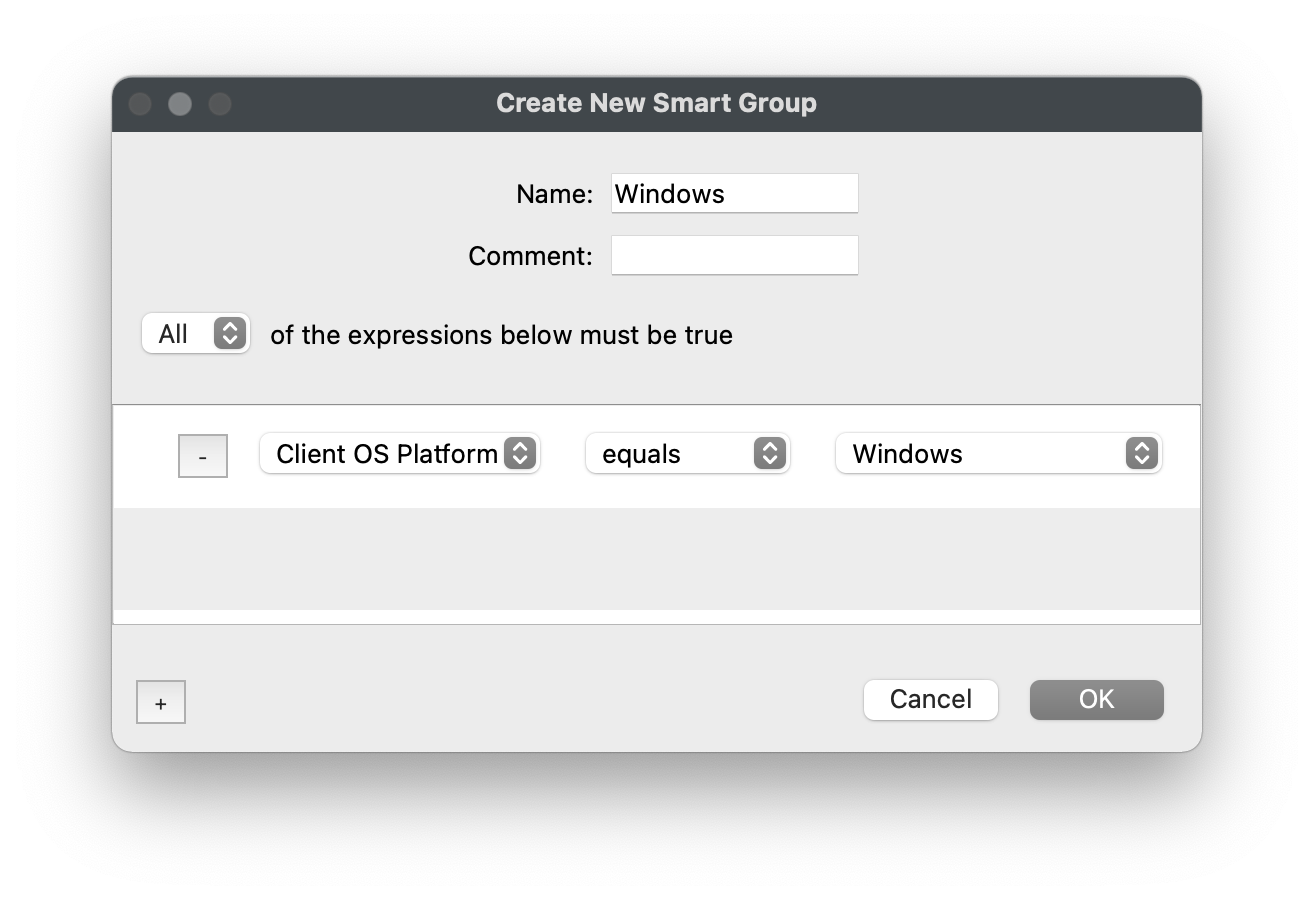
- Name the Smart Group based on the Operating System. We will first start with "Windows".
- Click the "[+]" button in the lower left-hand corner.
- Select "Client OS Platform" from the dropdown menu on the left.
- Select "Windows" from the dropdown menu on the right.
- Click "OK" to save the changes.
We will repeat these steps for:
- macOS - Client OS Platform [equals] macOS
- iOS - iOS Device Type [equals] Any iOS Device
Creating more advanced Smart Groups
We will now create a slightly more advanced Smart Group that leverages FileWave's more robust Inventory Query Builder. The Inventory Query Builder will give us access to over 1000 data points that FileWave natively collects from the different device types along with any Custom Fields you have imported.
The next steps will outline how to use the Inventory Query Builder to round out our "-Platform" group by targeting Android devices.
 Open FileWave Admin and navigate to "Clients" from the left pane.
- Select the "-Platform" group and click "New Smart Group" from the black menubar.
- Name the Smart Group based on the Operating System, in this case "Android".
- Click the "[+]" button in the lower left-hand corner.
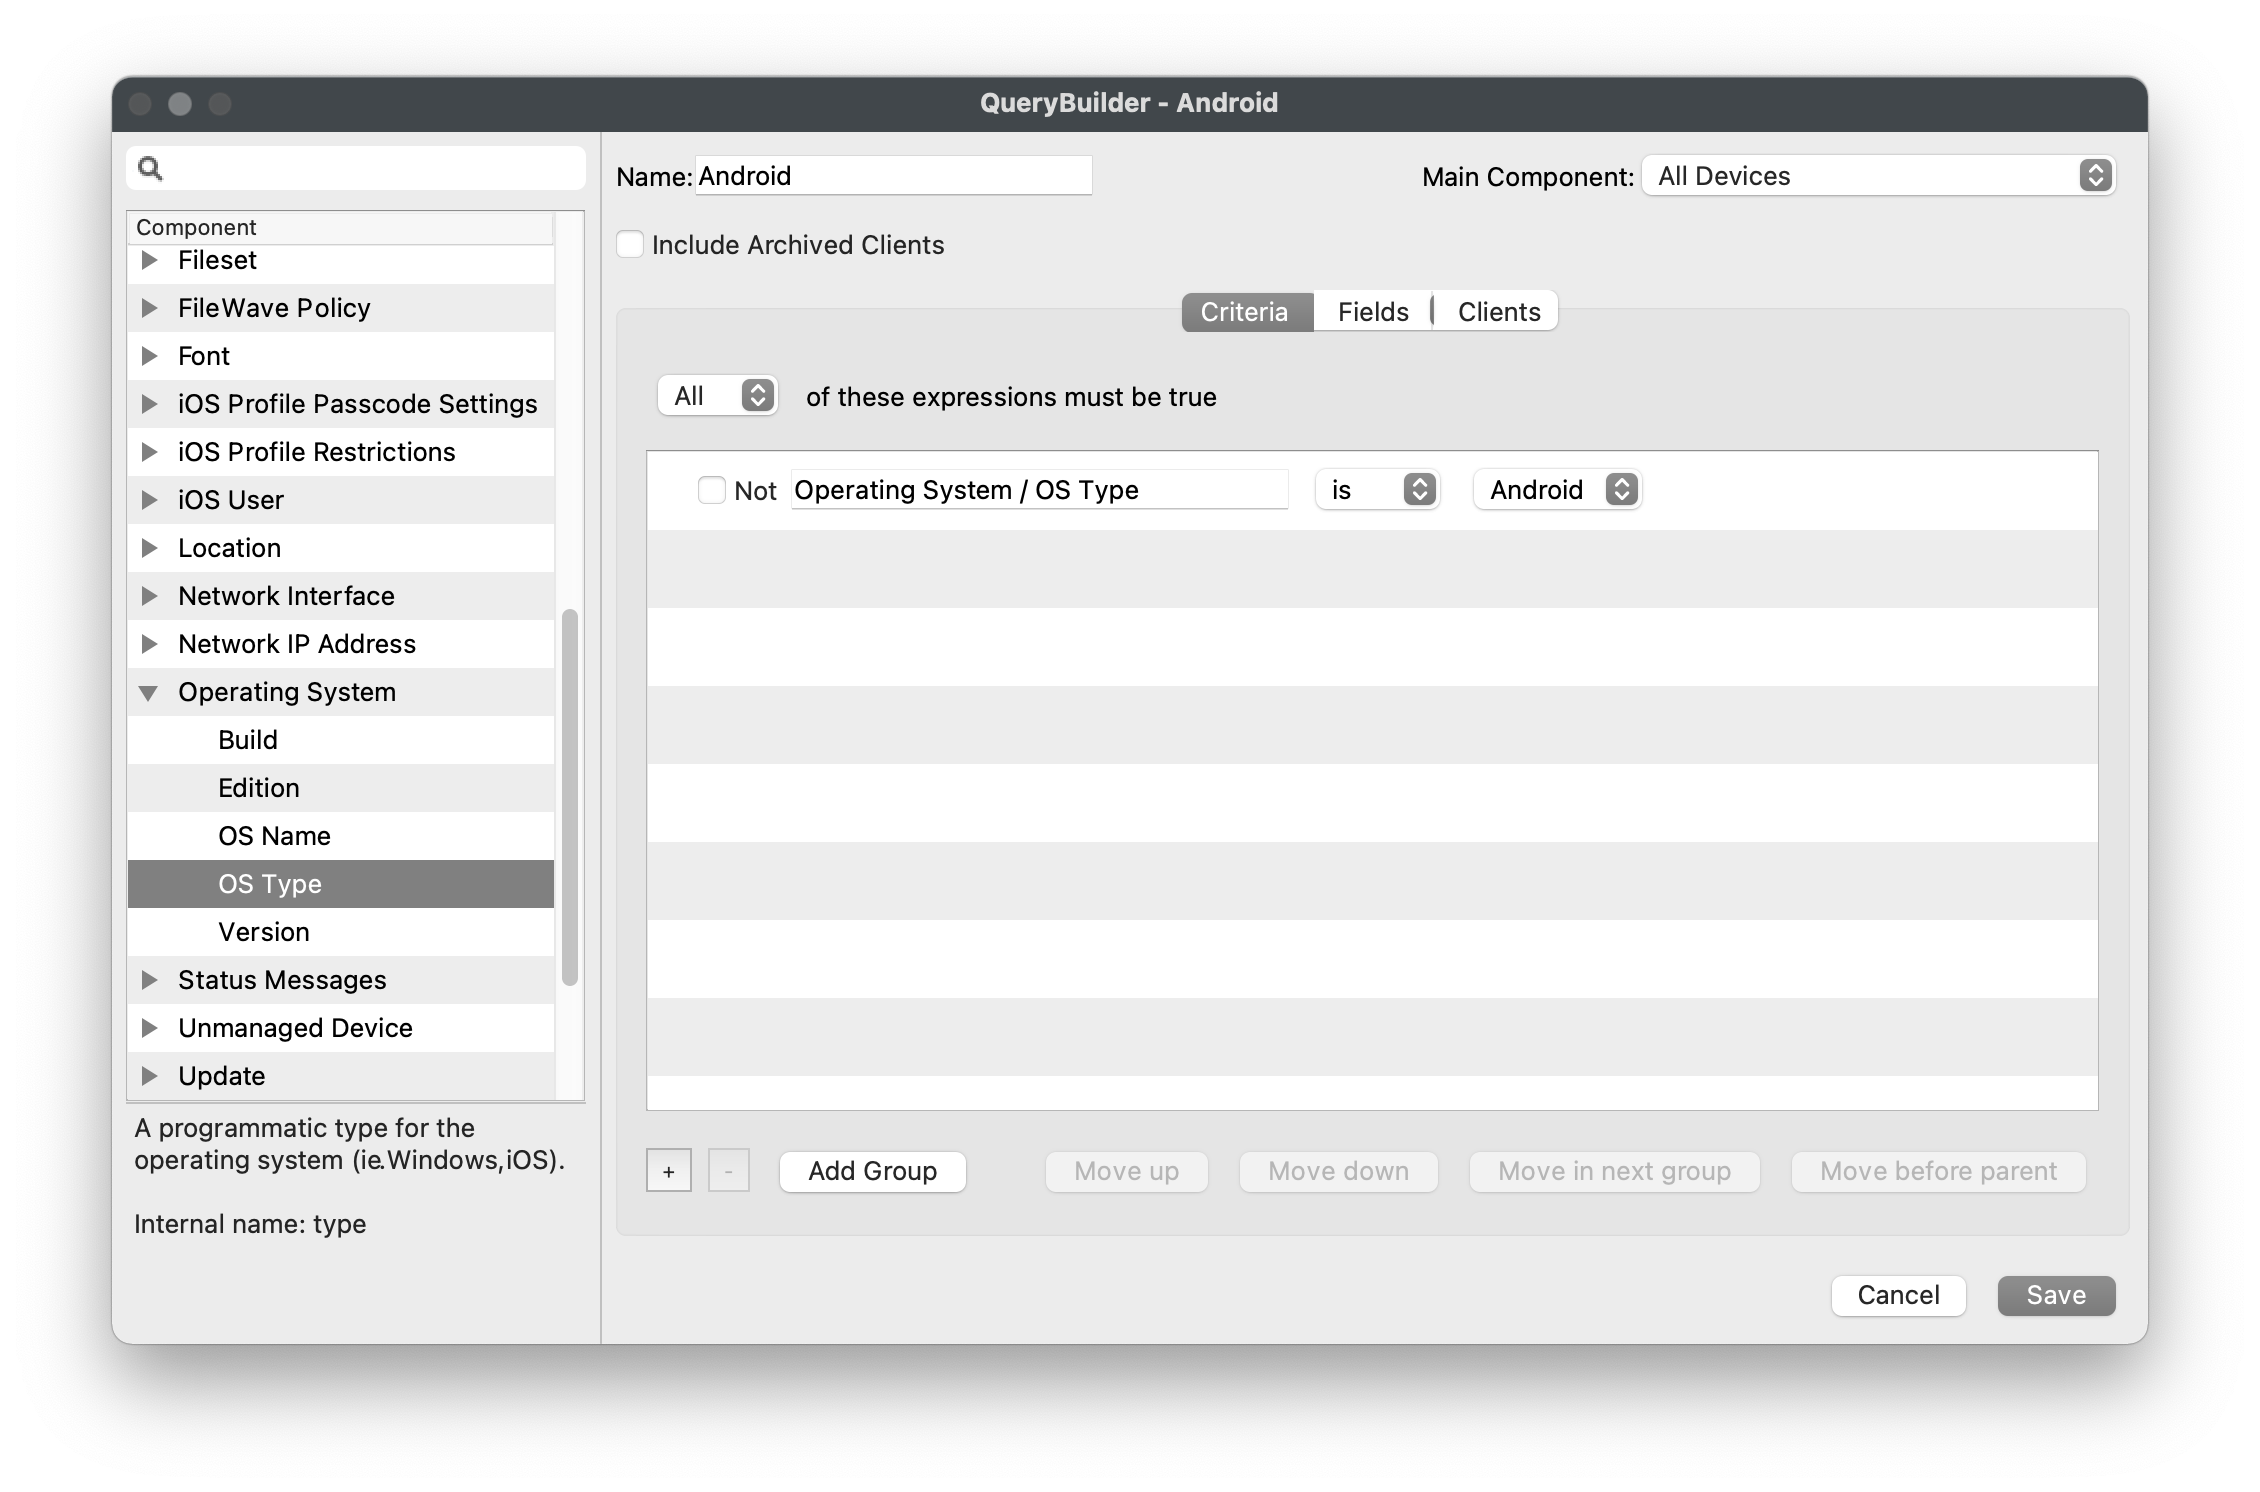
- Select "Inventory Query" from the dropdown menu on the left.
- Click the "[...]" button to the right.
- Find the criteria that will be targeted using "Search" or by opening each sub-group, in this case "Operating System > OS Type".
- Drag-n-Drop the desired criteria from the left pane into the right-hand side "Criteria" pane.
- Verify that the expect results are returned in the right-hand side "Clients" pane.
- "Save" the Inventory Query and "OK" the Smart Group window.
Finishing up
Now that you have defined your Platform-based Smart Groups, any time a new device enrolls it will be automatically "cloned" into its respective Smart Group. It is recommended that you target these Smart Groups when deploying content to an OS type rather than targeting devices within the "-Enrollment" groups. Please note that Chromebook devices will adhere to their own group structure and will not belong to any other typical FileWave groups.
And as always, please "Update Model" to save your group modifications.
Cloning devices
If you find yourself needing to group devices that don't have any unique attributes that you can target in a Smart Group, you can simply "clone" the devices into any group you'd like. This allows you to still have flexibility with content associations while not jeopardizing the original Client record in the "-Enrollment" group. You can delete or move a clone of a device without affecting the original Client record or any other clones of that same device. For example, Tommy participates in both "Interactive Media" and "STEM" classes during first semester but in second semester he only participates in "Interactive Media". Since Tommy's device no longer needs the "STEM" software, we can delete his cloned device from the "STEM" Client group without affecting his "Interactive Media" content associations.
Creating a clone
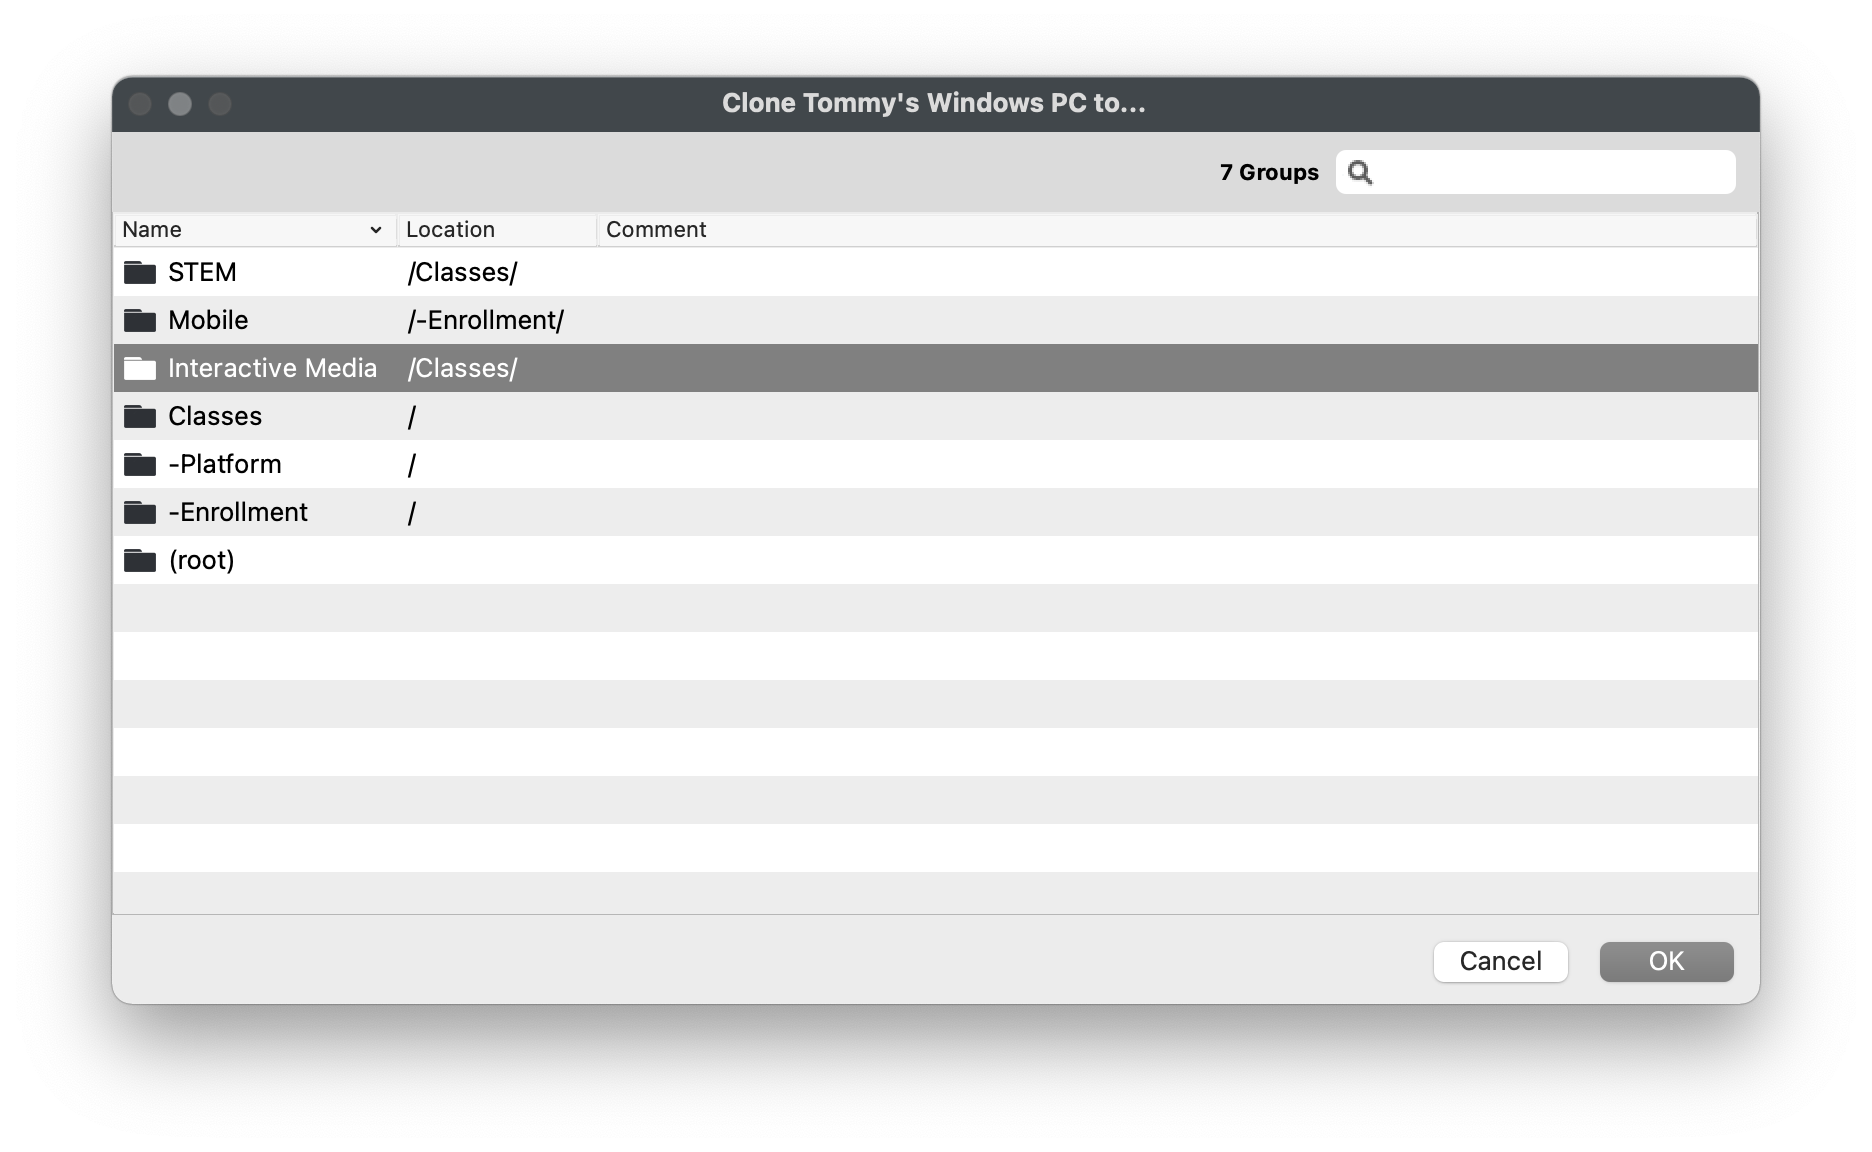
 Right-click on any device or device clone and select "Create Clone".
- Select the Client group where you want the clone to be created.
- You will now see a new clone indicated by italics font and an upwards facing arrow on the Client's icon.

No comments to display
No comments to display