Windows Software
Windows Filesets
FileWave allows you to deploy any file, native installer, or script to a Windows machine. FileWave has no file-type or file-size restrictions and all scripts and installers will be launched with elevated privileges by default.
After creating a Fileset, please make sure to review the Fileset Creation and Deployment page to learn how to associate and deploy your new Filesets.
Create an MSI Fileset
Deploying an MSI is very easy in FileWave and also supports native MSI behavior for the uninstallation process. If you're looking to deploy a piece of Windows software very quickly, an MSI Fileset is the recommended way to go. However, since a MSI is a native installer, FileWave's Self-Healing is not supported.
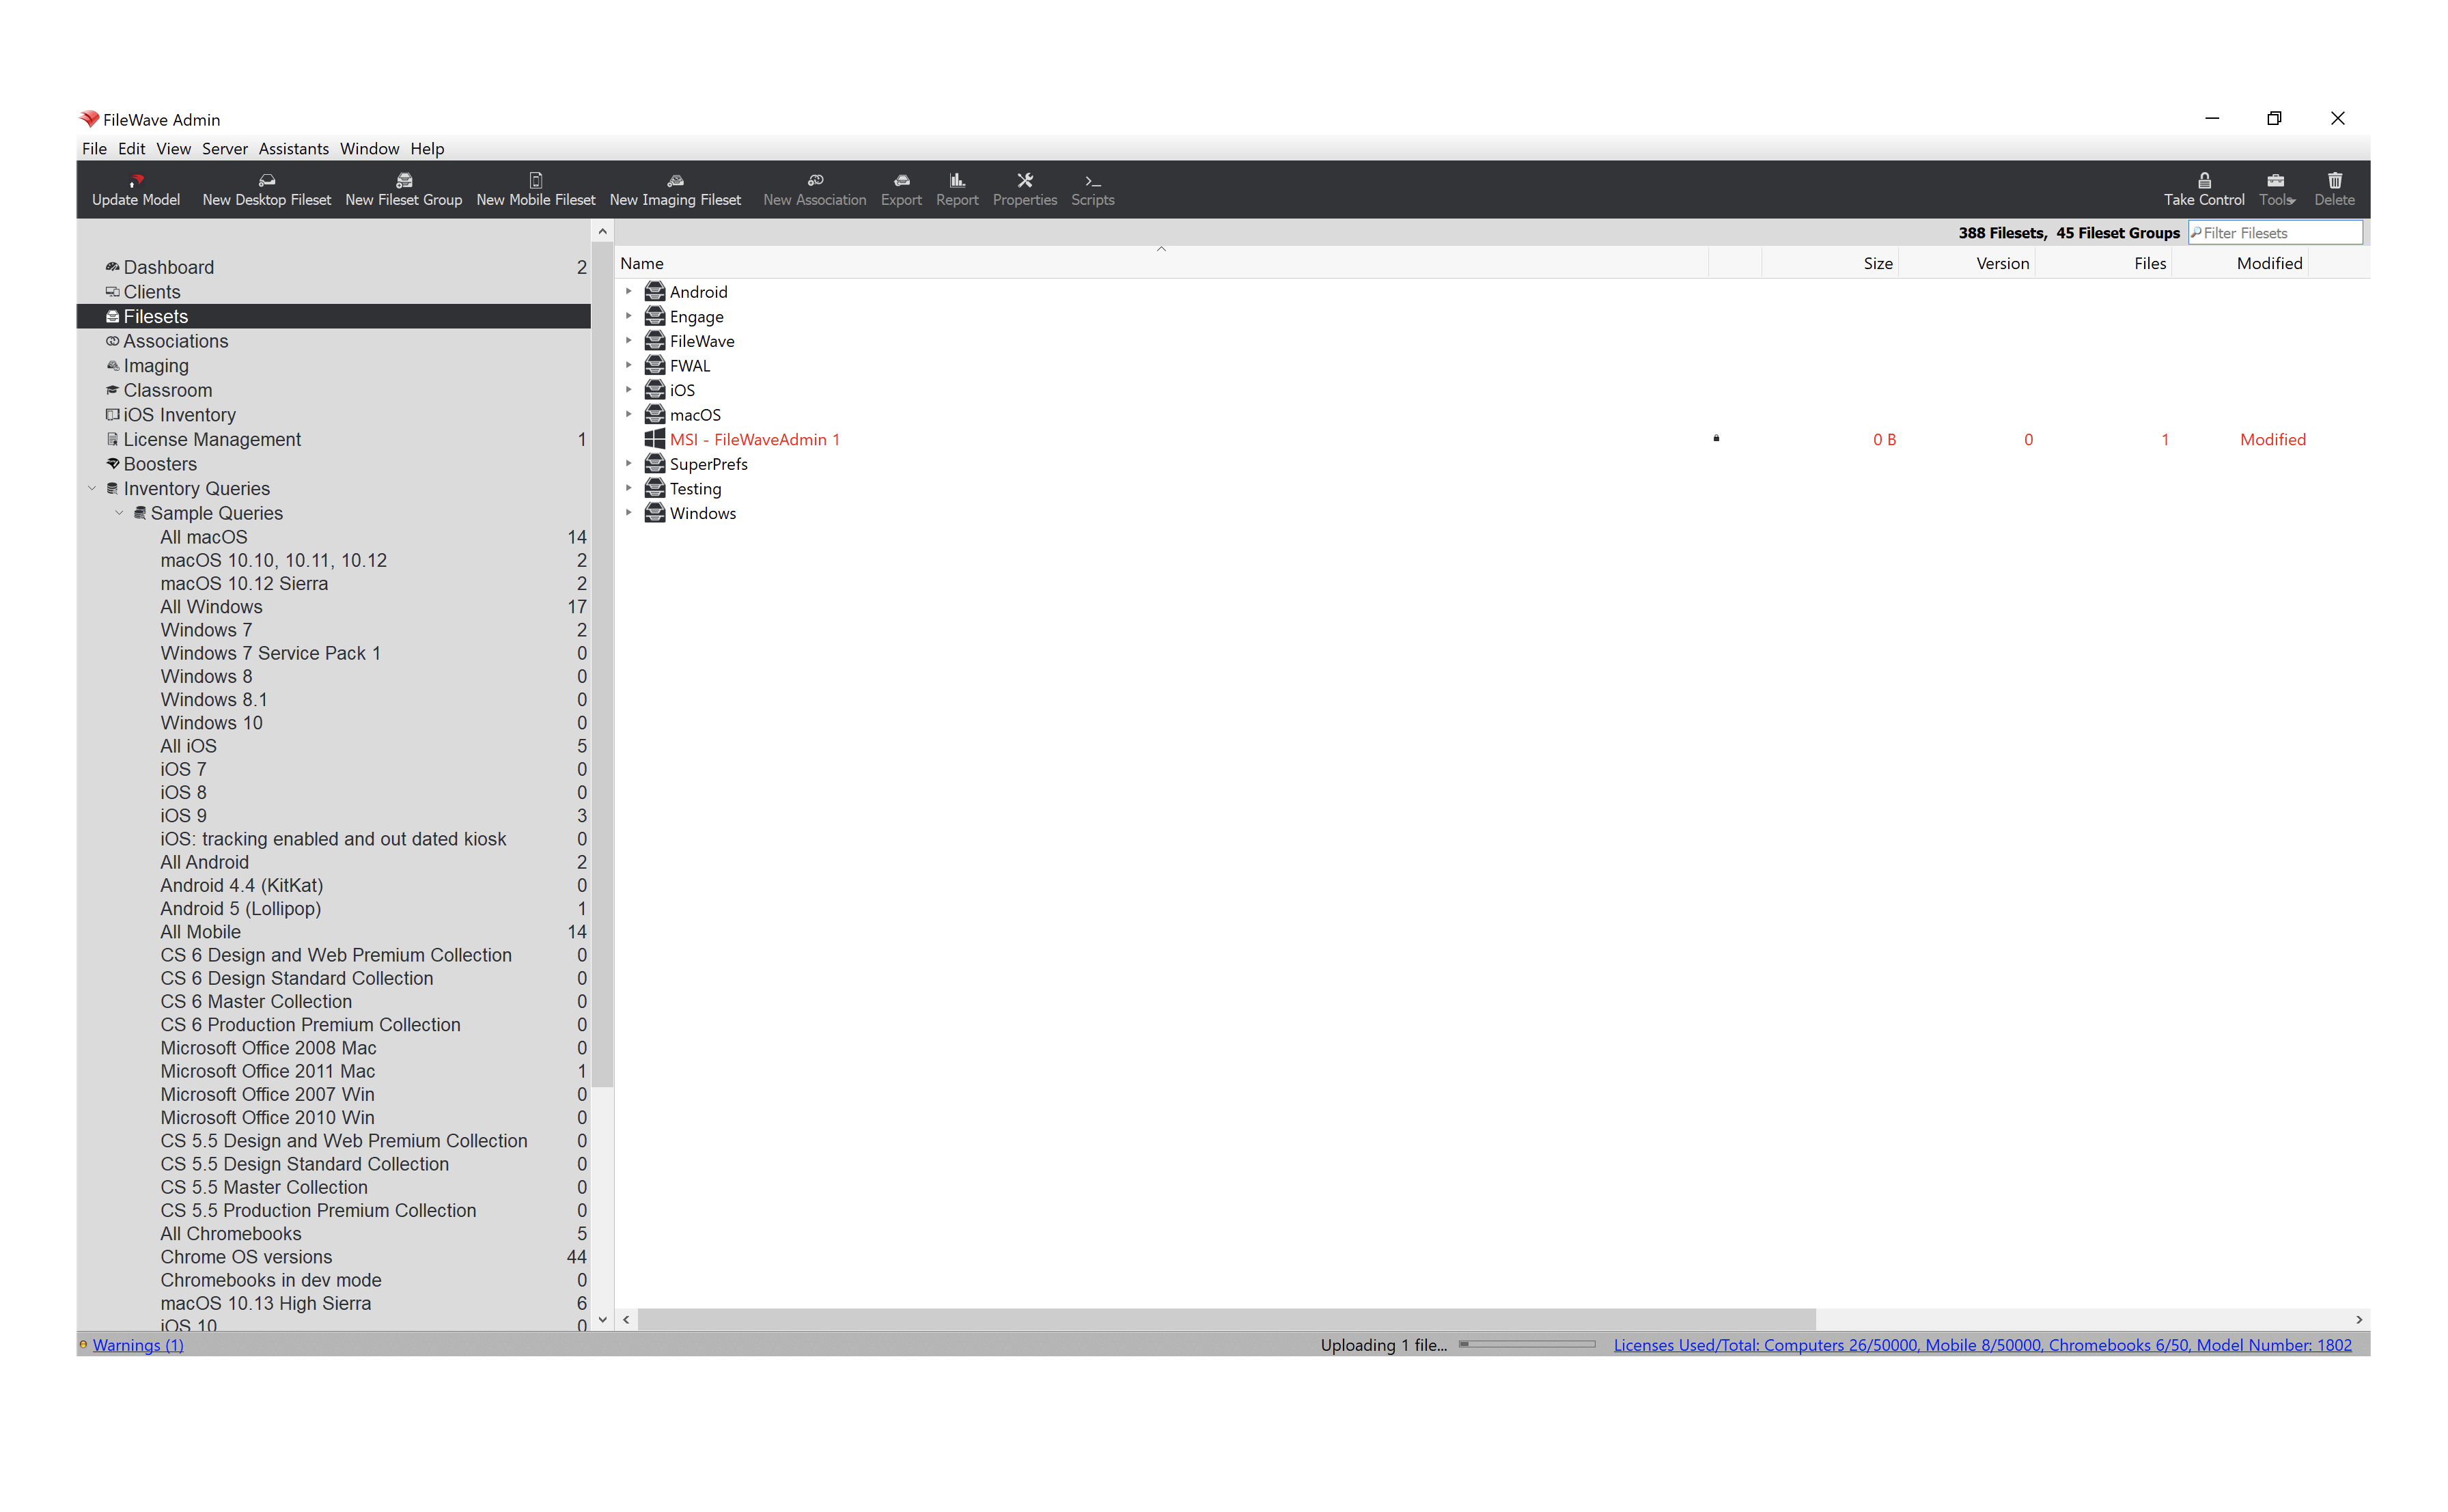
- Open FileWave Admin and navigate to "Filesets".
- Drag-n-drop your desired MSI directly into the "Filesets" view.
- Or...
- Select "New Desktop Fileset" from the black menubar.
- Click "MSI / PKG" and select your desired MSI.
- You should now see your MSI Fileset in the "Filesets" view.
- The Fileset will display in red text while it is being uploaded to the FileWave Server. Upload progress can be viewed from the bottom bar of the FileWave Admin.
- The Fileset will be labeled as "Modified" indicating the it has not yet been saved.
- "Update Model" if you'd like to save the changes.
Create an EXE Fileset
Creating an EXE Fileset is also very easy but does require a slightly different workflow to accommodate an EXE's support for Launch Arguments. If a software package offers both an MSI and EXE, the MSI installer is recommended. If you find that the EXE does not allow for provisioning/customization using Launch Arguments, please consider leveraging the Fileset Magic workflow outlined below. Please note that Self-Healing does not apply to EXE Filesets.
- Open FileWave Admin and navigate to "Filesets".
- Select "New Desktop Fileset" from the black menubar.
- Click "Empty" and name the Fileset accordingly.
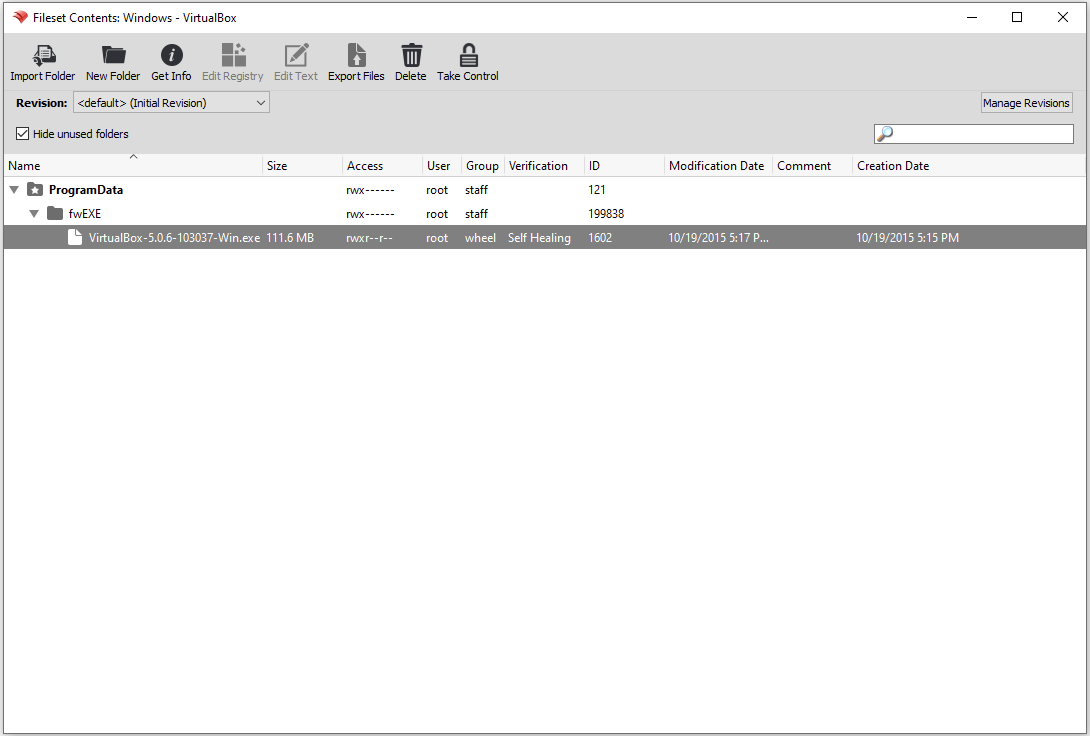
- Double-click on the new Fileset to open the "Fileset Contents".
- Uncheck "Hide unused folders" if enabled.
- Navigate to "ProgramData" and click "New Folder" from the menubar.
- Name the new folder "fwEXE".
- The location and name of the folder can be whatever you'd like, however it is recommended to deploy EXEs to a "discreet" location on the machine's hard drive.
- Drag-n-drop the desired EXE into the "fwEXE" folder.
- Select the EXE and click "Get Info" from the menubar.
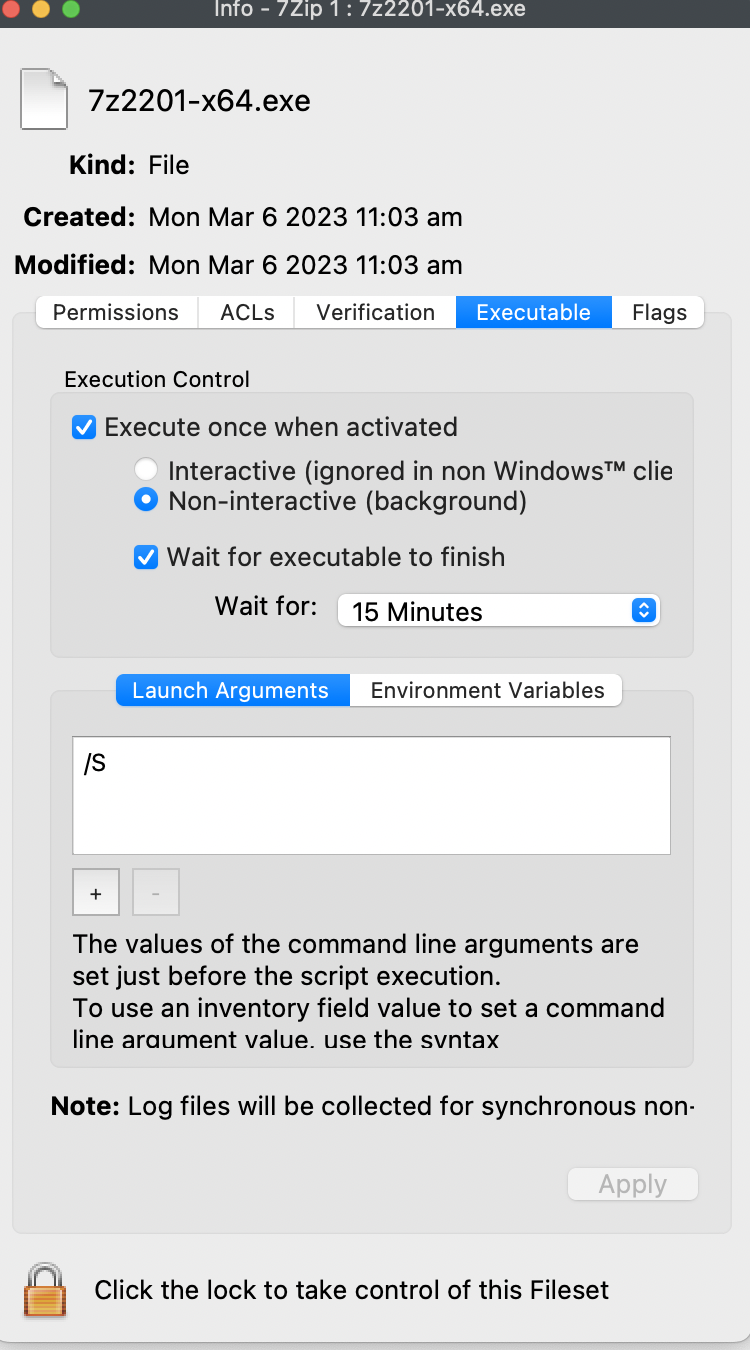
- Navigate to the "Executable" tab.
- Check the "Execute once when activated" box and the "Non-interactive (background)" box. Then click the "Wait for executable to finish" and set it to 15 minutes.
- Optionally, click the "[+]" button to add any Launch Arguments to the EXE's installation.
- Click "Apply" to save your changes and Close the "Get Info" window.
- Close the "Fileset Contents" window.
- You should now see your EXE Fileset in the "Filesets" view.
* The Fileset will be labeled as "Modified" indicating the it has not yet been saved. - "Update Model" if you'd like to save the changes.
Deploy a file or folder with Self-Healing
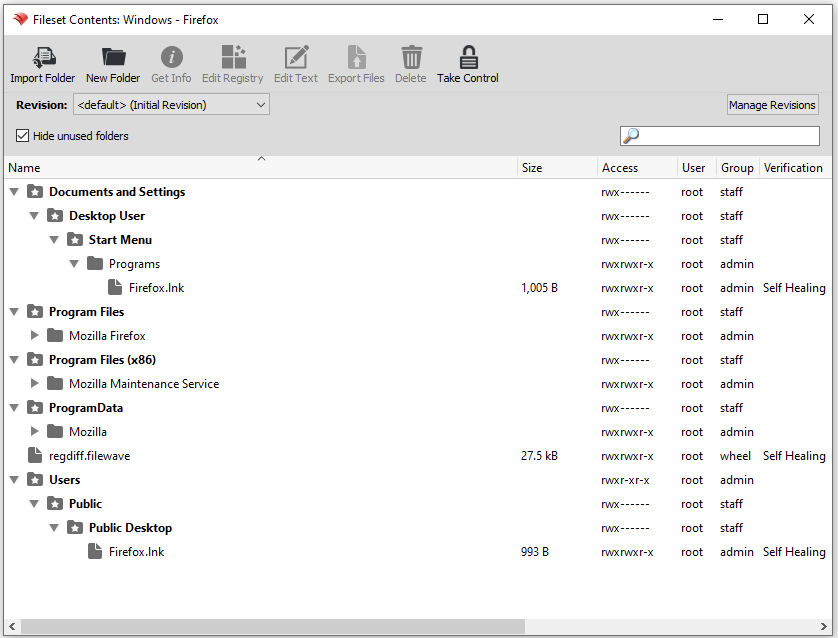
One of the main things that separates FileWave from the other solutions on the market is FileWave's ability to deploy any file directly to the Client's local filesystem and enable true Self-Healing. When you deploy a file with Self-Healing enabled, FileWave will automatically re-download the original file whenever the file is modified or deleted on the Client machine, however we can tweak this behavior per file to account for all deployment situations using the three "Verification" options.
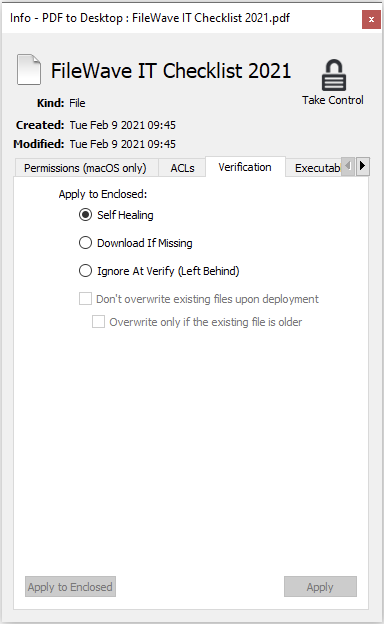
Verification options

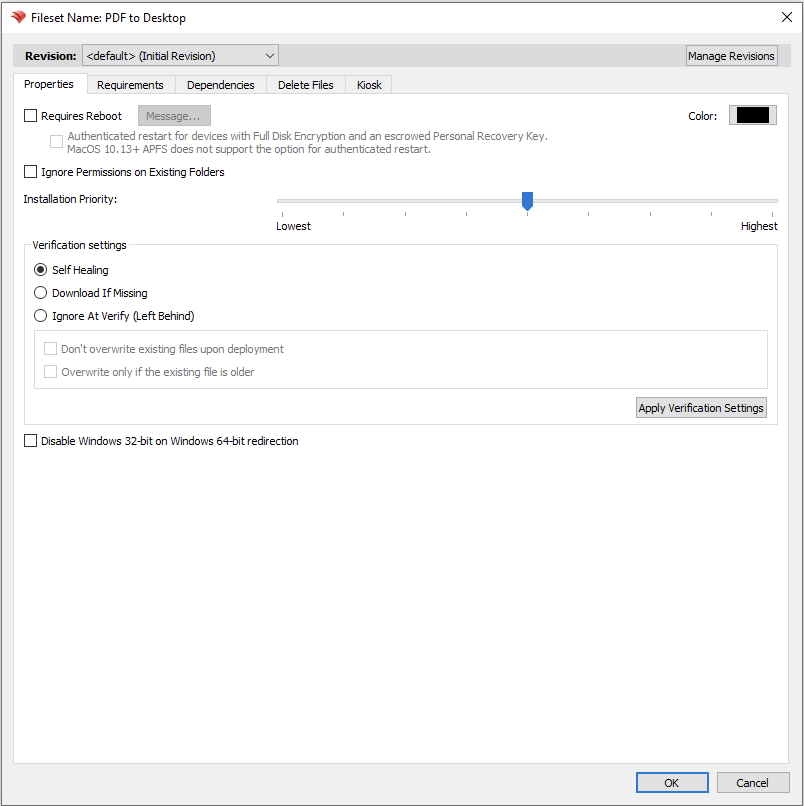
FileWave's "Verification" options allow you to granularly specify how each file in a Fileset deployment will behave. You can also set the "Verification" settings from a Fileset's Properties that will apply to all files within a given Fileset.
- Self-Healing = Re-downloads file if modified or deleted upon device reboot, 24 hours (default), or manual "Verify". Removes files if Fileset disassociated.
- Download If Missing = Re-downloads file if deleted upon device reboot, 24 hours (default), or manual "Verify". Removes files if Fileset disassociated.
- Ignore at Verify (Left Behind) = Does not monitor file modification or re-download. Leaves files intact if Fileset disassociated.
Deploy PDF to every user's Desktop
- Open FileWave Admin and navigate to "Filesets".
- Select "New Desktop Fileset" from the black menubar.
- Click "Empty" and name the Fileset accordingly.
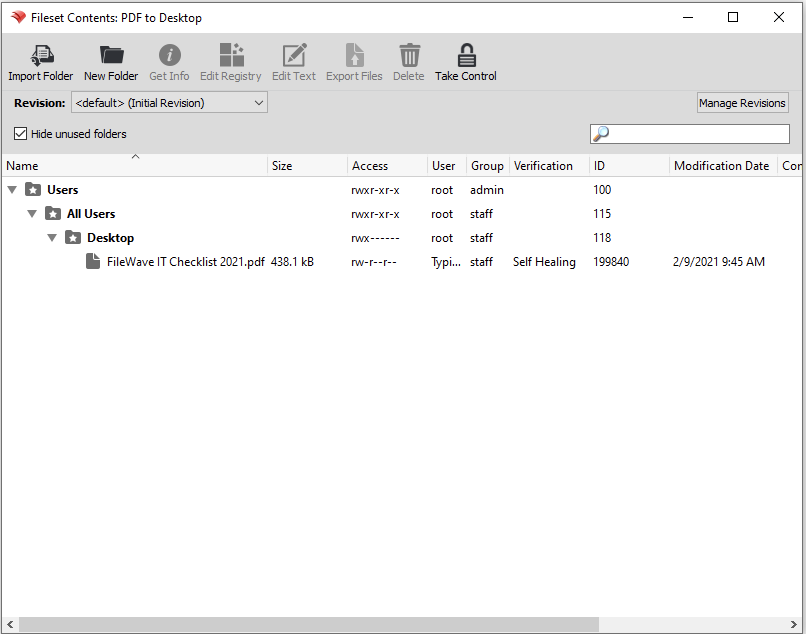
- Double-click on the new Fileset to open the "Fileset Contents".
- Uncheck "Hide unused folders" if enabled.
- Navigate to "Users > All Users > Desktop".
- Drag-n-drop PDF file into the "Desktop" folder.
- Select the PDF and click "Get Info" from the menubar.
- Navigate to the "Verification" tab and select your desired Verification preference.
- Click "Apply" to save changes and Close the "Get Info" window and Fileset Contents window.
- You should now see your PDF Fileset in the "Filesets" view.
* The Fileset will be labeled as "Modified" indicating the it has not yet been saved. - "Update Model" if you'd like to save the changes.
Capture customized software installations using Fileset Magic
You might discover that a software's installer does not allow for the software to be provisioned or customized to meet your organization's needs. This is where Fileset Magic plays a huge role. Fileset Magic allows you to capture a customized software installation at the file-level and deploy it with Self-Healing enabled by leveraging a series of Snapshots taken from a "build" machine. The customizations may include software preferences, licensing, updates, and shortcuts.
While using Fileset Magic, please do your best to limit background activities to prevent unnecessary changes from being capture.
-
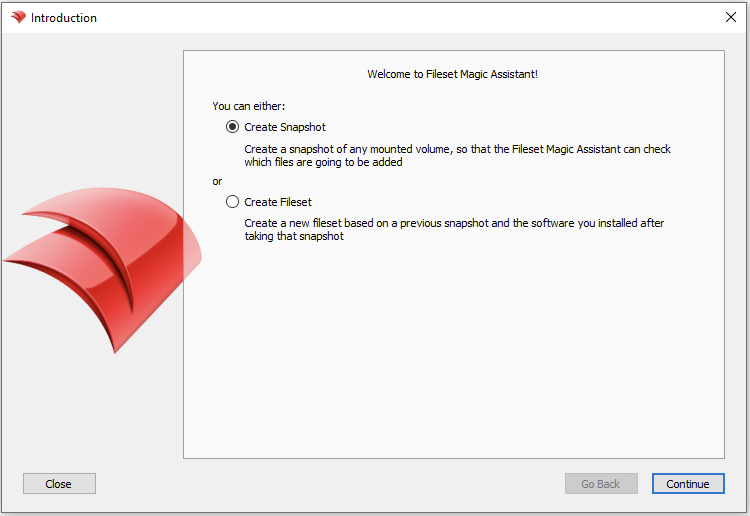
Open FileWave Admin and navigate to "Assistants > Fileset Magic".
-
Select "Create Snapshot".
-
Select the "Scan Volume".
-
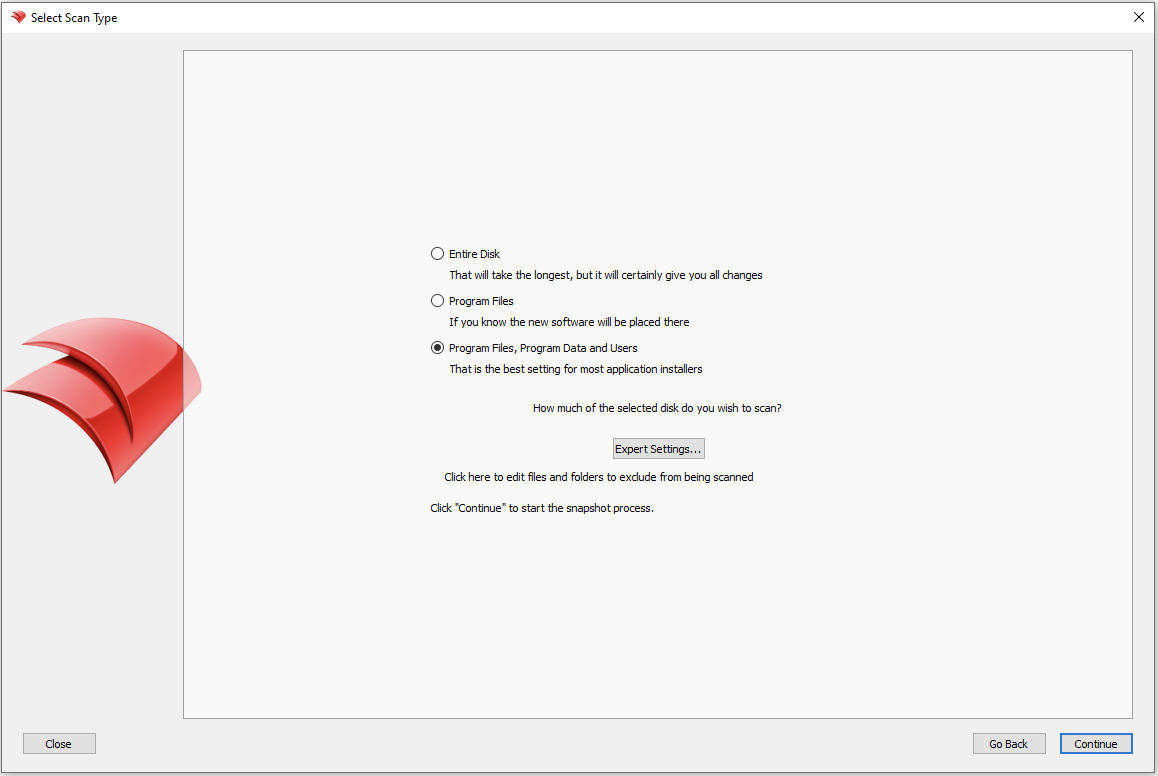
Select the "Scan Type".
-
Use "Entire Disk" if you are unsure of where the application installs to.
-
Use "Program Files, Program Data and Users" for most common installations.
-
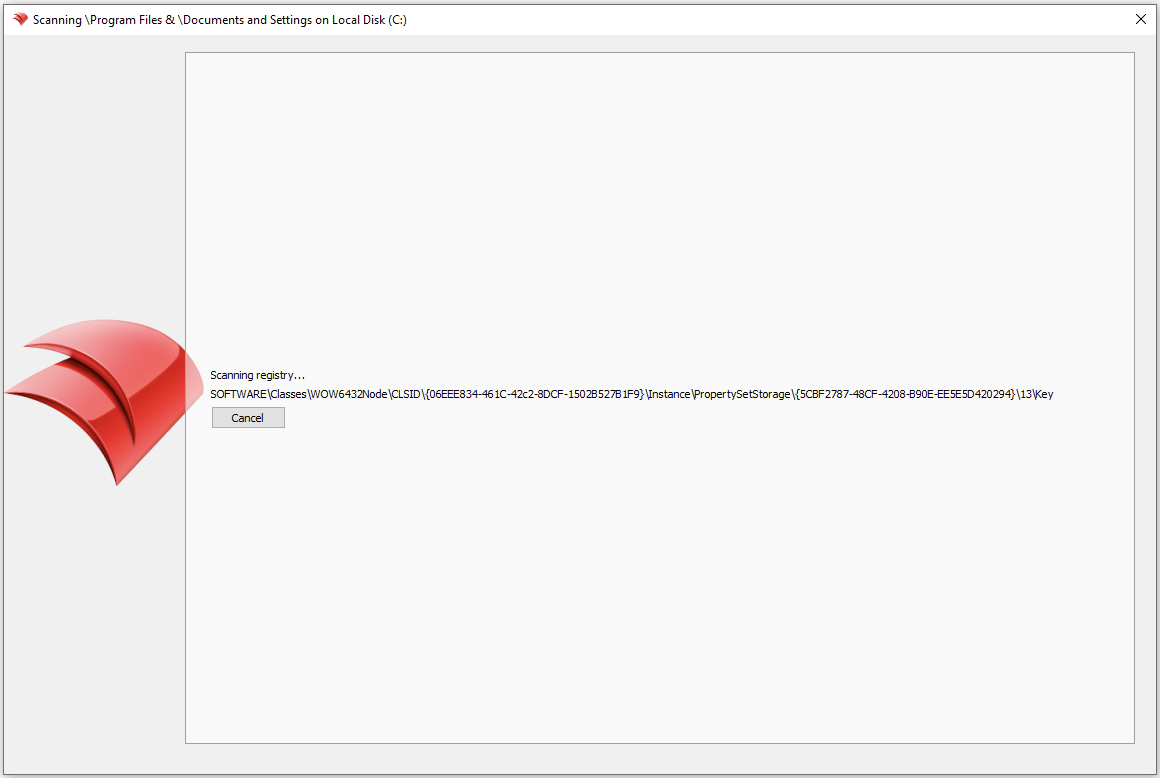
-
Wait for the File and Registry scan to complete.
-
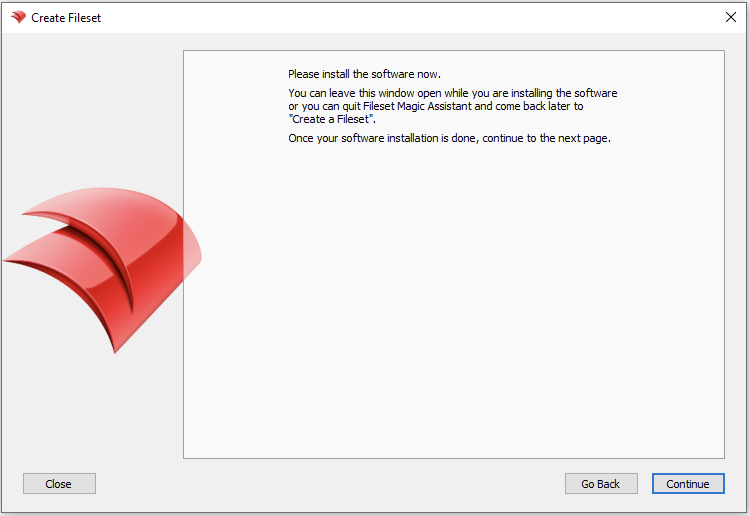
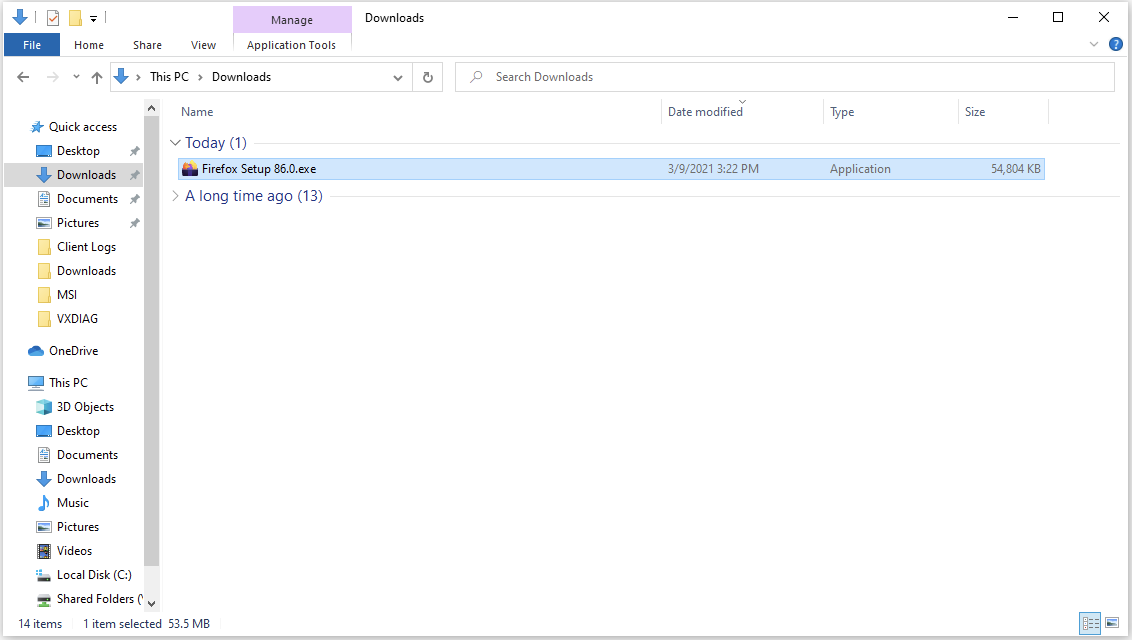
Install your desired software without proceeding in Fileset Magic.
- Open, update, license, and customize your software.
-
Click "Continue" to proceed in the Fileset Magic window.
-
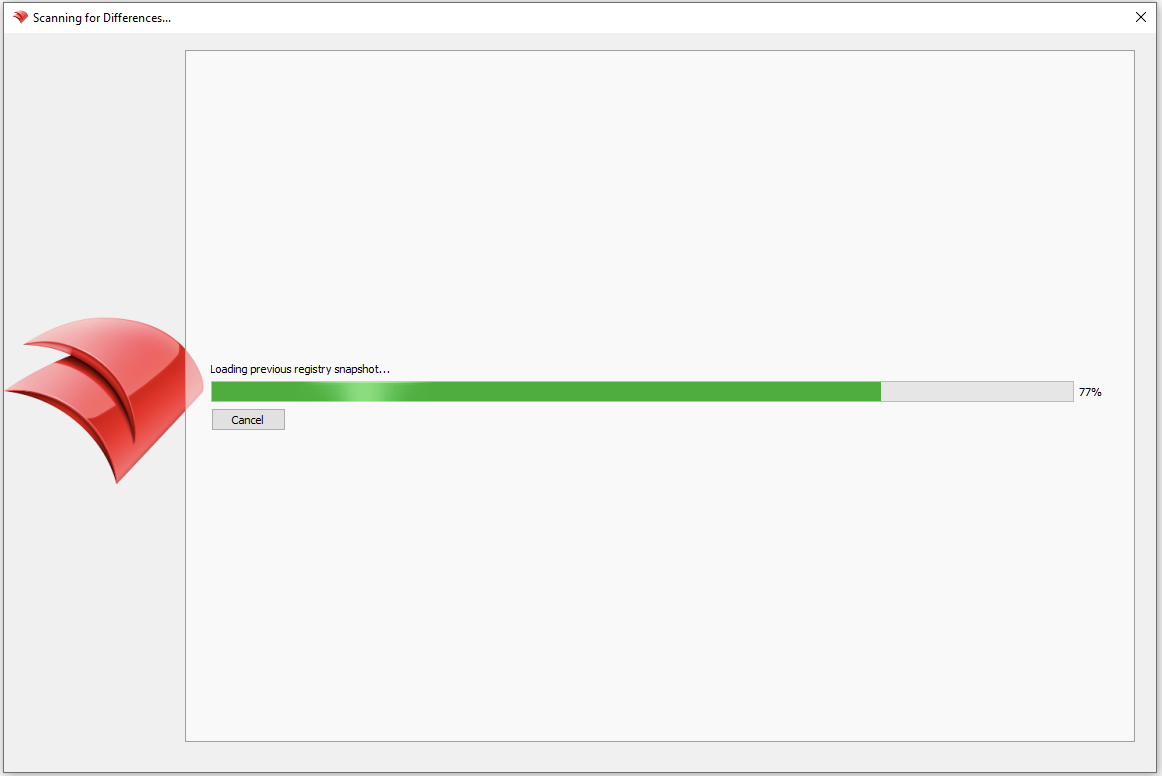
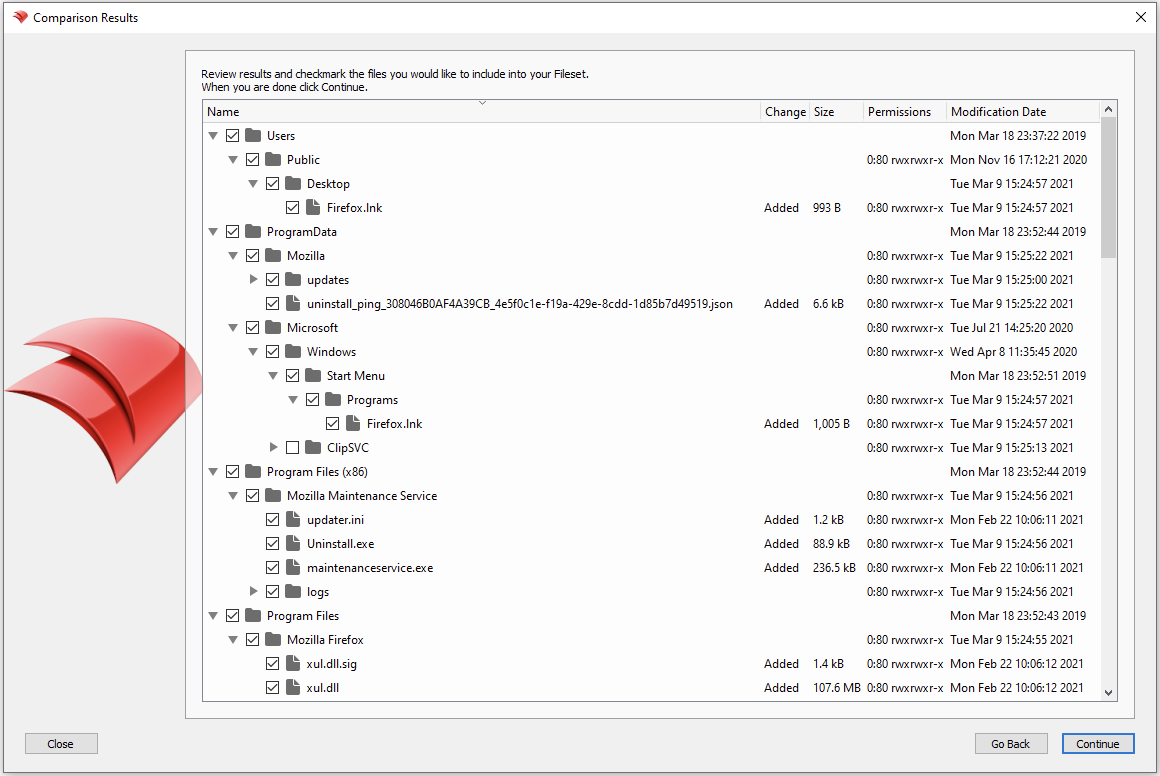
Wait for Fileset Magic to scan the select volume and compare File and Registry changes.
-
View the File differences and select only what is necessary for the newly installed application.
- There may be background Windows activity that is captured. Do your best to exclude this content.
-
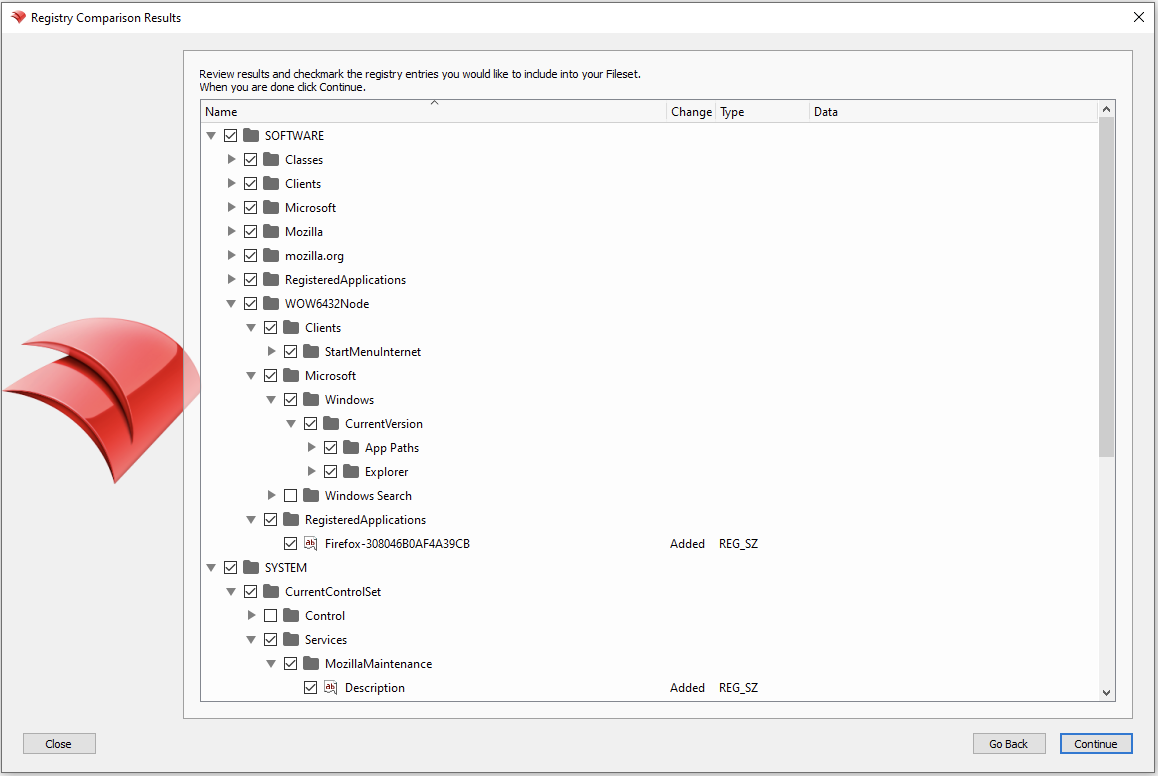
View the Registry differences and select only what is necessary for the newly installed application.
- There may be background Windows activity that is captured. Do your best to exclude this content.
-
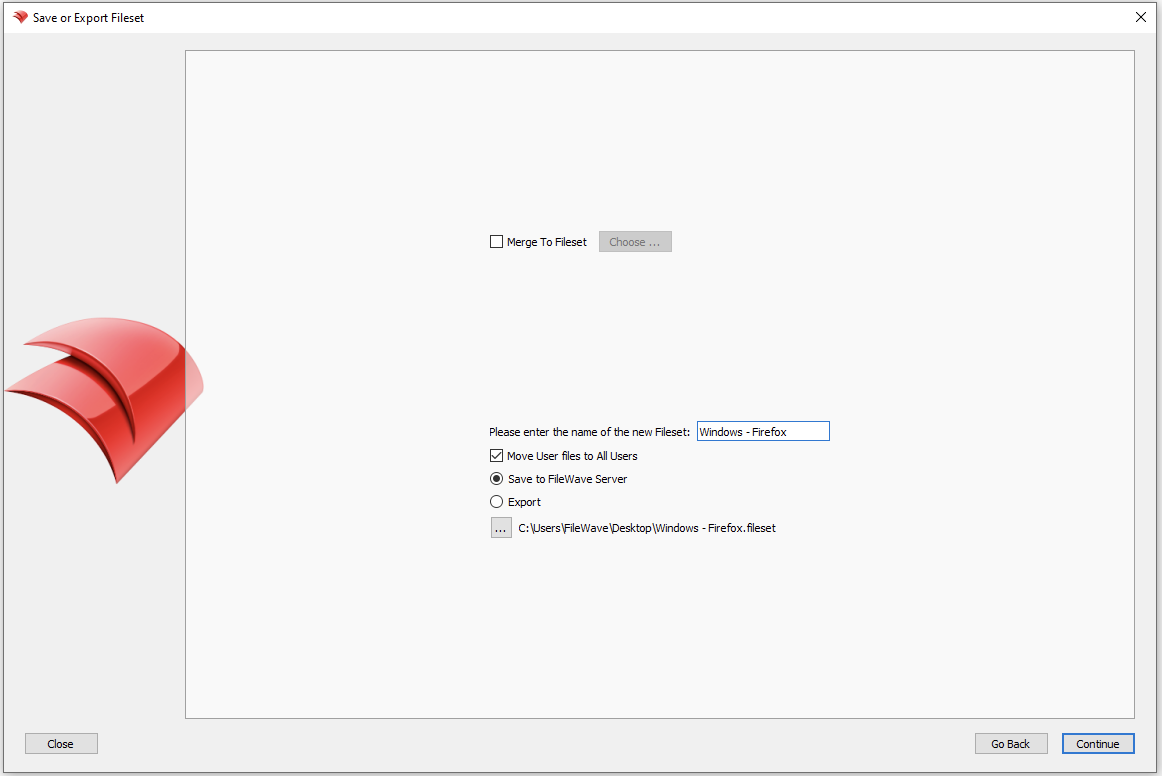
Choose either to Save or Export the Fileset.
-
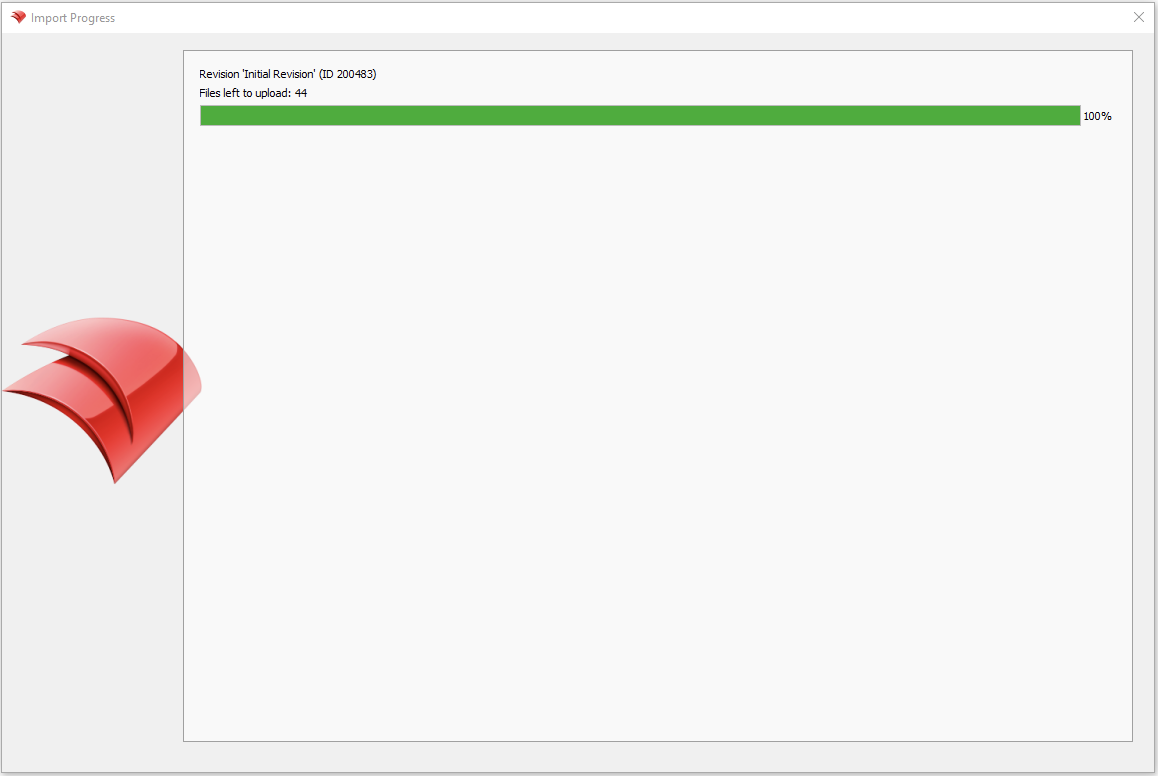
Wait for the Fileset to be uploaded to the FileWave Server.
-
Verify your Fileset Contents within the FileWave Admin.
|
1
|
2
|
|
3
|
4
|
|
5
|
6
|
|
7
|
8
|
|
9
|
10
|
|
11
|
12
|

Windows Driver Filesets
A Windows Driver Fileset is used only during the Windows Imaging process. This type of Fileset accepts .CAB and .INF driver files. These files will be automatically injected into the "C:\Windows\system32\drivers\" folder during the imaging process and before Windows boots up to start the Out of Box Experience hardware scan.
-
Open FileWave Admin and navigate to "Filesets".
-
Select "New Imaging Fileset" from the black menubar.
-
Click the "Windows Drivers" button_._
-
Select a folder containing .CAB or .INF files.
-
Your Windows Driver Fileset can now be Associated to a Windows Image deployment.
No comments to display
No comments to display