
Apple Manual Enrollment
Choose a manual route for one test device
Use URL Enrollment to MDM-enroll an approved, previously configured Mac, iPhone, or iPad without a factory reset. If you only want to deliver files to a Mac through the native Client, install the correct Client PKG instead. These are different management connections: a Client check-in does not prove Apple MDM enrollment, and an installed MDM profile does not prove the native Client is running.
Adding a device to Apple School Manager or Apple Business for future ADE is a third task. It may require erasure; it is not a prerequisite for this manual URL exercise. Personal-device User Enrollment is a separate privacy-focused route described below, not another name for ordinary URL Enrollment.
Before either route
Choose one organization-approved test device. Record the device's identity, how it is currently managed, and who is responsible for cleanup. Back up any data that matters. Stop if the device is already managed by another MDM or connects to another FileWave Server. Migrating it or overwriting its configuration requires explicit approval. Before admitting the device, review inherited groups and Deployments to prevent it from unexpectedly receiving production work.
For Apple MDM, complete the APNs and trusted enrollment-URL checks in Apple Client Pre-Requisites. ADE and Apps and Books are not required solely for manual MDM enrollment. A Mac user needs local administrator approval to install the MDM profile. Confirm the approved authentication policy rather than disabling it when a prompt appears. Hosted users do not run Server shell commands. If you are an existing customer, contact FileWave Support. If you are evaluating FileWave, contact your assigned FileWave Systems Engineer (SE). Use that channel for Server-side questions.
Prepare a Mac Client package before enrollment or installation
Do this only if the Mac needs the native Client. If an approved matching package is already ready, use it rather than rebuilding it or changing existing package settings. For Server and Central 16.4.0+:
- Connect Central to the correct Server. Open Preferences > Enrollment > macOS in 16.4.1+, or Preferences > Mobile > macOS in 16.4.0.
- Select Show settings. Review the Server address, naming, routing/Boosters, and remote-connection settings. Enable location tracking or remote control only if approved for this test. Do not change an existing Mac's connection settings without its owner's migration plan.
- Select Build macOS client package. In 16.4.1+, review the separate settings dialog; in 16.4.0, review settings in the platform pane. Wait for Ready for Enrollment and check the version.
- For MDM-assisted initial installation, keep Install for initial enrollment only enabled. The package is already stored for enrollment and does not need to be uploaded again. For Client-only installation, select Download macOS client package, transfer the PKG securely to the approved Mac, and install it with local administrator approval.
For Servers earlier than 16.4.0, use the earlier-Server builder steps below and Build Custom FileWave Client and Booster Installers. The package must be uploaded before an older Server can use it for MDM enrollment. A standalone Client-only installation does not require that upload. A Booster is optional. For an already enrolled Client, follow Upgrading FileWave Clients instead of using an enrollment PKG as an upgrade recipe.
Route A: manually enroll Apple MDM
- On the test device, open the enrollment URL supplied by your FileWave administrator, normally
https://yourfilewaveserver.domain.com:20443with your actual Server hostname substituted. Confirm the hostname and certificate identity before proceeding. Do not proceed with an unverified self-signed certificate or an unexpected profile. Have the owner resolve certificate trust or confirm the profile before continuing. - Select Enroll Device and complete the approved enrollment authentication if prompted. Download the management profile.
- Mac: open the downloaded
enroll.mobileconfig. In current macOS, open System Settings > General > Device Management, open the downloaded profile, and review the organization and permissions. Choose the applicable Continue, Install, or Enroll action and supply local administrator authorization when asked. On older macOS releases, the profile controls are under System Preferences > Profiles rather than System Settings. Choose the installed OS version in Apple's profile-installation guide for the applicable steps. - iPhone/iPad: use Safari for the download, allow the profile download, then open Settings > Profile Downloaded or Settings > General > VPN & Device Management. Select the downloaded profile, review its management permissions, and complete Install and the Remote Management approval prompts. Enter the device passcode only on the device when requested.
- Return to the device's management settings and confirm the installed FileWave MDM profile. On a Mac where the enrollment package was prepared, wait for the native Client to install and check in; package readiness alone is not installation proof.
The profile gives the organization management authority. Manual enrollment may allow the user to remove it, unlike enforced ADE management. An App Portal icon is not the success criterion, and the old iOS/iPadOS IPA-based Kiosk is retired. Apple Vision Pro uses the FileWave mobile enrollment workflow, but its on-device labels and capabilities follow the installed visionOS version; have the owner confirm those before treating the iPhone/iPad steps as identical.
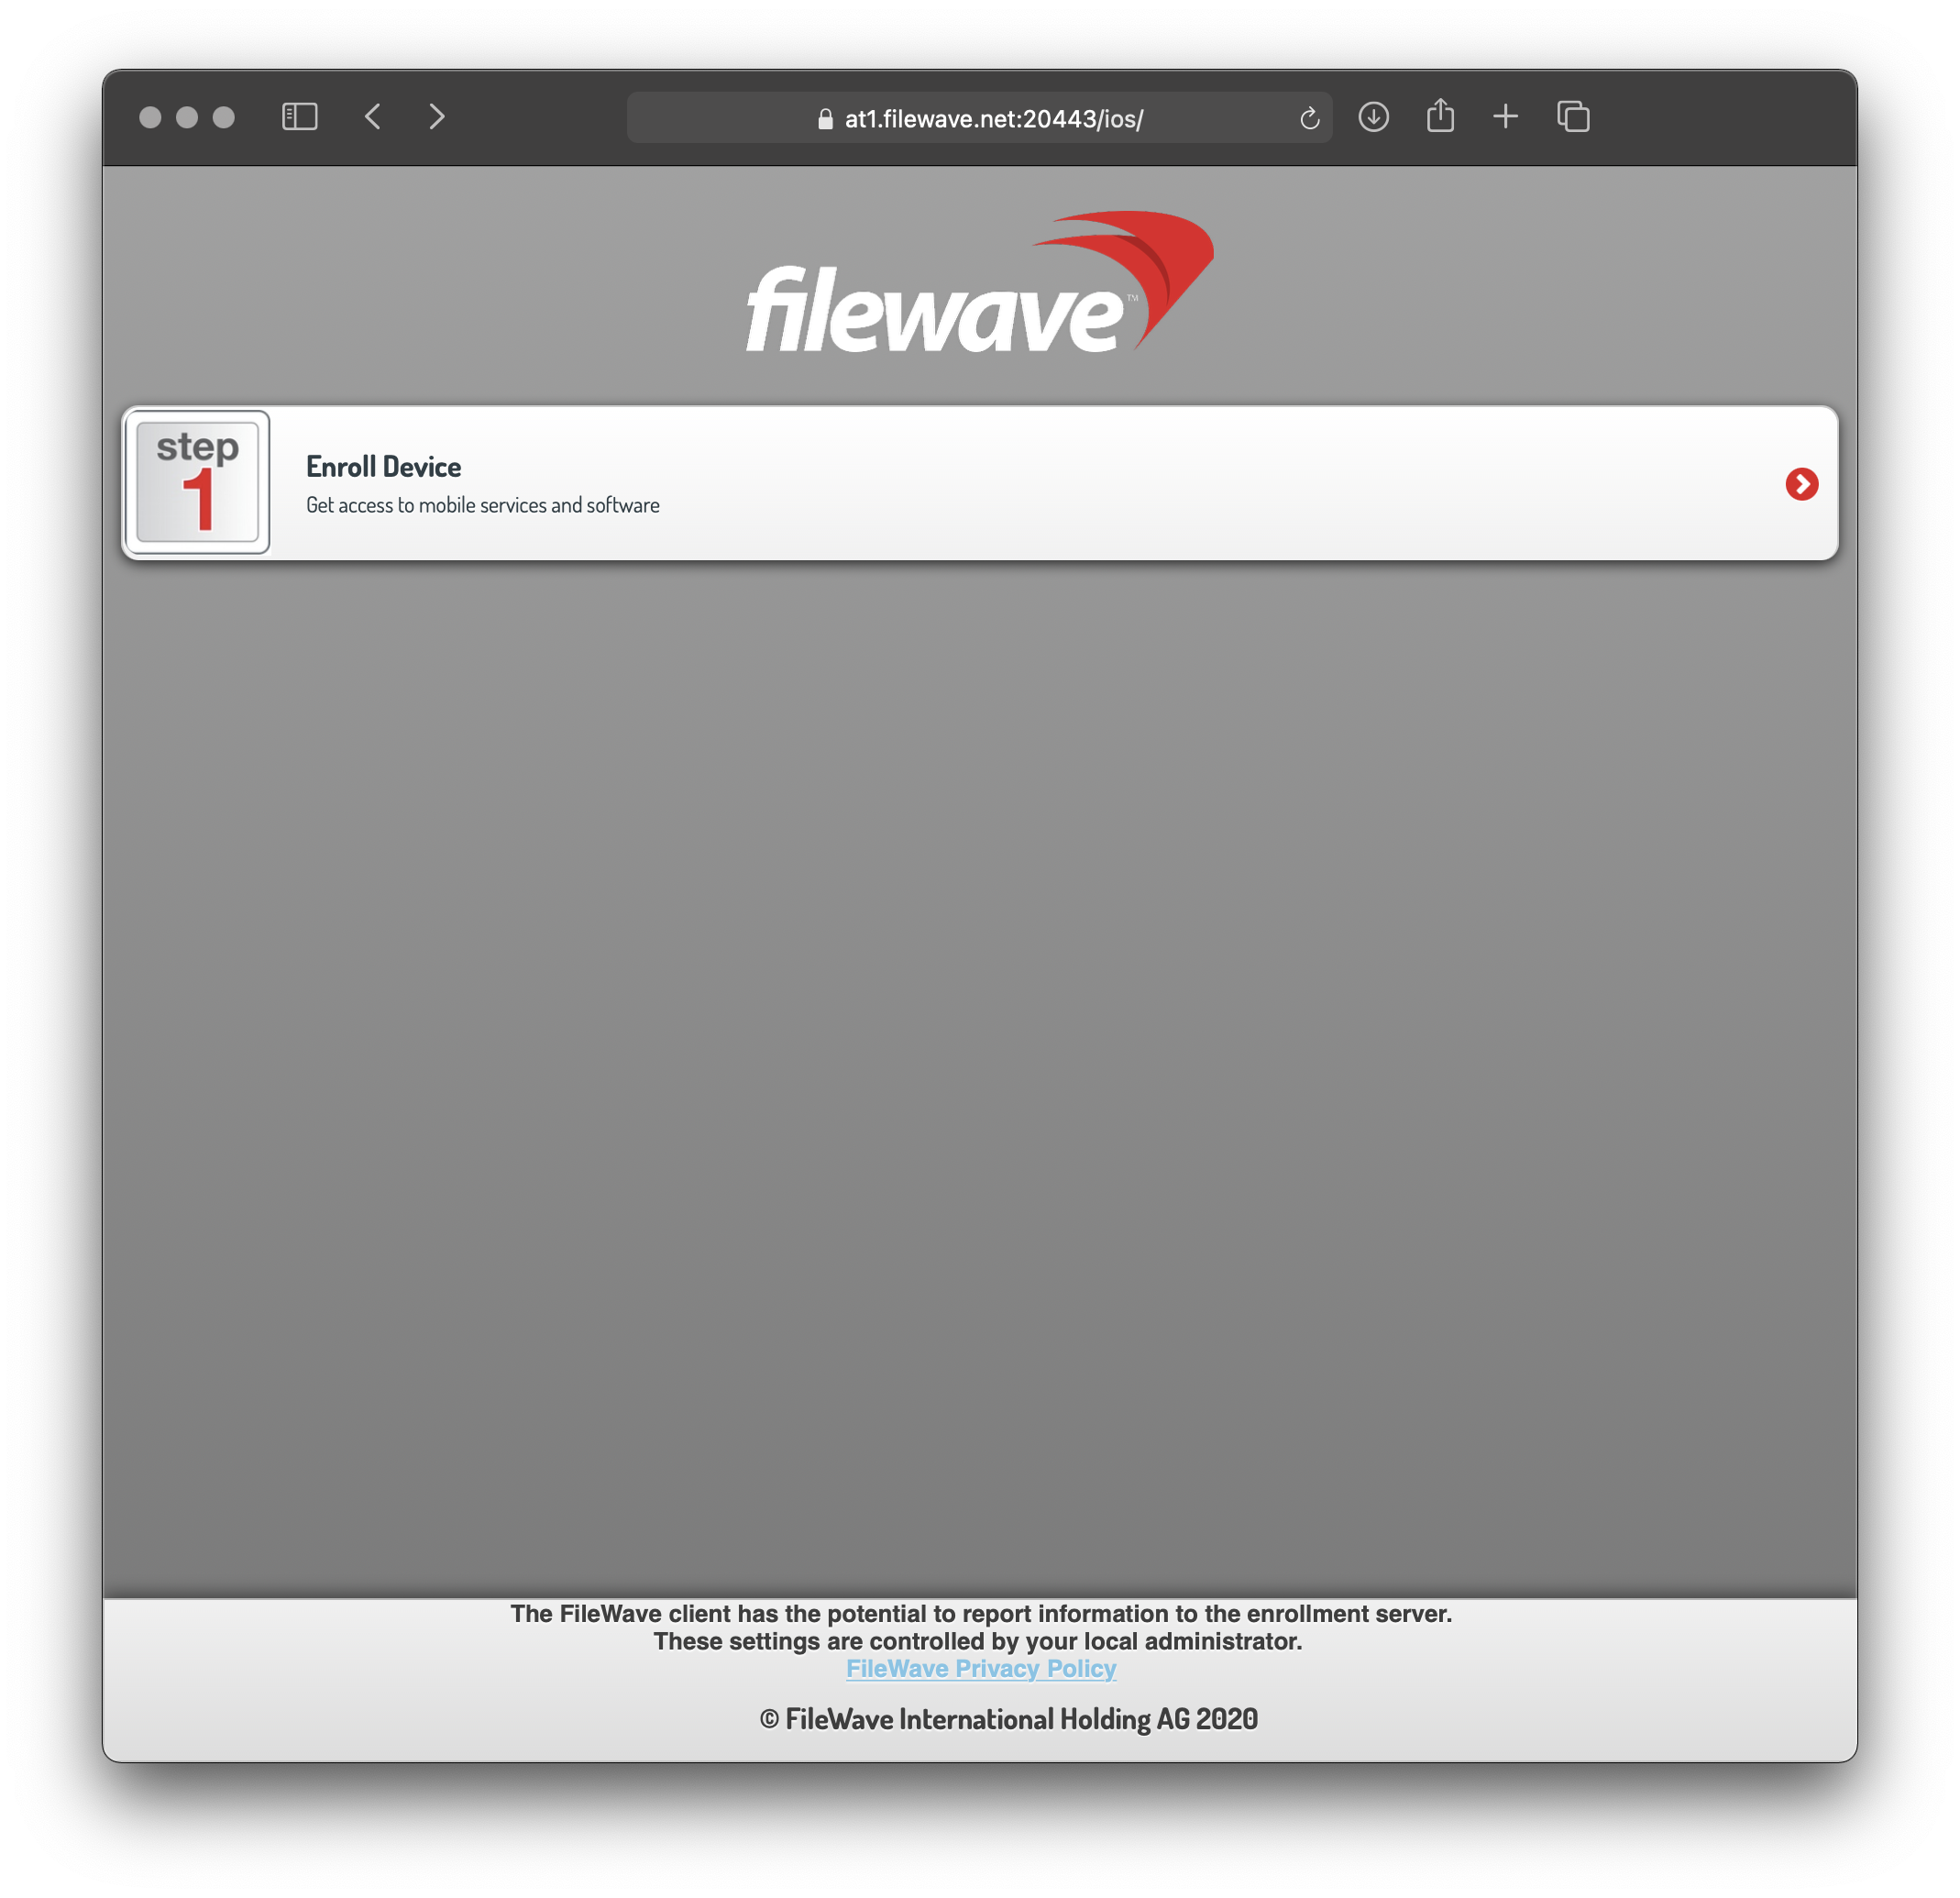
The macOS screenshot shows an older enrollment interface. Follow the steps above and use your organization's approved settings rather than the values shown.
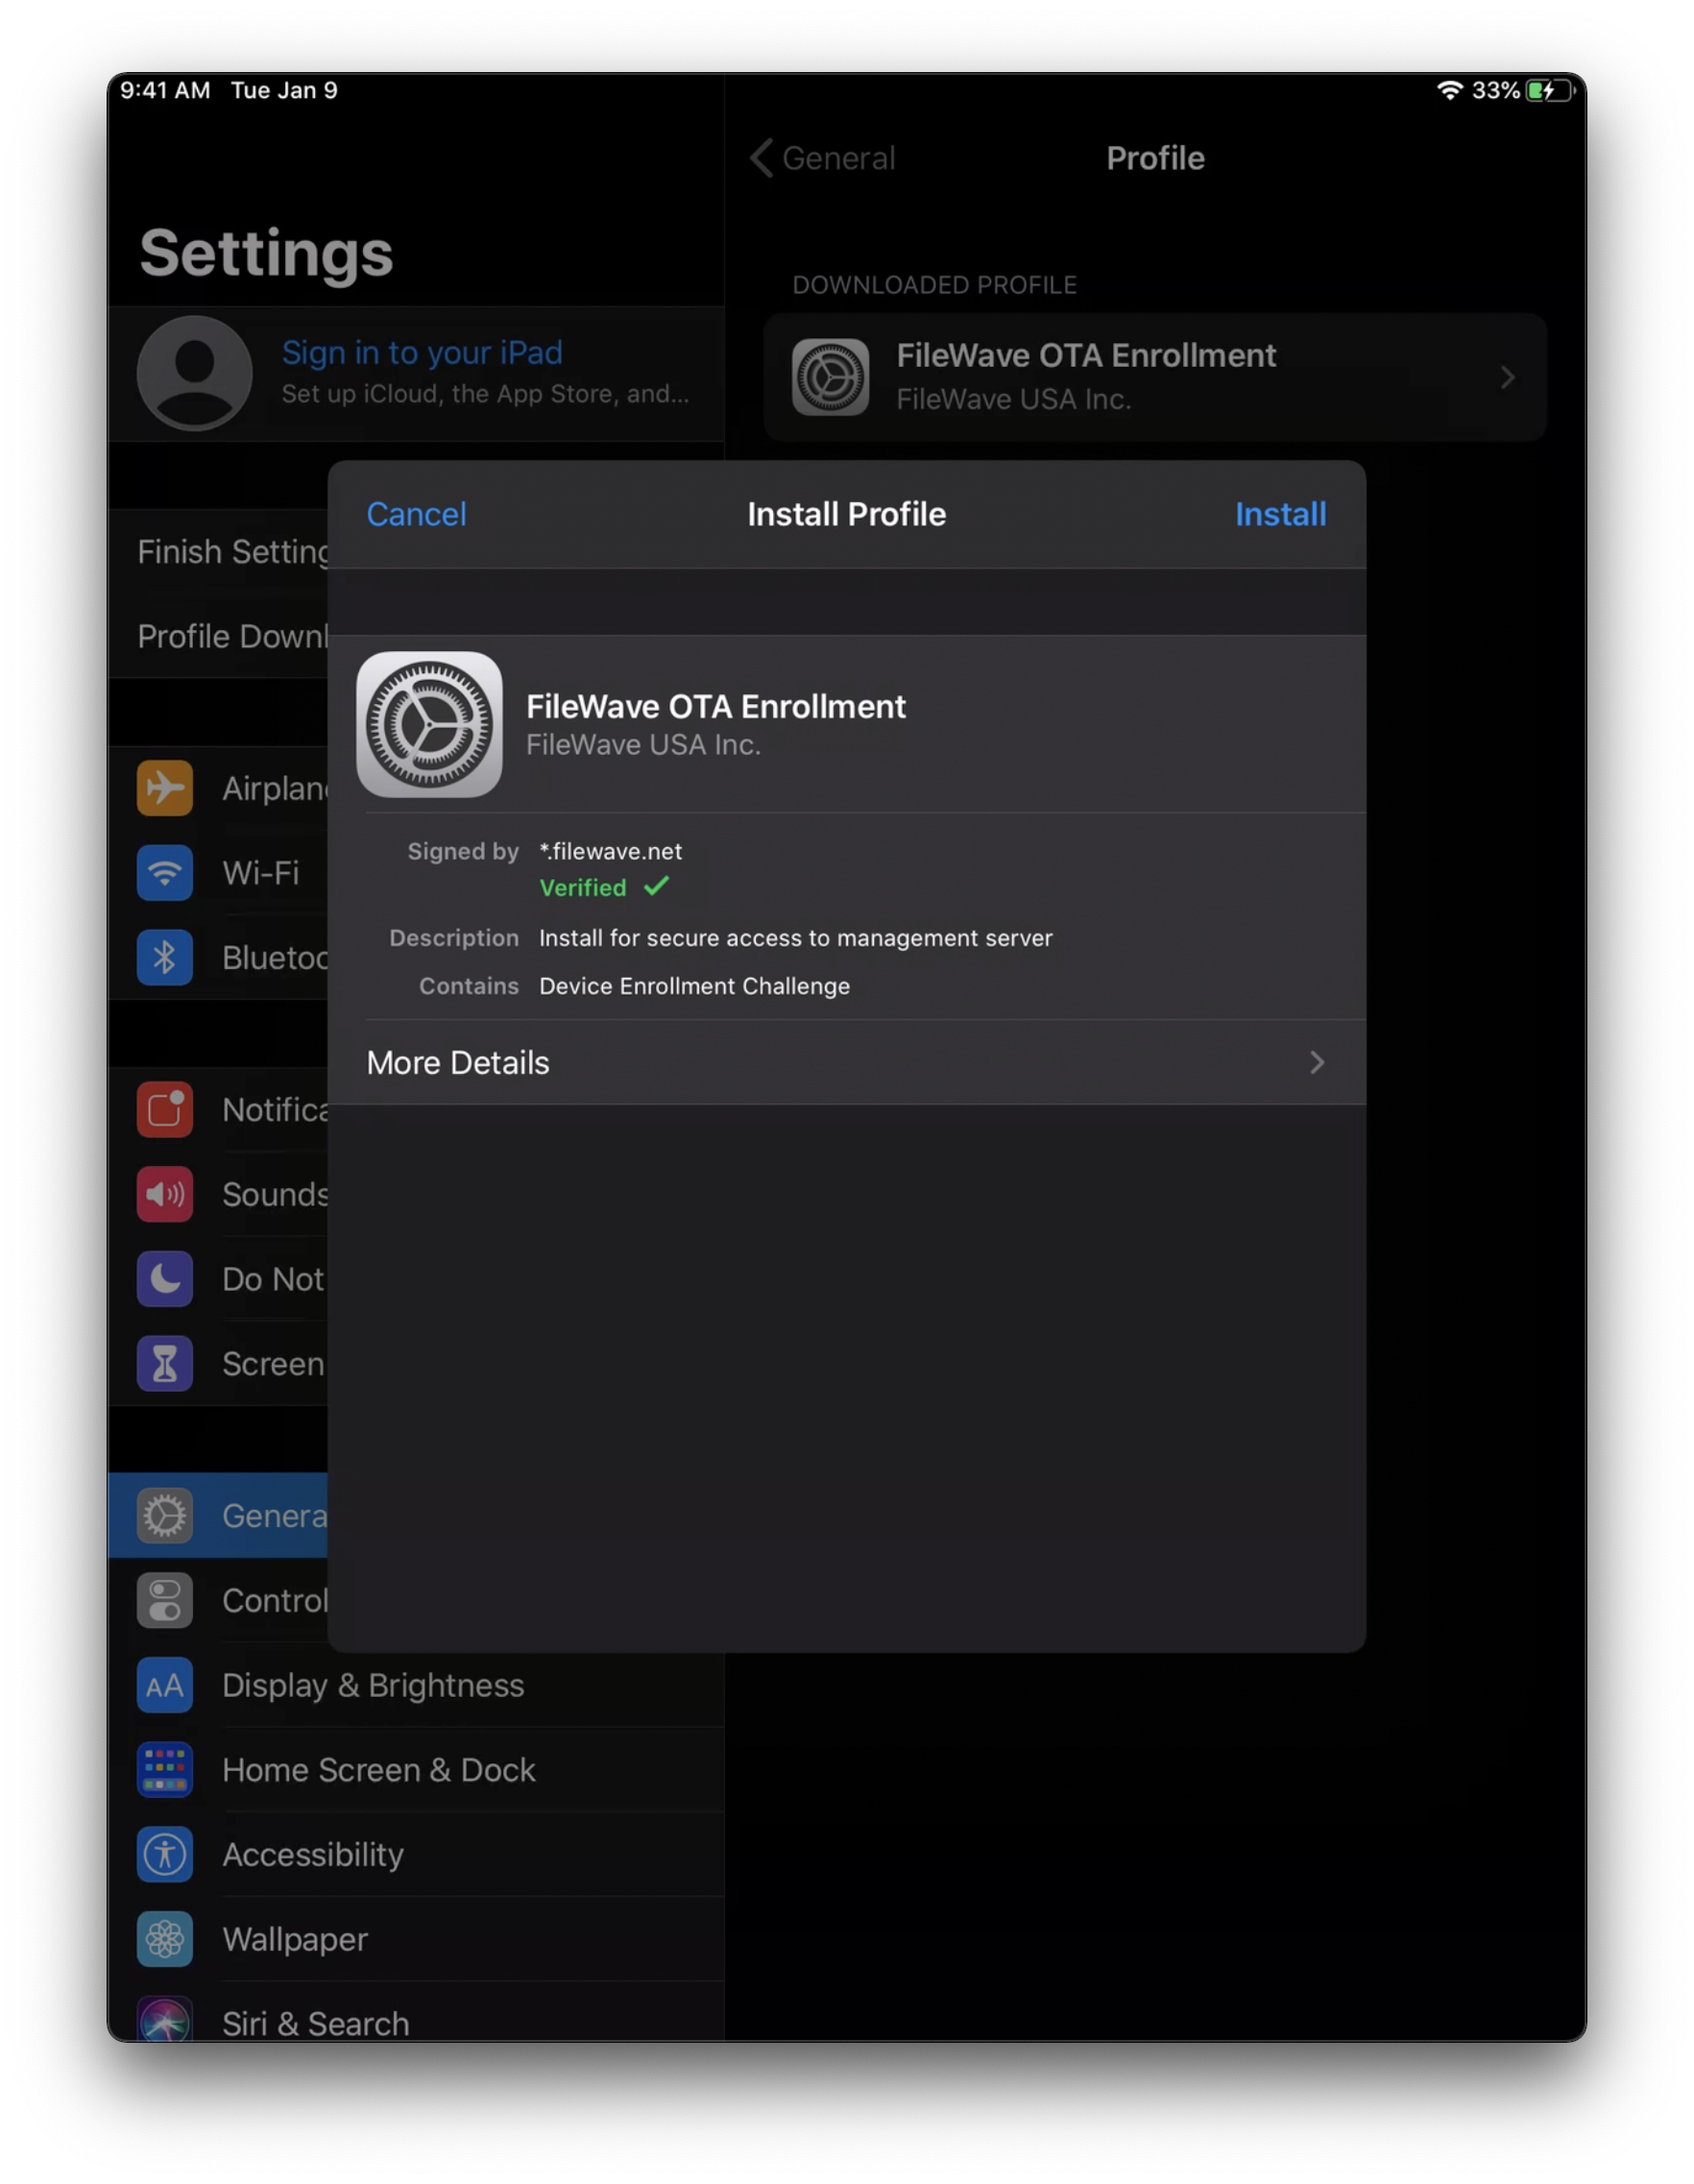
The iPhone/iPad screenshot shows an older profile-installation interface. Labels may differ on your device; follow the steps above and use your organization's approved settings.
Route B: native Client only on a Mac
Install the approved custom PKG prepared above, then confirm that the native Client appears in Central. This supports the first Mac file exercise without adding APNs/ADE as Client-only prerequisites. Apple MDM profiles, Apps and Books management, and Apple-managed security controls need their own supported enrollment and platform conditions. For encryption, recovery, firmware, updates, lock, or erase, check the chosen feature’s requirements for the exact hardware, OS, FileWave release, and management method before a separate evaluation.
Admit the record and check the result
First check whether Central already accepted the device. If it did, inspect that record rather than add another one. Otherwise use New Client, match the actual test identity, and choose Add Clients from the applicable queue: Desktop Clients for native Mac Clients, Enrolled Mobile Devices for the documented iPhone/iPad MDM route. For FileWave 16.4.x, Vision Pro guidance confirms New Client > Enrolled Mobile Devices. If a Mac's MDM or native Client records do not match what you expect, stop and ask the owner to review them; do not select a similarly named record to proceed.
Manual admission changes the model. Review pending work with the other administrators before selecting Update Model; the shared commit can include changes beyond your test device. The Update Server Model dialog confirms the commit; it does not preview changes. Check the resulting model number, then separately confirm recent device communication. See the Model Update lesson.
Record the test device's identity, its matching Central record, and evidence of recent communication. For MDM, also record the installed profile/organization on the device. For the native Mac Client, record its version and recent Client communication. Desktop Last Connect and inventory Last Connected are different observations. Do not use Verify as a harmless refresh: it can execute manifest work. If the record is missing, check URL/certificate, profile approval, Server package readiness, and network connectivity before changing authentication or reinstalling.
Next: deliver one iPhone/iPad app or one Mac test file. Before cleanup, review which apps, profiles, accounts, certificates, and data depend on management. Removing MDM may remove managed items and their data; uninstalling the native Client is a separate operation. Do not wipe, lock, or enable tracking as an enrollment test.
Optional: add eligible devices to the Apple organization with Configurator
Eligible Macs can be added. Apple's Configurator requirements and procedure cover Macs with Apple silicon or an Apple T2 Security Chip, with macOS 12.0.1 or later, using Apple Configurator for iPhone. Those are Apple's Configurator requirements, not a FileWave OS support statement. An already configured Mac must first have its content and settings erased. Back up, obtain erase approval, and confirm recovery/Activation Lock ownership before starting.
For an eligible Mac, sign in to Configurator with an authorized Managed Apple Account, arrange network access, and pair at Select Your Country or Region in Setup Assistant. Wait for Apple assignment to complete and shut down as directed. Then assign the correct FileWave service, synchronize the serial and enrollment profile, and return to Apple ADE Enrollment before continuing setup.
Configurator for Mac supports adding eligible iPhone/iPad and Ethernet-capable Apple TV devices; it is not the app used to add a Mac. Follow Apple's platform-specific preparation instructions, not a universal reset recipe. Manually added devices have a 30-day provisional period beginning after assignment and successful enrollment, during which the user can release the device from the organization, supervision, and management. Removal in some Configurator enrollment flows can erase and release the device; it is not a harmless cleanup shortcut.
Optional: personal iPhone/iPad User Enrollment
For a personal device, use a separate, approved bring-your-own-device (BYOD) plan. User Enrollment separates organizational management from personal data and has more limited management capabilities. It needs Managed Apple Accounts and the corresponding identity/discovery configuration.
For modern iOS/iPadOS, use Account-Driven User Enrollment, supported by FileWave 15.5+. Profile-based User Enrollment was deprecated in iOS/iPadOS 17 and is not supported in 18 and later. The organization must configure its discovery domain, authentication, and permitted apps first; do not copy example well-known URLs or Server configuration into production. After the owner has validated this separate workflow, confirm the matching Central record and installed management profile using the checks above.
Earlier Servers: build the Mac Client package externally
For FileWave Servers earlier than 16.4.0, use the Mac custom installer builder. This remains a separate route from Central's integrated builder; it is for a new Client installation, not an upgrade of an existing Client.
- Choose the intended Product Version and enter your FileWave Server's fully qualified domain name under Server Name. Review the release's platform requirements first.
- Review Sync Computer Name and any Client naming settings. With Sync Computer Name enabled, the Client reads the Mac hostname at startup. Use the organization's approved naming convention.
- Keep Server Port at 20015; the Client converts that setting to the appropriate connection port. Do not manually substitute 20017. Review certificate trust with the Server owner. A trusted CA-signed Server certificate does not require a separate self-signed certificate upload.
- Review Overwrite Configuration, location tracking, remote-control prompting, and Booster/routing settings. Do not overwrite an existing Mac's configuration without an approved migration plan. A Booster is optional; tracking and remote control are not enrollment requirements. The builder states Client Password is not used for 16.0.0+ Clients. Confirm remote-connection authorization requirements for your release rather than relying on older password guidance. Leave other connection defaults unchanged unless FileWave directs otherwise for this release.
- Select Build, wait for the download, and extract the archive. Keep the customized PKG restricted to the people provisioning the approved devices.
For a Client-only installation, transfer the PKG securely and install it on the approved Mac with local administrator authorization. Then return to the admission and check-in steps above.
For MDM-assisted initial installation, prepare the package before enrollment: open Preferences > Mobile > macOS, select Upload macOS client package, authenticate when prompted, and choose the extracted PKG. Wait for upload confirmation, retain Use for initial enrollment only, and select OK to save Preferences. Clearing the initial-only setting can send newly uploaded packages to existing MDM-enrolled Macs. Upload readiness does not prove Client installation; verify check-in after enrollment.
For instructions specific to your version, see Build Custom FileWave Client and Booster Installers. For an existing Client, use Upgrading FileWave Clients.
No comments to display
No comments to display