
Create Imaging Association
What
Use the New Image Association button in the imaging association view to assign a Windows image to one or more devices. A driver pack can also be selected when the device model requires one.

When/Why
Create an imaging association when a Windows device needs to be linked to the image it should receive during imaging. Each device can have only one active imaging association at a time.
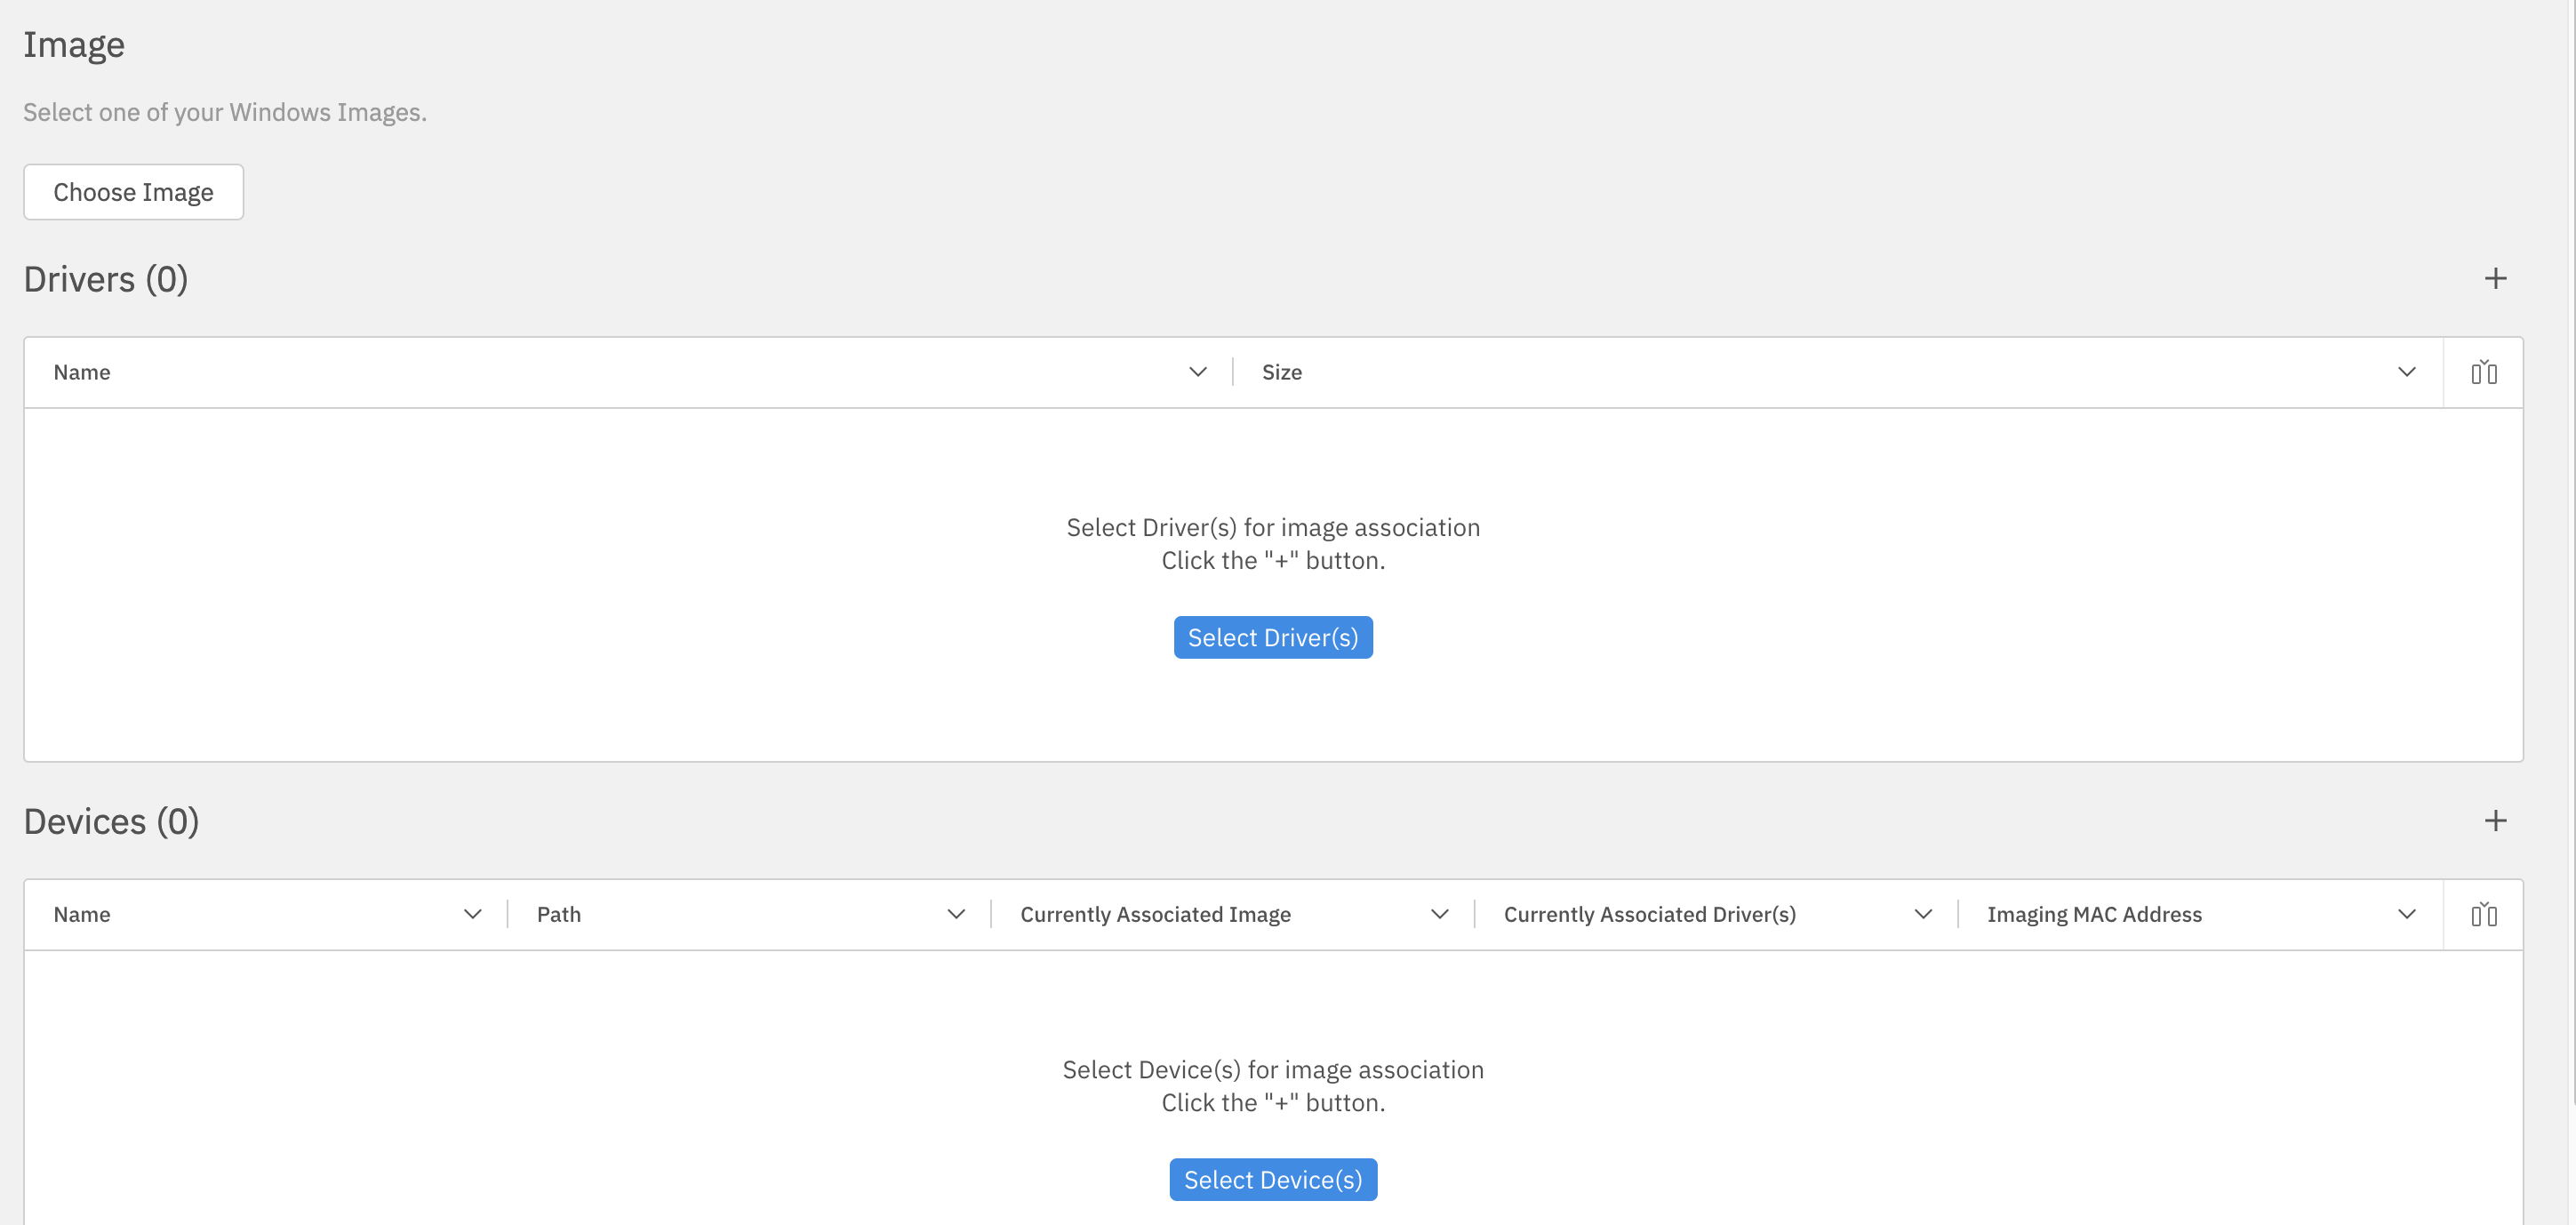
Before creating the association, have the Windows image available in FileWave Central and confirm that it matches the target hardware and boot mode. See Configure Windows Imaging Associations for image and driver selection. Check the target device’s Imaging MAC Address and any existing image or driver assignment in the selection list; a device name alone is not enough to identify the intended imaging target.
How
Choose the image with Choose Image, add an optional driver pack with Select Driver(s), and choose the target device or devices with Select Device(s). Save the association after the required image and device selections are complete.
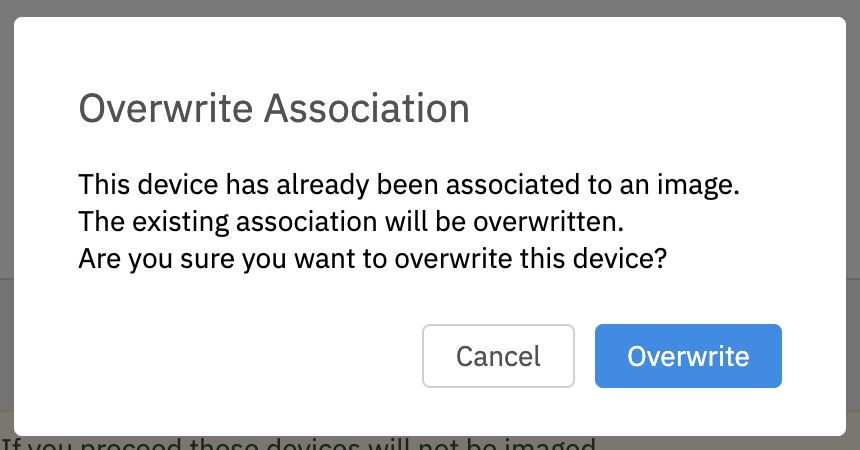
If you add an association for a device that already has one, FileWave prompts you to either overwrite the existing association or cancel. Choose Overwrite only when you intend to replace that device’s current image assignment; otherwise choose Cancel and review the target selection.
Check the saved association
Return to the Imaging Associations view and confirm the image, target device, drivers, and enabled or disabled status. The saved association is an assignment, not proof that the device has been imaged.
When you are ready to image the device, follow Deploy a Windows Image with FileWave IVS for the model-update and IVS-download checks before PXE booting. Imaging can overwrite existing data: confirm the target identity and back up needed data before starting that workflow.
No comments to display
No comments to display