Configuring FileWave Server Basic Preferences
This section covers the basic FileWave preferences of General, Organization Info, Kiosk, Inventory, Mail, Editor and Proxies. The more complex preferences, including Mobile, LDAP, VPP&DEP, and Imaging, are covered in their own sections.
General preferences
FileWave General settings break down into four sections:
Local settings
These are settings for each computer the FileWave Admin application is installed on. These are items that effect the interaction of the FW Admin with the FW Server.
Server settings
The only setting here is your ability to limit the bandwidth for Fileset transfers from the Server to Boosters or Clients.
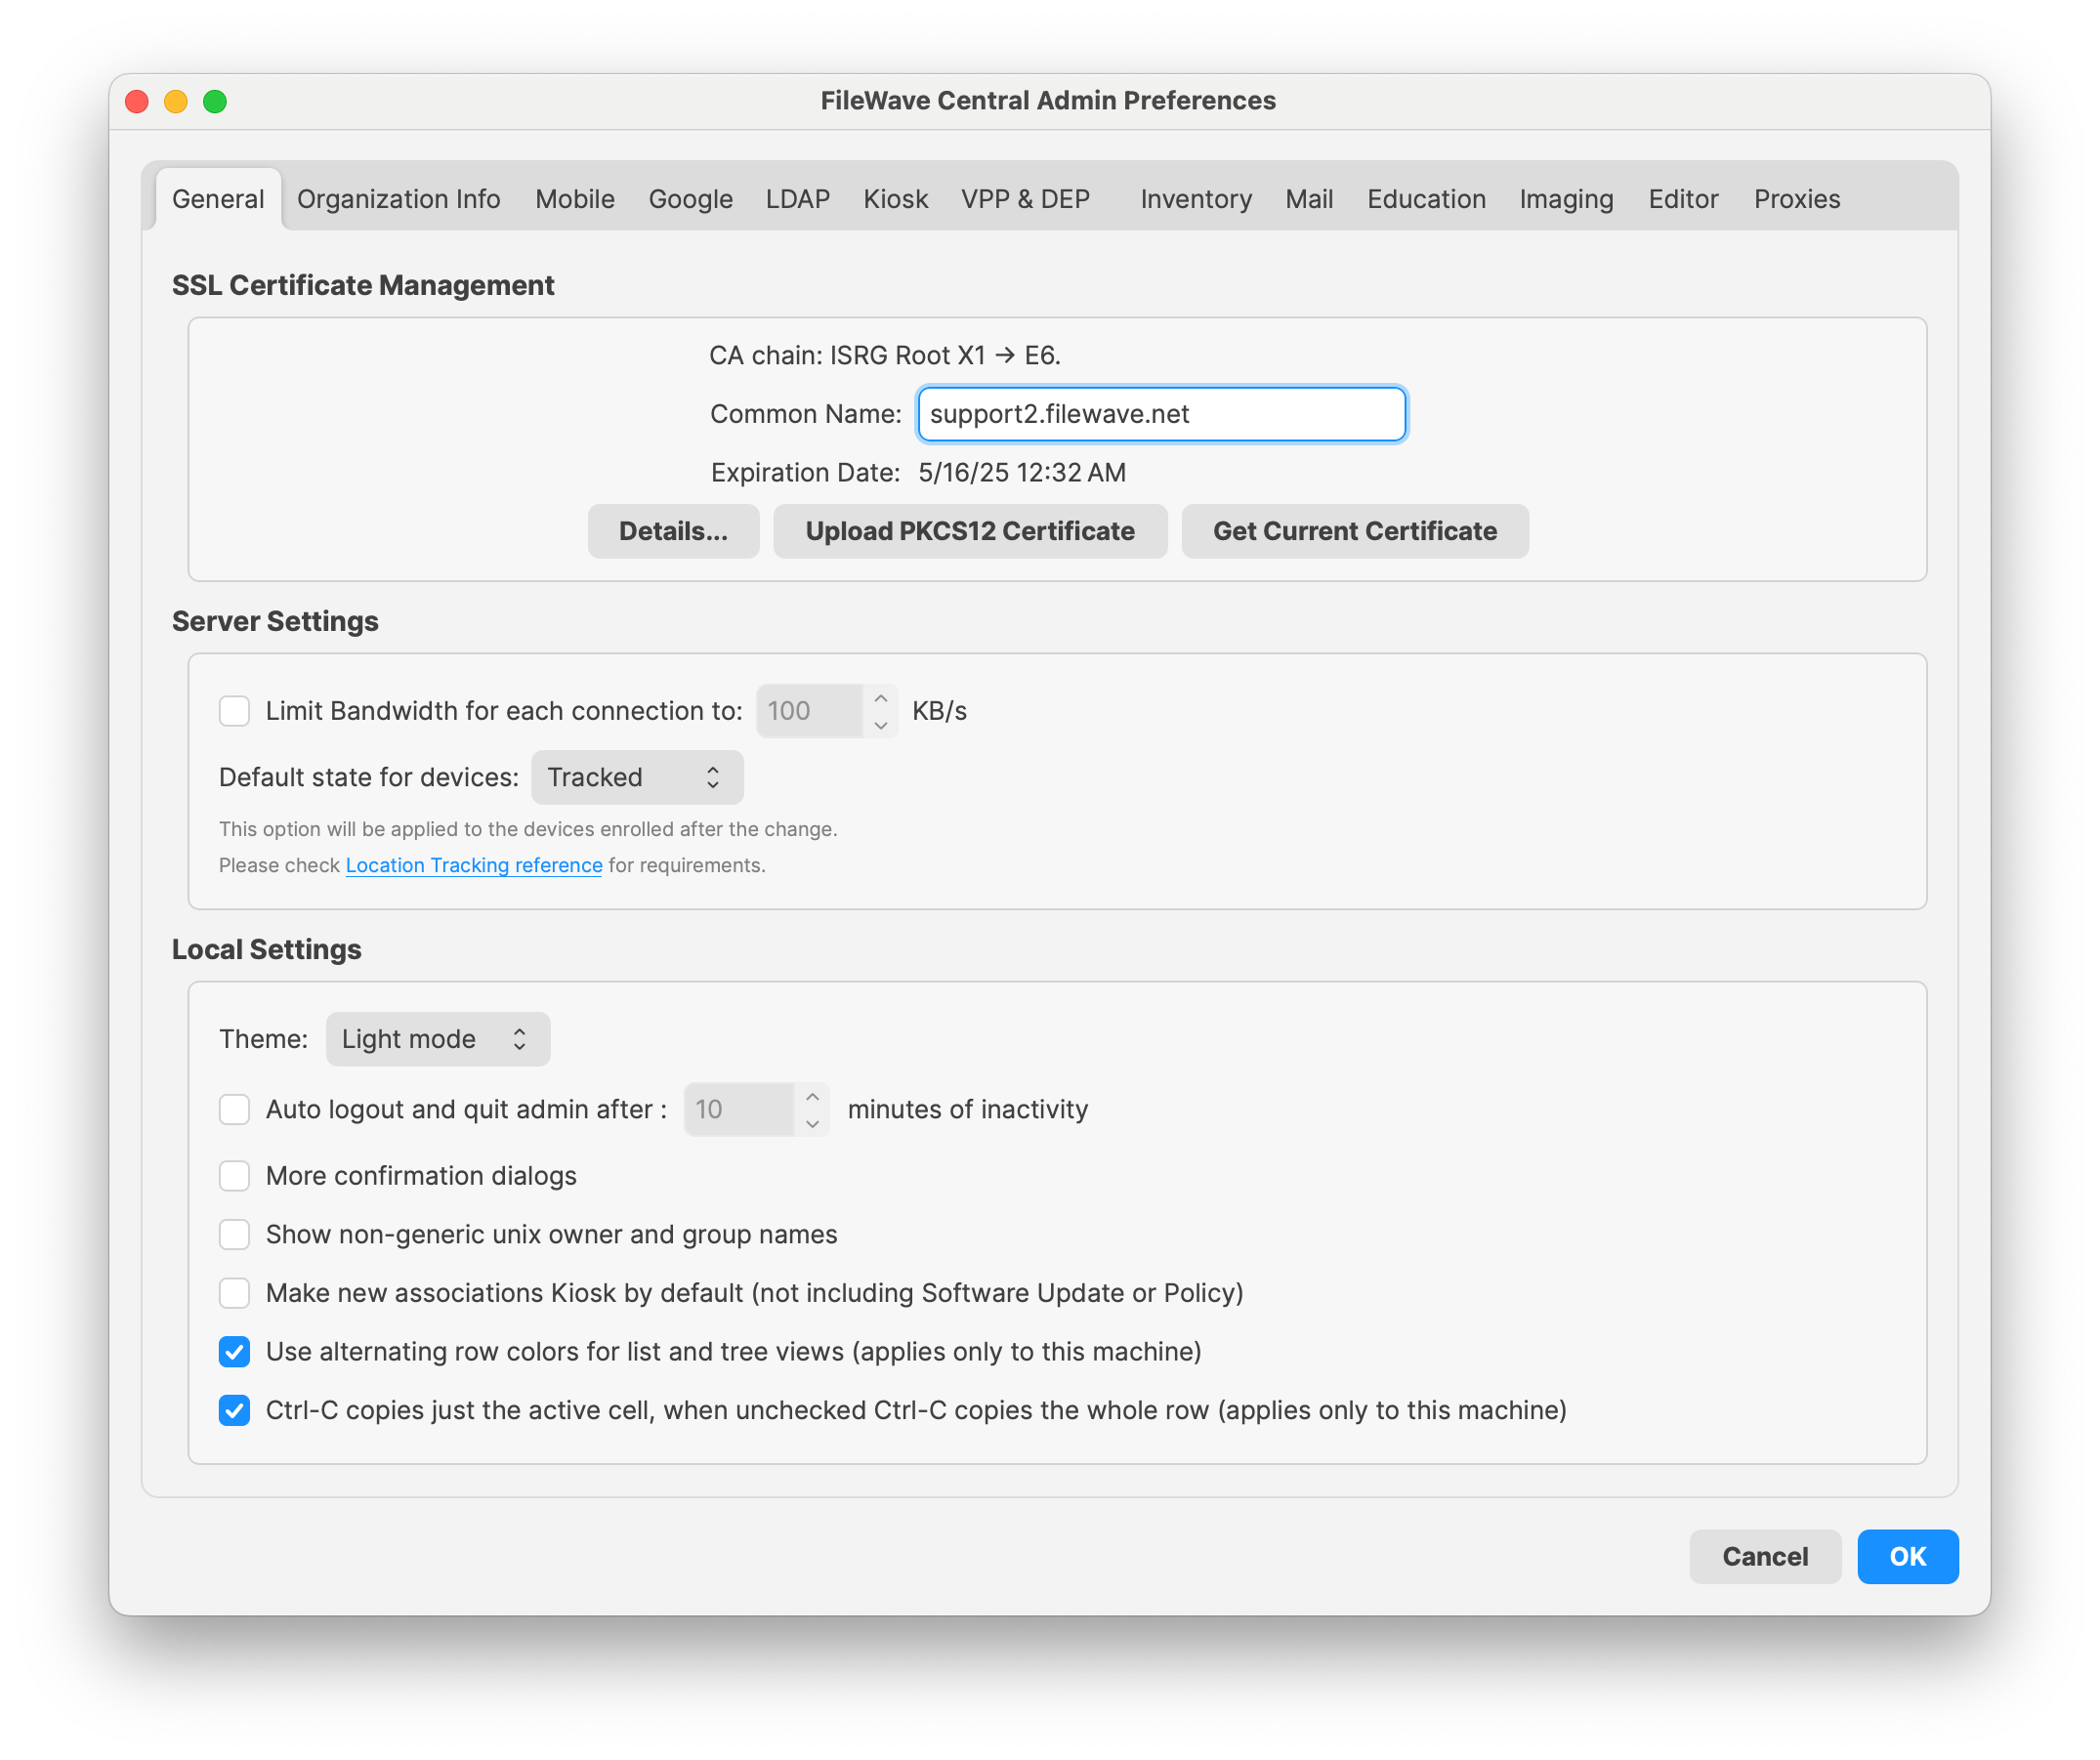
Local Settings
- Theme can be set to Light mode, Dark mode, or Automatic where Automatic will follow your OS' setting.
- FileWave Admin Auto Logout and Quit Time. Defines the longest interval the FW Admin application will sit idle before logging out the connected administrator and quitting.
- More Confirmation Dialogs. Enables extra confirmation dialog boxes when moving/deleting items.
- Show non-generic Unix owner and Group names. If enabled, Unix user IDs in Fileset contents windows will resolve to the local user account names.
- Make new associations Kiosk by default (not including Software Update). Sets all new Fileset/device associations to automatically use the self-service Kiosk as their distribution method. This does not apply to Filesets created from the software update pane.
- Use Alternating row colors…. Changes the view in the Admin panes to display a spreadsheet-like array of rows.

- Ctrl-C copies just the active cell…. Allows the administrator to copy cells or entire rows of data within the various panes.
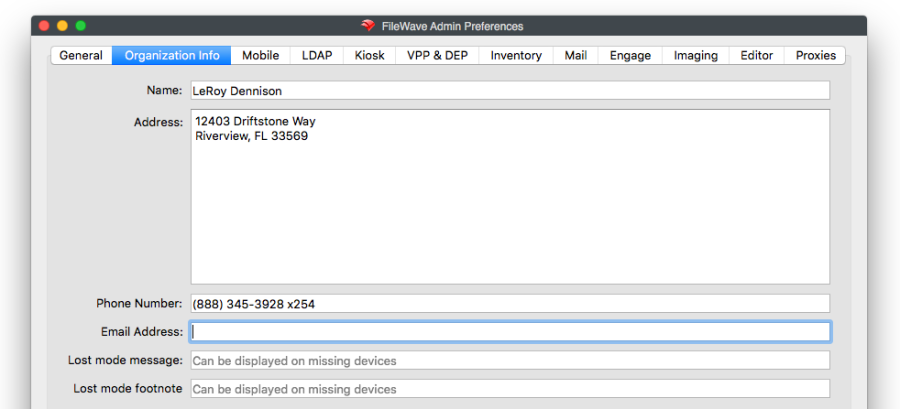
Organizational Info preferences
This setting pane provides the basic information concerning the managing organization. The data provided here will be shown as part of the overall device information.
Kiosk preferences
The self-service Kiosk preferences allow you to create and edit the various categories of Kiosk items offered to end users. You can also change the icon for an existing Kiosk item.
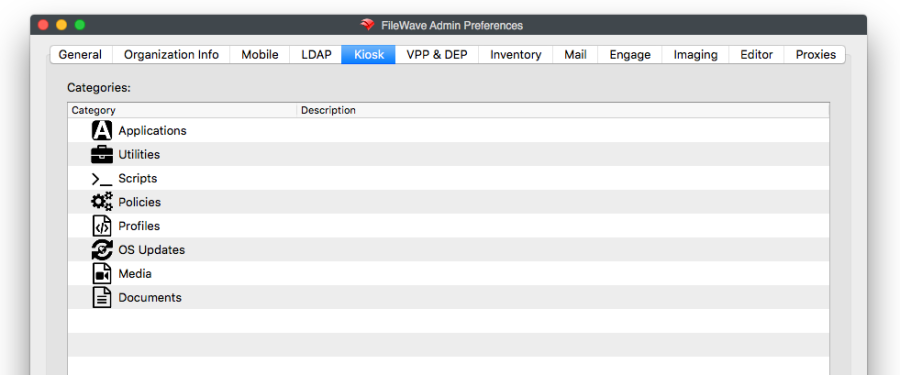
Use the [] or [-] buttons to add or delete a Kiosk item. When you have selected an existing Kiosk item, clicking on the [] button allows you to create sub-categories. Double-clicking on the title of a category allows you to change the name of the category. The Change Icon button lets you select a new graphic to display as the icon for a category. Icons should be in .png, .tiff, or .jpg format. They should also be no larger than 512x512 pixels in size. This is to keep the file size reasonable.
If you want to clear out your category set and return the FileWave defaults, click on the Revert to Defaults button and you will return to the eight (8) entries you started with. The Kiosk can be further customized with background images and titling. See the FileWave Support site for more information and directions.
Inventory preferences
The current version of FileWave has the asset management process, Inventory, included in the main FileWave Server install. Earlier versions of FileWave supported an Inventory server that could run on a different computer. The settings for Inventory on the current version can be left at the defaults; but information on the provided settings is below:
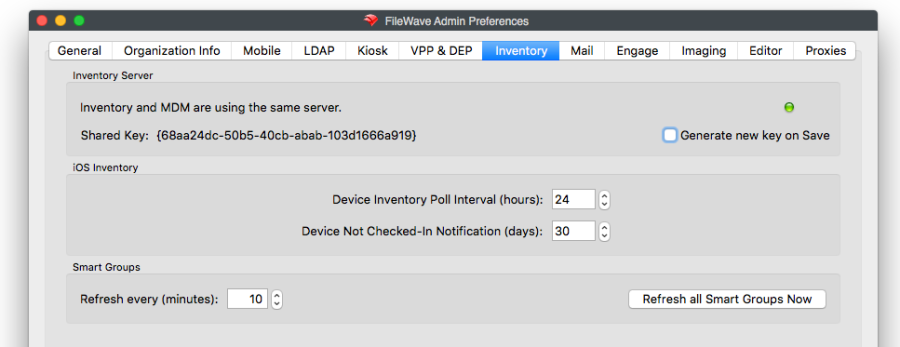
Inventory Server
The FileWave Inventory server and MDM server are now running on the same server. The server address should be a valid FQDN (fully qualified domain name). The default TCP port is 20445. If you change the Shared Key in Inventory, it will break any RESTful API scripts or interfaces you are using, until they are updated to use the new key.
iOS Inventory
- Device Inventory Poll Interval - Default is 24hrs. This setting is how often all iOS devices will report their profiles, application, security and device settings.
- Device Not Checked-In Notification – (applies to all MDM-enrolled devices) Default is 30 days. When a device exceeds the timeframe set, the color changes in the Client and Inventory view to alert the administrator that that device has not checked in with the MDM server.
Smart Groups
Mail preferences
FileWave Server Mail Preferences supplies outgoing email for scheduled reports and other server-generated messages. Manual SMTP configuration has been available in FileWave for many releases; OAuth support for Google and Microsoft 365 was added in FileWave 16.1.1.
- Manual Setup: Configure Host, Port, TLS, Send from address, and credentials only when the SMTP service requires them. Leave Username and Password empty for an intentional no-authentication relay. FileWave 16.4 fixes prior validation that could incorrectly require those fields.
- OAuth: Register a provider application, enter the Client ID and Client Secret—plus Tenant ID for Microsoft 365—authorize the mailbox, confirm Token Available, and send a test message.
For the complete 16.4 workflow, provider callback URL, Google and Microsoft 365 setup, screenshots, testing, and troubleshooting, see Configuring FileWave Server Mail Preferences.
Editor preferences
FileWave's Filesets can contain plain text files, such as batch (.bat), configuration (.conf), and property list (.plist). The Editor tab allows you to customize which extensions can be edited within the Fileset Contents Window's text editor. This capability allows you to make simple changes to a file, even a script, inside a Fileset.
You can add the extension of a specific type of file so that it can be edited within the FileWave editor. The below image shows adding .json to the list. (As of 15.4, .json will be included in the default list).
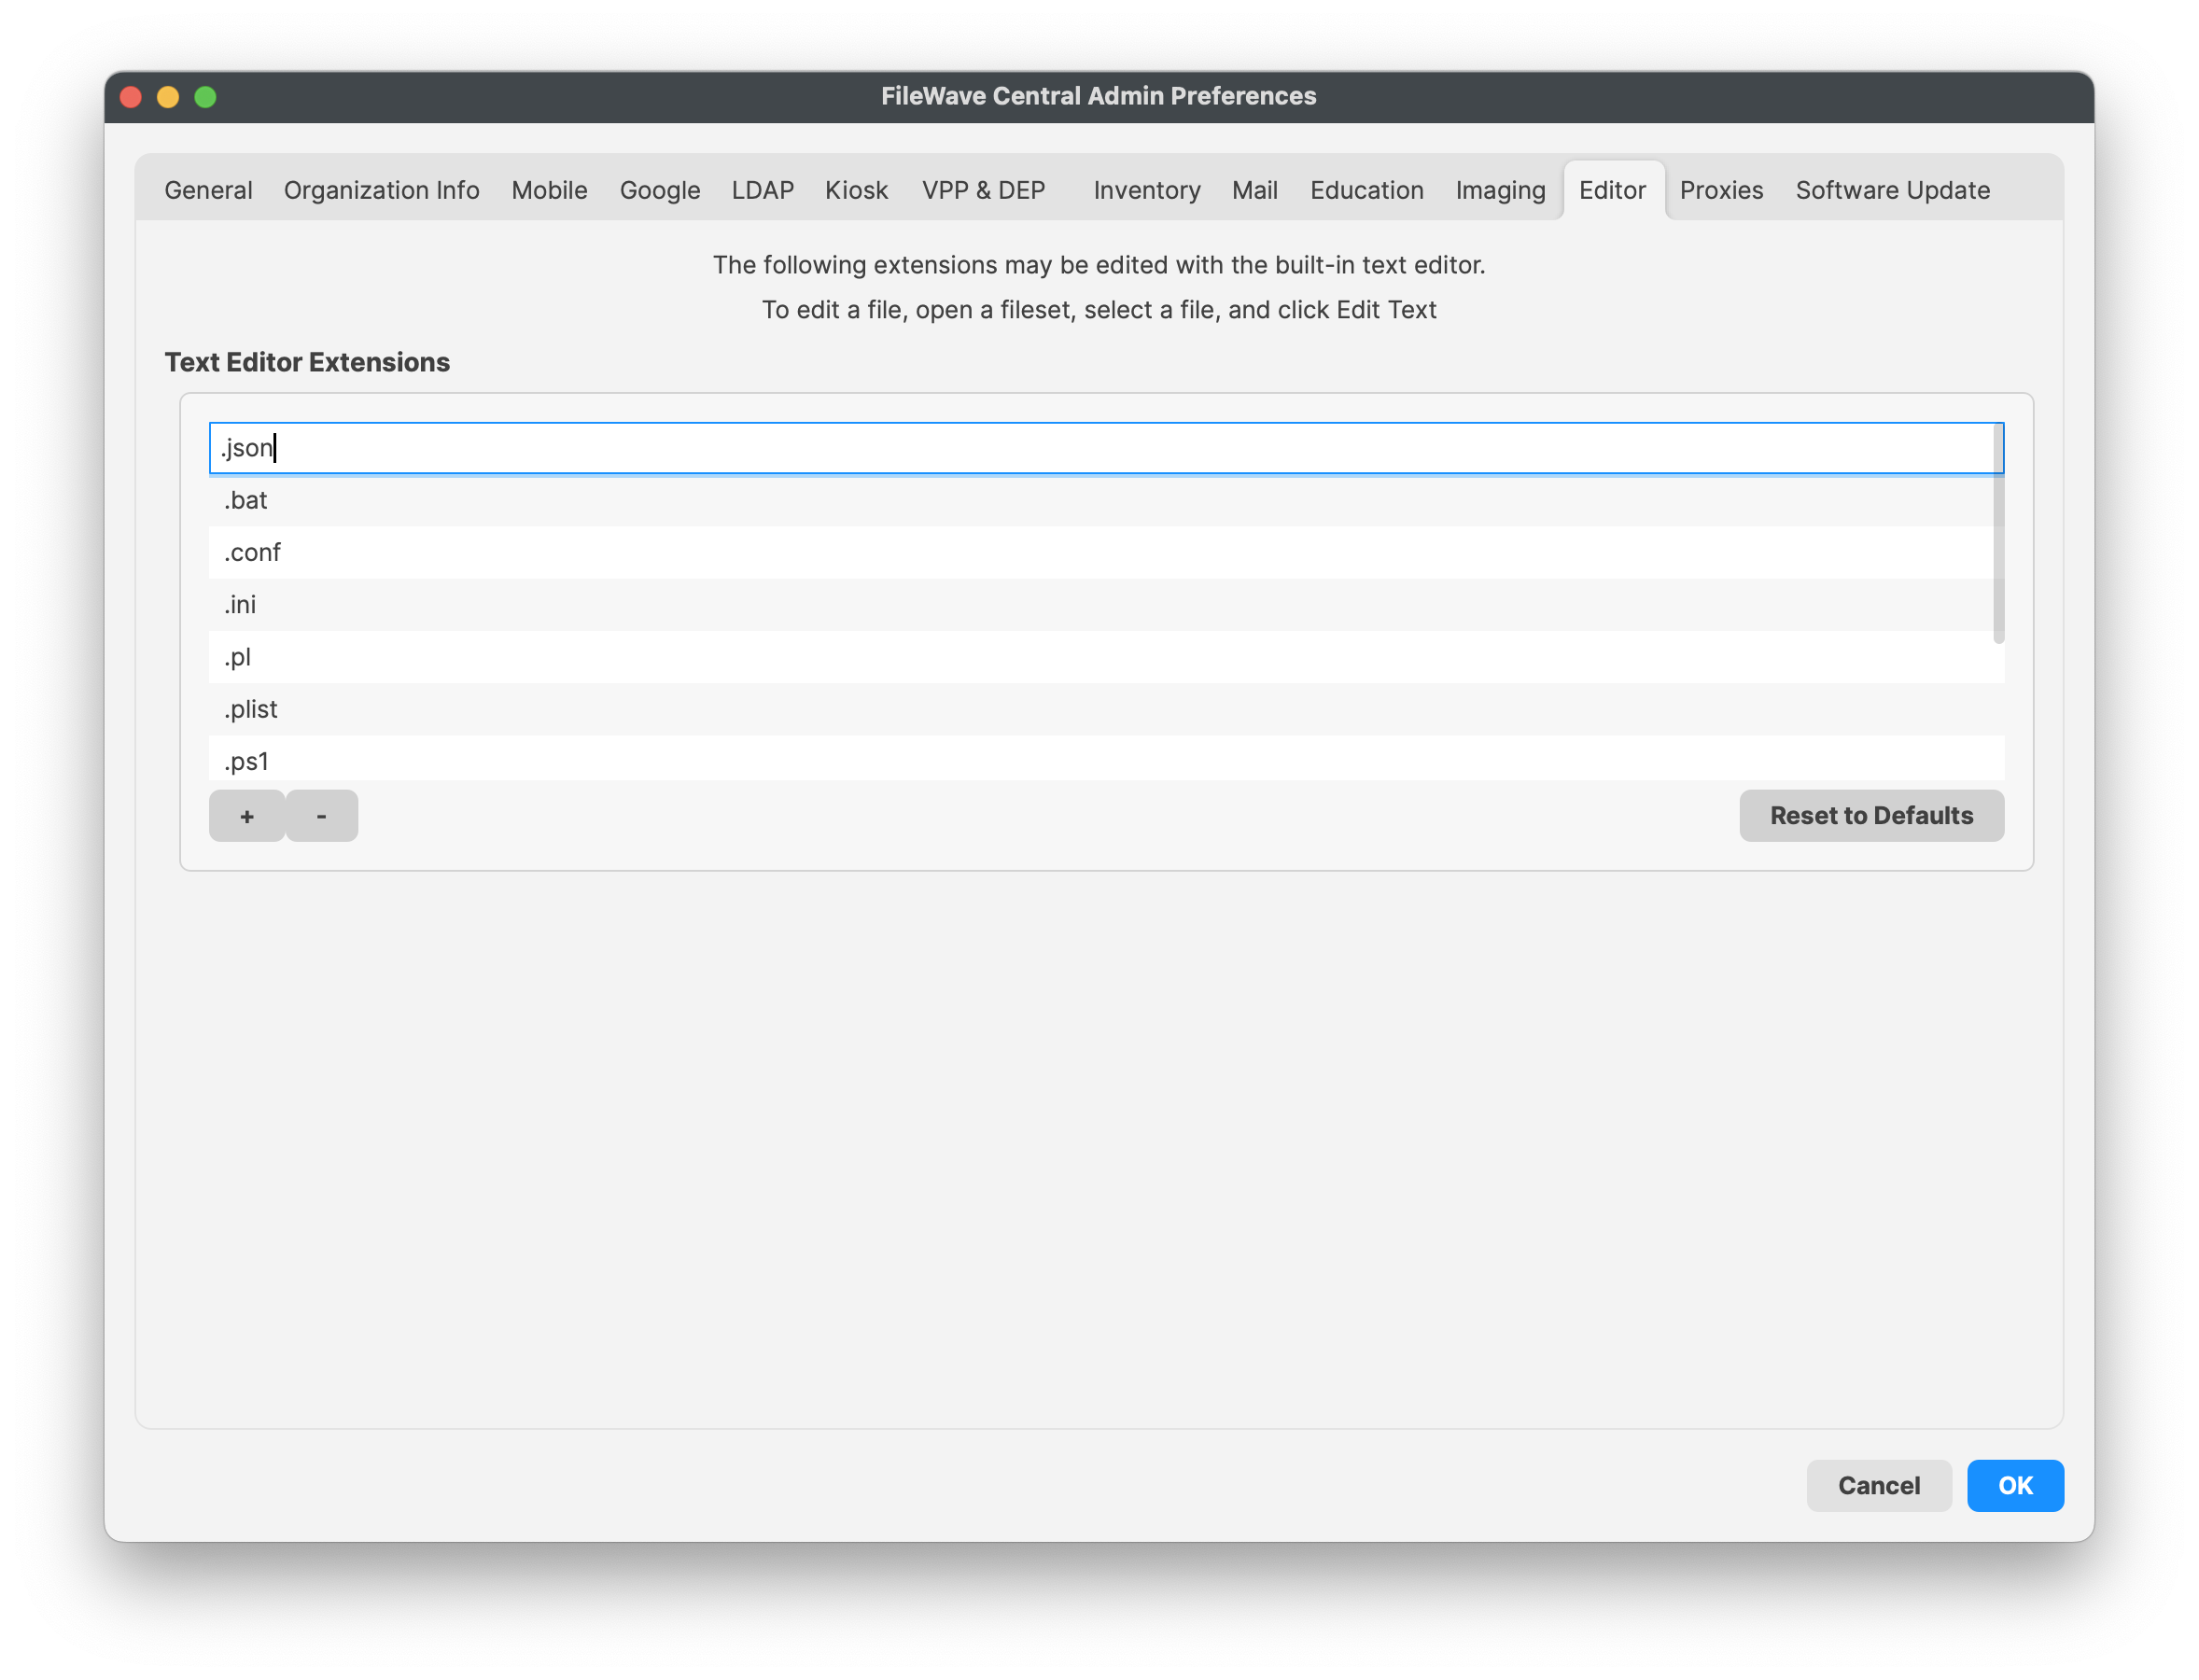
File types are usually limited to those that contain Unix or Windows line endings. You should test any file type that you plan on supporting before making that extension known to all of your FileWave administrators. More information on this capability and its use is in the Filesets / Payloads Chapter of this guide.
Proxies preferences
If you are using proxy servers in your environment, this preference pane will allow you to enter the credentials needed to let your FileWave Server authenticate with the proxy service. If your users' devices must go through a proxy server to access the FileWave server from outside your network, then you will need to add credentials here to allow your FileWave server to respond through that same proxy. You may also create unique override credentials for your FileWave Admin to use or bypass the proxy service, as needed.
- Server Proxy Credentials – HTTP and SOCKS5 are the two protocol options, followed by host name, port, username and password.
- Admin Proxy Credentials Override – HTTP and SOCKS5 are the two protocol options, followed by host name, port, username and password.
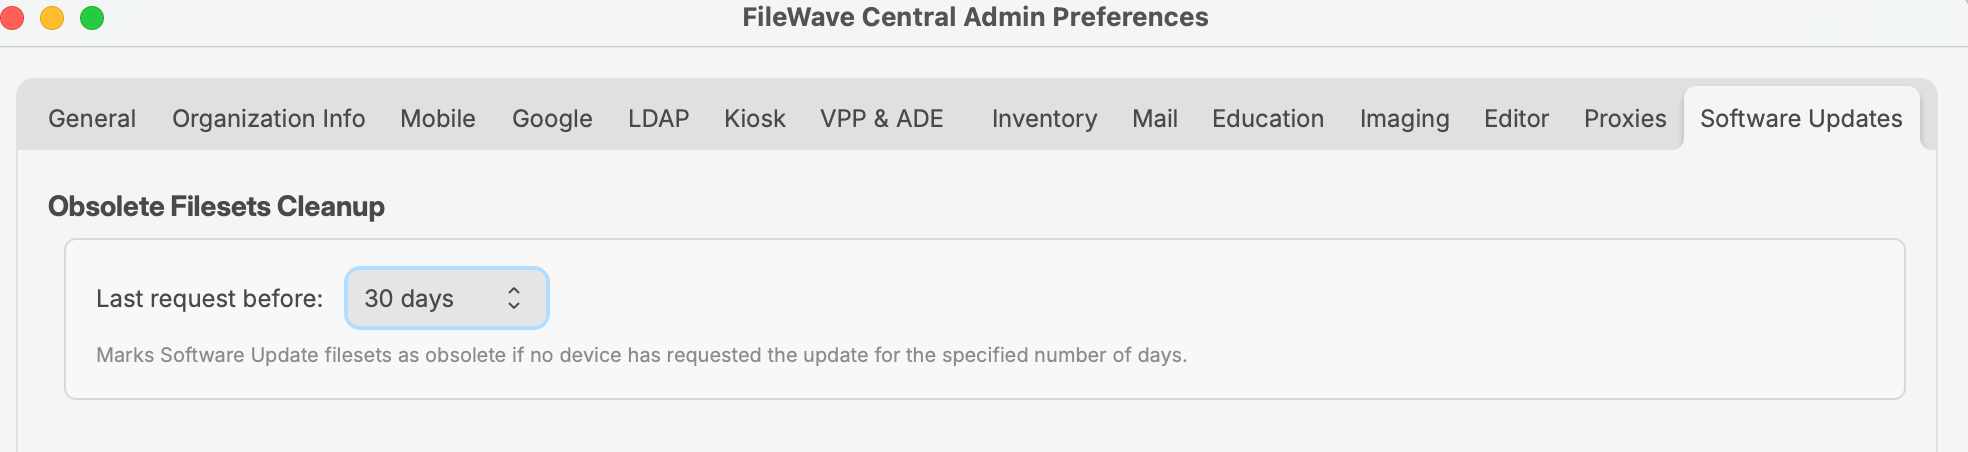
Sofware Updates
In FileWave 16.2.0 and higher the Software Updates tab is where you can define how OS updates are determined to be obsolete. This will allow you to use "Obsolete Filesets Cleanup" in the Software Updates area of Central to remove updates that haven't been requested by any device for a set period of time.
No comments to display
No comments to display